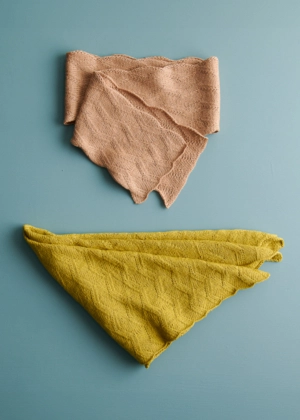
A must-know cast on for sock knitting (and more!), Judy’s Magic Cast On is a clever, useful cast on that has the helpful characteristic of starting you off at the center of your fabric, rather than at an edge. To do it, you cast stitches onto two parallel needles, creating two sets of stitches that are already connected by a seamless, continuous stretch of fabric. Find out how it’s done with our Judy’s Magic Cast On Tutorial!

Judy’s Magic Cast On | Purl Soho

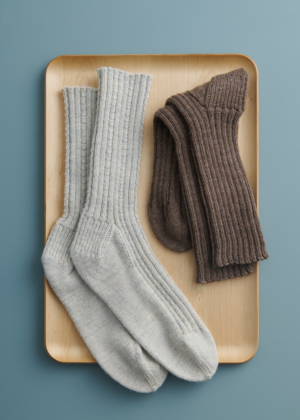
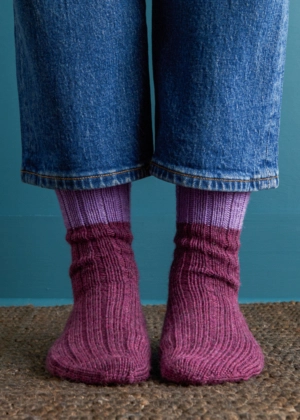
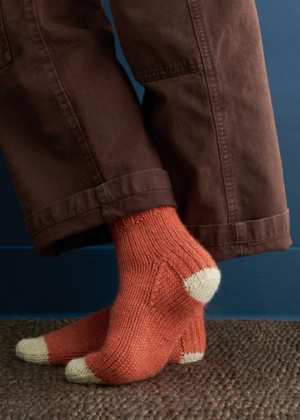
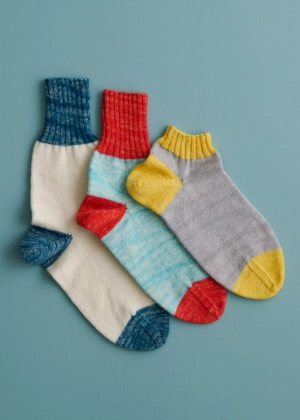
Toe-Up Socks pattern in Stormy Superwash Sock

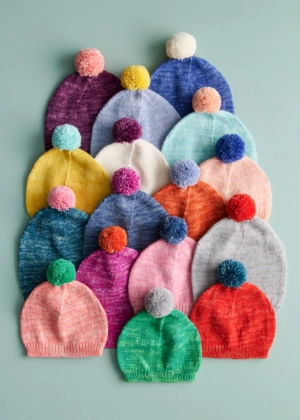
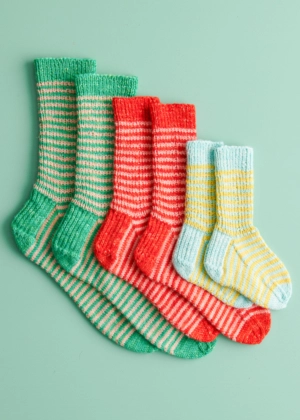
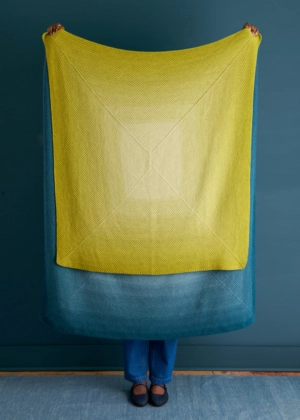
Judy’s Magic Cast On was developed by knitting teacher Judy Becker and is an especially favorite cast on for knitting toe-up socks. When you use this cast on—instead of starting with a Provisional Cast On that you later have to graft together—the two sides of the toe are seamlessly joined right from the beginning. This method also works beautifully for the bottom of a bag, center-out blankets and shawls, or even the top of a hat. Once you learn how easy it is, you’ll find all sorts of situations where it simplifies your knitting and adds a touch of magic! 
Note: You can work Judy’s Magic Cast On onto either two double pointed needles or the tips of a circular needle or two. Here we’re demonstrating using one circular needle. 

Judy’s Magic Cast On: Video Tutorial

Click To See Video Transcript

Hi, this is Whitney from Purl Soho, and I’m going to show you how to do Judy’s Magic Cast On. Judy’s Magic Cast On was developed by the knitting teacher Judy Becker. Her famous cast on has the unique characteristic of starting you off in the middle of your fabric, rather than at an edge. You cast your stitches onto two needles, and as you do, you create two sets of stitches that are already connected, forming a seamless, continuous fabric at your cast on.

This is the toe of a toe-up sock, which is a very common use for Judy’s Magic Cast On. Instead of using a Provisional Cast On—that you later have to graft together—with the Magic Cast On, the two sides of the toe are already joined, so you can just keep knitting in the round and never look back. This method also works beautifully for the bottom of a bag, the beginning of a center out blanket or shawl, or even the top of a hat. There’s so much that Judy’s Magic Cast On can do, and once you learn how easy it is, you’ll find all sorts of situations where it saves you time, elevates your knitting, and adds a touch of magic.

Okay, let’s get started. You can work Judy’s Magic Cast On onto either two double pointed needles or the tips of a circular needle or two. Here we’re using one circular needle. You’ll also need to measure out a long tail of yarn, about three times the length of your desired cast on. We’re only going to cast on a few stitches, so we don’t need a very long tail here.

So begin by draping the yarn over the thumb and index finger of your left hand, with the tail going away from you. Use the rest of your fingers to hold on to the two strands in order to provide some tension. Now, in your right hand, hold the two needles side by side with both tips pointing to the left, one needle on top of the other.

We’re going to use the top needle to do this first step, so dip that top needle into the space between your fingers, then bring the tip up toward you, catching the yarn, and twist the needle clockwise to create a loop on your needle. The working yarn is crossed over the tail and the working yarn is toward you. The tail is still pointing away from you. This loop counts as the first stitch of your cast on. I’m going to do that step again—more in real time—so that you can see how it will look once you get the hang of it. So dipping the needle, grabbing the yarn, and giving it a little twist. Pretty simple; just grab the yarn and give it a little twist.

Okay, we’re ready to cast on some more stitches! So we have one stitch on the top needle, and now we need to cast a stitch onto the bottom needle. What you’re going to do is use that bottom needle to pick up the top strand of yarn, the one on your pointer finger. So use the tip of the bottom needle to grab over the yarn, then bring the needle toward you, forming a loop around the bottom needle with the strand of yarn going down between the two needles. Pull the stitch snug but not tight around the bottom needle, and now you have one stitch on each needle.

Now we’re going to use the top needle to pick up the bottom strand, the one on your thumb. So use the tip of the top needle to come under the bottom strand. Then push the needle away from you, ensuring the strand of yarn goes between the needles. You’ve formed your next stitch here on the top needle. You want the tension to be about the same as your normal knitting tension, not too loose and not too tight.

So then back to the bottom needle again. Bring the tip of the bottom needle over the strand on your index finger, around and under the yarn, and back up to form a stitch on the bottom needle, again with the yarn coming between the needles. Back to the top needle, bring the top needle over the yarn on your thumb, around and under the yarn and back up to form a stitch. And then back to the bottom needle, picking up the top strand. The top needle always picks up the bottom strand, and the bottom needle always picks up the top strand. As you’re working, you can repeat that to yourself. Top needle picks up bottom strand, bottom needle picks up top strand.

Keep going until you have cast on the number of stitches the pattern calls for, ending here with a bottom stitch—a stitch on your bottom needle—and now take a moment to double check that you have the same number of stitches on each needle: 2-4-6, 2-4-6. Great, so now we’re ready to knit!

Okay, so the first step to begin knitting is to keep the same side of the work facing you and rotate your needles so that they point to the right, just like that. Now you want to take your tail and cross it over the working yarn here at the back of your work. If you’re continuing with Magic Loop, you draw out the bottom needle to get ready to work across the stitches on your top needle, and you just work them normally; knit them normally. Insert the needle and knit it.

If you’re using double pointed needles, at this point, you would bring in a third needle and knit across the top needle with that third needle. But here we’re using Magic Loop, and I’m just knitting like normal across all six stitches, all the way to the end of this row.

So we’ve finished knitting the stitches on the top needle, and we’re going to keep this side of the work facing us and again, rotate our needles so that the tips are pointing to the right. Now draw the top needle into the top stitches, just slide those stitches onto the top needle, and pull out the bottom needle so that you can knit the top row, just like we did before. The first stitch on the top needle is your initial loop, so you can knit that stitch just like you normally would; insert your needle, make sure you grab your working yarn, and knit that top stitch. The rest of the stitches on this needle are twisted as a result of the way we cast on, which means that the right leg of each stitch is at the back rather than the front. To straighten the stitches out, simply knit the stitch through the back rather than the front, just like this. This is just for this first row. For the rest of your project, you’ll be able to knit all the stitches normally, but here we’re inserting our needle into the back loop of the stitch and then just knitting.

So now we’ve knit across that second needle, and you’re going to rotate the work again so that the needle tips are pointing to the right. Slide that top needle back into your stitches, like this—maybe give your tail a little tug to make sure that is all tidy—and let’s take a look here. You can see what looks like two rows of stockinette stitch between the needles, with live stitches at the top and the bottom. So we’re ready to keep knitting in the round, either continuing with Magic Loop or on your double pointed needles.

If you’re knitting with double pointed needles, you will divide your stitches among 3 or 4 of them and then just continue knitting in the round. If you’re knitting with Magic Loop, then you may want to consult our Magic Loop Tutorial. But either way, you also may want to place a removable stitch marker on your first stitch here to mark the beginning of the round.

So now you can just start knitting as normal. And that’s it. That’s how you work Judy’s Magic Cast On. You’re ready to knit toe-up socks and so many other exciting things!


Judy’s Magic Cast On: Step-By-Step Instructions

Prefer still photos and text? Follow along here!

Casting On

SET UP

Start by measuring out a length of yarn about three times the length of your desired cast on.

Judy’s Magic Cast On | Purl Soho

Drape the yarn over the thumb and index finger of your left hand, with the tail going over your index finger and the working end over your thumb. Use the rest of your fingers to hold onto the two strands in order to provide some tension. Keep your yarn and hands in this position as you do the following steps.

Judy’s Magic Cast On | Purl Soho

Now, in your right hand, hold your two needles side by side, with both tips pointing to the left. We’re going to call the top needle the “top needle” and the bottom one the “bottom needle.” You’re going to cast stitches onto each needle, alternating between the two.

CAST FIRST STITCH ONTO TOP NEEDLE

  • Post Image
  • Post Image

Dip the tip of the top needle into the space between your fingers, then bring the tip up toward you, catching the yarn and twisting the needle clockwise to create a loop of yarn on the needle.

Judy’s Magic Cast On | Purl Soho

You now have a loop on your top needle, which counts as the first stitch of your cast on. The working yarn should be over your thumb and the tail over your finger.

CAST 1 STITCH ONTO BOTTOM NEEDLE

  • Post Image
  • Post Image

Now bring the tip of the bottom needle over the strand of yarn on your index finger (the “top yarn”), then bring the needle toward you, grabbing a loop around the bottom needle with the tail going down between the two needles. Pull the stitch snug, but not tight, around the bottom needle. You now have one stitch on each needle!

CAST ANOTHER STITCH ONTO TOP NEEDLE

  • Post Image
  • Post Image

Now bring the top needle toward you, over the strand of yarn on your thumb (the “bottom yarn”), then push the needle away from you under the bottom yarn, grabbing a loop around the top needle and ensuring the working yarn goes between the needles. This is the second stitch on your top needle! Again, pull it snug. You want the tension to be about the same as your normal knitting tension: not too loose, and not too tight.

CONTINUE

Now go back to the bottom needle again and pick up the top yarn, and continue alternating. As you’re working, you can repeat to yourself: “Top needle picks up bottom yarn, bottom needle picks up top yarn.” Also, be sure that the tail or working yarn always passes down between the two needles as you finish adding each stitch.

Judy’s Magic Cast On | Purl Soho

Keep going until you have cast on the number of stitches the pattern calls for, ending with a stitch on the bottom needle. Take a moment to double check that you have the same number of stitches on each needle, and now you’re ready to knit your first row of stitches!

Knitting The First Row

Judy’s Magic Cast On | Purl Soho

Keeping the same side of the work facing you, rotate your needles so the tips point to the right. Take the tail, which is closer to you, and pass it under the top needle, then over the working yarn.

  • Post Image
  • Post Image

If you’re continuing with Magic Loop, draw out the bottom needle to get ready to work across the stitches on your top needle. If you’re using DPNs, you’ll use a third DPN at this point.

Judy’s Magic Cast On | Purl Soho

Knit across the top needle as usual, all the way to the end. 

Judy’s Magic Cast On | Purl Soho

Keeping the same side facing you, turn your work again so the needle tips are pointing to the right. Now draw the top needle back into the stitches and pull out the bottom needle so you can knit across the top needle.

Judy’s Magic Cast On | Purl Soho

The first stitch on the top needle is your initial loop. Knit it as normal, through the front loop.

Judy’s Magic Cast On | Purl Soho

The rest of the stitches on this needle are twisted as a result of the way you cast on, which just means that the right leg of each stitch is at the back rather than at the front. To straighten the stitches out, simply knit each stitch on that needle through the back loop. This is just for this first row. For the rest of your project, you will be able to knit all stitches normally. 

Judy’s Magic Cast On | Purl Soho

Knit across the needle, working through the back loop of the stitches, all the way to the end.

Judy’s Magic Cast On | Purl Soho

Again, keeping the same side facing you, rotate your work so the needle tips are pointing to the right and slide that top needle back into your stitches. Give your yarn tail a little tug just to snug everything up. You will now have two rows of stockinette stitch fabric between the needles, with live stitches at the top and bottom.

Now you’re ready to keep knitting in the round, either continuing with Magic Loop or on your DPNs. If you’re knitting with DPNs, you will divide your stitches among three or four DPNs to continue knitting in the round. (If you want some help with either technique, check out our Magic Loop Tutorial or our How To Knit With Double Pointed Needles Tutorial!) Whatever you decide, you may want to place a removable stitch marker on your first stitch to mark the beginning of the round.

And that’s how you work Judy’s Magic Cast On!

Practice Judy’s Magic Cast On

Judy’s Magic Cast On | Purl Soho

Toe-Up Socks in Stormy Superwash Sock

Now you’re ready to knit toe-up socks and so many other exciting things! Give Judy’s Magic Cast On a try with our Toe-Up Socks pattern in our Stormy Superwash Sock yarn. You’ll cast on just a few stitches, and then you’ll be off to a great start knitting your cute and comfy socks. It’s a wonderful cast on to have in your toolbox!

Tutorial written by Andrea Lotz + Whitney Van Nes for Purl Soho.

Looking for more inspiration? Explore all of our knitting patterns (including tons of free knitting patterns) and knitting tutorials, buy one of our many knitting kits and yarn bundles, and shop for beautiful yarn. We have over 35 gorgeous natural fiber yarns in 100’s of magnificent colors, designed to bring integrity, beauty, and joy to your next knitting project and only available at Purl Soho!