Your basket is empty.
Continue Shopping
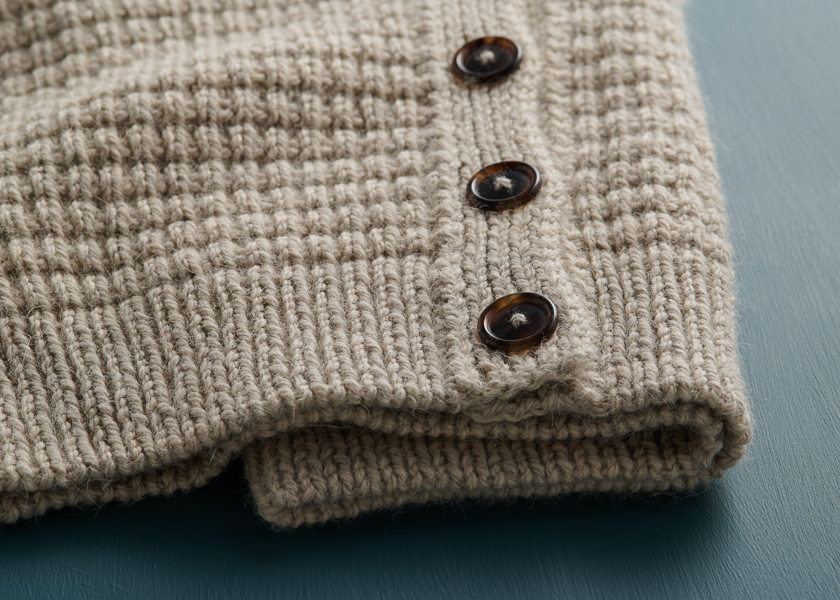
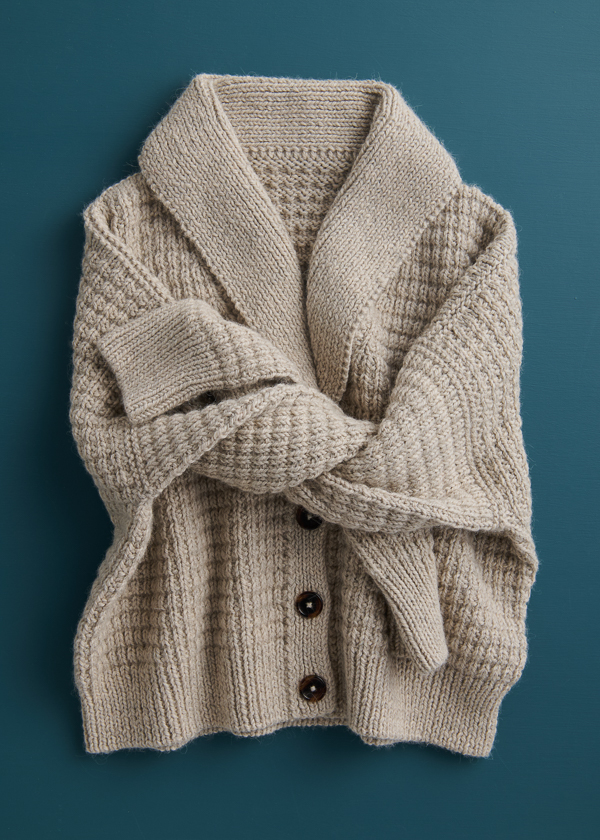
Norah Gaughan for Purl Soho: Juniper Cardigan
From legendary knitwear designer Norah Gaughan, our Juniper Cardigan pattern is a warm, woodsy beauty at the intersection of traditional and contemporary… True to form for Norah! And our Yonder is a perfect match for her design, a robust and earthy yarn that brings the plush, pebbly stitch pattern into beautiful relief.
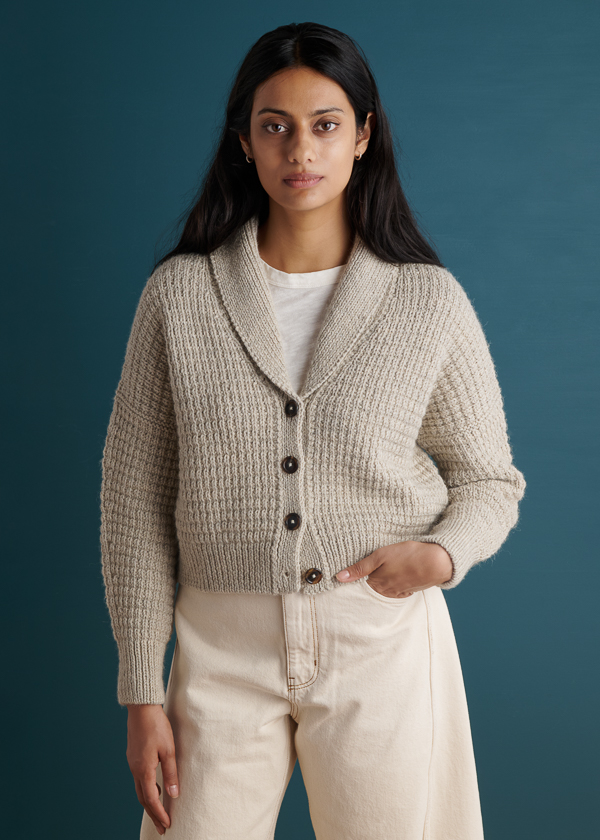
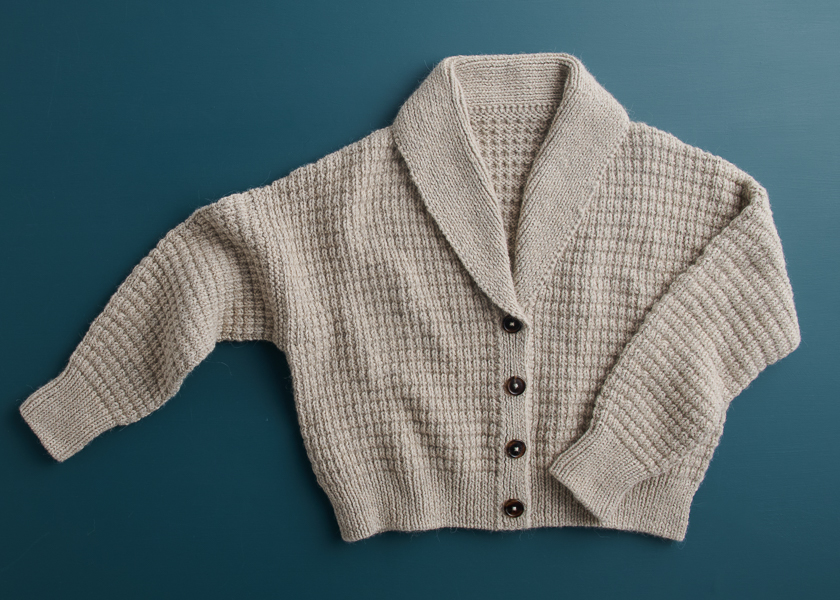
You knit the Juniper Cardigan from the shoulders down, working the upper back followed by the fronts, then joining all three sections below the armholes and continuing the body to a just-right high-hip length. Next, you pick up stitches and knit the generous sleeves down to the ribbed cuffs. Your last satisfying step is to work the densely ribbed buttonband and collar in one piece, joining it to the body of the cardigan as you go.
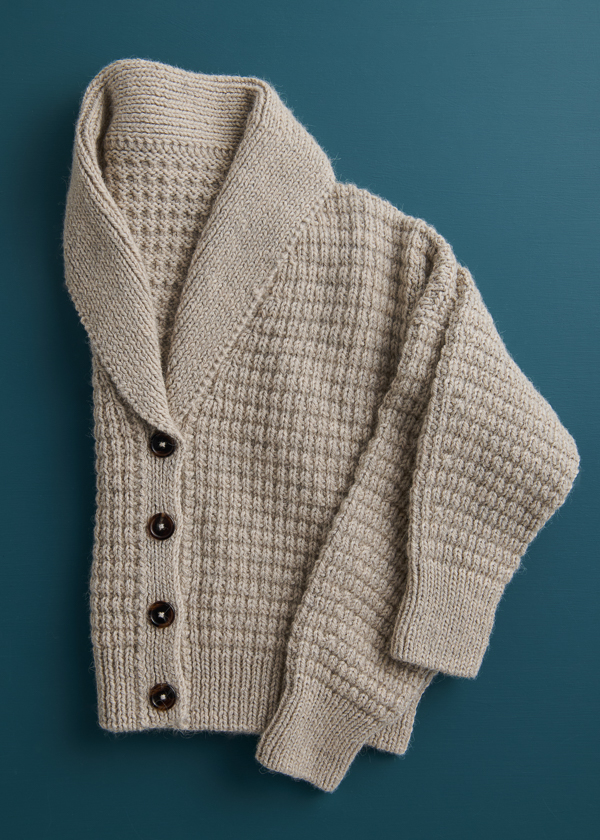
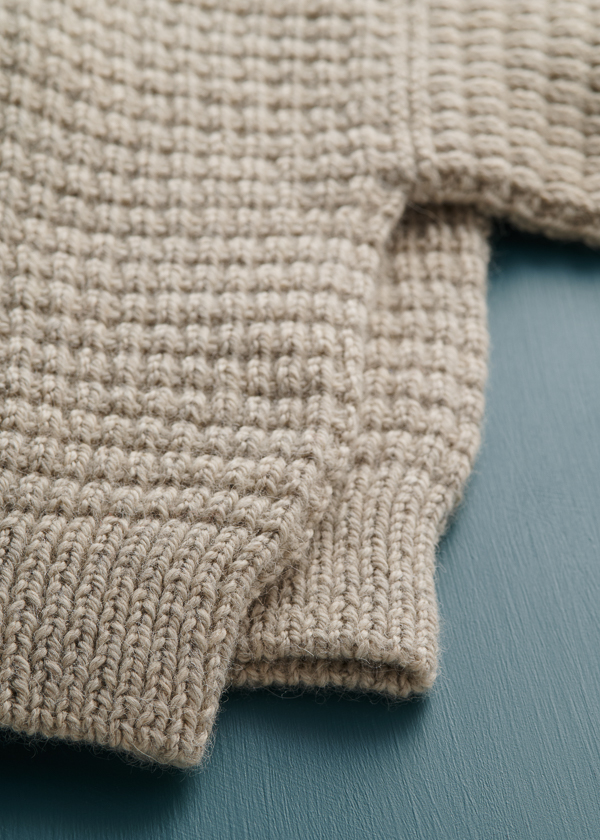
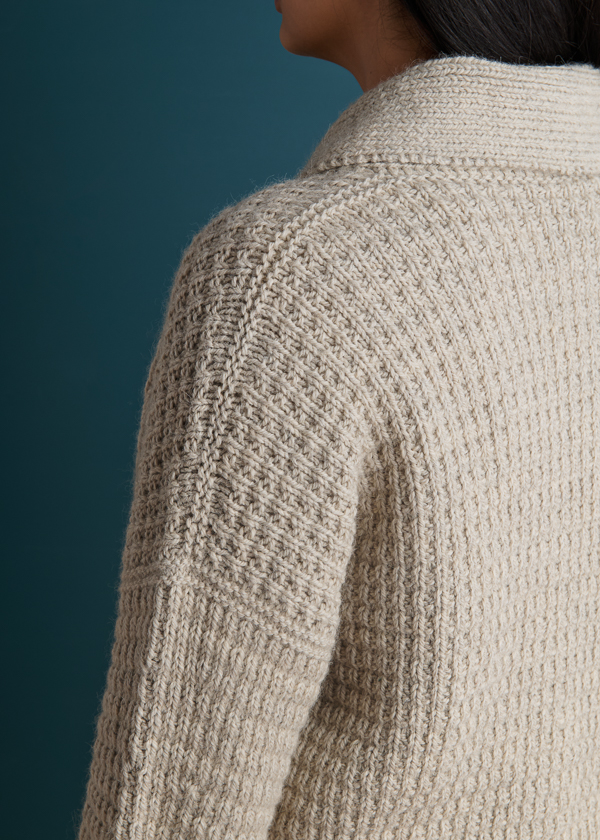
Norah is one of knitting’s great creative minds, known for considering every element of a design. This cardigan is no exception, packed with irresistible details that make it utterly absorbing to knit. We love how the shaping is worked on the tops of the sleeves rather than the undersides, putting your craftsmanship on display. Every transition is beautifully resolved—don’t miss the crisp purl ridges at the shoulders and armholes and the decreases that frame the edge of the shawl collar. Italian Bind Offs carry the ribbing of the cuffs and hem through to a beautifully polished finish.
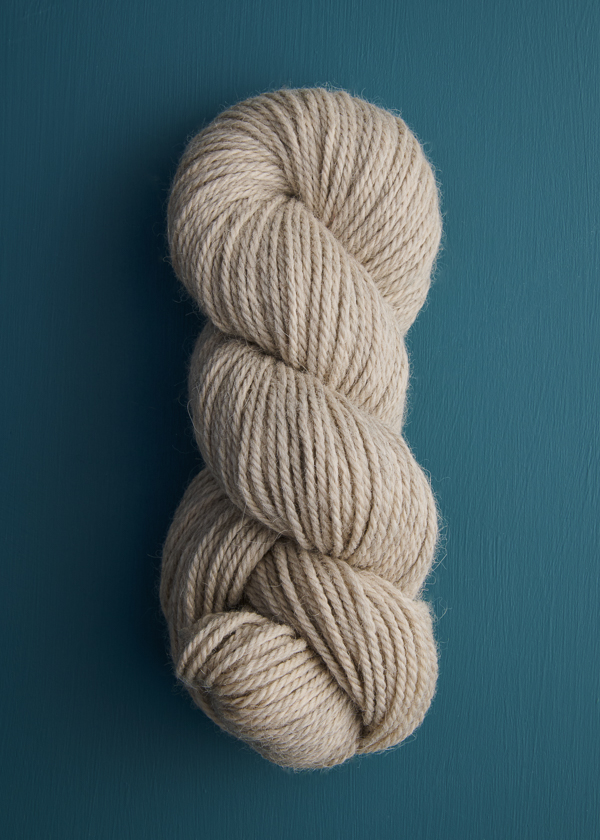
Yonder’s lofty spin and plump worsted weight work together to turn the waffle-y stitch pattern into an incredibly squishy and cozy fabric. A mix of 50% highland wool and 50% alpaca, this yarn blooms as you knit, with a resilience in the hand that comes from the highland wool’s bounce alongside alpaca’s supple softness.
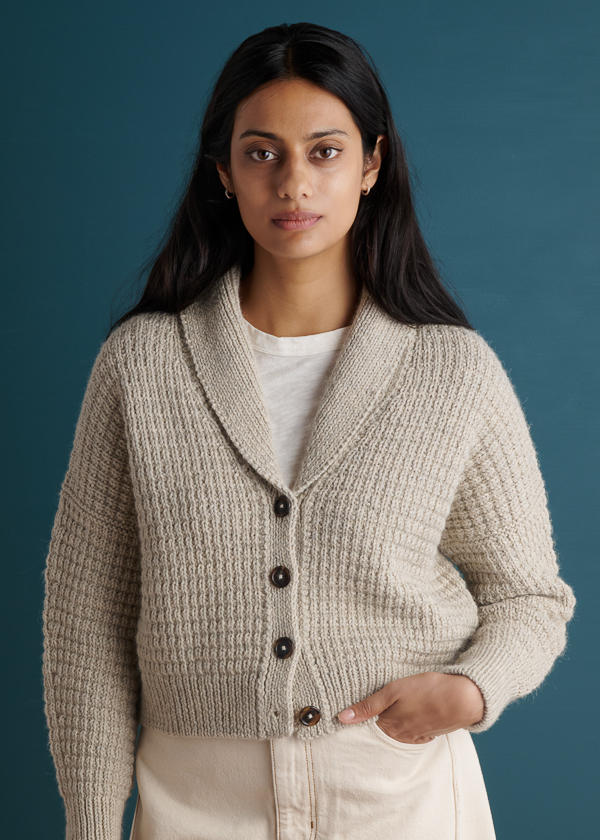
Choose your favorite from Yonder’s heathered palette—each color dyed over the warm natural colors of the sheep and alpaca—and cast on for your own Juniper Cardigan, the evergreen layer you’ll reach for every time you want to wrap yourself in natural beauty!
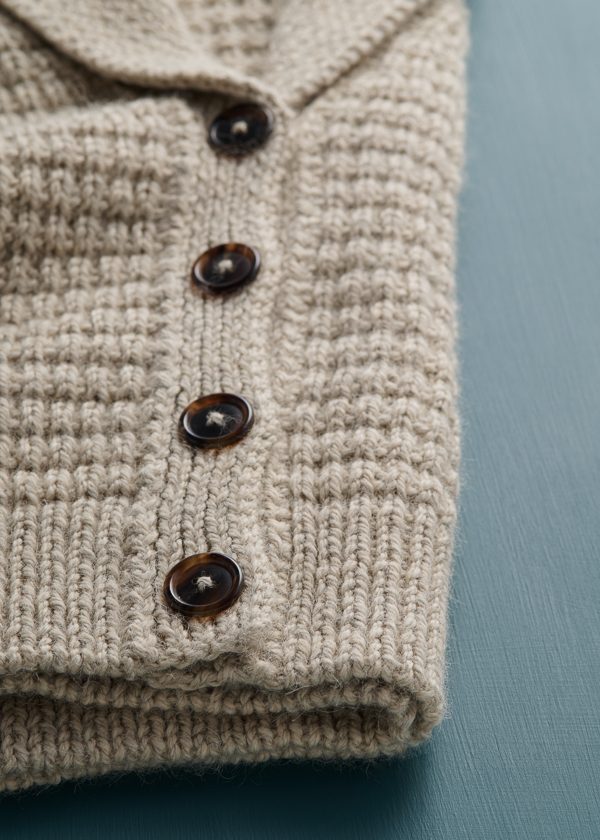
Designed for Purl Soho by Norah Gaughan. A knit-design legend, Norah is known for her fearless embrace of texture and innovative construction. Often rooted in the mathematics of naturally occurring patterns, her designs are smart, inspiring, and always special. Norah describes her Juniper Cardigan as the perfect layer for her New Hampshire home and studio!
Story written by Andrea Lotz for Purl Soho.
Want to print this pattern? On desktop, find the “print” icon in the right margin, and on mobile, scroll to the end of the pattern for it. Use the on-screen instructions to remove anything you don’t want to print!
Materials
- 8 (9, 10, 11, 11) (12, 13, 14, 15) skeins of Purl Soho’s Yonder, 50% highland wool and 50% alpaca. Each skein of this worsted-weight yarn is 140 yds/ 100 grams; approximately 1075 (1175, 1300, 1410, 1500) (1615, 1755, 1855, 1970) total yards required. We used the color Reed Gray.
- US 7 (4.5 mm), 24- and 47-inch circular knitting needles
- US 5 (3.75 mm), 47-inch circular needles
- A set of US 7 double pointed needles
- A set of US 5 double pointed needles
- Removable stitch markers, including one unique
- Four 13/16- to 1-inch buttons. We used Purl Soho’s Horn Button, 13/16 inch (20mm, 32L) in the color Dark Brown.
- A Juniper Cardigan Pattern PDF
GAUGE
18 stitches and 28 rows = 4 inches in Texture Stitch, Flat (see Notes) on larger needles
28 stitches and 28 rows = 4 inches in 1×1 Rib on smaller needles
SIZES
NOTE: For help picking a size, please check out our Understanding Ease + Selecting Your Size Tutorial!
43½ (47, 51, 54½ 60) (63, 67, 70½, 74½)
To fit actual chest circumference of 29–33 (33–37, 37–41, 41–45, 45–49) (49–53, 53–57, 57–61, 61–65) inches chest, with 10–14 inches of ease
- Finished Chest Circumference: 43½ (47, 51, 54½, 60) (63, 67, 70½, 74½) inches, buttoned
- Finished Length from High Shoulder to Bottom Hem: 18½ (19, 19½, 20¼, 20¼)(20¾, 21¼, 21¾, 22½) inches
- Finished Length from Underarm to Bottom Hem: 9 inches
- Finished Sleeve Length: 16 (16, 16, 16, 16)(15½, 15½, 14½, 13½) inches
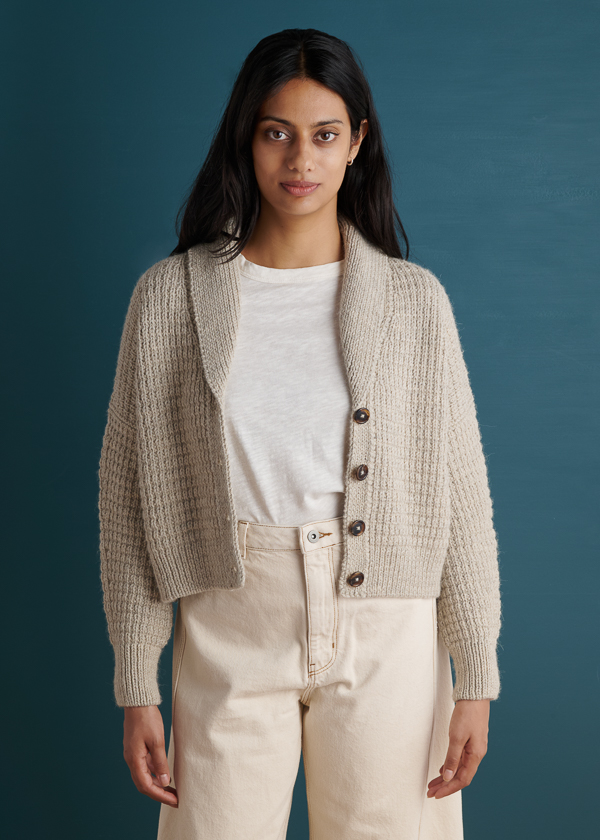
Sample: The sweater shown here is size 47, worn with 12½ inches of ease.
PATTERN
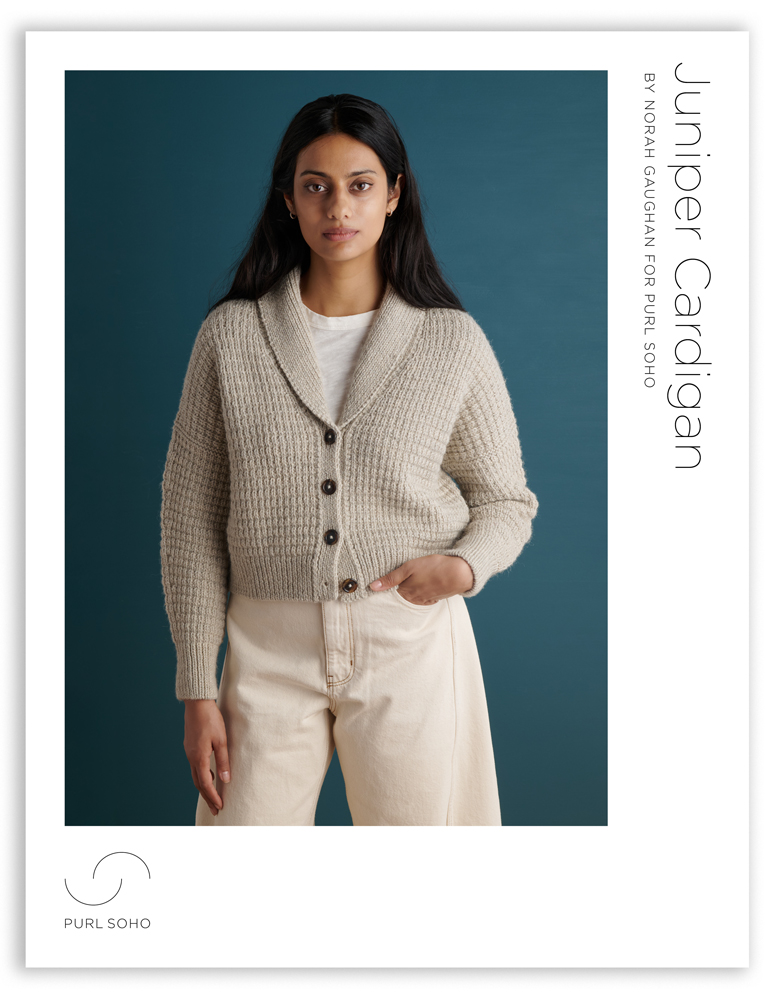
The Juniper Cardigan Pattern is available as a PDF download.
Share your progress and connect with the community by tagging your pics with #PurlSoho. We can’t wait to see what you make!
LEARN ABOUT YONDER + ALL OUR BEAUTIFUL YARNS
Yonder has all the qualities that will touch your knitter’s heart! 50% highland wool and 50% alpaca, this worsted/aran-weight yarn has a robust and earthy feel that breathes and blooms while you knit… Very satisfying! Pick from a palette of earthy, heathered colors dyed over the natural colors grown by the animals themselves and cast on for a project that takes you wherever you want to go.
More Knitting Patterns
- Be sure to explore our growing collection of mostly free Yonder knitting patterns and cast on!
More Worsted/Aran-Weight Yarns
- Shop our entire collection of worsted/aran-weight yarn (What does worsted-weight yarn mean, really? Our guide to worsted-weight yarn will answer your questions and more!)
- If you want to use a different yarn, be sure to take the time to get the correct gauge. Need help? Check our All About Gauge Tutorial, our Yarn Substitution article, and our Complete Guide To Yarn for lots of helpful information.
More Yarns With Similar Fibers
- Shop wool yarn
- Shop alpaca yarn
Looking for more inspiration? Explore all of our knitting patterns (including tons of free knitting patterns) and knitting tutorials, buy one of our many knitting kits and yarn bundles, and shop for beautiful yarn. We have over 55 gorgeous natural fiber yarns in 1,000s of magnificent colors, designed to bring integrity, beauty, and joy to your next knitting project and only available at Purl Soho!



What stitch pattern is this?
Hi Marion,
Thank you so much for writing in! This is a great question!
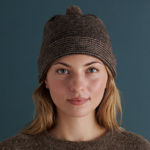
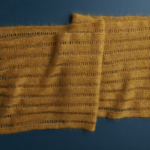
This stitch resembles a waffle stitch, but it’s its own Texture Stitch pattern, uniquely designed for this pattern by the lovely designer Norah Gaughan. It’s a 4-row repeat that uses knits and purls only.
I hope this helps! Feel free to reach out anytime.
Happy knitting,
Hills
What a wonderful pattern! How many extra skeins would I need to make the second size about 3″ longer? Many thanks, Debby
Hi Debby,
I’m so glad you like the pattern! Assuming you match the pattern gauge, you’ll need one more skein to make the body 3″ longer in the second size.
Happy knitting,
Sylvie
I’d like to make this several inches longer, and would appreciate your advice.
Hi Wendy,
Thanks for writing in! The body of the Juniper Cardigan doesn’t include any shaping, so you only need to make two adjustments to lengthen it.
In the body section, add more repeats of rows 1-4 of “Texture Stitch, Flat”
When you work the button band, you’ll need to adjust the placement of the buttonholes to work with your new length. Depending on how much length you add, you might want to add an additional button.
Happy knitting,
Sylvie
Hi Sylvie,
Thank you!
Wendy
And also, having now looked at the pattern, would it be difficult to modify the button band length? It’s a new technique for me, and looks like fun, but it’s a little hard to visualize how it actually works! Thanks again, Debby
Hi Debby,
This is a great question! This isn’t a hard modification to make, you’ll just want to keep a few things in mind. I’ll start by talking about the button band construction, and then talk about changing the length.
After you’ve completed the body of the sweater, you’ll cast on for the button band. It starts at the bottom of the right front of the cardigan (which is on the left when you’re facing the front of the garment) and then follows the entire front and neck edge all the way around. The band is joined to the sweater as you work by picking up a stitch per row, so you don’t have to pick up a lot of stitches at once or do any sewing. It’s worked bottom up to start, then you’ll work sideways as you follow the neckline around the back of the sweater, and you’ll finish by working top down as you continue following the edge of the garment.
If you’d like to modify the sweater length, you can work extra rows of the stitch pattern before you work the bottom ribbing. Keep track of how many rows you add to the body length. Then when you work the button band, you can either add some extra rows between each buttonhole to match the additional body length, or add an additional button and recalculate the spacing if necessary.
I hope this helps!
Sylvie
Thanks so much Sylvie – that is quite clear! I can’t wait to try it. Now to figure out which color!
Debby
What is the texture stitch? I would like to see if I can get gauge before buying the pattern
Hi Lyn,
This is the texture stitch used in the swatch, it’s worked over an odd number of stitches
TEXTURE STITCH, FLAT
Row 1 (right side): *K1, p1, repeat from * to last stitch, k1.
Row 2 (wrong side): *P1, k1, repeat from * to last stitch, p1.
Row 3: Knit to end of row.
Row 4: Purl to end of row. Repeat Rows 1–4 for pattern.
The target gauge is 18 stitches and 28 rows = 4 inches in this pattern.
Happy swatching!
Sylvie
The sweater looks amazing and rather complicated. I don’t see a rating as to the skill level needed to make it. Can you help please?
Hi Nancy,
Thanks so much for reaching out about the Juniper Cardigan! I’m happy to help you consider the skills used in this pattern.
As a practice, we don’t rate or grade the difficulty of our patterns because we hope to encourage adventurous knitters of all skill levels to push their learning. We do offer tons of tutorials and personalized troubleshooting, though!
With that in mind, I’m happy to go through some of the skills used in this pattern! These include: German Short Rows, sssk (slip slip slip knit), Cable Cast On or Long Tail Cast On, Purlwise, yarn over (yo), Italian Bind-off, k2tog tbl, Magic Loop, buttonholes and sewing buttons.
We’re always available to answer questions here or at [email protected]. I hope this helps you pick your project with confidence!
All the best,
Hills
I’m finding that I have to go down a full three needle sizes to get to gauge on this project (from US 7 to US 4 on the larger needles) . I trust my swatches, but I’m also wondering how common it is to have that wide a variance from the recommended needles.
I didn’t think I was a particularly loose knitter, but here we are!
Hi there,
Thanks for writing in, this is a great question! In general, I would say that if you knit a large enough swatch (at least 6″x6″ for a sweater, but larger is even better), blocked it however you plan to block the finished sweater (probably hand wash and lay flat to dry), and measured your gauge away from the edges of the swatch, it’s safe to trust your swatch.
Matching gauge for a pattern is a surprisingly complicated topic because there are so many things that impact it! There’s probably enough material for an entire book on gauge, but here are a few of the biggest impacts:
– Whether you’re a loose or a tight knitter
– Whether the pattern designer is a loose of tight knitter! The pattern’s gauge is the designer’s gauge, and you might knit looser than one designer but tighter than a different designer
– The knitting needle material. Many people knit more tightly on wood or bamboo needles and more loosely on metal, but some people have the opposite experience
– How the stitch pattern interacts with the way you knit! Some knitters have a much looser gauge in stitch patterns that frequently switch between knits and purls because of the additional yarn used when bringing the yarn front and back. This varies a lot by knitting style and by individual knitter
– How the yarn interacts with the way you knit! When a yarn is worked at a gauge that’s denser than your default gauge, some knitters need to go down more needle sizes than others to reach the same dense gauge, even if they might use similar needles at a looser gauge. This happens to me!
I hope this helps!
I’d be happy to take a look at your swatch if you’d like to send photos to [email protected]
All the best,
Sylvie
Does this yarn pill a lot? Could this be knit in so cashmere?
Hi Mindy,
Thank you so much for reaching out! I’m so glad the Juniper Cardigan caught your eye, and I’m happy to help!
Soft yarns are a smidge more prone to pilling than their coarser counterparts. The shorter staple in the softest yarns will develop a beautiful halo as they’re worn, but you may find yourself de-pilling a bit more than with other animal fibers. We think it’s totally worth it for the lush color, supple handfeel, and cozy halo these yarns feature.
Yonder is blended with Highland wool and alpaca, so it won’t pill as much as a pure alpaca yarn would. I would recommend knitting and blocking a gauge swatch. You can keep the swatch in your back pocket for a few days to see if it pills more than you’d like! I do think this would be lovely in Nigh Aran or a cashmere yarn, but I would always recommend swatching when substituting yarns. This is definitely the perfect pattern for a yarn like this, as well, since the texture adds additional structure to the drape!
I hope this helps! Please feel free to reach out to us anytime.
All the best,
Hills
Hi there. Is there a certain way to pick up stitches along the shoulder for right and left fronts? When I tried doing this, the shoulder edge looked different from the sample photos. My edge has a 2-row gap of stockinette in between the purl bumps. Also, when I pick up the stitches, the cast-on edge is hidden. Not sure if there is a way around that? I had assumed that, since the cast on was done purlwise, that the cast on edge would be visible. Hope my questions make sense, as I am new to sweater knitting. Many thanks!
Hi Lilli,
Thanks for reaching out, these are some great questions!
We’ve got several tutorials on picking up stitches, and for this pattern,
you’ll want to check out the first one, “Along a horizontal edge.”
The way you pick up stitches determines whether you’ll see the cast on edge you’re picking up from, while the type of cast on just controls what that edge looks like! This pattern has you pick up and knit stitches while looking at the right side of the fabric, which will put the cast on edge on the wrong side of the fabric or the inside of the sweater. If you pick up and purl from the right side or if you pick up and knit from the wrong side, then the cast on edge will be visible!
When you talk about the 2-row gap of stockinette between the purl bumps, do you mean between the garter ridge at the top of the back piece and the purl bumps within the texture stitch on the front? Since the front is shaped with short rows, you’ll actually see different amounts of stockinette above the back garter ridges along different parts of the shoulder. You can see this a little bit in the fourth photo on the project page, which shows the top of the shoulder.
If this doesn’t sound like what you’re seeing (or if you’re not sure if it is), can you send some photos of your project to [email protected] so we can take a look? We’d love to make sure you’re on track and ready to confidently move forward!
All the best,
Sylvie