Your basket is empty.
Continue Shopping
Felted Cocoon Bag
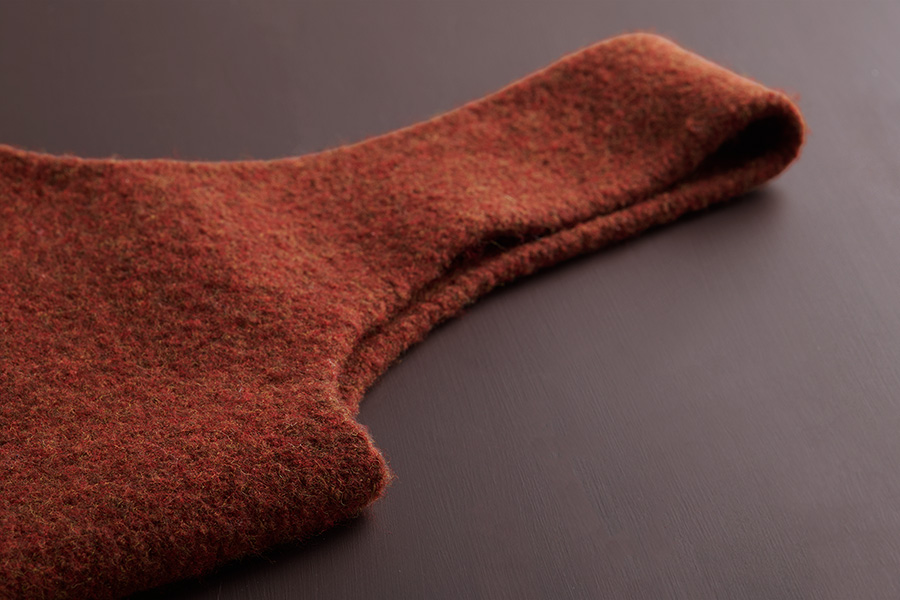
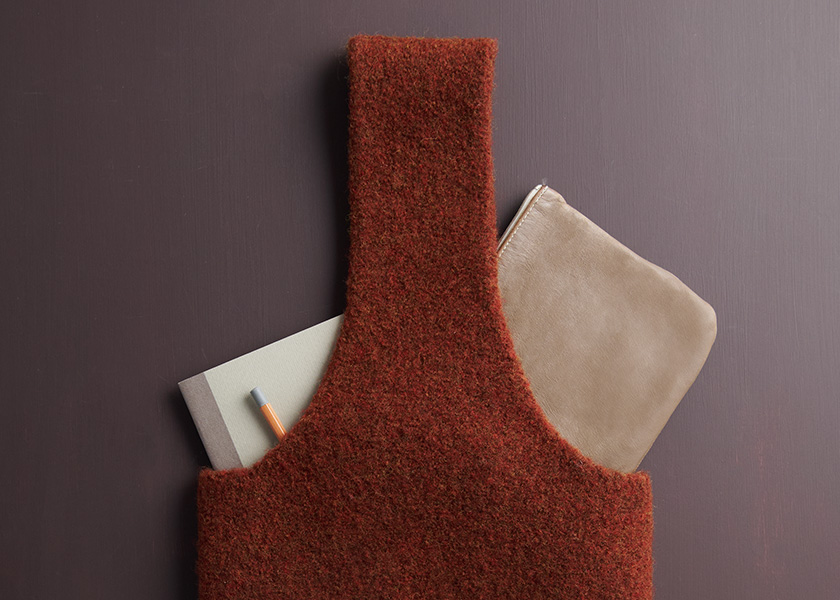
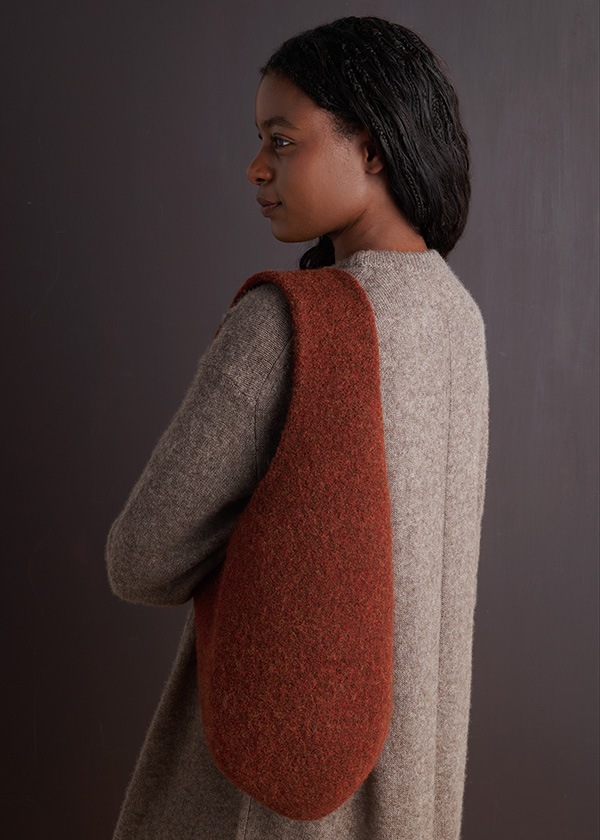
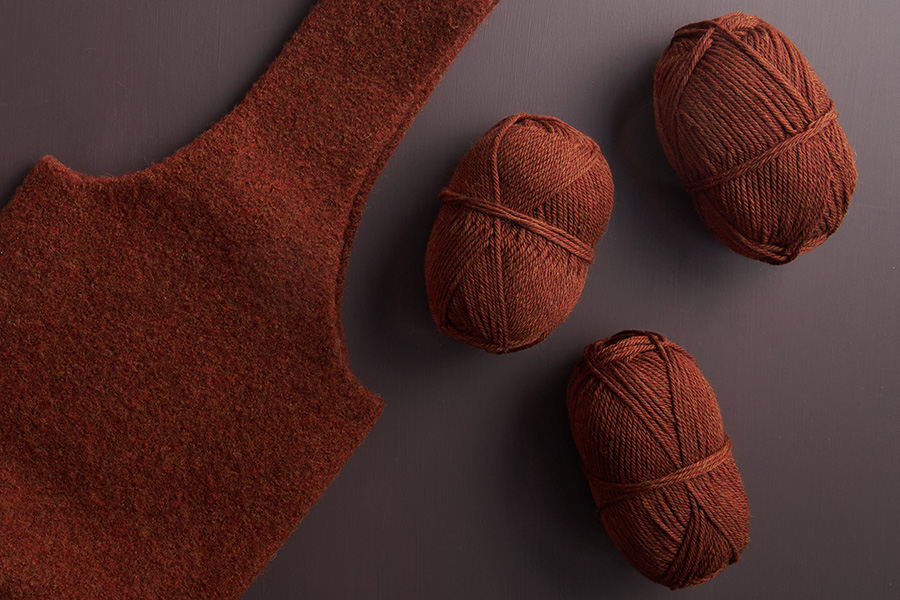
A knit-then-felted bag with a soft, graceful shape, our Felted Cocoon Bag celebrates the metamorphosis of wool and hot water into a fabric imbued with new strength and rich beauty. Our Till yarn makes this transformation super satisfying. 100% Andean highland wool, Till’s stunning heathered colors meld and deepen as loosely knit stitches felt into a dense, wonderfully sturdy fabric.
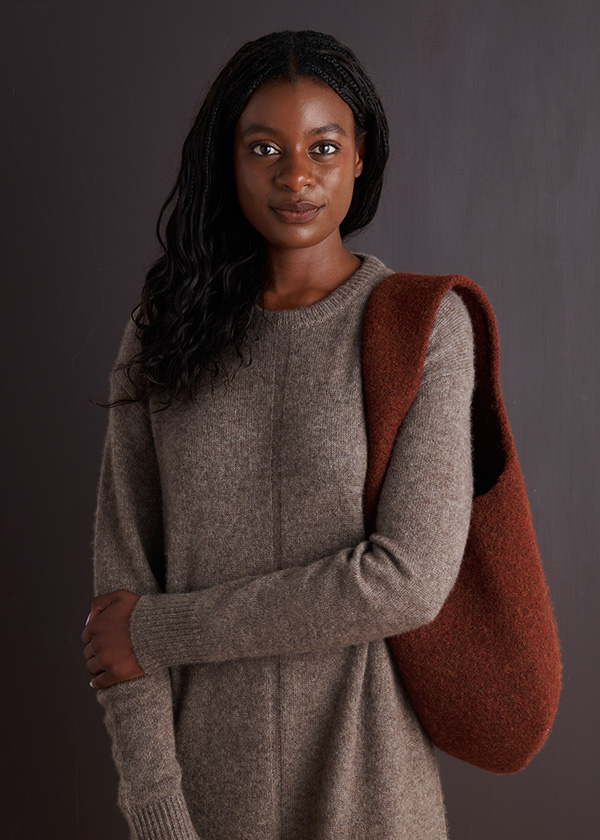
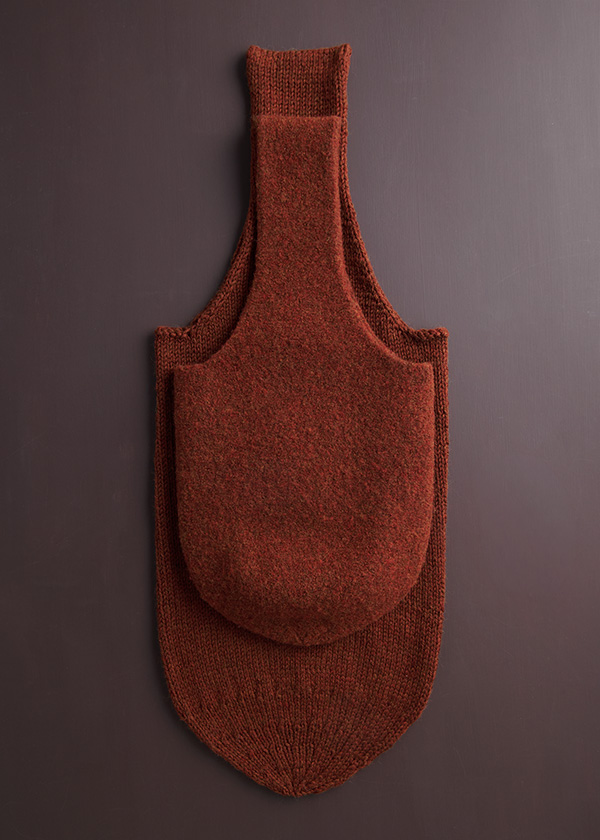
A top-down, seamless construction makes knitting the bag a breeze. You start with the handle, using a provisional cast on to end up with live stitches at both ends, then cast on stitches for the top edge of the bag. Knit the body of the bag in the round, tapering down to the bottom with easy decreases. Then it’s time to felt!
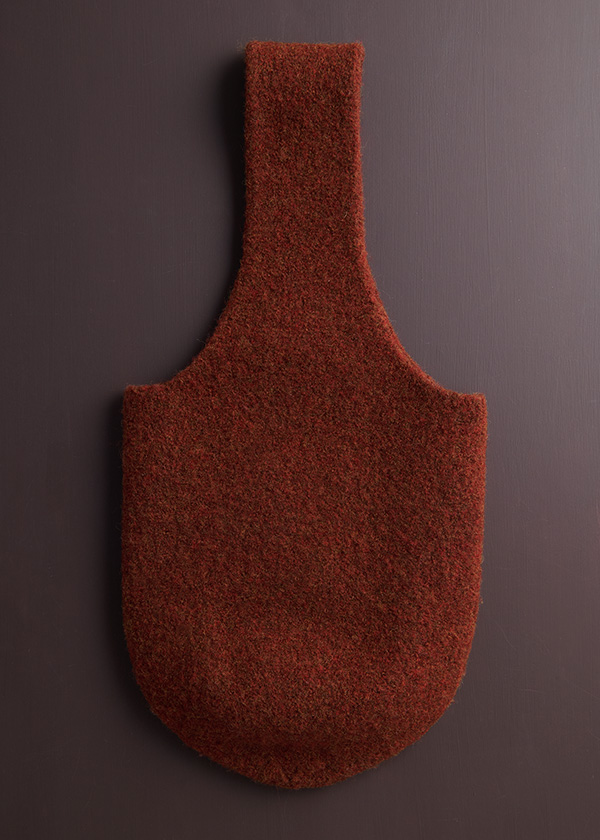
You might be surprised to learn that felted projects are great for beginners. Felting evens out your stitches, hides mistakes, and is easier than it looks. Simply keep a close eye on your finished knit as it goes through the wash cycle of your machine and marvel as your knitting shrinks and softens into beautiful felt. Our pattern’s detailed instructions will help you close the door on your washing machine with confidence!
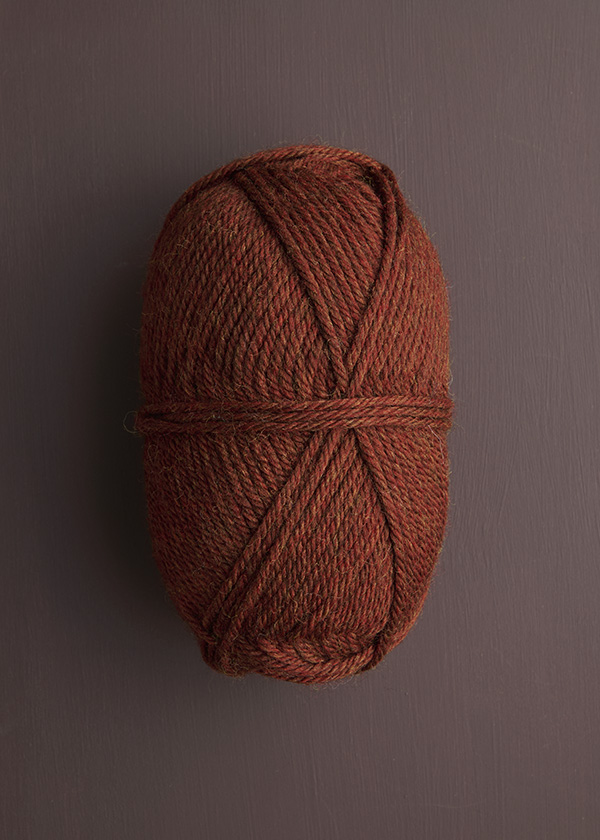
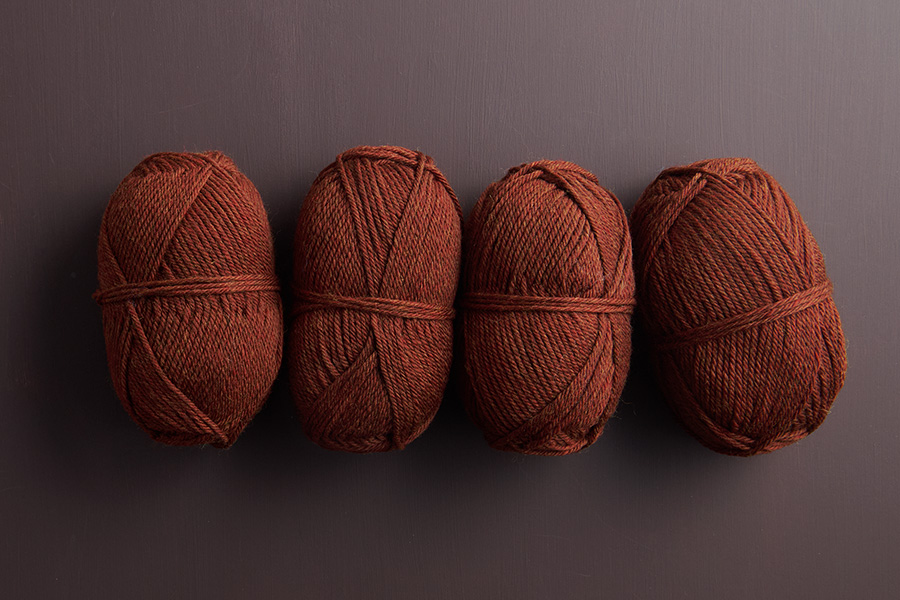
Choosing the right yarn is key, and our 100% Andean highland wool Till yarn felts into a remarkably soft and supple fabric. Riding the line between worsted and chunky weight, Till’s tidy, plump spin gives the bag a pleasing density and crisp, clean lines. You have a veritable rainbow of colors to choose from, including this Giant Sequoia, a mesmerizing deep reddish brown.
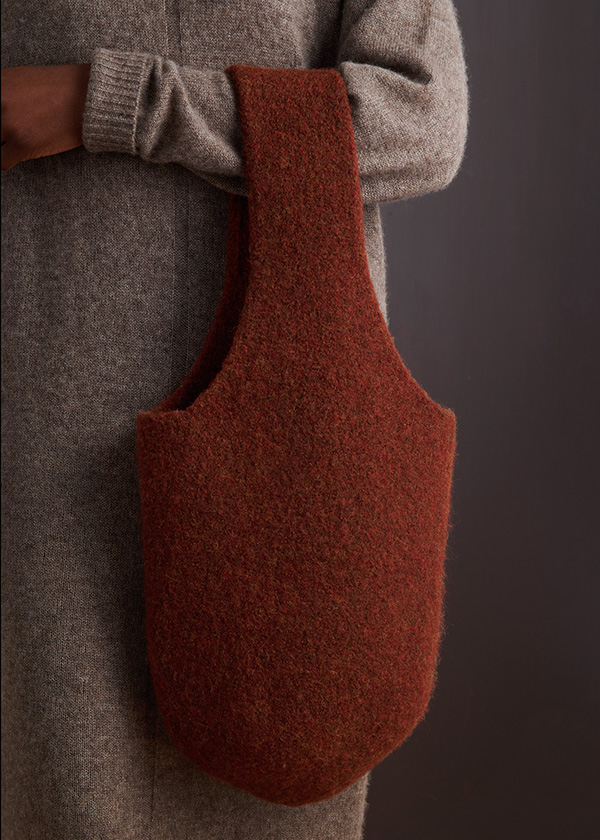
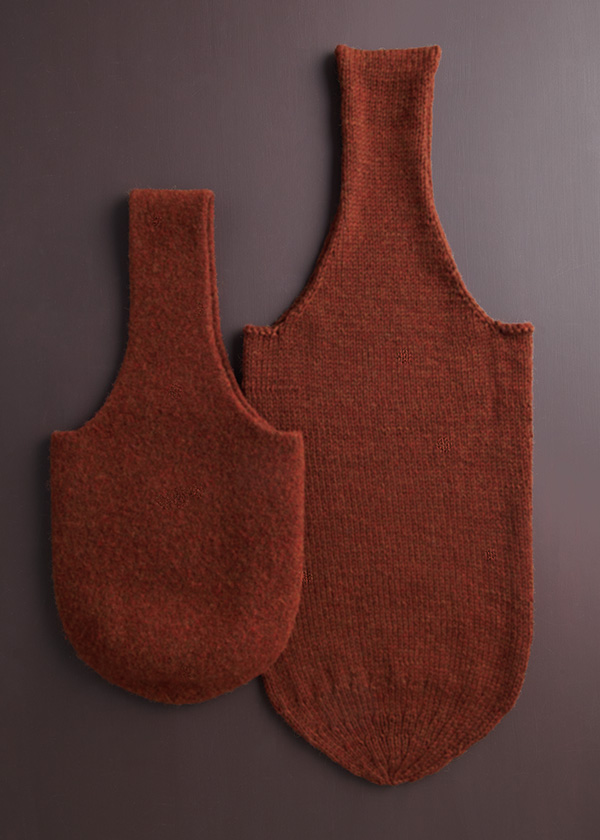
Pick up 4 balls of Till and cast on… A fantastically sculptural Felted Cocoon Bag is waiting to emerge!
Yarn lovers, if you adore the yarn used in this project, you’ll love exploring all of our other yarn collections! Discover over 55 thoughtfully designed yarns in nearly every natural fiber and in every spectacular color you can imagine. Only available here at Purl Soho’s online yarn store, where every skein is created with care and your creativity in mind!
Pattern designed and written by Purl Soho designer, Gianna Mueller. See even more of Gianna’s work on her Instagram!
Story written by Andrea Lotz for Purl Soho.
Want to print this pattern? On desktop, find the “print” icon in the right margin, and on mobile, scroll to the end of the pattern for it. Use the on-screen instructions to remove anything you don’t want to print!
Materials
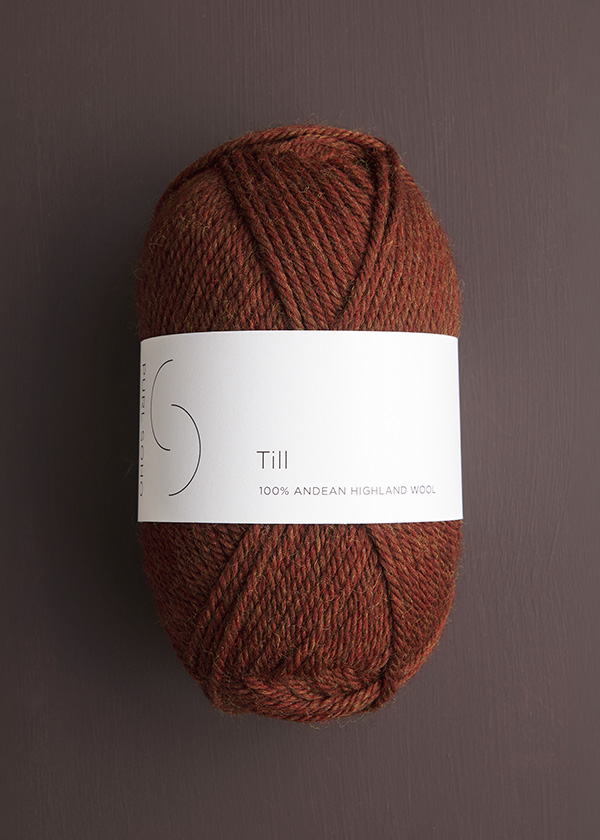
- 4 balls of Purl Soho’s Till, 100% Andean highland wool yarn. Each ball of this worsted- to chunky-weight yarn is 136 yards/ 100 grams; approximately 445 total yards required. We used the color Giant Sequoia.
- US 10.5 (6.5 mm), 24-inch circular knitting needles
- A set of US 10.5 double pointed needles OR US 10.5, 32-inch circular needles for Magic Loop
- A spare circular needle, US 10.5 or smaller
- A size H-K (5-6.5 mm) crochet hook and scrap yarn of a similar weight for Provisional Cast On
- A stitch marker
GAUGE
15 stitches and 20 rounds = 4 inches in stockinette stitch, unfelted
SIZE
UNFELTED
- Finished Circumference: 28 inches
- Finished Height: 21 inches
- Finished Handle Width: 5½ inches
- Finished Handle Length: 28 inches
- Finished Handle Drop: 14 inches
FELTED
- Finished Circumference: 23 inches
- Finished Height: 13½ inches
- Finished Handle Width: 3½ inches
- Finished Handle Length: 23 inches
- Finished Handle Drop: 11½ inches
NOTES
GAUGE SWATCH INSTRUCTIONS
Cast on 27 stitches.
Row 1 (wrong side): Purl to end of row.
Row 2 (right side): Knit to end of row.
Repeat Rows 1 and 2 until piece measures 10 inches.
If you want to turn your swatch into a pot holder…
With right-side facing you, bind off knitwise to last 2 stitches, k2. [3 stitches remain]
With remaining 3 stitches, work an I-cord for 6 inches.
Bind-Off Row: K1, knit two together, pass first stitch over second stitch and off right needle.
Cut yarn, leaving an 8-inch tail. Pull it through remaining stitch.
Thread tail onto a tapestry needle. Make a loop with I-cord and weave tail into fabric at base of I-cord, then weave it through looped I-cord and back into fabric.
Follow Felting instructions from Pattern below.
When felted, your swatch should be approximately 7 inches square, perfect for a pot holder and you’re ready to cast on for your bag!
CABLE CAST ON SET-UP STITCH
This is a preparatory step before you begin your regular cable cast on. It helps keep your cast on tidy and ensure there are no gaps between your stitches.
Knit the next stitch, but do not let it drop off the left needle. Here’s how (see Larkspur Bandana for photos of these steps)…
Insert right needle into next stitch knitwise and wrap working yarn like you would for a normal knit stitch. Pull the stitch through onto your right needle, but don’t let any stitches drop off left needle. Then, without twisting it, slip the stitch from your right needle to the left needle, as you would for a normal cable cast on stitch. That’s all there is to it… you’re ready to complete your cable cast on!
CABLE CAST ON
For a video of how to do a Cable Cast On, visit our Cable Cast On Tutorial. Make sure you work this technique extremely loosely for this pattern!
PATTERN
HANDLE
FIRST HALF
NOTE: For help with the Provisional Cast On, visit our Provisional Cast On: One-Step Method Tutorial.
With crochet hook and scrap yarn, use a Provisional Cast On to cast 20 stitches onto 24-inch circular needles.
With main yarn…
Row 1 (wrong side): Purl to end of row.
Row 2 (right side): Knit to end of row.
NOTE: Place a removable stitch marker or piece of scrap yarn on previous row to indicate the right side.
Continue in stockinette stitch, repeating Rows 1 and 2, until piece measures 8½ inches from cast-on edge, ending with a wrong-side row.
Increase Row (right side): Knit 2, right lifted increase (RLI), knit to last stitch, left lifted increase (LLI), k1. [2 stitches increased]
Continue in stockinette stitch as established, repeating Increase Row every 4th row 4 more times, then every right-side row 5 times, ending with an Increase Row. [40 stitches]
Cut yarn.
Place stitches on spare needles and set aside.
SECOND HALF
Carefully remove scrap yarn from Provisional Cast On, slipping stitches onto main needles as you go.
Join main yarn.
Repeat First Half section, beginning with Row 1, but do not put stitches on spare needles or cut yarn at end.
BODY
With right side still facing…
Joining Round (right side): Place marker (pm) for end of round, *turn work so wrong side is facing you, make a cable cast on set-up stitch (see Notes), then cable cast on 11 more stitches (see Notes), turn work so right side is facing you**, knit across 40 stitches on spare needles, repeat from * to ** one more time, knit to end of round. [104 stitches]
Working in the round, knit every stitch until piece measures 18 inches from cable cast-on edges.
BASE
NOTE: If using 24-inch circular needles, change to double pointed needles or longer circular needles (for Magic Loop) when necessary.
Decrease Round 1: *K2, knit two together (k2tog), repeat from * to end of round. [78 stitches remain]
Knit 7 rounds.
Decrease Round 2: *K1, k2tog, repeat from * to end of round. [52 stitches remain]
Knit 5 rounds.
Repeat Decrease Round 1. [39 stitches remain]
Knit 5 rounds.
Repeat Decrease Round 2. [26 stitches remain]
Knit 3 rounds.
Next Round: *K2tog, repeat from * to end of round. [13 stitches remain]
Knit 1 round.
Next Round: K1, *k2tog, repeat from * to end of round. [7 stitches remain]
Cut yarn and thread tail onto a tapestry needle. Sew tail through remaining stitches.
Pull extra taut and bring tail to inside of bag to weave in.
FINISHING
Weave in remaining ends.
FELTING
Set washing machine to a hot water, no-spin cycle (if able). Add one tablespoon of Sweater Soap or a mild liquid detergent.
Before putting bag in washer, place in a zippered mesh bag or pillowcase to protect washing machine from excess fiber that will be released during felting.
After 5 minutes, check progress, making sure there are no creases in fabric, and bag is smooth. Continue to check progress every 5 minutes. If your machine does not have an option for a no-spin cycle, be sure to remove bag and end wash before spin cycle begins. Leaving piece in during a spin cycle can cause permanent deep creases in the fabric.
If you are using a top-loading machine, one cycle will likely be enough. If you have a front-loading machine, you may need to repeat the washing cycle a few times. It really depends on your specific machine. Several of us knit up swatches to test: one of us washed their swatch for 18 minutes; one of us washed their swatch for 30 minutes; and one of us washed their swatch for nearly an hour!
If you are using a dyed color like our Giant Sequoia sample, one cycle will likely be enough to sufficiently felt your bag. If you are using an undyed color like Heirloom White or Winter Grass, you may need to repeat the washing cycle a few times. With our Heirloom White swatch, we repeated the washing cycle twice.
Once bag is felted, remove from mesh bag or pillowcase, and roll the bag in a towel or two to remove as much water as possible.
Shape bag and lay out to dry!
Share your progress and connect with the community by tagging your pics with #PurlSoho. We can’t wait to see what you make!
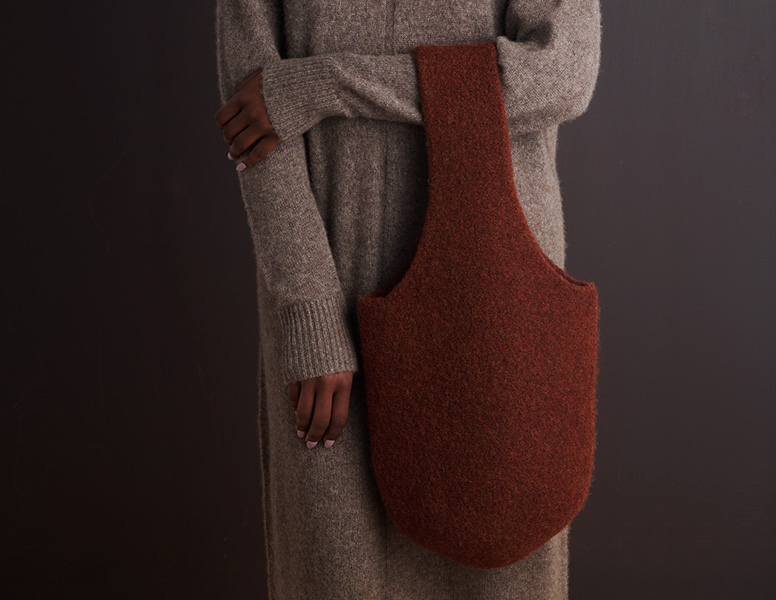
Learn About Till + All Our Beautiful Yarns
Everything you make with Till is destined to become an instant classic, and that’s why we chose it for this pattern! With a vintage sensibility and a timeless appeal, this 100% Andean highland wool yarn is toasty warm and soft to the touch. The bouncy 4-ply spin gives excellent stitch definition to everything from stockinette and garter stitch to cables, and it knits up beautifully at either a worsted weight or a chunky weight. With a stunning rainbow of vibrant heathers to choose from, including stunning undyed colors, pick up all the Till you need for this project!
More Knitting Patterns
- Be sure to explore our collection of (mostly free!) Till knitting patterns and cast on!
More Worsted- and Chunky-Weight Yarns
- Shop our entire collection of worsted/aran-weight yarn (What does worsted-weight yarn mean, really? Our guide to worsted-weight yarn will answer your questions and more!)
- Shop our entire collection of chunky/bulky-weight yarns
- If you want to use a different yarn, be sure to take the time to get the correct gauge. Need help? Check our All About Gauge Tutorial, our Yarn Substitution article, and our Complete Guide To Yarn for lots of helpful information.
More Yarns With Similar Fiber
- Shop wool yarn
Looking for more inspiration? Explore all of our knitting patterns (including tons of free knitting patterns) and knitting tutorials, buy one of our many knitting kits and yarn bundles, and shop for beautiful yarn. We have over 55 gorgeous natural fiber yarns in 100’s of magnificent colors, designed to bring integrity, beauty, and joy to your next knitting project and only available at Purl Soho!
Similar Posts You Might Enjoy:


Thinking this would be great as a cross-body bag by doubling the length of the handle? Thoughts?
Hi Anya,
I think that doubling the length of the handle to create a cross-body bag would be amazing! Just keep in mind that you will want to purchase 1-2 extra skeins as doing so will add length to the project. To make sure that your strap reaches your desired length (and doesn’t become too short), we recommend you check your bag often throughout the felting process and try it on.
We can’t wait to see how it turns out!
Happy knitting,
Mia
Thank you for asking this question Anya! I had the exact same thought about crossbody option 🙂
Thank you for your detailed response Mia – very helpful!!!
Would you be able to tell me what pattern the shirt/sweater the model is wearing is? Also, if it’s a yarn from here. I love the look and color of the sweater and would be interested to know.
Hello Faith,
Thanks so much for reaching out! I’m really glad the Felted Cocoon Bag caught your eye, and I’m happy to share these wardrobe details with you!
This dress is actually from Apiece Apart and is called “Softest Tissue Weight Dress.” You ought to be able to find it by searching those keywords in your preferred search engine.
I hope this helps! Please feel free to reach back out anytime.
All the best,
Hills
…this might come across as a “silly question” and, I’m okay with that as I love this project and want to do it right, so I’ll risk asking it. 😊
But could u achieve the same final look/effect of felting w trad felting needles? U know, Just poke poke poke poke poke the piece like you would a stuffed animal ornament, to get that same wooly look?
I’ve never heard of a felting technique that works by “popping it in the washing machine, on hot and TADAAAA– it’s felting!”
ty, ps! 🙃💛
Hello,
This is such a great question. And only “silly” in that it made me laugh; thank you so much! It sounds like maybe you’ve worked with needle felting before, and this wet felting project may be a ton of fun for you!
Needle felting is typically used for 3D sculptures, like the stuffed animal ornament you mentioned, or flat patches to sew onto projects. Some folks do use needle felting on their knit garment projects to add textural intrigue.
Wet felting is mostly used for sturdy accessories like bags, slippers, hats, etc. Here, we use felting to add structure to the bag (as sometimes knit bags can stretch). All it takes to felt wool is agitation and heat. The washing process speeds it up a lot and helps ensure a uniform fabric. It is really magical, you’re right!
To use needle felting for a bag, you’d likely want to work with roving rather than a spun yarn. You may also find that it’s a little tricky to keep the felted fabric at a uniform thickness throughout the project, especially for larger projects. I always want to encourage our community to try things out. If you wanted to try this out and run into any trouble, you could still throw it in the wash to felt it after, but it still may not be quite as uniform.
I hope this helps! If you do finish your project this way, we’d love to hear how it goes for you! Please feel free to reach back out anytime.
Happy knitting,
Hills
The bag is cool, but I love the sweater dress(?) the model is wearing even more! What pattern is that one?
Hi Anne,
Thanks so much for reaching out! Thank you so much for your kindness…we really love this bag! I’m happy to share these wardrobe details with you!
As it turns out, this dress is actually from Apiece Apart and is called the “Softest Tissue Weight Dress.” You should be able to find it on your preferred search engine with those keywords.
Please feel free to reach back out with any other questions or comments you might have.
Kindly,
Hills
I love this bag and would love to make one for each of my daughters, but I’m thinking it’s too long for both of them. Could I just cut out a bunch of rows to make this about 4 inches shorter? I do not want to shorten the strap, however.
Thanks for any info!
Sue
Hi Sue,
Thank you so much for reaching out. I’m so glad the Felted Cocoon Bag is calling to you, and I’m happy to help with this modification!
It sounds like you’re headed in the right direction! My only tip would be to knit and felt a gauge swatch to get a better idea of how much the size will change upon felting. It isn’t an exact science, especially with the differences in washing machines.
During the body, you’re instructed to “Working in the round, knit every stitch until piece measures 18 inches from the cable cast-on edges.” This is the instruction you’d want to modify to change the length you’re knitting.
I hope this helps point you in the right direction, and that your daughters love their very thoughtful bags. Please feel free to reach back out with any other questions you might have!
Happy knitting,
Hills
Any chance this can be made with Plenty? I have some inventory of this.
Hi Kathy,
Thank you so much for reaching out! I’m so glad you’re considering the Felted Cocoon Bag for your next project!
I think Plenty would be a great choice for this project. We’ve had good experience felting with it. I would just recommend knitting and felting a swatch first. This will be the best way to check your gauge against ours (before felting) and adjust your needles, if need be. It would also be a great chance to see how your machine works for felting and how long it needs to wash.
Please reach back out anytime!
Happy knitting,
Hills
I’d love to knit this bag but I’m looking for colors that are darker and richer. Is there another yarn you recommend that would also work for this pattern?
Hi MK,
Thanks so much for reaching out about the Felted Cocoon Bag! I’m happy to help you consider some yarn substitutes.
You might want to take a look at Super Soft Merino and Plenty . They’re the closest gauge matches, and we’ve had good experience felting with them. I think you’ll really like the color palettes. You might also consider taking a look at Yonder, which also felts well and has some lovely dark tones. I would always suggest knitting a gauge swatch. It’s the best chance to adjust your needles to reach gauge! I would also recommend felting your gauge swatch to ensure you love the finished fabric you’re making.
I hope this helps, and please feel free to reach back out if you have any other questions or comments.
All the best,
Hills
Would it be possible to felt the bag by handwashing?
Hi Thia,
Thanks so much for reaching out! This is a great question.
I would suggest knitting a swatch first and trying to felt it before working the whole project. It would likely take a lot of effort and might not come out quite as evenly. I’d suggest hand-agitating it with warm water and either wool wash or dish soap. Dish soap may help speed up the process a bit. We’d love to know how it works out for you if you do give it a go.
Please feel free to reach out anytime!
Happy knitting,
Hills
This was my second knitting project, i’m normally a crocheter, and i was looking for an easier project to practice some techniques. I enjoyed it so much and it worked up quickly! Very happy with the cute results! I put a few stripes on mine. The Til yarn was a dream to work with and i might have bought a few extra skeins for another bag!
Hi Monique,
Thank you so much for reaching out, and welcome to knitting! We’re so glad you found us.
Congratulations on finishing this project, and I am so happy to read that you had so much fun with it that you plan to make another! We would love to see your work; please feel free to upload a photo at the bottom of our homepage or to the Ravelry project page.
We can’t wait to see what you make next.
Happy knitting (!!)
Hills
Hi there, enjoying this knit, thank you!
my question is: when I start the body, what needles should I be working with?
Its a narrow circumference..
thank you!
Hi RD,
Thank you so much for reaching out about the Felted Cocoon Bag. We’re so glad to see that you’re loving the project so far.
The finished circumference, once joined in the round for the body, should work out to around 28″. With that in mind, the 24-inch circulars should work if you’re working in the round without using Magic Loop. If you would prefer to use Magic Loop, I’d suggest a 36″ circular needle.
I hope this helps! Please reach back out with any other questions!
All the best,
Hills