Ainur Berkimbayeva For Purl Soho: Herringbone Mittens
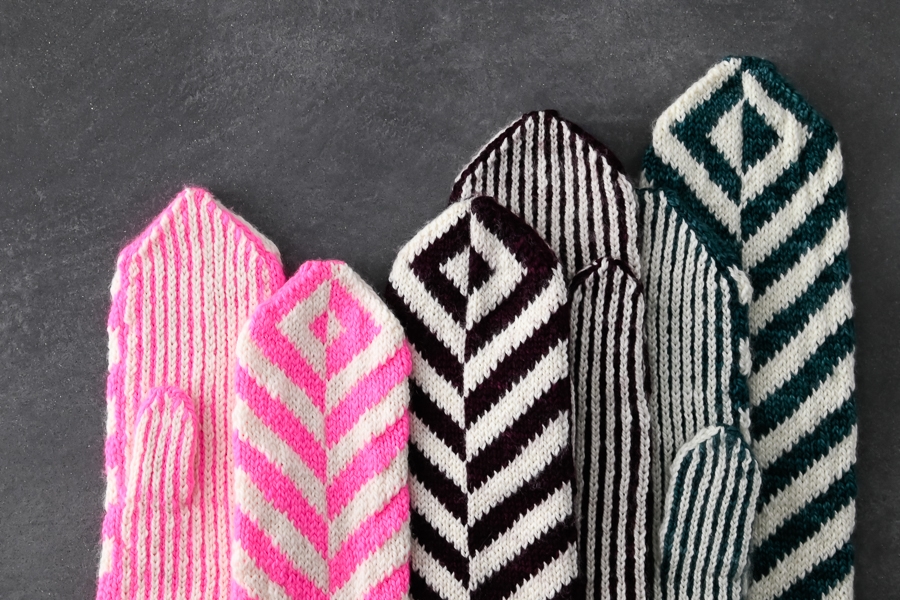
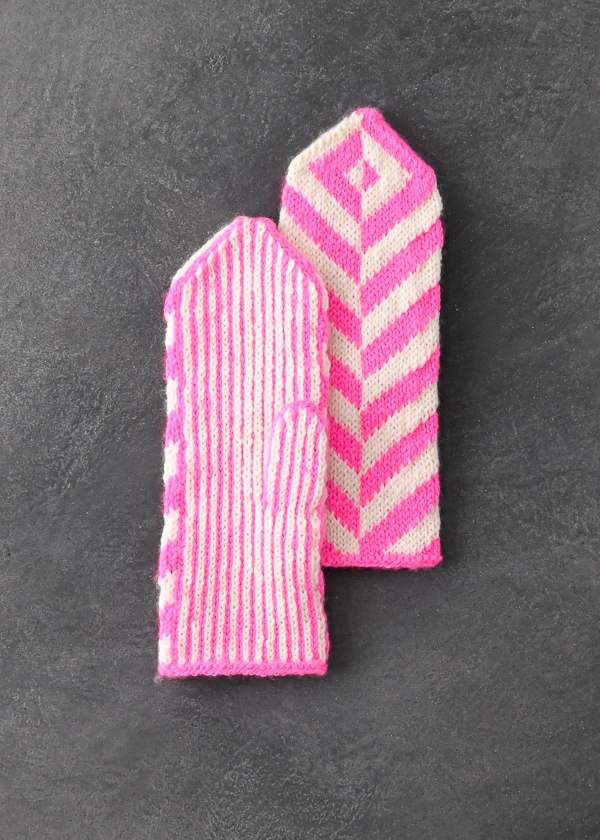
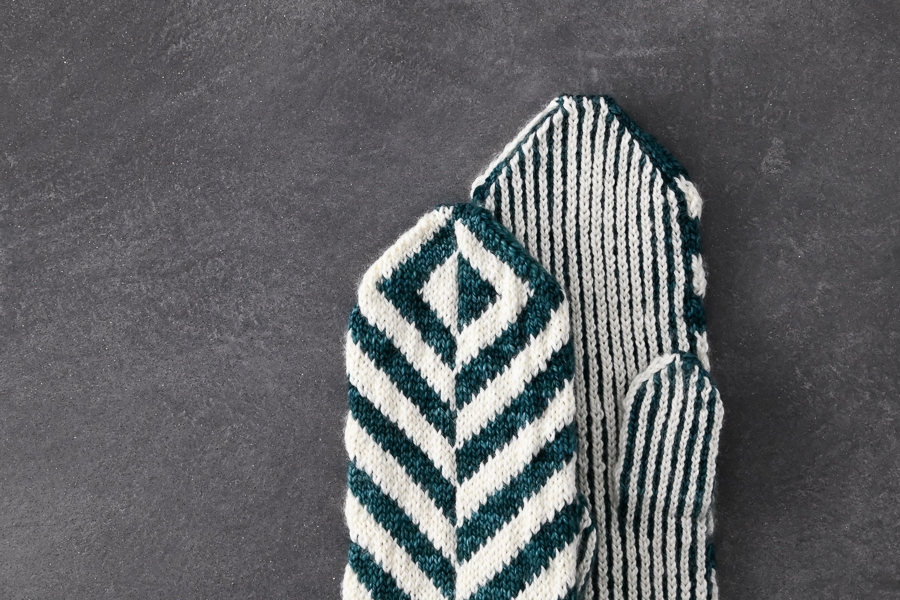
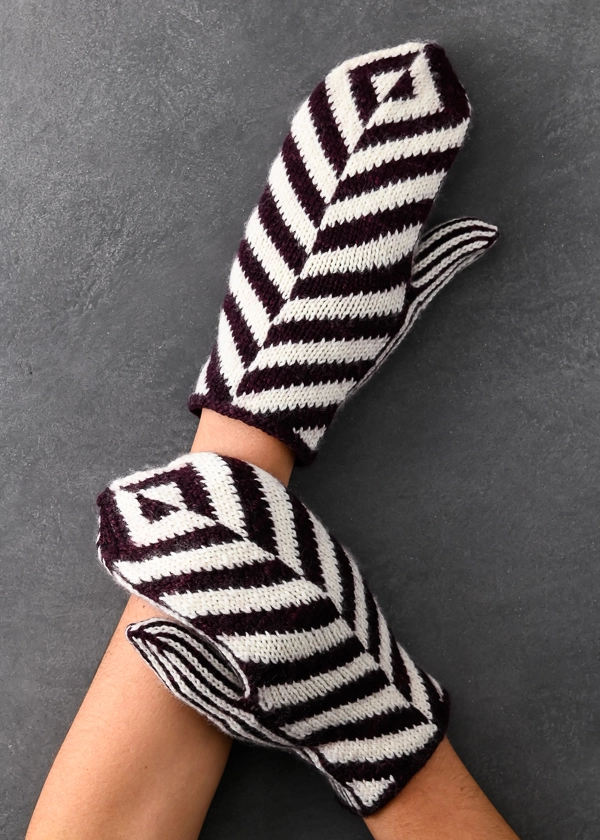
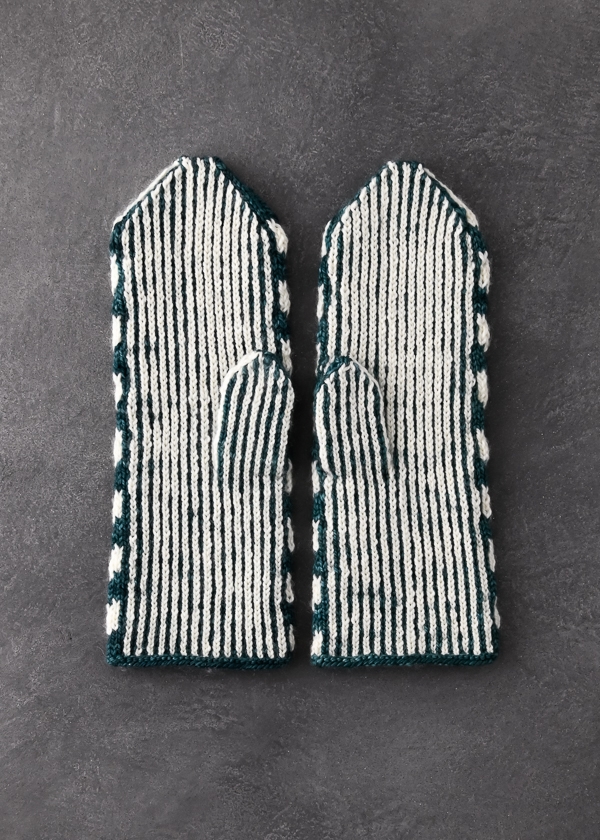
Ainur Berkimbayeva, master of both logic and beauty, has perhaps outdone herself with her breathtaking Herringbone Mittens. These mittens will knock your socks off!
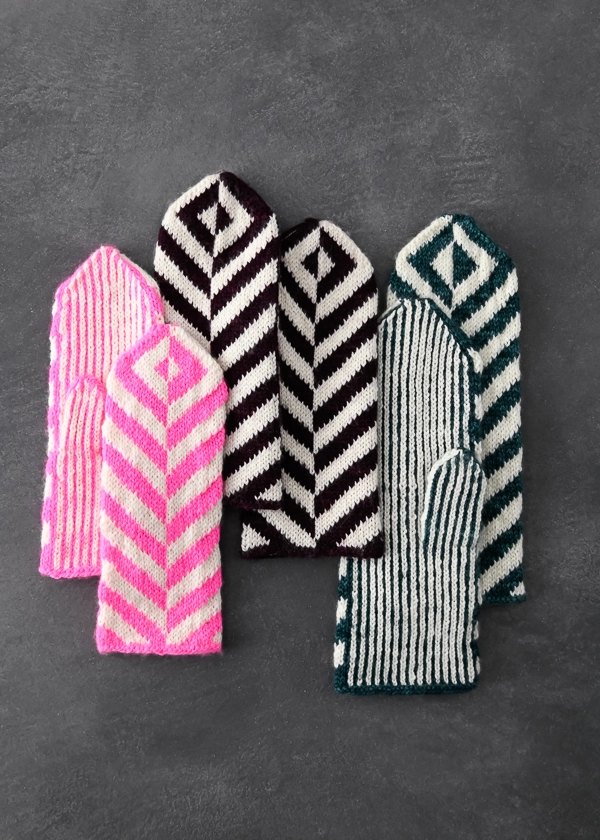
Ainur’s Herringbone Mittens turn your hands into mutable sculptures, flickering and morphing, both defining and confounding the planes of your hands. They are endlessly fascinating and a true tour de force!
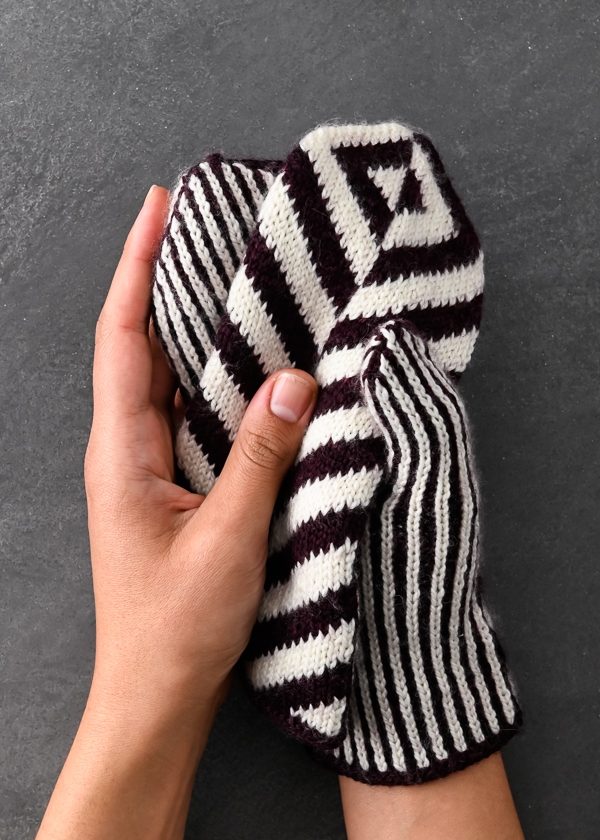
As mind-boggling as these mittens look, making them is all very straightforward. You build each mitten from bottom-up, working two colors at a time in stranded colorwork and following along with charts that make perfect sense of the construction.
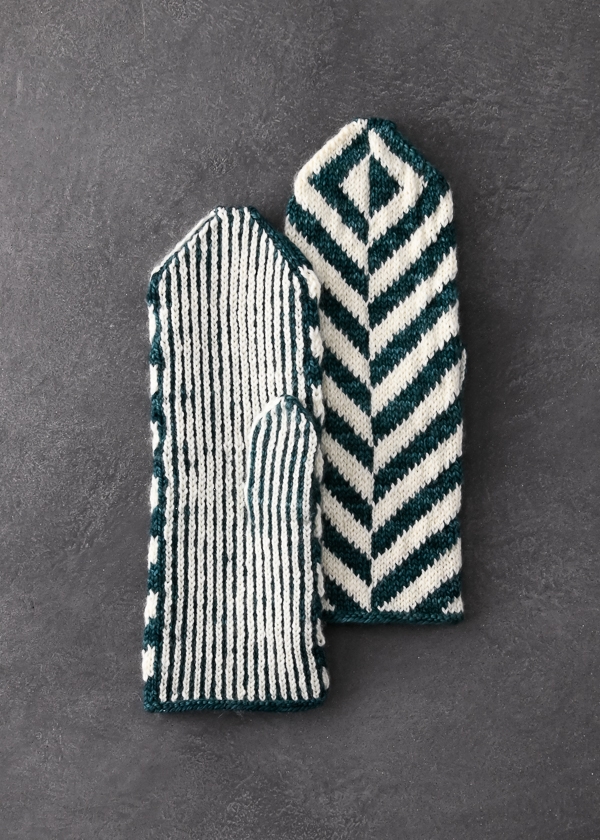
And why make the effort if the yarn doesn’t live up to the integrity of the design? In our Posy, it does! A mix of superwash merino, cashmere, and a touch of nylon for durability, the gentle undulations of Posy’s hand-dyed color adds a whole other layer of complexity and beauty!
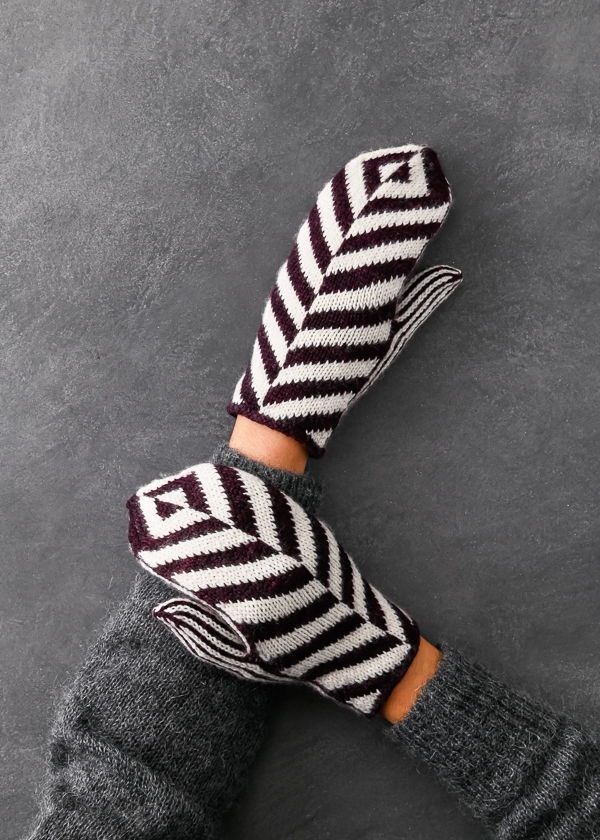
A wonderful challenge whose reward is a feeling of accomplishment, as well as one heck of a pair of mittens, these Herringbone Mittens are why we knitters knit!
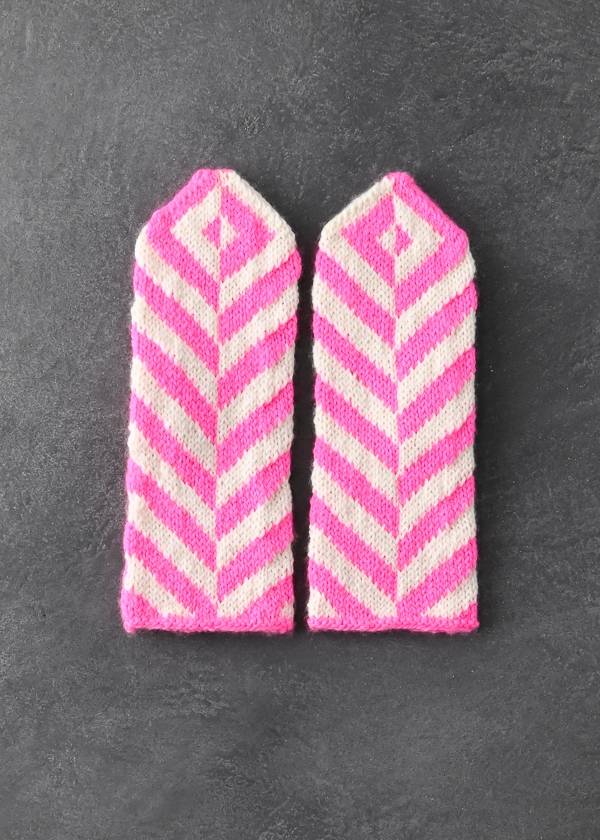
Designed for Purl Soho by Ainur Berkimbayeva.
Share your progress + connect with the community by tagging your pics with #PurlSoho, #PurlSohoBusyHands, #PurlSohoHerringboneMittens, and #PurlSohoPosy. We can’t wait to see what you make!
Materials
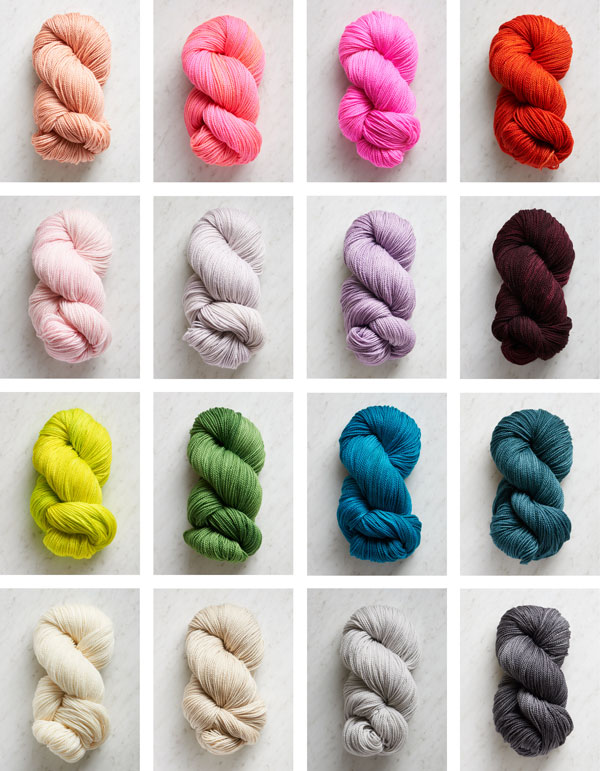
- Purl Soho’s Posy, 75% superwash merino, 15% cashmere, 10% nylon. Each skein is approximately 159 yards/50 grams. (NOTE: We no longer offer Posy, but choose from one of our other fingering weight yarns.)
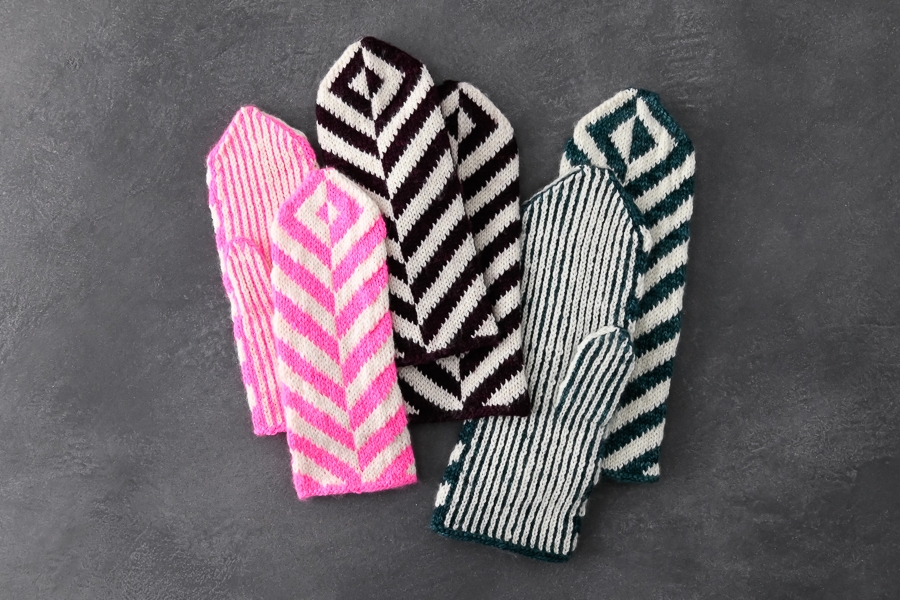
- Main Color: 1 (1, 1, 1, 2) skein(s); approximately 60 (85, 95, 140, 180) yards required. We used Azalea Glow for Child Medium sample, Black Cherry for Adult Small sample, and Teal Twilight for Adult Medium sample.
- Contrast Color: 1 (1, 1, 1, 2) skein(s); approximately 55 (80, 90, 135, 175) yards required. We used Heirloom White (all sizes).
- A set of US 3 (3.25 mm) double pointed needles
- Stitch markers
- Smooth scrap yarn
Gauge
32 stitches and 35 rounds = 4 inches in Pin Stripe Pattern
Sizes
Child Small (Child Medium, Adult Small, Adult Medium, Adult Large)
To fit palm circumference of approximately 5½ (6½, 7, 8, 9) inches, with no ease
- Finished Circumference At Palm: 5½ (6½, 7, 8, 9) inches
- Finished Length From Cuff To Tip: 6¾ (8, 8¾, 10, 11½) inches
Notes
Construction
You will work these stranded colorwork mittens in the round from the cuff up. To make Thumb Hole, you work stitches with scrap yarn, then later remove scrap yarn and pick up live stitches to work Thumb in the round.
Special Instructions
Markers
While the pattern recommends placing markers between palm stitches and top-of-hand stitches, you may choose to omit markers and simply split stitches so they are on two needles each (for double pointed needles), or on a separate needle ends (for magic loop).
Color Dominance
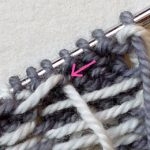
For best results, float CC under MC throughout. If you knit with one color in each hand, hold CC in your left hand and MC in your right hand.
Trapping Floats
NOTE For help with this technique, please visit our Trapping Floats Tutorial.
While shaping tips of mittens, trap CC strand at wrong side of work as indicated on charts. This will prevent overly long floats that might catch on fingers.
Slip, Slip, Slip, Knit
Slip next three stitches purlwise, one at a time. Insert left into front of three slipped stitches and knit them together. [2 stitches decreased]
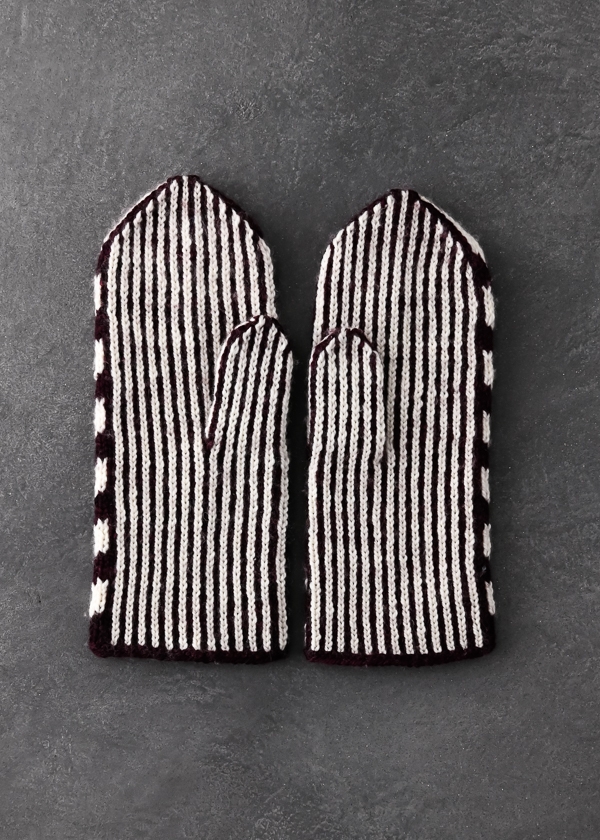
Pin Stripe Pattern
Worked over a multiple of 2 plus 1 stitches.
Every Round: With MC, k1, *with CC, k1; with MC, k1, repeat from * to next marker or end of round.
Charts
Throughout this pattern you will follow along with charts that indicate colors and stitches. Download the PDF for the size Mittens you are making and keep your set of charts handy!
Download Child Small Charts
Download Child Medium Charts
Download Adult Small Charts
Download Adult Medium Charts
Download Adult Large Charts
Pattern
Right Mitten
Cast On
With Main Color (MC), use Long Tail Cast On to cast on 43 (51, 55, 63, 71) stitches.
Divide as evenly as possible on 3 double pointed needles, and place marker (pm) for beginning of round (see Special Instructions: Markers).
Set-Up Round: P21 (25, 27, 31, 35), pm, purl to end of round.
Hand
Round 1: Work in Pin Stripe Pattern (see Special Instructions) to next marker, slip marker (sm), work Row 1 of Right Hand Chart (see Special Instructions) for your size to end of round.
Continue in Pin Stripe Pattern and Right Hand Chart, as established, repeating Rows 1-10 of Chart until piece measures 2¾ (3¼, 4, 4, 5½) inches.
Make Thumb Hole
Next Round: With MC, k1; with scrap yarn, k8 (9, 11, 12, 13), slip scrap yarn stitches back to left needle; *with CC, k1, with MC, k1, repeat from * to next marker, sm, work next row of Right Hand Chart for your size to end of round.
Contine Hand
Continue in Pin Stripe Pattern and Right Hand Chart, as established, until you have worked 10-row repeat of Right Hand Chart a total of 5 (6, 6, 7, 8) times.
Shape Top
Next Round: Work Round 51 (61, 61, 71, 81) of Pin Stripe Hand Top Chart for your size, sm, work Round 51 (61, 61, 71, 81) of Right Hand Chart to end of round.
Work to end of Pin Stripe Hand Top and Right Hand Charts, as established. [10 (10, 10, 14, 14) stitches remain]
Cut CC.
Place Pin Stripe stitches on one needle and Right Hand stitches on another needle. [5 (5, 5, 7, 7) stitches on each needle]
Use MC and Kitchener Stitch to graft stitches together.
Left Mitten
Work Cast On section of Right Mitten.
Hand
Round 1: Work in Pin Stripe Pattern to next marker, sm, work Row 1 of Left Hand Chart for your size to end of round.
Continue working Pin Stripe Pattern and Left Hand Chart, as established, repeating Rows 1-10 of Chart until piece measures 2¾ (3¼, 4, 4, 5½) inches.
Make Thumb Hole
Next Round: Work in established Pin Stripe Pattern to 9 (10, 12, 13, 14) stitches before next marker; with scrap yarn, k8 (9, 11, 12, 13), slip scrap yarn stitches back to left needle; continue in established Pin Stripe Pattern to marker, sm, work next row of Left Hand Chart for your size to end of round.
Continue Hand
Continue working Pin Stripe Pattern and Left Hand Chart, as established, until you have worked 10-row Chart-repeat a total of 5 (6, 6, 7, 8) times.
Place Pin Stripe Pattern stitches on one needle and Left Hand stitches on another needle. [5 (5, 5, 7, 7) stitches on each needle]
Shape Top
Next Round: Work Round 51 (61, 61, 71, 81) of Pin Stripe Hand Top Chart for your size, sm, work Round 51 (61, 61, 71, 81) of Left Hand Chart to end of round.
Work to end of Pin Stripe Hand Top and Left Hand Charts, as established. [10 (10, 10, 14, 14) stitches remain]
Cut CC.
Place Pin Stripe stitches on one needle and Left Hand stitches on another needle. [5 (5, 5, 7, 7) stitches on each needle]
Use MC and Kitchener Stitch to graft stitches together.
Thumbs
Pick Up + Work Thumb Even
Remove scrap yarn from Thumb Hole, catching each stitch on a double pointed needle as you release it. Use one needle for stitches below scrap yarn and another needle for stitches above scrap yarn. [16 (18, 22, 24, 26) total stitches: 8 (9, 11, 12, 13) stitches on each needle]
Redistribute stitches as evenly as possible on 3 double pointed needles. Join yarns at side of Thumb Hole.
Round 1: [Work 8 (9, 11, 12, 13) stitches in established Pin Stripe Pattern, pick up and knit 1 stitch in gap at side of Thumb Hole] 2 times. [18 (20, 24, 26, 28) stitches]
Joining to work in the round…
Continue in established Pin Stripe Pattern until Thumb measures 1 (1½, 2, 2, 2¼) inch(es).
Shape Top
NOTE: If making Child Small and Adult Medium sizes, be sure to work Right Thumb Top Chart for Right Mitten and Left Thumb Top Chart for Left Mitten. All other sizes use the same chart for both Mittens,
Work Thumb Top Chart to end. [6 (8, 8, 6, 8) stitches remain]
Put first 3 (4, 4, 3, 4) stitches on one needle and remaining 3 (4, 4, 3, 4) stitches on another needle.
Use MC and Kitchener Stitch to graft stitches together.
Repeat for other Mitten’s Thumb.
Finishing
Weave in all ends, closing holes at base of Thumbs. Block as desired.






Wow! Gorgeous and looks like fun to knit.
TY.
Thank you so much for having color dominance be a part of the pattern directions. Your pattern automatically rates 5 stars because of this one small detail.
Hi Jenny,
Thanks for reaching out and for your kind words! I am so glad to hear that you enjoy and appreciate our patterns.
Happy knitting!
Gianna
do you think it would be possible to adjust pattern to make a flip-top mitten? want to be able to use phone more easily :^)
Hi Tatyana,
Thanks for reaching out! I think it would be possible to adjust the pattern to be a flip top mitten!
All the best,
Gianna
Fantastic mittens — I want to knit them but they look scary for an intermediate color knitter.
What do you think??
Hi Deborah,
Thanks for reaching out! I know these may look intimidating, but the color work is actually very simple and straight forward! I think and intermediate color knitter would have no problems knitting these mittens!
All the best,
Gianna
Hi. I’m having a difficult time understanding how to work the thumb hole. I’m making the child’s small. Do I knit 8 stitches with the scrap yarn once and then continue knitting in the round with the MC and CC yarns for the 43 stitches as before? And then after I’m done with the mitt part of the mitten, I’m confused how I go from 8 stitches + the 2 picked up stitches to 18 stitches for the thumb. I don’t understand how to split the stitches above and below the scrap yarn.
Thank you and thank you for this GORGEOUS PATTERN. 😍
Hi Manisha,
Thanks for reaching out and for your kind words! I am so glad you like this pattern and I am happy to help! So you will be picking up the stitches directly below and above the scrap yarn, 8 (9, 11, 12, 13) from below and above the scrap yarn leaving you with 16 (18, 22, 24, 26) stitches total!
I hope this clarifies things, happy knitting!
Gianna
I love these mittens and want to buy the yarn to make them in black and white but it seems it does not come in the black and white color. Can someone tell me what to buy and how much so I can get these started please.
Hi Frances,
Thanks for reaching out! Yes that is correct, we don’t have Posy available in black however you can substitute this for any fingering weight yarn. I recommend our yarn Line Weight or Brooklyn Tweed Peerie For either yarn one skein of each color will be enough! I also recommend working a gauge swatch whenever working with a different yarn than the pattern to insure that you are consistent!
All the best,
Gianna
Definitely check gauge if you use the Line Weight. I hit gauge with a size 3 needle using Posy, but was totally off using that needle size with the Line Weight.
Hi,
Forgive me but I don’t see a needle size listed. What size needles do I use?
Hi Liza,
Thanks for reaching out! You can find that under the MATERIALS section of the pattern, for these mittens all you need is a set of US 3 Double Pointed Needles!
Happy knitting!
Gianna
Is this yarn warm enough for mittens, how does it compare to flax down?
Hi Hilary,
Thanks for reaching out! Our yarn Posy that we used for this pattern is a wonderfully soft and warm yarn, definitely warm enough for mittens! Posy is a very different yarn from Flax Down. Posy is a hand dyed fingering weight yarn, it is a super soft blend of 75% superwash merino, 15% cashmere, and 10% nylon. It is machine washable and very durable! Flax Down on the other hand is a single ply dk/light worsted weigh yarn that is a blend of 43% baby alpaca, 42% extra fine merino, and 15% linen. It is a beautiful more rustic looking yarn that is equally as soft and warm!
I hope this helps!
Warmly,
Gianna
Hi.
When the pattern says continue to work until you have repeated the 10 row pattern x number of times, does that mean after the scrap yarn for the thumb or total?
Hi Marjory,
Thanks for reaching out! Yes that is correct, you will continue in the Pin Stripe Pattern and Right Hand Chart, as established, until you have worked 10-row repeat of Right Hand Chart a total of 5 (6, 6, 7, 8) times from the base of the palm (where the thumb hole was made.)
I hope this clarifies things!
Warmly,
Gianna
Gianna, are you sure about this. I think the total is from the beginning of the pattern, ie after the purl row. If you look at the chart for the adult small for example, it shows 61 after the 10, which indicates that you work a total of 60 rows, making a thumb hole at the 4 inch mark, around row 34 if you hit gauge.
I may have misunderstood your explanation, but it seemed like you said to restart the count after the thumb hole. I didn’t do that. I continued the count.
Hi Manisha,
Thanks for reaching out! Yes, as we state in pattern, after you make the thumb hole you are to continue in the Pin Stripe Pattern and Right Hand Chart, as established, until you have worked 10-row repeat of Right Hand Chart a total of 5 (6, 6, 7, 8) times (depending on what size you are making.) You are not restarting the count but working the pattern as established from the point of the thumb hole (since when you make the thumb hole with the MC, k1; with scrap yarn, k8 (9, 11, 12, 13), slip scrap yarn stitches back to left needle; *with CC, k1, with MC, k1, repeat from * to next marker, sm, work next row of Right Hand Chart for your size to end of round.)
I hope this clarifies things for you!
Warmly,
Gianna
About the thumb – I don’t understand how to pick up the stitches ABOVE the thumb hole. Is there a video tutorial showing this step? The rest is easy, more or less. Thanks.
Hi Patricia,
Thanks for reaching out! Unfortunately we do not have a video tutorial for this technique, however it is very easy to work! After you make the thumb hole and put the stitches on hold, you will then simply be picking up all of the on hold stitches onto your DPNs! PICK UP + WORK THUMB EVEN: Remove scrap yarn from Thumb Hole, catching each stitch on a double pointed needle as you release it. Use one needle for stitches below scrap yarn and another needle for stitches above scrap yarn. [16 (18, 22, 24, 26) total stitches: 8 (9, 11, 12, 13) stitches on each needle]
I hope this helps, happy knitting!
Gianna
Redistribute stitches as evenly as possible on 3 double pointed needles. Join yarns at side of Thumb Hole.
Hi there! I’ve just made a set of these mittens and I love them! I’ve run into a bit of an issue with the bottom edge rolling, though. I was wondering if you had a recommendation for preventing this in the next pair I make. I loved the pattern so much I knew I would want to make more for family and wondered if you had any tricks or tips to prevent the bottom from rolling.
Thanks!
Hi Lauren,
Thanks for reaching out! Blocking the finished mittens should help out a lot with the edge rolling!
I hope this helps and please feel free to reach out with any more questions!
Warmly,
Gianna
Hi there
I really want to knit these mittens in the bright pink and white but the colours aren’t available and I read that you are changing your skein sizes in Posy this Spring. Can you give me an idea of when these will be available?
Also I would love to knit one of your hat patterns that would go with these mittens in the same colours, white and bright pink. Please can you suggest the most suitable? A scarf or snood would look amazing in this herringbone motif also! 🙂
Many thanks
Charlotte
P.S. A scarf or snood would look amazing in this herringbone motif!
Hi Charlotte,
Thanks for reaching out! Yes that is correct, we are transitioning Posy to 50g skeins! We’re hoping to launch this new size around mid-spring, but I do not have a firm date of when to expect this. In the meantime we’re having a clearance sale for any remaining colors, and although Azalea Glow is sold out, Pink Papaya is a great alternative and would be a beautiful bright pink contrast next to white!
Although different than the Herringbone Pattern, we have a hat pattern in posy! The Dappled Hat, Mitten + Hand Warmer Set is completely adorable and would look great in white and bright pink!
And thank you for expressing your interest in a scarf or snood in this pattern, I will be sure to pass this along to the rest of the team!
I hope this helps, happy knitting!
Gianna
Thanks so much for your help. I will take a look at the Pink Papaya and the pattern you suggested, greatly appreciated.
Kind regards
Charlotte
Just finished these!! Fast, East, fun knit! And gorgeous!! I highly recommend this pattern. Made them in black cherry and the next color up from the heirloom white – the linen color. Gives them a nice antique look. Really happy with them. Now, what to do with the extra yarn??
Hi Donna,
I’m so glad you enjoyed the project, and your colors sound beautiful! If you’re looking for a fun little mini-project for the leftover yarn, I’d recommend making some pom poms! We’ve got a great tutorial you can check out here
Hope that gives you some fun ideas for that extra yarn!
Take care,
Kelsey
is posy coming back? I’m praying its a temporary production issue because its so lovely
Hi Zia,
Thanks for reaching out! We’re currently in the process of transitioning our full size Posy and Pocket Posy skeins into 50g skeins! We’re hoping to launch this new size around mid-spring, and until then we are having a clearance on the remaining skeins. So yes, it is absolutely coming back and will be new and improved!
Warmly,
Gianna