Boyfriend Hat
In Levis, flannel button downs, canvas sneakers, and grandpa cardigans, a friend of mine and I used to laugh that rather than dressing for the boys we wished we were dating, we dressed like the boys we wished we were dating. And the funniest part was that despite our different taste in men, somehow our fantasies of their wardrobes were identical. Some things are for the everyman and, as it turns out, for the everywoman too.
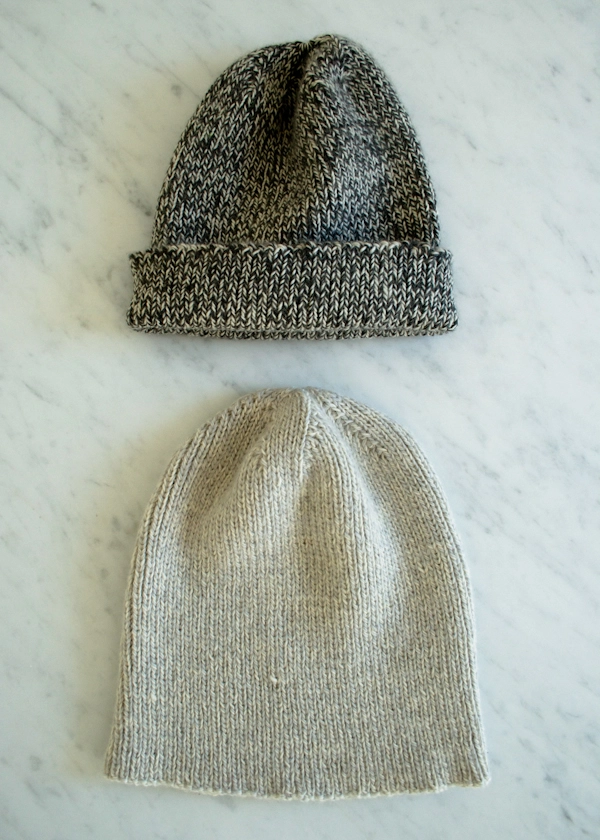
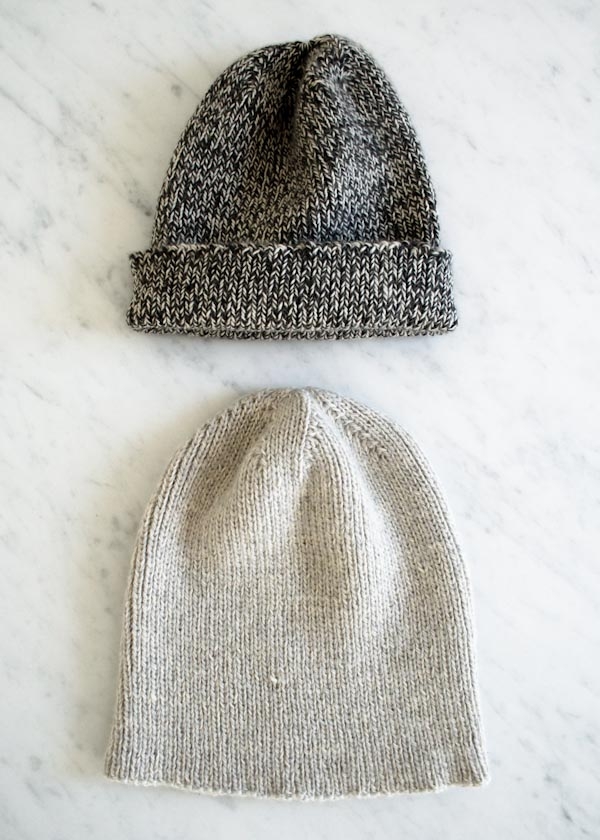
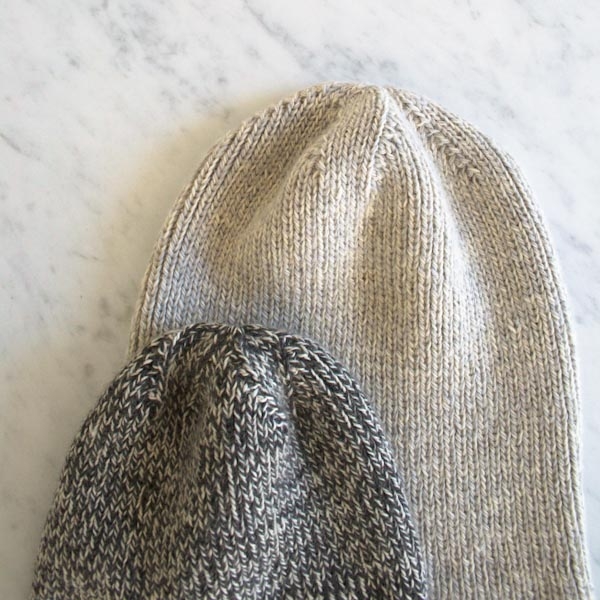
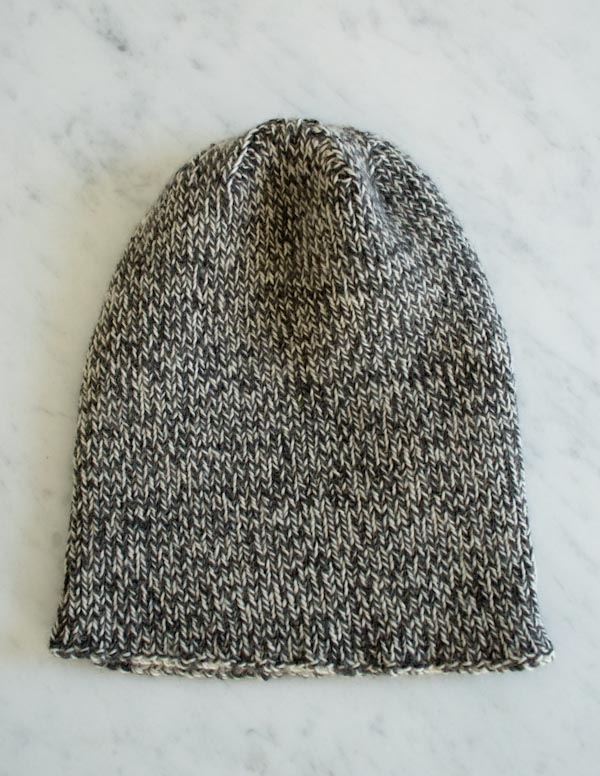
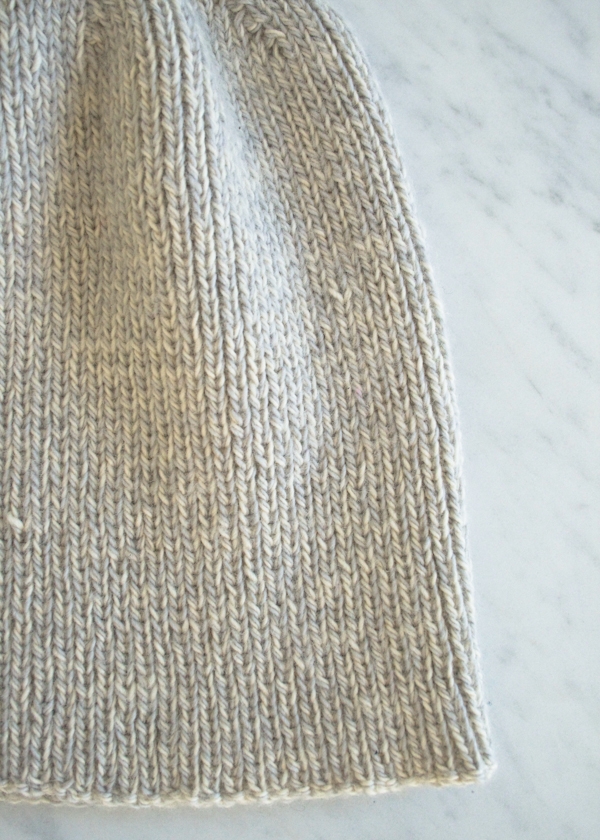
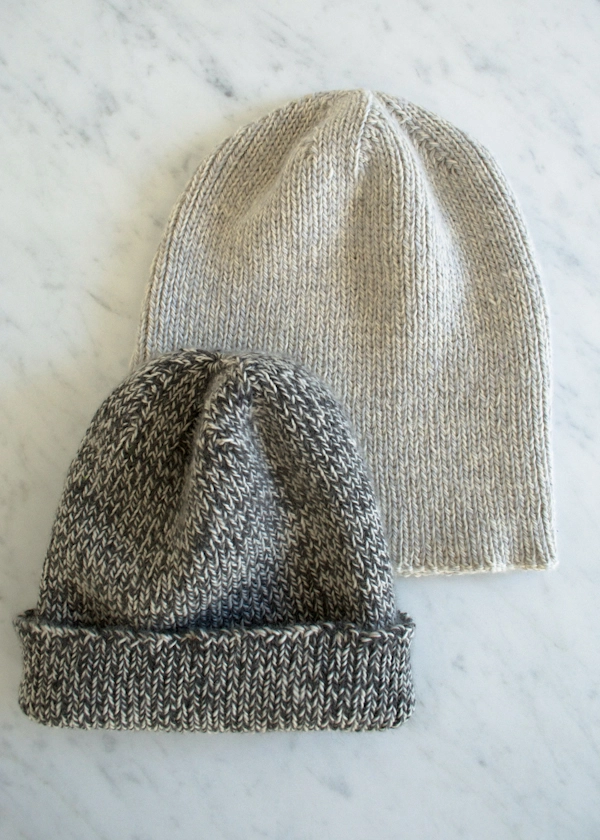
I designed the Boyfriend Hat with the versatility of any timeless article of clothing. Man or woman, wear it slouchy or cuffed. Pull it down taut or let it hover above the ears. Cuff it twice for a Wes Anderson style watchman cap.
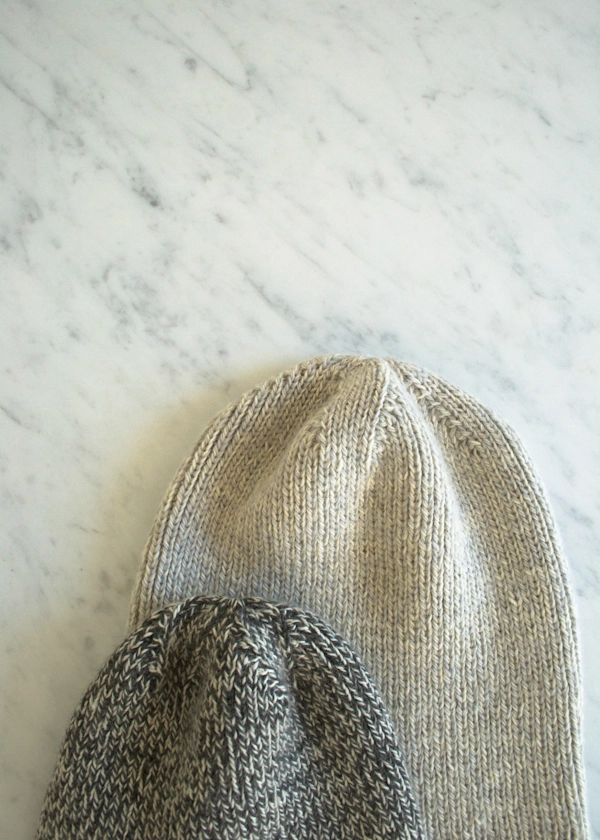
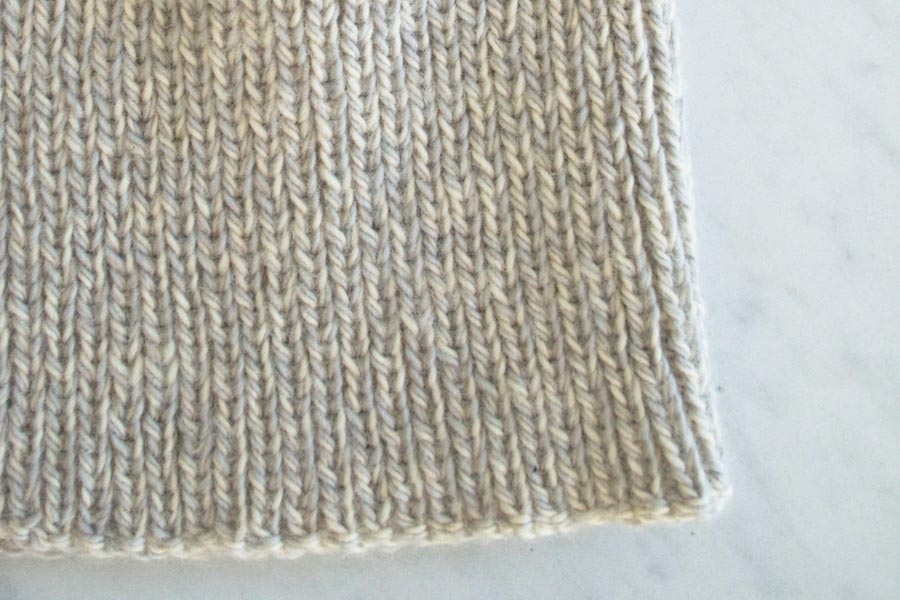
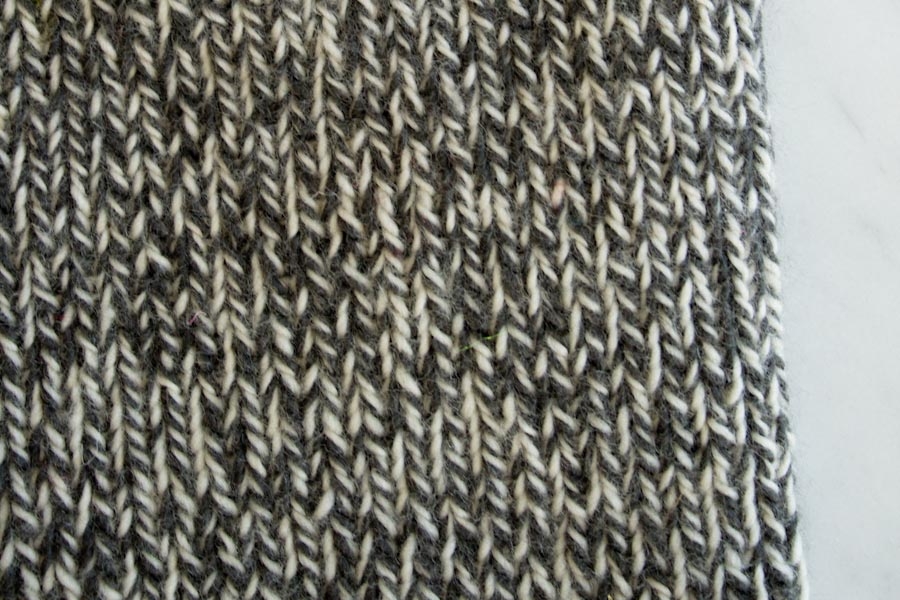
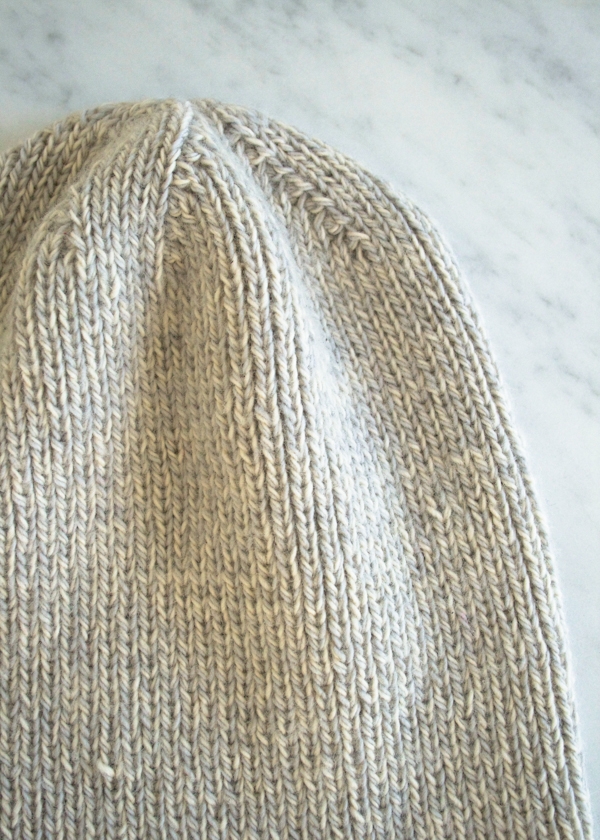
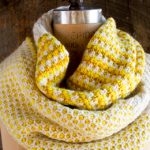
Knit up with two different colored strands of Purl Soho’s Line Weight merino, the effect is gently marled and toasty warm. In a tight 1 x 1 rib, this hat is also exceptionally elastic and durable, hugging the head and feeling decadently soft, even through winter’s wear and tear.
The Boyfriend Hat is the hat you wish he had so you could steal it from him. Or is it the hat you have that he wants to steal from you? I don’t know… Just make two. -Laura
Update: New Colors
October 2014

To celebrate Line Weight’s newest colors we made a fall 2014 set of Boyfriend Hats, this time in the rich and spicy colors of the season! For the full story, additional pictures and all the yarn details, just click here!
Update: New Style + Sizes
September 2020
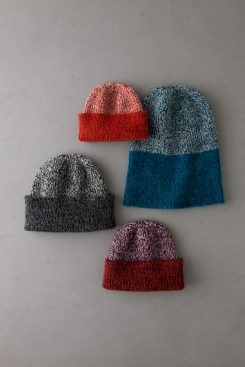
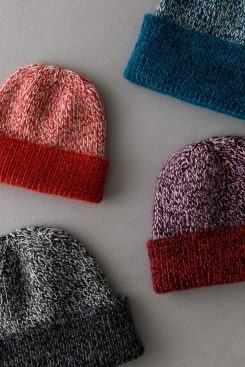
We’re revisiting the classic details of our beloved Boyfriend Hat with expanded sizing and a new color motif. Our Best Friend Hat is the perfect accessory for you and your friend circle! View the updated pattern and color combinations by clicking here!
Designed by Purl Soho designer, Laura Ferguson.
Share your progress and connect with the community by tagging your pics with #PurlSoho, #PurlSohoBusyHands, #PurlSohoBoyfreindHat, and #PurlSohoLineWeight. We can’t wait to see what you make!
In September 2014, we made a new set of Simple Stitched Hot Pads in the wild and painterly prints of the newest Nani Iro fabrics! For the full story, additional pictures and the materials list click here! – See more at: https://www.purlsoho.com/create/2013/12/14/mollys-sketchbook-simple-stitched-hot-pads/#sthash.vraYvY2V.dpuf
In September 2014, we made a new set of Simple Stitched Hot Pads in the wild and painterly prints of the newest Nani Iro fabrics! For the full story, additional pictures and the materials list click here! – See more at: https://www.purlsoho.com/create/2013/12/14/mollys-sketchbook-simple-stitched-hot-pads/#sthash.vraYvY2V.dpuf
In September 2014, we made a new set of Simple Stitched Hot Pads in the wild and painterly prints of the newest Nani Iro fabrics! For the full story, additional pictures and the materials list click here! – See more at: https://www.purlsoho.com/create/2013/12/14/mollys-sketchbook-simple-stitched-hot-pads/#sthash.vraYvY2V.dpuf
Materials
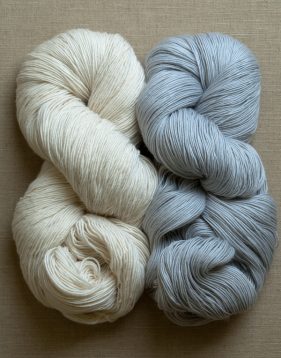
- 2 skeins of Purl Soho’s Line Weight, 100% merino. Each skein is 494 yards/ 100 grams.
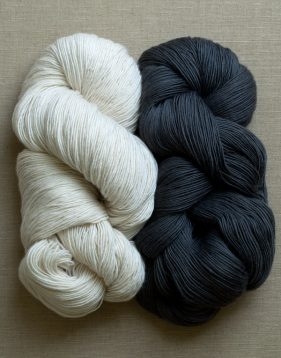
- Color A: 1 skein; approximately 235 (265, 305, 355) yards required. We used the color Heirloom White.
- Color B: 1 skein; approximately 235 (265, 305, 355) yards required. We used the color Toasted Charcoal for the Adult Small and Oyster Gray for the Adult Medium.
- A US 3 (3.25 mm), 16-inch circular needle
- A set of US 3 double pointed needles
- Stitch markerss, including one unique
NOTE: If you are making a solid color hat (using two strands of a single color) rather than a marled hat (using a strand of two different colors), you’ll need 1 (2, 2, 2) total skeins of Purl Soho’s Line Weight.
Gauge
39 stitches and 34 rows = 4 inches in 1 x 1 rib, unstretched, holding together a strand of Color A and a strand of Color B
Sizes
Adult Small (Adult Medium, Adult Large, Adult Extra Large)
- Finished Circumference: 14¾ (16½, 18, 19¾) inches, un-stretched, comfortably stretching to approximately 19¾ (21½, 23, 24¾) inches
- Finished Height: 9½ (9¾, 10, 10¼) inches
Pattern
Begin
With one strand of Color A and one strand of Color B, cast 144 (160, 176, 192) stitches onto circular needles. We used a basic Long Tail Cast On.
Place marker and join for working in the round, being careful not to twist stitches.
Round 1: *K1, p1, repeat from * to end of round.
Repeat Round 1 until piece measures 8 inches from cast-on edge.
Shape Crown
NOTE: Switch to double pointed needles when necessary.
Set-Up Round: [Work 36 (40, 44, 48) stitches in established 1 x 1 rib pattern, place marker] 3 times, work in established pattern to end of round.
Round 1: *[K1, p1] four times, k1, knit 2 together (k2tog), work in established pattern to 2 stitches before next marker, slip slip knit (ssk), repeat from * to end of round. [8 stitches decreased]
Round 2: *[K1, p1] 4 times, k1, purl 2 together (p2tog), work in established pattern to 2 stitches before next marker, p2tog through back loop, (tbl) repeat from * to end of round. [8 stitches decreased]
Repeat Rounds 1 and 2 five (6, 7, 8) more times. [48 stitches]
Next Round: *Ssk, [k1, p1] 2 times, k1, k2tog, p1, k1, p1, repeat from * to end of round. [40 stitches]
Next Round: *Ssk, p1, k1, p1, k2tog, p1, k1, p1, repeat from * to end of round. [32 stitches]
Next Round: *Ssk, k1, k2tog, p1, k1, p1, repeat from * to end of round. [24 stitches]
Finish
Cut yarns and thread them onto a tapestry needle. Draw the needle through the remaining stitches. Pull tight and bring tails to inside of hat to weave in.
Weave in remaining tails and block as desired.


hi there, I accidentally cast on 178 stitches and didn’t realize until I got to the top of the hat and needed to divide into 44 stitches. That leaves me with 3 sections of 44 stitches and a fourth section of 46 stitches. Any suggestion for how I should proceed for the top of the hat? Thanks!
Hi Kath,
Thanks for reaching out! I would recommend working two rounds of decreases in the section with 46 stitches only, which will bring your stitch count back down to 176. After you get to that point, you can follow the rest of the SHAPE TOP OF HAT instructions as written!
All the best,
Lili
Hi,
My hat feels very loose and floppy, what is the recommended method to block this? Will it tighten it up?
Thanks,
Kat
Hi Kat,
I’m sorry to hear that your hat ended up too loose! I’m afraid that this is likely due to the gauge being a bit too large, and blocking won’t help very much at all, unfortunately. In cases like this, I always recommend adding in some elastic thread to the brim of the hat to maintain the elasticity! You can do this by sewing it into a few rounds of the brim, or you can even use duplicate stitch to camouflage it within the knit stitches of the hat. I hope this helps!
All the best,
Lili
Hi. I know this is a stupid question. I’m a newbie. I finished knitting this hat but I’m not sure which side is suppose to be the right side. The side I’ve been knitting on or the side that I flip it over? Thank you!
Hi Nicki,
Thanks for reaching out! This hat is knit in the round, so the right side is the side that’s on the outside of the tube of stitches, and the wrong side is the one that’s on the inside. Hope this helps clarify things!
All the best,
Lili
Hi, thank you so much for the pattern! I made this hat over a year ago for my boyfriend and he absolutely loves it. So much so that the hat has now stretched so loose that he can’t wear it. I knit it using the recommended yarn and we have washed and blocked it but it’s still too loose. Do you have any advice for how to reshape this hat back into its proper size (without access to a dryer)?
Hi Sam,
Thanks for reaching out, although I’m sorry to hear that the hat you made has stretched out to that extent! Wool yarn does tend to loose some elasticity over time, especially in a ribbing stitch pattern. In cases like this, I always recommend adding in some elastic thread to the brim of the hat to maintain the elasticity! You can do this by sewing it into a few rounds of the brim, or you can even use duplicate stitch to camouflage it within the knit stitches of the hat. I hope this helps!
All the best,
Lili
Hello! Can you use Linen Quill for this pattern? Thank you!
Hi Jackie,
Since this pattern was designed for a fingering weight yarn (held double), you can absolutely use Linen Quill for it! As always though, we recommend making a gauge swatch, especially when substituting yarns!
All the best,
Lili
Hello, how many extra stitches should I add if I need to make this a bit bigger? Could you just increase by multiples of two? Thank you!
Hi Sia,
Thanks for reaching out! This pattern works over a multiple of 8 stitches, so you would need to add at least 8 stitches to make it a bit bigger. Once you add these stitches, you can essentially work the pattern as written, making sure to divide your stitches evenly for the SHAPE TOP OF HAT section. Here’s how to work the Set-Up Row for that with any multiple of 8 stitches:
Set-Up Round: [Work (cast-on / 4) stitches in established 1 x 1 rib pattern, place marker] 3 times, work in established pattern to end of round.
Hope this helps!
All the best,
Lili
Hi, I feel rather stupid right know. It has been years since I knitted. I’ve reached the first row of decrease. I understand K1,P1 (4 times) which puts me at a purl stitch to K1 in and if I K1, then K2tog then continue it does not come out right. If I leave out the K1 it does work out. I don’t know if I’m reading the pattern wrong. I’m working size med 160 stitches and have divided in 40 stitch sections 4 times.
Hi Renee,
Thanks for reaching out! If you’re working in 1 x 1 ribbing, then after you [k1, p1] 4 times, the next stitch should be a knit stitch. If you’re seeing a purl stitch there instead, then you would have gotten out of pattern somehow, and I would recommend taking a look at your knit fabric to see if there are any inconsistencies in the ribbing.
If you’re still having trouble at this spot, can you please send a photo of your work so far to customerservice@purlsoho.com? That way, we can better visualize what’s going on!
All the best,
Lili
Could I use a US 4 needle? I’m a tight knitter and don’t have a 3.
Hi Deb,
Thanks for your question! You could use any needle size that helps you achieve gauge! We always recommend making a quick gauge swatch so that you can make sure you meet that of the pattern as well as get the correct sizing for your project. I hope this helps!
Happy knitting,
Gavriella