Quick + Cozy Cowl
Our Quick + Cozy Cowl may be related to a dickey-style shirt front, but its modern beauty is from a whole different family!
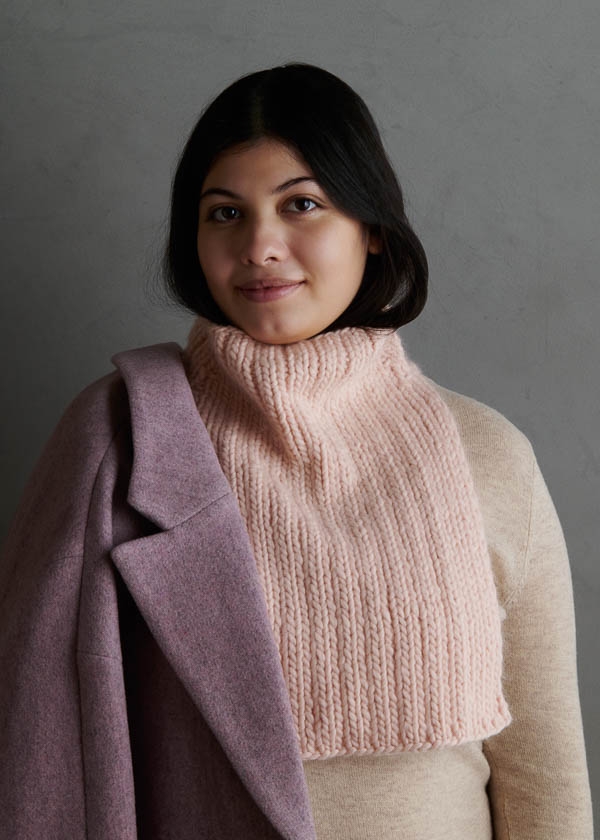
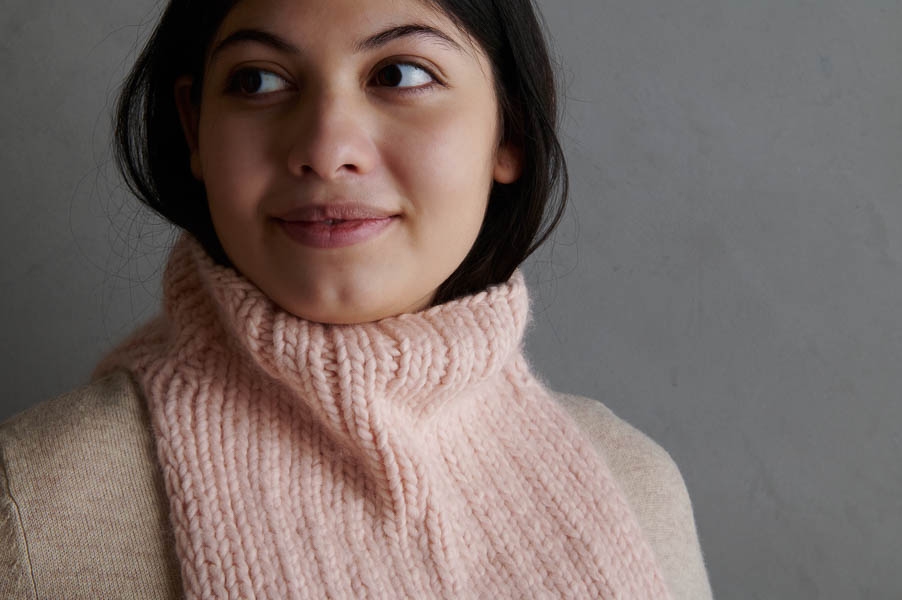
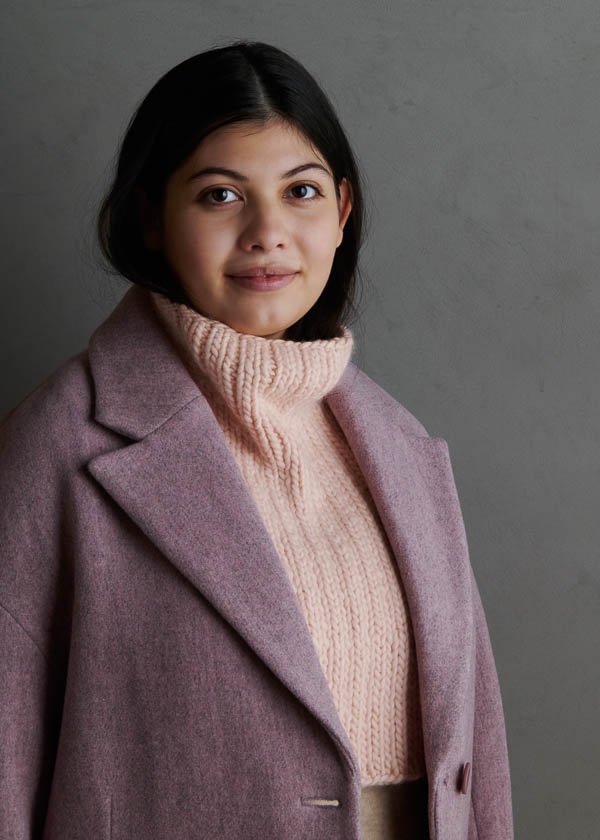
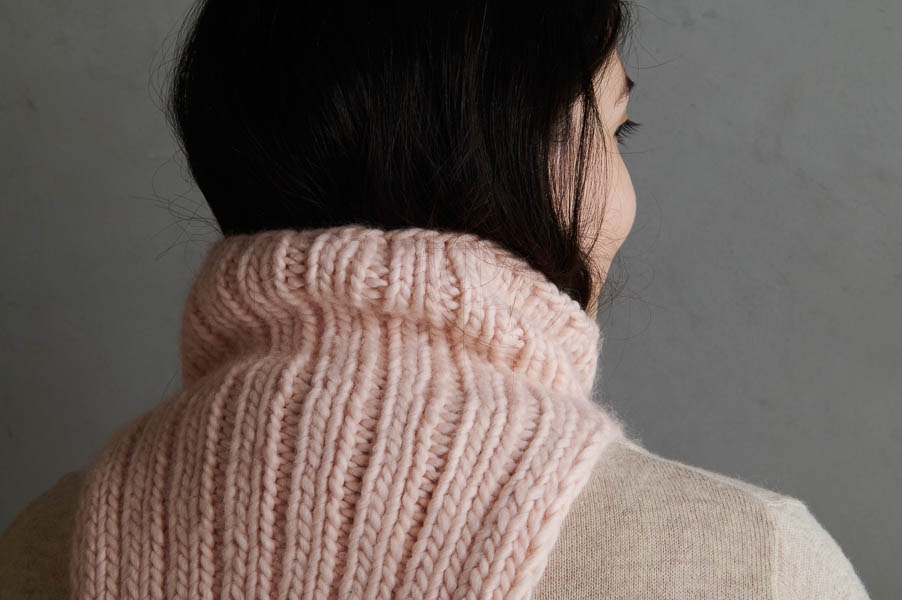
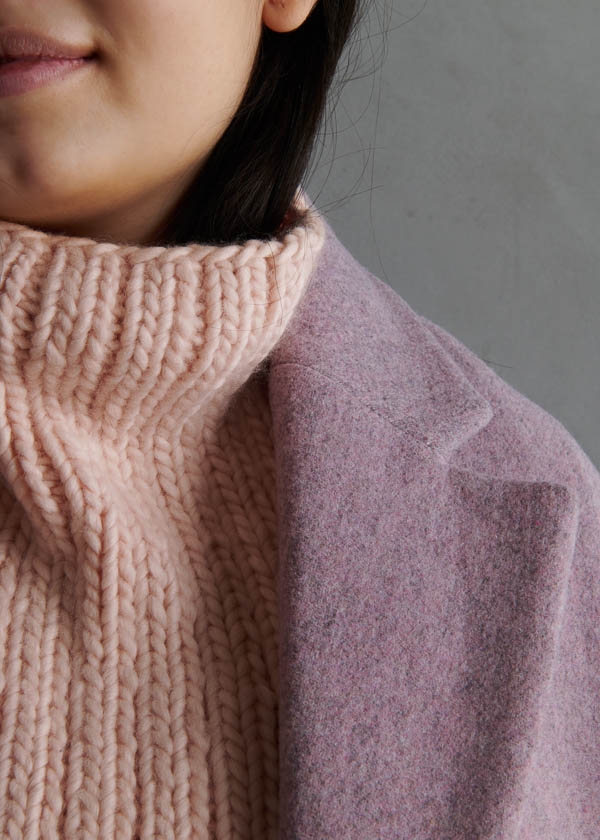
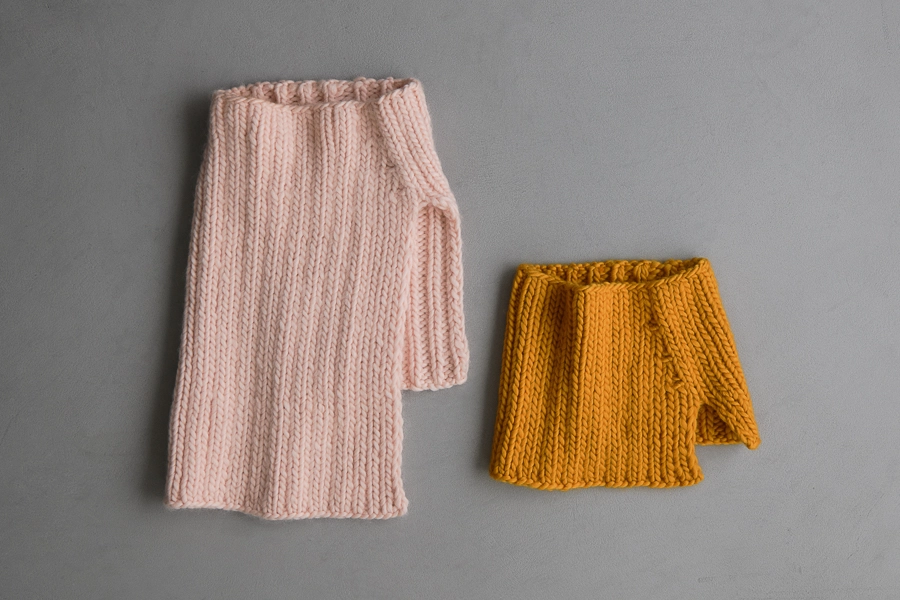
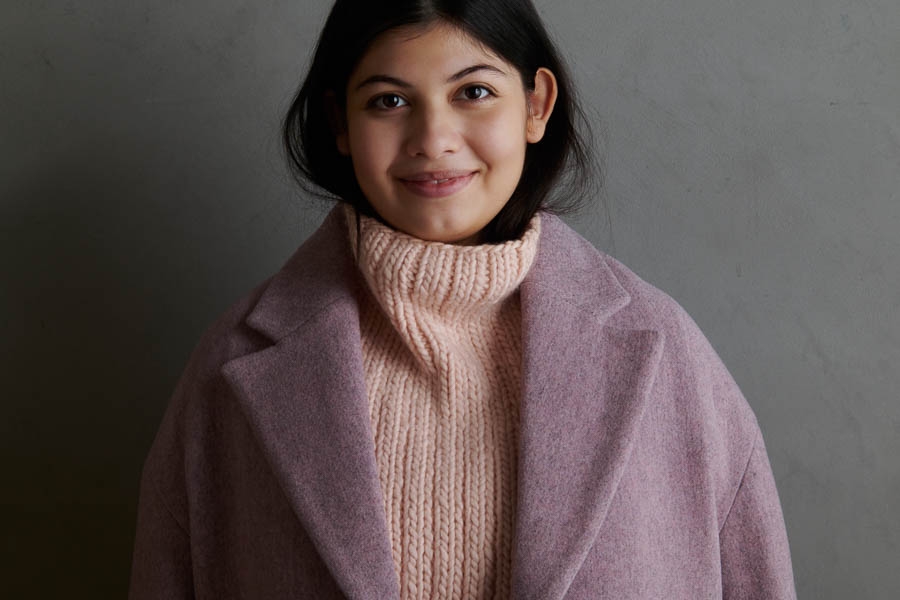
Practical without losing any ground to good looks, this toasty layer is designed to protect the parts of you that coats don’t always cover, while sparing your shoulders from added bulk. The long version extends over your chest for core warmth, while the short one concentrates on shielding your neck from chilly blasts.

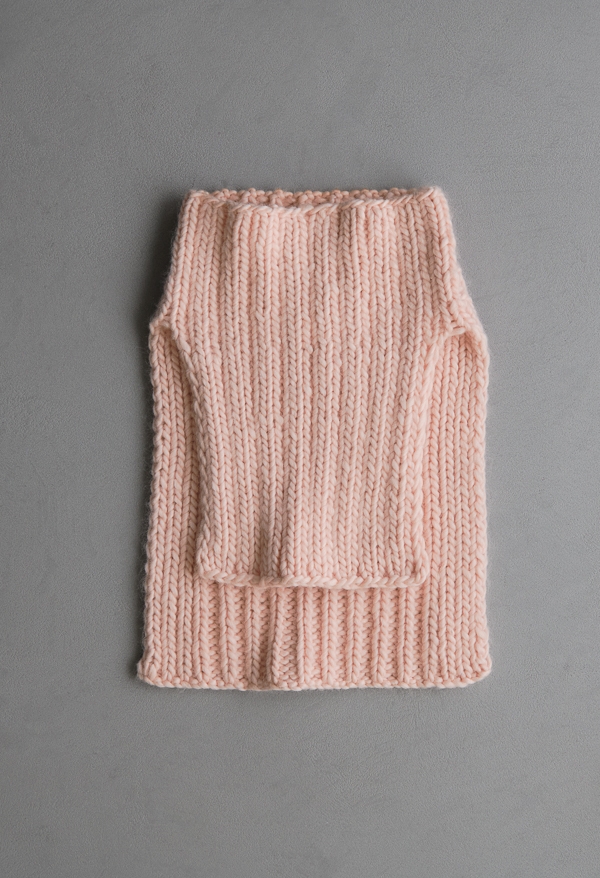
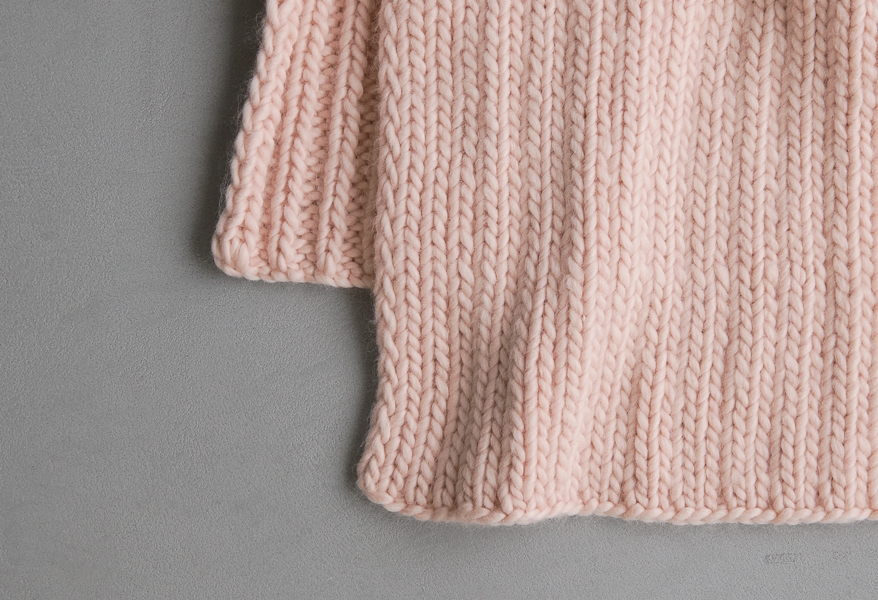
Either way, you knit the Quick + Cozy Cowl from top down in a 2×1 rib, starting in the round and then separating the front and back panels to work each one flat to its bind-off edge. Simple, and also quick and cozy in our wonderful Super Soft Merino!
A single ply of 100% merino wool, Super Soft Merino is incredibly comfy and indubitably beautiful. You only need one skein for the short Quick + Cozy Cowl or two for the long version. Choose from almost three dozen gorgeous colors and get cozy quick!
Designed by Purl Soho designer, Jake Canton. Click here to see even more of Jake’s designs!
Share your progress and connect with the community by tagging your pics with #PurlSoho, #PurlSohoBusyHands, #PurlSohoQuickAndCozyCowl and #PurlSohoSuperSoftMerino. We can’t wait to see what you make!
Materials
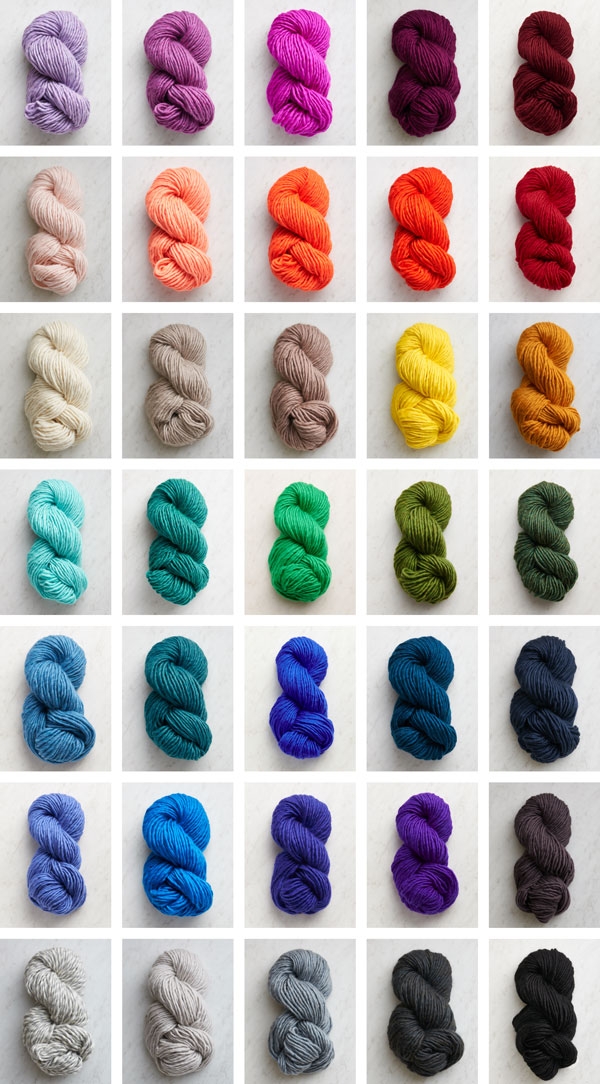
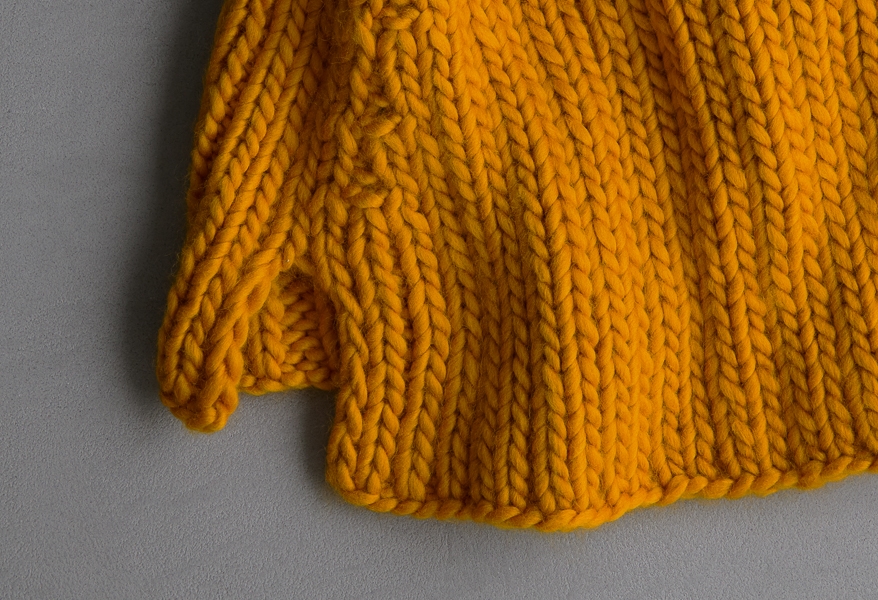
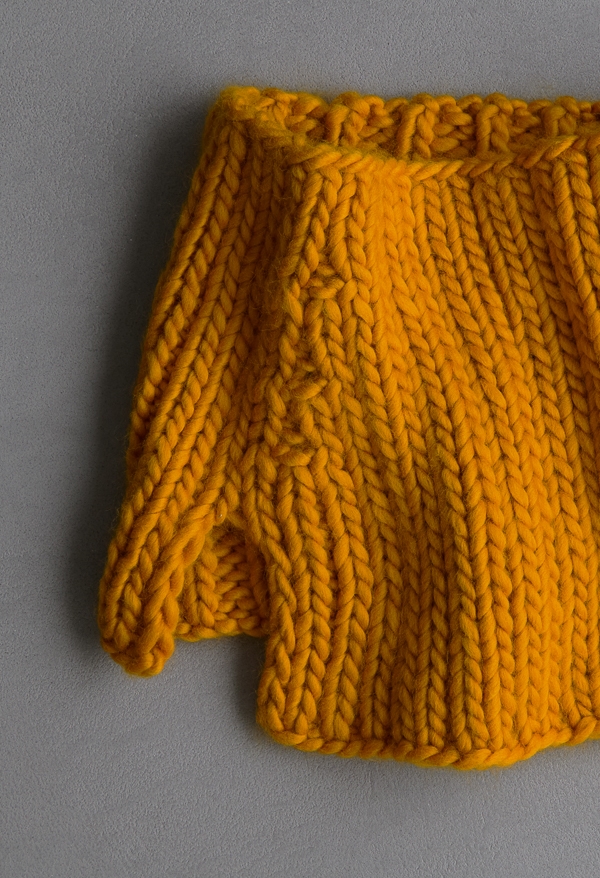
- 1 (2) skein(s) of Purl Soho’s Super Soft Merino, 100% merino wool. Each skein is 87 yards/ 100 grams; approximately 87 (160) yards required. We used Turmeric Yellow and Ballet Pink.
- US 13 (9 mm), 16-inch circular needles
- A stitch marker
- A stitch holder or scrap yarn
Gauge
12 stitches and 16 rows = 4 inches in k2, p1 rib
Sizes
Short (Long)
- Finished Circumference at Top of Neck: 19 inches
- Finished Height from Top to Bottom of Front Flap: 8 (16¾) inches
- Finished Height from Top to Bottom of Back Flap: 7½ (12½) inches
Samples: We knit the Turmeric Yellow sample in the Short length, and the Ballet Pink sample in the Long length.
Notes
CONSTRUCTION
You will work this cowl from top down, beginning in the round and then dividing for the front and back panels, working each panel flat with two length options.
SLIP STITCHES
Slip all slipped stitches purlwise.
Pattern
BEGIN
Cast on 57 stitches. We used a basic Long Tail Cast On.
Place a marker and join for working in the round, being careful not to twist the stitches.
Round 1-6: *K2, p1, repeat from * to end of round.
Round 7: [K2, p1] 4 times, k2, make 1 purlwise (m1p), k1, m1p, [k2, p1] 8 times, k2, m1p, k1, m1p, [k2, p1] 5 times. [61 stitches]
Round 8-11: Knit the knit stitches and purl the purl stitches.
Round 12: [K2, p1] 4 times, k2, m1p, k1, m1p, k1, p1, [k2, p1] 9 times, k1, m1p, k1, m1p, [k2, p1] 5 times. [65 stitches]
Rounds 13–15: Knit the knit stitches and purl the purl stitches.
Round 16: [K2, p1] 4 times, k2, m1p, k1, m1p, [k1, p1] 2 times, [k2, p1] 9 times, k1, p1, k1, m1p, k1, m1p, [k2, p1] 5 times. [69 stitches]
Rounds 17–19: Knit the knit stitches and purl the purl stitches.
DIVIDE FRONT + BACK
Division Round: [K2, p1] 4 times, k1, place previous 13 stitches onto stitch holder or scrap yarn, [k1, p1] 4 times, [k2, p1] 9 times, [k1, p1] 3 times, k1, place remaining 14 stitches onto same stitch holder or scrap yarn and remove marker. [42 stitches on needles; 27 stitches on hold]
WORK FRONT PANEL
Row 1 (wrong side): Slip 1 (see Notes) with yarn in front (wyif), [k1, p1] 3 times, [k1, p2] 9 times, [k1, p1] 4 times.
Row 2 (right side): Slip 1 with yarn in back (wyib), [p1, k1] 3 times, [p1, k2] 9 times, [p1, k1] 4 times.
Repeat Rows 1 and 2 until Front Panel measures 8 (16¾) inches from cast-on edge, ending with Row 1.
With right side facing you, bind off in stitch pattern, knitting the knit stitches and purling the purl stitches.
WORK BACK PANEL
With right side facing you, place 27 on-hold stitches onto needles and join yarn for working flat.
Row 1 (right side): Slip 1 wyib, *p1, k2, repeat from * to last 2 stitches, p1, k1.
Row 2 (wrong side): Slip 1 wyif, *k1, p2, repeat from * to last 2 stitches, k1, p1.
Repeat Rows 1 and 2 until Back Panel measures 7½ (12½) inches from cast-on edge, ending with Row 2.
With right side facing you, bind off in stitch pattern as for Front Panel.
Weave in the ends and steam block, if desired.


I am knitting the Quick and Cozy cowl and have come to the Division round. The instructions say to “place previous 13 stitches onto stitch holder or scrap yarn”. Are these the stitches I have just knit? If so I am not sure how to get them on the stitch holder and continue knitting. Thanks for helping – I don’t have much experience with stitch holders!
Hi Paula,
Thanks for reaching out! Yes, those 13 stitches you have just worked on are the ones you will be placing on a stitch holder or scrap yarn. To do this, once you have knit those 13, you will simply slip them off the right needle onto your stitch holder or scrap yarn!
I hope this helps!
Gianna
🤔 That means your working yarn is then on the stitch holder. How do you continue working from the stitch holder? Thanks
Hi!
Yes, you are correct! Your working yarn will be attached to the last stitch on the stitch holder. This means you can use your right needle with the working yarn from the holder to keep knitting in pattern across the stitches on your left needle. There will be a gap on your right needle where the stitches are on hold, but because the working yarn is attached to the last stitch on the holder, it is in the correct position to continue knitting with it!
All the best,
Margaret
I would like to knit this for a child. How many stitches do you recommend for a child sized version? Thank you for your help! My daughter loves all of your patterns and wants child sized versions of everything!
Hi TJ,
Thanks for writing in! For a child cowl, you would want approximately 17″ in circumference, and since this is worked top-down you can easily adjust the cast on for this circumference! If your gauge is consistent with the pattern, I would suggest casting on 51 stitches, from there you can follow the pattern as written, keeping in mind that your stitch counts will be different than what is stated.
I hope this helps!
Gianna
HI Gianna
I made one of these and found the neck too wide but it doesn’t say the multiple. It looks like your response to one person says you could use 51 stitches. Is it an odd number? Every 6? Thanks!
Jane
Hi Jane!
Thank you for your question! This cowl is knit using a multiple of 3 stitches, so any multiple of three should work for a narrower cowl, especially because the gauge is measured over a repeating three stitch pattern. I recommend working a gauge swatch to make sure that your tension, yarn, and needle size reflect the pattern’s gauge measurements. This will also help give you an idea of how many stitches per inch you get, so that you can better calculate how many stitches to cast on for a narrower opening.
I hope this helps!
Best,
Margaret
Question regarding the M1P, I watched the tutorial and it mentioned that there is an M1P left, and an M1P right. Which one is best for this pattern? Thank you!
Hello,
Thanks for your question! For the Quick + Cozy Cowl, the direction of the increases doesn’t affect the pattern, so you can knit whichever you prefer, as long as you consistently use that same increase method for all of the M1P stitches!
I hope this helps! Please let me know if you have any questions.
All the best,
Carly
Do you have a sweater pattern one can use with the same yarn that uses a simple ribbed stitch with size 13 (ish) needles? I can easily oicture a sweater rather than a cowl. Thanks!
Hi Lisa!
Thank you for your question. For a chunky or bulky weight sweater, I suggest taking a look at our Big Brioche Turtleneck or our Kaleidoscope Sweater. These patterns are designed for a thicker weight yarn and therefore come together very quickly, too!
I hope this helps!
All the best,
Margaret
After I start working flat, can I work with regular needles instead of circular?
Hi Virginia,
Thanks for writing in. Yes! Once you begin working flat, you can use straight needles. Hope this helps!
All the best,
Lili
Hi there,
Are the front and back panels (after the division) entirely separate from each other? From the photos, I thought there was a split down one side only but from the instructions, it sounds like there is a split on both the right and left side of the cowl.
Thx!
Hi Ruth,
Thanks for writing in! There are indeed splits down both sides of this cowl. That makes it so that both your arms have room to move when wearing the cowl! I can totally see how the photos make it seem like there’s only one split though, since they’re photographed from one side only. Hope this helps clear things up!
All the best,
Lili
Hi,
I am at the point where I’m dividing my work. The instructions make sense to me but I have a question. What is the purpose of slipping the stitches at the beginning of row 1 and 2?
Hi Susan,
Thanks for reaching out! The reason that there are slipped stitches at the beginnings of those rows is to provide a nice and neat selvage. Slipping those stitches creates a smooth edge to the work, rather than a slightly bumpy one. Hope this helps clarify things!
All the best,
Lili
I’ve frogged back twice the beginning of the cowl where the m1p start and find that it is all mixed up when working the subsequent rows. The subsequent rows have me purling knits and knitting the purl messing up the ribbing pattern. What am I missing please? Expensive yarn to just give up on this project and I love the design.
Hi Barbara,
Thanks for reaching out, although I’m sorry to hear that you’re running into a stopping point in this project! What may have happened is that you unraveled to point but then began working the incorrect round after that. It’s hard to say without having a visual of your work though, so would you be able to send a photo to customerservice@purlsoho.com? That way, we can take a look at what’s going on and troubleshoot further from there!
All the best,
Lili
Are we losing the rubbing off the first 6 rows when we start the M1p’s? K1 after I M1p changes the previous ribbing pattern.
Hi Barbara,
Thanks for reaching out! The pattern is actually written so that the ribbing is essentially maintained even with the increase stitches. The increase stitches will throw off a small portion of the ribbing pattern briefly, but as you continue knitting, the instructions will bring it back to normal. I’d recommend making sure to follow exactly where the pattern indicates knit and purl stitches. This will ensure you get back to the original ribbing pattern by the end of the increase section. Hope this helps!
All the best,
Lili
Hello,
I’m at the end of the division and I’m confused about what happens with the “remaining 14 stitches onto the same stitch holder.” should they get knit too? Will this make it uneven? I’m sure I’m missing something.
Thank you,
Frida
Hi Frida,
Thanks for writing in! Those 14 stitches will not get knit yet. They get put on hold, along with the first 13 stitches of the Division Round, so that all 27 of those stitches can later be knit into the Back Panel. So never fear–it’s definitely not uneven! You’ll just need 27 stitches to make the back panel the correct width.
All the best,
Lili
Hi,
I would like to make this cowl as a gift for someone who is very sensitive to wool (even Merino wool). Can you suggest an alternative yarn that isn’t wool? I don’t see many size 13 needle yarn options that aren’t wool. I could carry the yarn double, but not sure which yarn would work carried double.
Thanks,
Cathy
Hi Cathy,
Thank you for your question! It’s so nice of you to make this for a friend! We recommend knitting with our Sunshower Cotton held double for a thickness similar to our Super Soft Merino! I hope this helps but please let us know if you have any more questions!
Happy knitting,
Gavriella