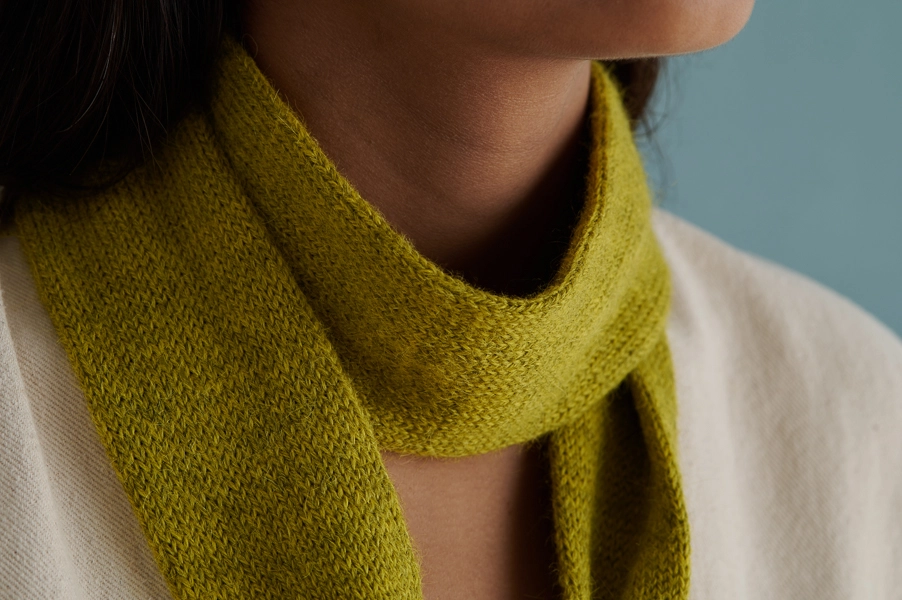
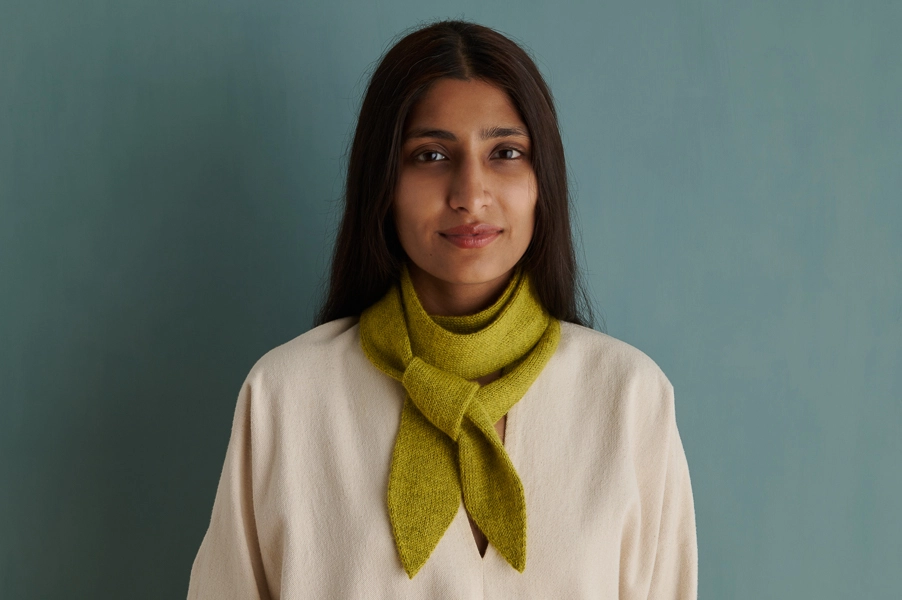

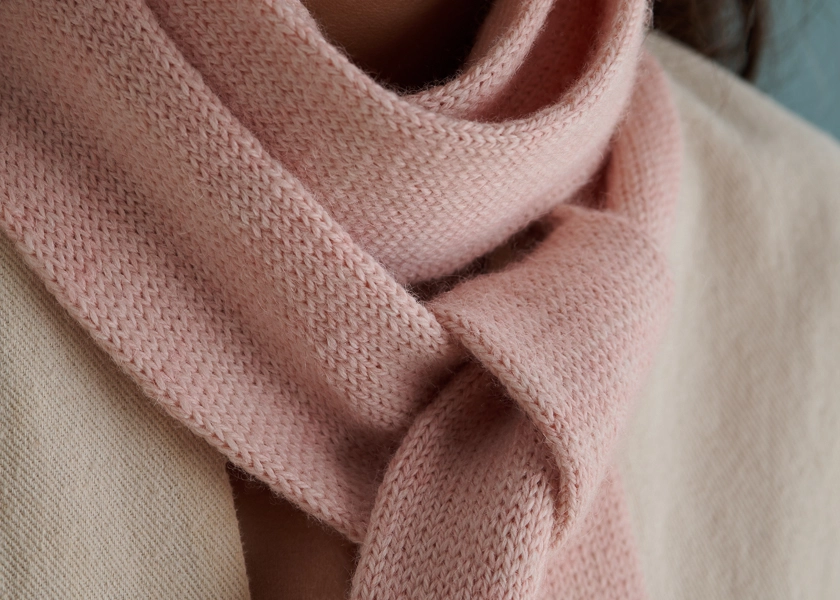

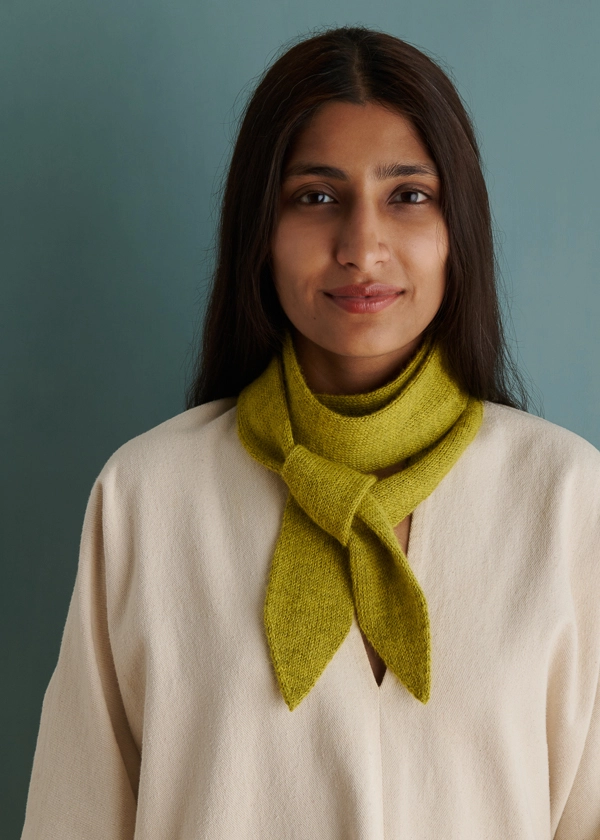
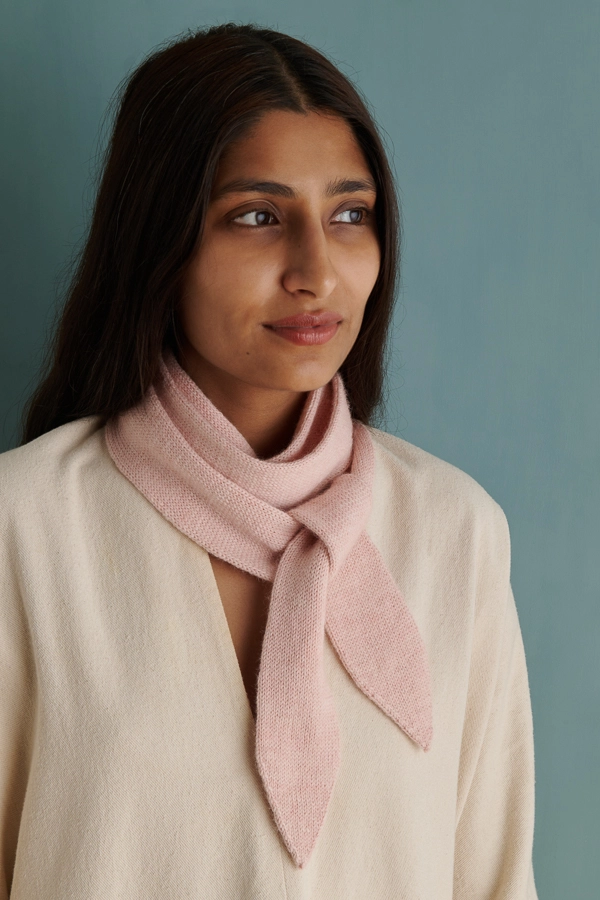
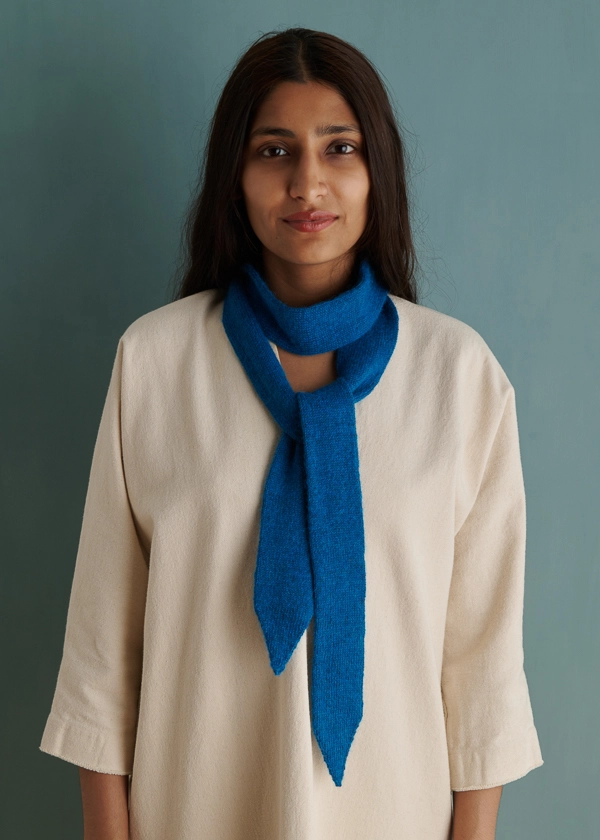
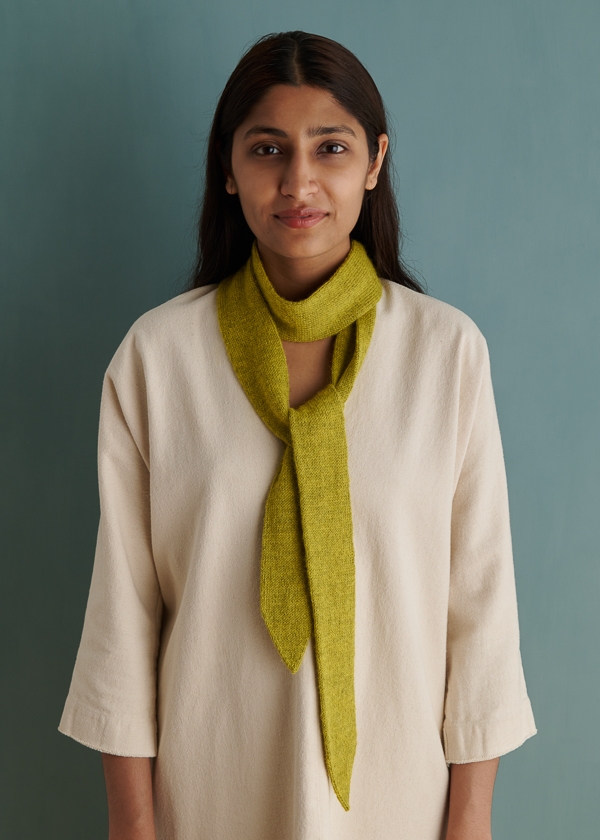
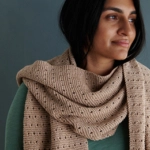
Ribbon Scarf
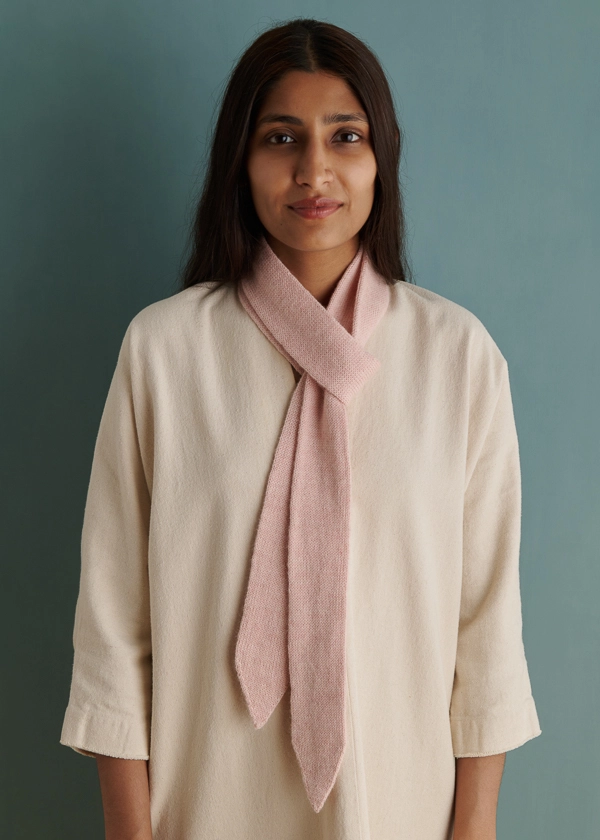
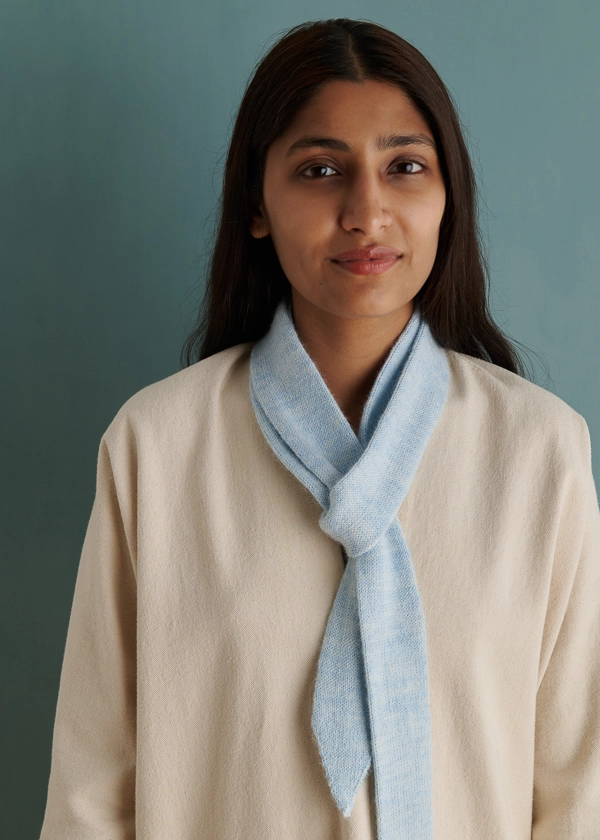
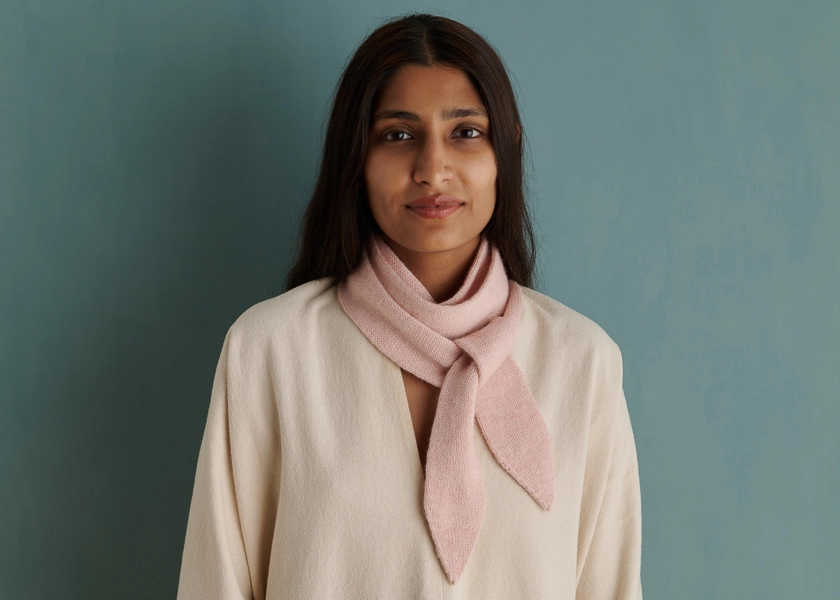
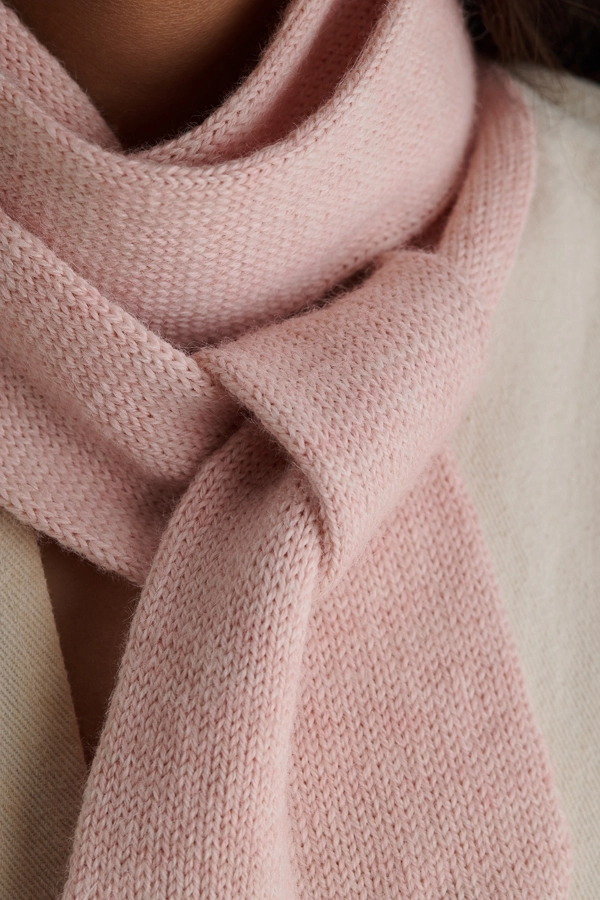
Our simple Ribbon Scarf in Quartz is both fresh and classic, precisely the extra flourish you want for fall!
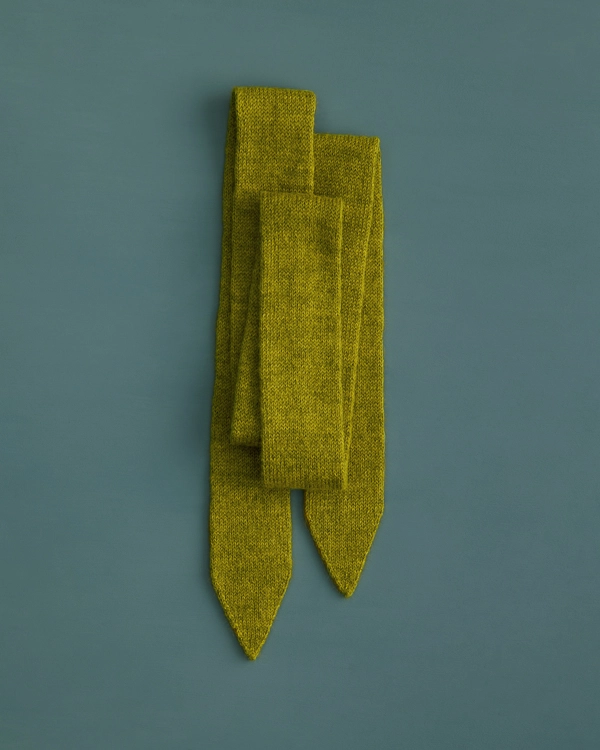
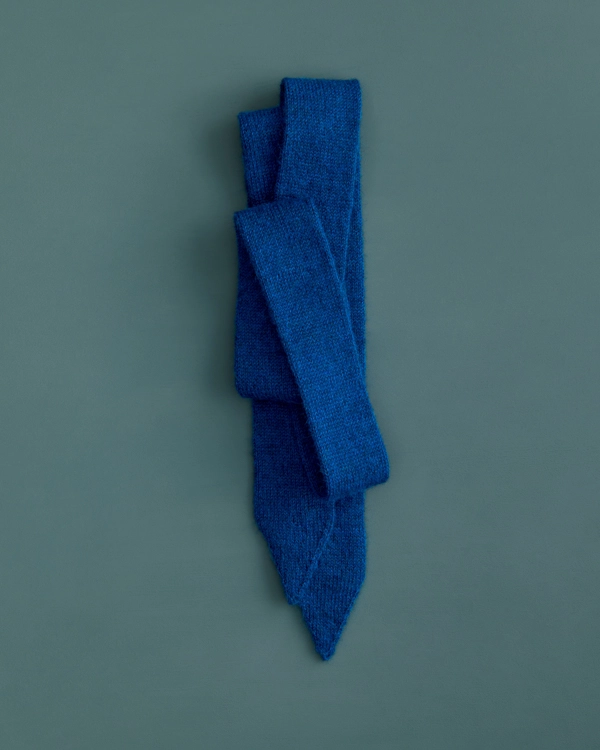
You’ll start with a provisional cast on, then just knit-knit-knit in the round to make the long tube. Decreases at the end shape the first triangular tip.
Put the cast-on stitches back on your needles and work the other tip with the same decreases you used for the first one, and voilá!
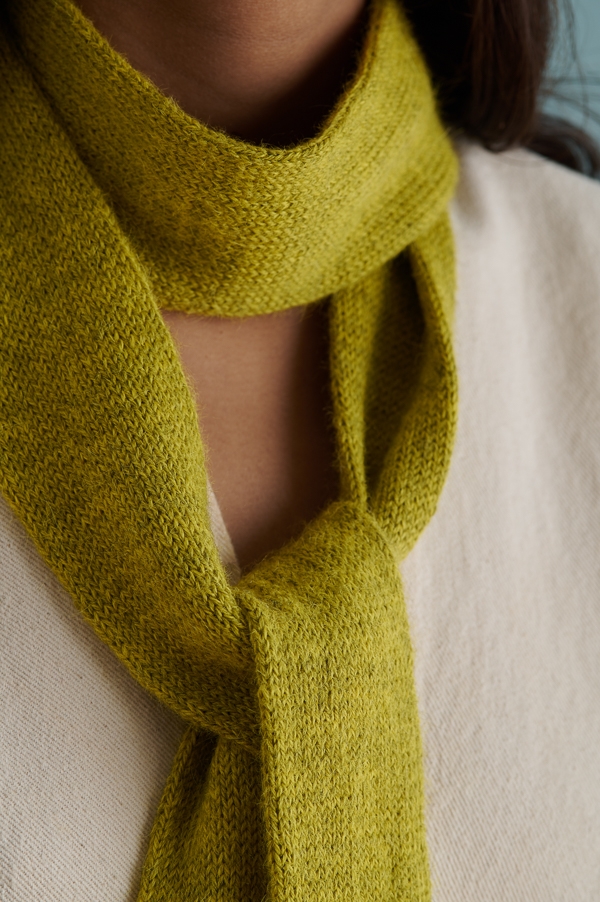
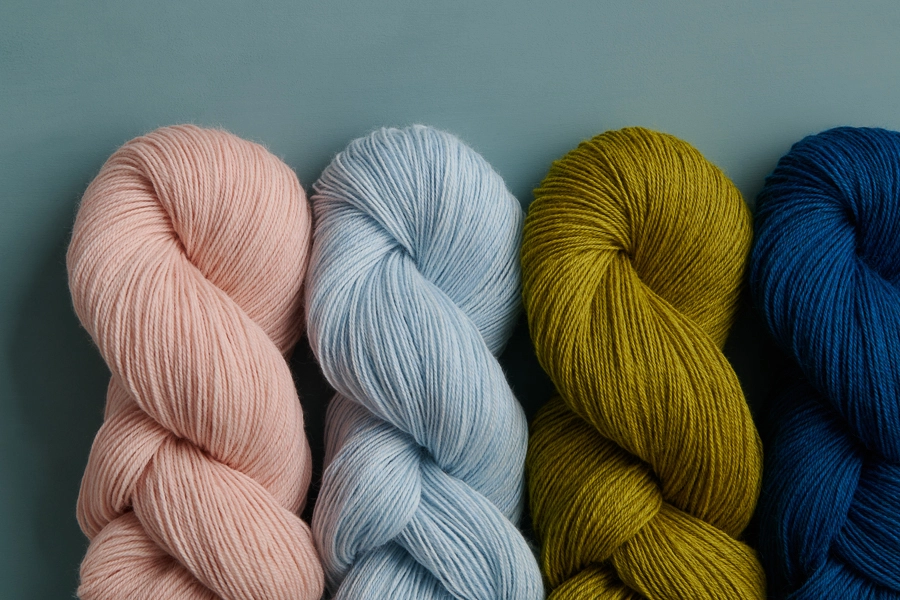
With its wonderful softness and stunning depth of color, our Quartz is the perfect yarn for this understated knit.
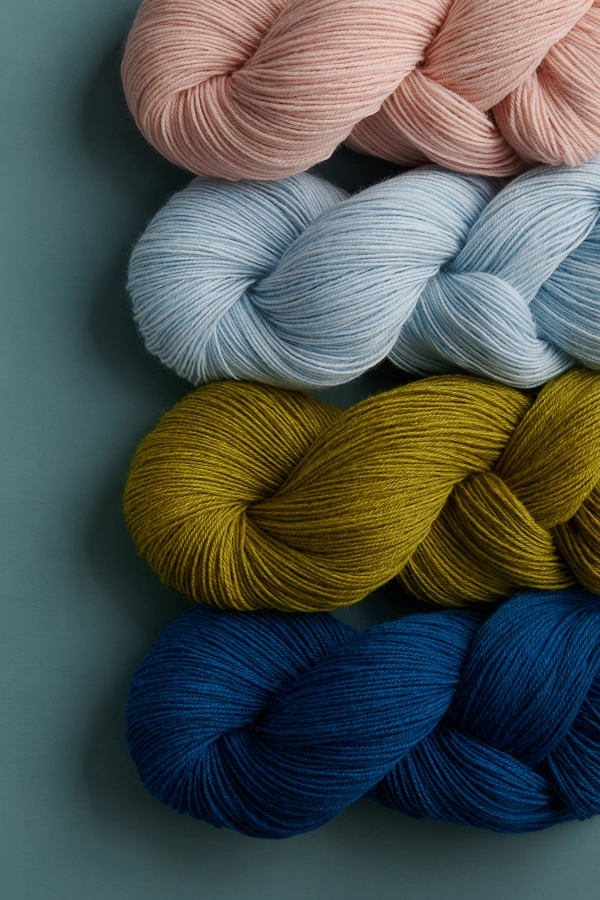
Sixty-five percent merino wool and 35% suri alpaca, Quartz has the best of both fibers, warmth and strength, texture and luster… Beauty in spades.
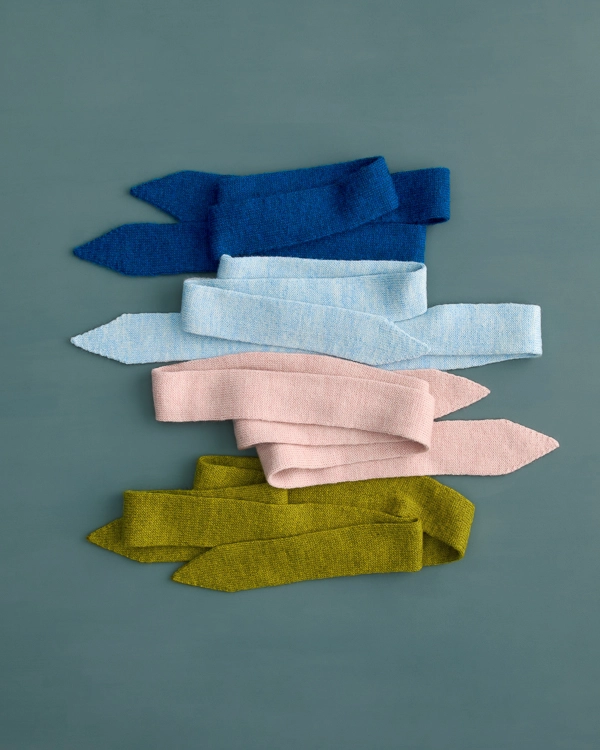
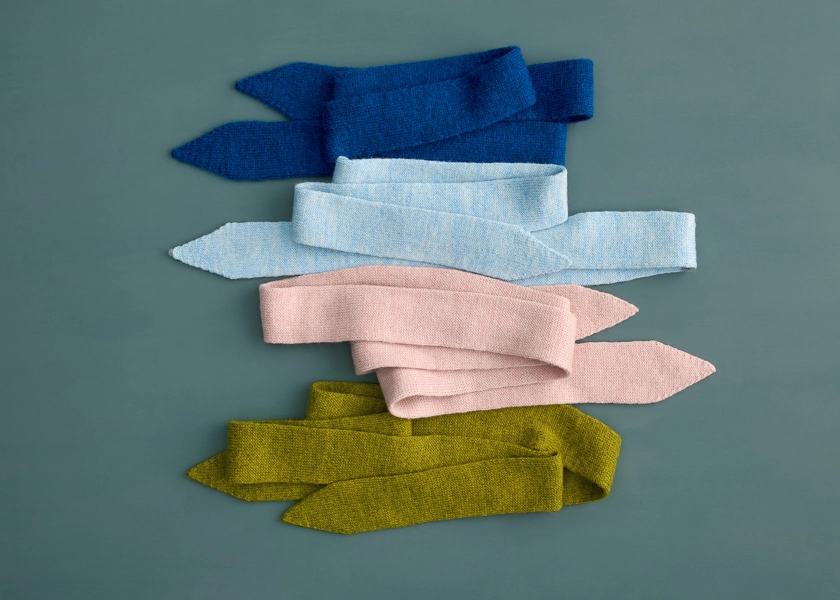
And now there are nine new colors of Quartz to choose from, including the delicate Peony Pink below.
Can’t decide on your favorite? With its generous yardage, you only need one skein for a Ribbon Scarf, so pick up several and knit this beauty for all your favorite people!
Designed by Purl Soho designer, Hiromi Glover. Click here to see even more of Hiromi’s work!
Share your progress and connect with the community by tagging your pics with #PurlSoho, #PurlSohoBusyHands, #PurlSohoRibbonScarf, and #PurlSohoQuartz. We can’t wait to see what you make!
Materials

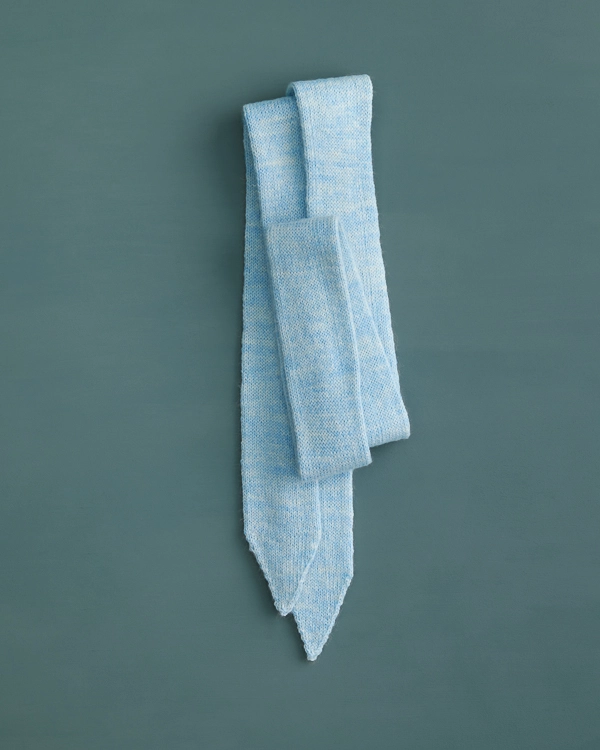
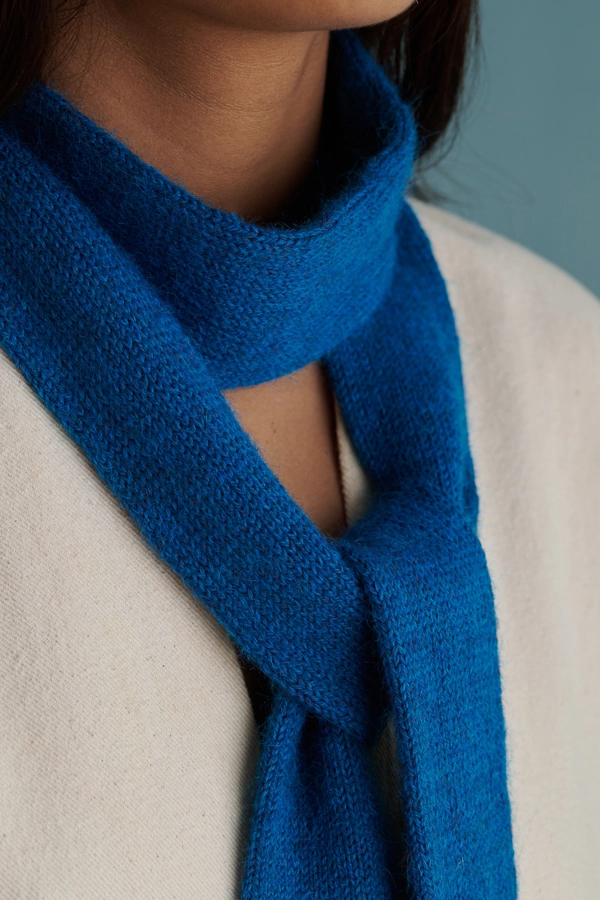
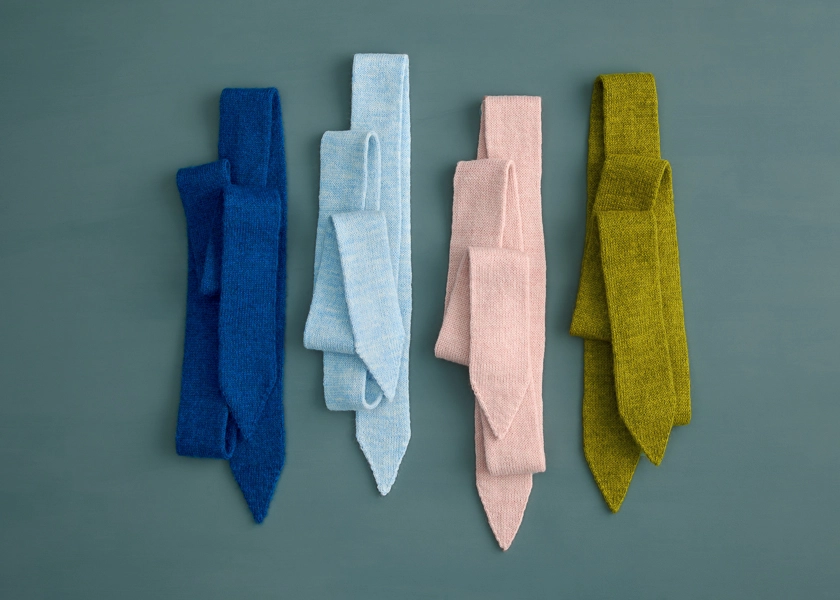
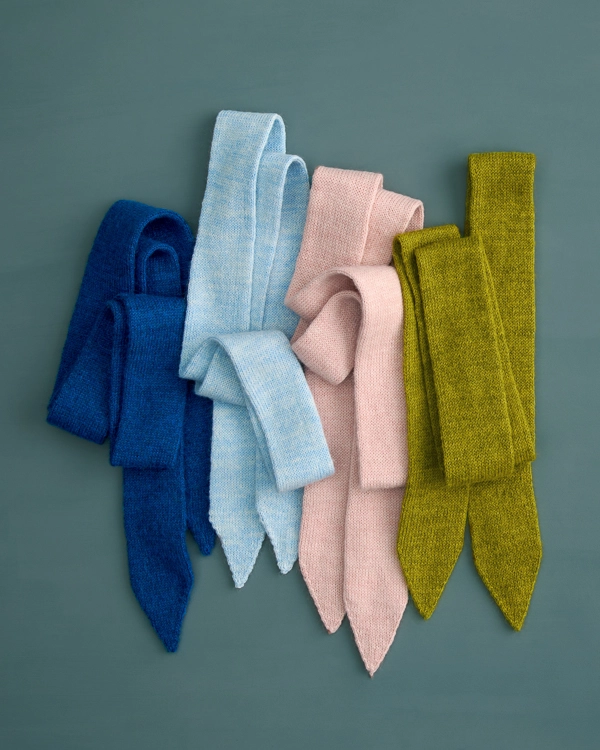
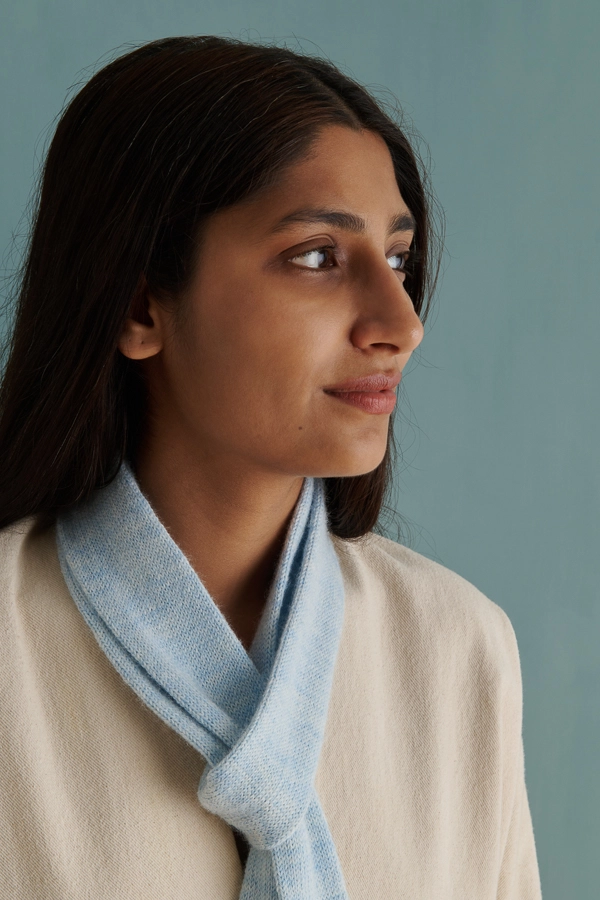
- 1 skein of Purl Soho’s Quartz, 65% merino wool and 35% suri alpaca. Each skein is 420 yards/ 100 grams; approximately 420 total yards required. We used the colors Icicle Blue, Aquamarine Blue, Peony Pink, and Golden Green.
- US 1½ (2.75 mm), double pointed needles or 32-inch circular needles for Magic Loop
- Stitch markers, including one unique
- A small crochet hook and scrap yarn (for Provisional Cast On)
GAUGE
34 stitches and 40 rounds = 4 inches in stockinette stitch
NOTE: We used almost the entire skein of Quartz for this scarf! To avoid running out of yarn, check your gauge.
SIZE
Finished Dimensions: Approximately 2½ inches wide x 68 inches long
NOTES
CONSTRUCTION
You will begin with a Provisional Cast On and knit a long tube in the round, ending with a Triangular Tip. You will then pick up the live cast-on stitches and work the other Triangular Tip.
PROVISIONAL CAST ON
For help with the cast on, please visit our Provisional Cast On tutorial. It also explains how to get the live stitches back onto the needles when you need them!
S2KP (SLIP 2, KNIT 1, PSSO)
Slip 2 stitches together knitwise with yarn in back, knit 1, pass slipped stitches over knit stitch and off right needle. [2 stitches decreased]
For additional help, please visit our s2kp tutorial.
PATTERN
TUBE
With crochet hook and scrap yarn, use a Provisional Cast On (see Notes) to cast 42 stitches evenly onto 3 double pointed needles.
NOTE: Prefer to use Magic Loop? Distribute the stitches equally between 2 needles instead! For more help with Magic Loop, visit our tutorial here.
Joining main yarn…
Set-Up Row: Leaving a 20-yard tail, knit to end of cast-on stitches.
Place a unique marker and join for working in the round, being careful not to twist the stitches.
Knit every round until piece measures approximately 62½ inches from cast-on edge and at least 20 yards remain.
TRIANGULAR TIPS
CONTINUE
Set-Up Round: K21, place marker, knit to end of round.
Decrease Round: [Slip slip knit, knit to 2 stitches before next marker, knit 2 together, slip marker] 2 times. [4 stitches decreased]
Continuing in stockinette stitch, repeat Decrease Round every third round 8 more times. [6 stitches remain]
Double Decrease Round: S2kp (see Notes), remove markers, s2kp. [2 stitches remain]
Cut yarn and thread tail onto a tapestry needle. Draw needle through remaining 2 stitches, pull taut, and weave in end.
MAKE SECOND TIP
Carefully unravel Provisional Cast On, slipping live stitches onto needles as you go (see Notes).
Place unique marker for end of round and using 20-yard tail, work as for other Triangular Tip.
FINISHING
Weave in ends and gently wet block.


What would be the length for short cable needles instead of dpns or magic loop?
Cool looking pattern but always have ladders with dpns and still not comfortable with magic loop.
Hi Harriet,
Thanks for reaching out! I’m afraid that it’s not possible to knit this pattern on circular needles without using magic loop, since the finished circumference is only 5 inches around.
There are a few different tricks to avoid laddering when using DPNs though, so I thought I’d let you know my favorite one in case you want to give that method a try. To avoid laddering, just shift the stitches around on your DPNs after every few rounds. This displaces the junctions between needles, so that they fall between different stitches along the length of the sleeve, thus distributing the uneven tension so that it doesn’t all fall in one column.
And if you’re ever curious to learn more about magic loop, I’d recommend checking out our video tutorial, right here.
I hope this helps give you some options to get started knitting!
All the best,
Lili
Lovely pattern. I wanted to see more from this designer but your link only goes to Instagram.
So I don’t know what the other lovely patterns are.
Hi Carol,
We’re so glad to hear that this pattern has caught your eye! You can check out more of Hiromi’s designs on this page.
All the best,
Lili
Do you really mean to leave a 20-yard tail before you begin and after the finish the straight stitching? Or do you mean 20 inches?
Hi Erica,
Thanks for reaching out. A 20-yard tail is correct! You will use the full 20 yards to knit the second tip, in the MAKE SECOND TIP section, once you’ve completed the rest of the scarf. Hope this helps clarify things!
All the best,
Lili
Cant you use 2 circulars?
Hi Sean,
I’m afraid that two circular needles will likely not work for this pattern. The tips of circular needles are generally about 5 inches long (or 3.5 inches, if you have short-tip needles), and those don’t bend. Since the circumference of the scarf is still smaller than the length of two tips combined, you wouldn’t be able to work with the needles properly. You could technically use two circular needles by using them like a magic loop, but it would just be easier to use one long circular needle and do magic loop at that point!
All the best,
Lili
What is Magic loop? Trying to order what I need
Hi RaeJean,
Thanks for asking! Magic loop is a technique for knitting in the round over very small circumferences using a long circular needle. We have a wonderful tutorial on magic loop, which I’d recommend checking out here for a video demonstration!
All the best,
Lili
Hello! The pattern says to use “ US 1½ (2.75 mm)” needles, but I’ve found that US 1½ is 2.5mm and US 2 is 2.75mm. Can you clarify which needle size is needed? Thank you!
Hi Sarah,
Thanks for writing in! The metric sizes we indicate in our patterns might differ from what you’re used to since different needle companies sometimes assign the millimeter measurements to different US sizes. These inconsistencies, while frustrating, are very common when comparing needles, so when in doubt, rely on metric sizes…they’re standardized! And as long as you find needles with which you can achieve the correct gauge, those will work for the pattern!
All the best,
Lili
Hello, Sarah,
May I ask which needles did you go with? I am unsure if I should use US 1.5 (2.5mm) or US2 (2.75mm). I think I like the US 1.5 better. I got two skeins just in case. Just asking. Thank you!
Hello,
The pattern calls for US 1½ (2.75 mm), but when I went to select the bamboo needles on your website, US 1½ is listed as 2.5mm… and rather US 2 is listed as 2.75mm. Which one should I select?
Thank you so much 🙂
-Michele
Hi Michele,
Thanks for writing in! The metric sizes we indicate in our patterns might differ from what you’re used to since different needle companies sometimes assign the millimeter measurements to different US sizes. These inconsistencies, while frustrating, are very common when comparing needles, so when in doubt, rely on metric sizes…they’re standardized! And as long as you find needles with which you can achieve the correct gauge, those will work for the pattern!
All the best,
Lili
Nothing against Quartz, but with Nigh DK on sale, I’d like to use it for this pattern. Assuming I can get the gauge, how many skeins would you recommend?
Never mind on the Nigh DK skein question: I see you used 420 yards so I can figure it out.
I made the Sophie Scarf in nigh DK and love it. As I was knitting it though, I kept thinking of your skinny scarf in stockinette instead of garter.
Hi Val,
Thanks for writing in! I see you were able to figure out the answer to your question but if you should need anything else, please let us know!
Happy knitting,
Gavriella
For those who are asking if you can use circular needles to make this scarf, there are 9-inch-long circular needles. I use those to knit socks. I’ll use them to knit the 68-inch long tube. Then, I’ll work the tips as instructed.
Best tutorial video on how to do “MagicLoop”. Thank you Purl Soho for your videos and great customer support!