Braided Rib Scarf
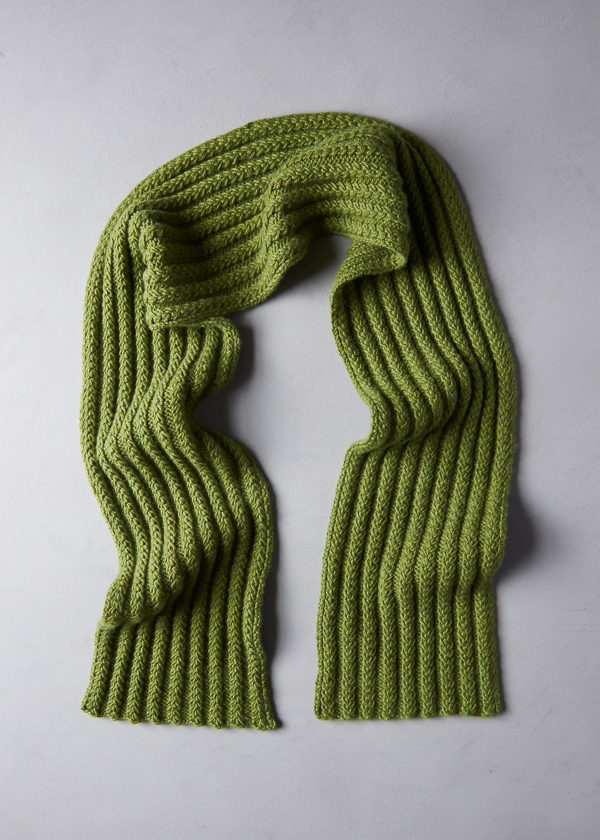
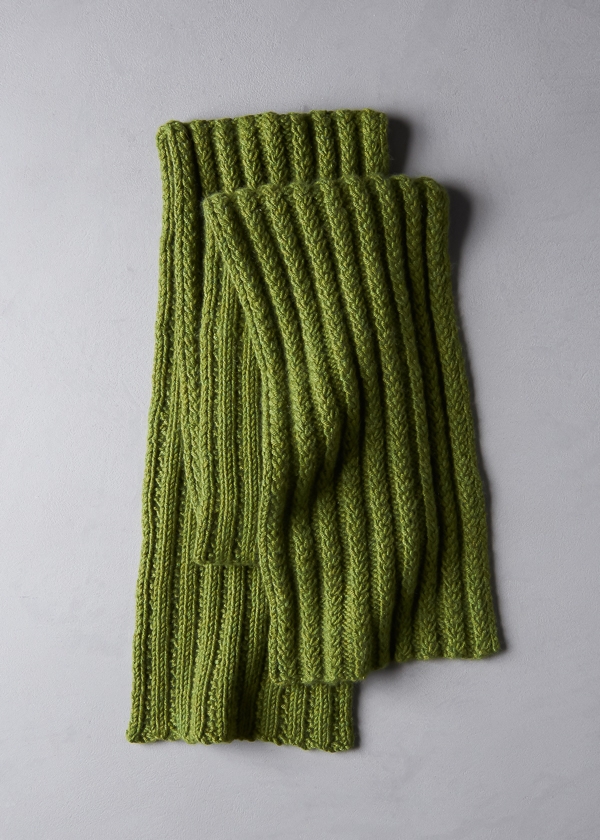
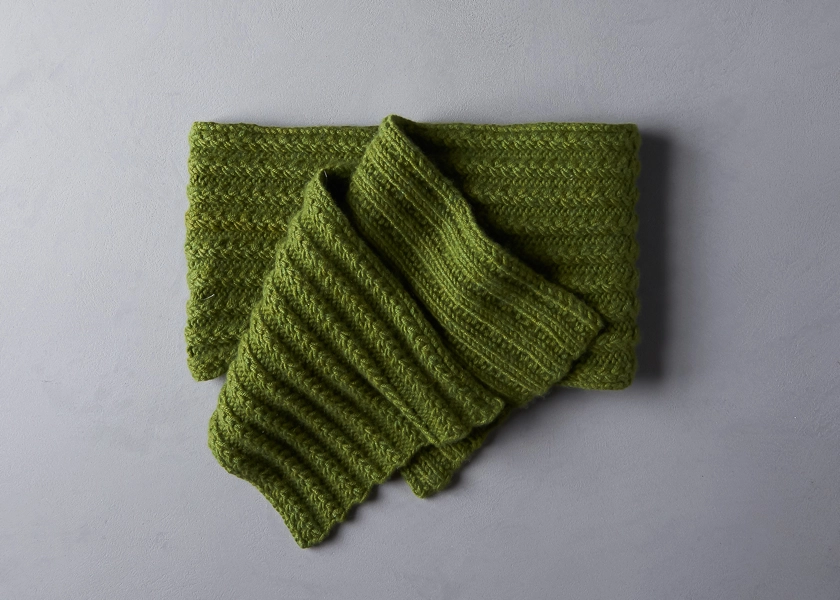
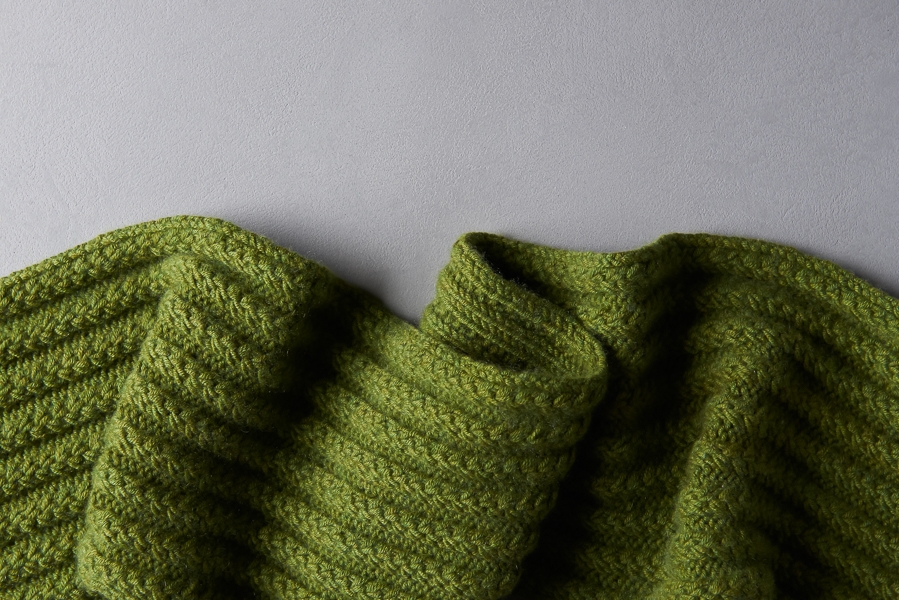
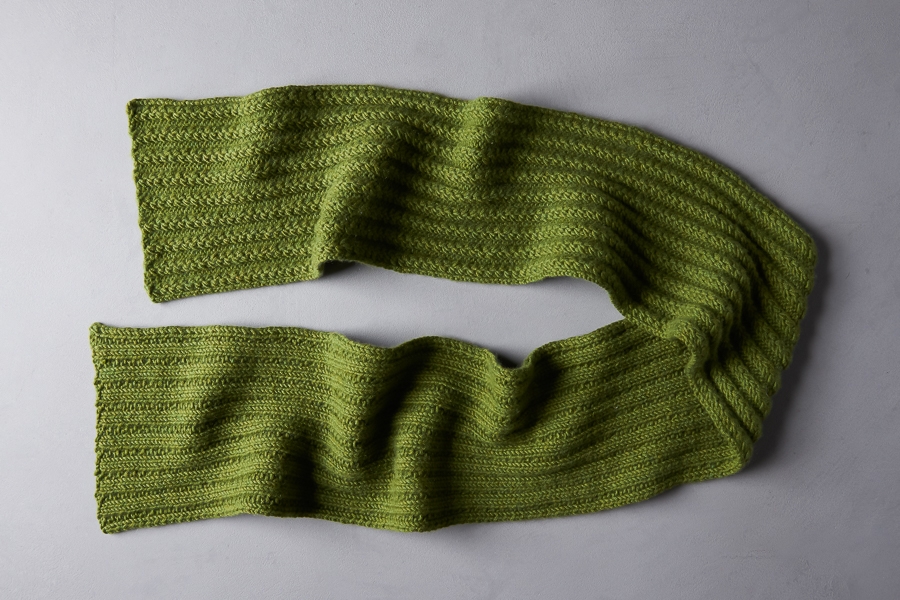
Knitting our Braided Rib Scarf is like creating beautiful vines with your own fingers! Its stitch pattern may introduce you to little one-stitch cables, a simple technique that requires no cable stitch holder or special skills, but that makes for a deceptively intricate and decidedly gorgeous scarf! (Don’t worry, our Braided Ribbing Tutorial explains it all!)

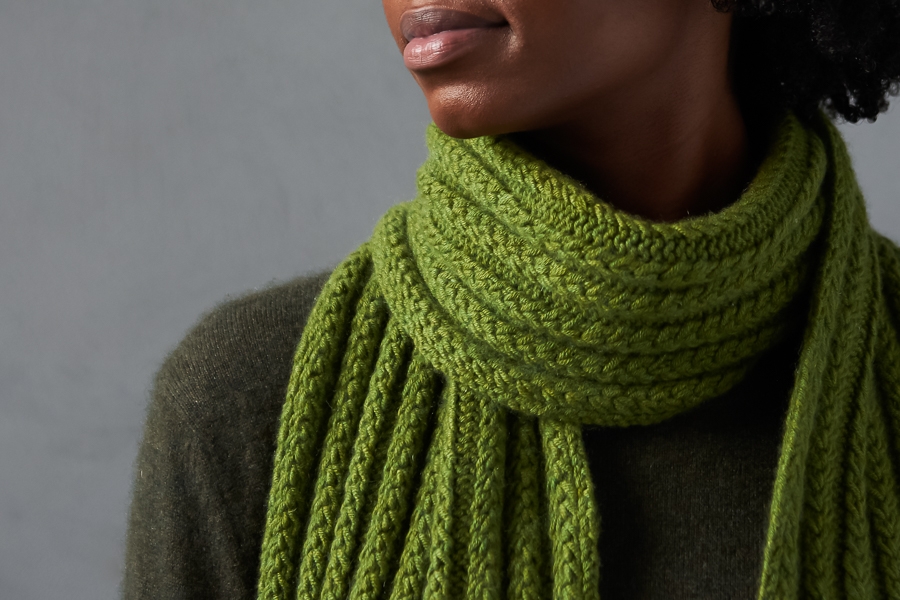
In our supremely soft and warm Cashmere Tend, you or someone you love will be very happy to wrap up in this beauty as winter raises her icy hand. Cashmere Tend also knits up easily on US 8 needles and comes in this particularly fetching Olive Oil color, which wondrously turns braids into flora!

A classic that never grows old, the Braided Rib Scarf is a wonderful gift to whip up in the closing hours of holiday knitting… An interesting stitch pattern, a lovely texture, and a truly joyful yarn to spend some time with!
Share your progress + connect with the community by tagging your pics with #PurlSoho, #PurlSohoBusyHands, #PurlSohoBraidedRibScarf, and #PurlSohoCashmereTend. We can’t wait to see what you make!
Materials

- 6 skeins of Purl Soho’s Cashmere Tend, 100% cashmere. Each skein is 82 yards; approximately 480 yards required. We used the color Olive Oil. (NOTE: We no longer offer Cashmere Tend, but choose from one of our other worsted/aran weight yarns.)
- US 8 (5 mm) straight or circular knitting needles
Gauge
25 stitches = 4 inches in stitch pattern, blocked
Size
Finished Dimensions: 7½ inches x 66 inches
Notes
Stitch Multiple
To make your scarf a different width, cast on any multiple of 5 + 2 stitches.
Tutorial
For a demonstration of how to work this stitch pattern, please check out our Braided Ribbing Tutorial.
Pattern
Cast on 47 stitches.
Row 1 (right side): P2, *k1, insert needle from back to front between 1st and 2nd stitch on left-hand needle and knit 2nd stitch, then knit 1st stitch and let both stitches drop off left-hand needle, p2, repeat from * to end of row.
Row 2 (wrong side): K2, *p1, skip 1st stitch and purl 2nd stitch on left-hand needle, then purl skipped stitch and let both stitches drop off left-hand needle, k2, repeat from * to end of row.
Repeat Rows 1 and 2 until piece measures approximately 66 inches, ending with a right-side row.
Next Row (wrong side): Bind off in pattern. Here’s how…
K2, bind off 1, *p1, bind off 1, skip 1st stitch and purl 2nd stitch on left-hand needle, bind off 1, then purl skipped stitch and let both stitches drop off left-hand needle, bind off 1, [k1, bind off 1] two times, repeat from * to end of row. NOTE: This bind off is demonstrated in our Braided Ribbing Tutorial. Simply skip ahead to 2:53 minutes.
Weave in ends and block as desired.







Love this pattern! Love the simplicity but chic style. A great pattern for men as well. I also see this as a cowl with tubular edges. Thank you so much for your generosity, great style and great yarns!
I would love to see this as a cowl. I am not enough of a knitter to make that conversion. Would it be as simple as leaving off the initial 2 stitches, cast on for repeat of 5 and mark the beginning of the round, using only row 1 instructions?
Hello Nancy,
Thank you for reaching out! At present, this pattern is only written to be knit flat. You can certainly knit this lovely wrap flat and seem it up on the short ends to make a cowl. You are correct that you would need to reverse the purl row. I would try it out with a test swatch and see how it goes.
I hope this is helpful and happy knitting!
-Marilla
Carole, I would be most interested to know how you would make this into a cowl! If knitting in the round, would you omit row two, or make row two stockinette (knit the purls and purl the knits?)
Thx!
The braided rib scarf is beautiful. Would a novice knitter be able to pull this off? And, could you recommend another type of yarn that would be suitable for this project?
Hello Julie,
Thanks for reaching out! It would be a great way to learn a new stitch, especially with our Tutorial. This pattern would also be beautiful in our Worsted Twist or or our Understory, which it was knit in originally.
Happy knitting!
-Marilla
Hi
Very Cole pattern. Can this be easily modified to do in the round? I would have thought so but cant figure out I’d you would just repeat row one or youd have to reverse it and I dont understand how I could reverse the twist part.
Thanks!!
Hello Jane,
Thanks for reaching out! At present, this pattern is only written to be knit flat. You can certainly knit this lovely wrap flat and seem it up to create a round structure. You could try to give it a go by reversing the stitches on row 2 when working in the round. I hope this is helps and happy knitting!
-Marilla
Could you suggest another yarn for this pattern. Thank you!
Hello Jean,
Thanks for reaching out! I think this pattern would be lovely in either our Worsted Twist or Brooklyn Tweed’s Ranch.
Happy knitting!
-Marilla
Can I make this with a DK yarn (size 6 needles) instead? How would I adjust the pattern? I’m a bit new to this kind of thing. Thanks.
Hello Ellen,
Thanks for reaching out! Yes, you certainly can. You would just want to increase the amount of stitches you cast on to get the same width. To figure out how many stitches to cast on you will knit up a gauge swatch. Once you have your swatch you will know how many stitches per inch you are getting. You will then multiply your stitches per inch by your desired width. You will just want to be sure to cast on any multiple of 5 + 2 stitches.
I hope this helps and happy knitting!
-Marilla
Thanks so much! I’ve been looking for a pattern to make a scarf for my dad and this is perfect! While the tutorial says how to bind off in pattern, it doesn’t say anything about casting on. Is there a particular cast on that would look best?
Thanks!
Robin
Hi Robin,
Thanks so much for the kind words and for writing in! Unlike casting off, casting on doesn’t create a row of knitting, so it’s usually not necessary to work a special cast on to match the stitch pattern. We use and recommend a Long Tail Cast On for most of our projects, including this one!
Happy knitting!
Julianna
I just watched the tutorial for this stitch and I don’t understand because the video is shot from the top view and you can’t see the side to understand where she’s putting the needle and…. I’m lost from there, turn it where? Around some…..? I have to see what the person is talking about in order to understand, I guess I’m a visual learner. Please help
Hello Gwen,
Thank you for reaching out! You are basically knitting the second stitch on your needle, leaving that stitch on your needle, knit the first stitch (the one you would normally knit first) and then let them both fall off your left needle. You are knitting them both as though you would any normal stitch you are just knitting the second stitch first. The way that you do this is that you take your working needle and put it back to front between the first and second needle, this sets you up to knit the second stitch first.
I hope this is helpful but let us know if you have any further questions!
Happy knitting,
Marilla
I have to undo many rows of this pattern to fix a mistake. Any suggestions for the best way? I was thinking that if I was very careful and worked on a flat surface, I could slowly pull the stitches out until I was past the mistake.
Hi Edana,
Thanks for reaching out! That is actually a great idea, carefully laying the work out on a flat surface and gently pulling the yarn out until you reach the spot with the mistake. From there you can gently slide your needle back into the stitches.
I hope this helps!
Gianna
Would cashmere merino bloom work with this pattern? Would any alterations have to be made? If not, are there any other non-wool yarns you’d recommend?
Hi Inés,
Thanks for reaching out! Cashmere Merino Bloom would be beautiful with this pattern! It is a bit thinner than Cashmere Tend, so you will want to adjust the cast on a bit. I would suggest starting off by working a gauge swatch on an appropriate size needle, from there you can determine your stitches per inch and calculate your cast on. For more information on gauge, I recommend checking out our wonderful tutorial All About Gauge. Just be sure to keep in mind that the stitch pattern works over a multiple of 5 + 2 stitches!
I hope this helps, and please let me know if you have any more questions!
Gianna
Hi there! A friend just asked me to make this for her and I have a few questions. She loved the green in the photo and I now see that the yarn is no longer available. Can you please recommend another yarn with a similar look, feel, and color?
In addition, she asked for it to be longer and thinner so she could wrap it around her neck a few times. Any helpful hints to help with that would be appreciated. Thank you!!
Hi Janna,
Thanks for reaching out, and I’d be happy to recommend some substitutes for Cashmere Tend!
My first recommendation is Plenty in the color Fresh Pickle. This is our 100% super fine merino yarn, so it’s extra soft and squishy! There is also Worsted Twist and Linen Quill Worsted in Fresh Pickle, but Plenty is definitely the softest of the three!
To make your scarf a different width, you can cast on any multiple of 5 + 2 stitches, so it can easily be adjusted to any width you’d like! For example, to make a scarf that is about 5″ wide, you can cast on 32 stitches. To make your scarf longer, you can just continue to knit the repeat until you are happy with the length of your scarf.
I hope this helps!
All the best,
Carly
Thank you Carly! I appreciate it and love the Plenty, can’t wait to squish it!
Last question, should I get six skeins since I will be making it skinnier, but longer? Assuming it would be about the same at the end. Much appreciated!
You’re very welcome, Janna! Because you are also making your scarf narrower, I would recommend using 4 skeins of Plenty for your project, or 556 yards.
All the best,
Carly
The video shows the back to front insertion and twist, but I have no clue how to drop the stitch and then go to the first stitch. When I try to pause the video it’s blurry because it was done quickly. This is the most complicated part of the stitch and it’s not really shown
Hi David,
Thanks for reaching out! You’ll actually need to knit the first stitch before letting either the second or first one fall off the needle. After knitting the second stitch, you’ll knit the first stitch, and only after that will you be able to let the stitches drop off. To do this, simply pull them off the left needle! They’ll naturally fall right into place.
All the best,
Lili