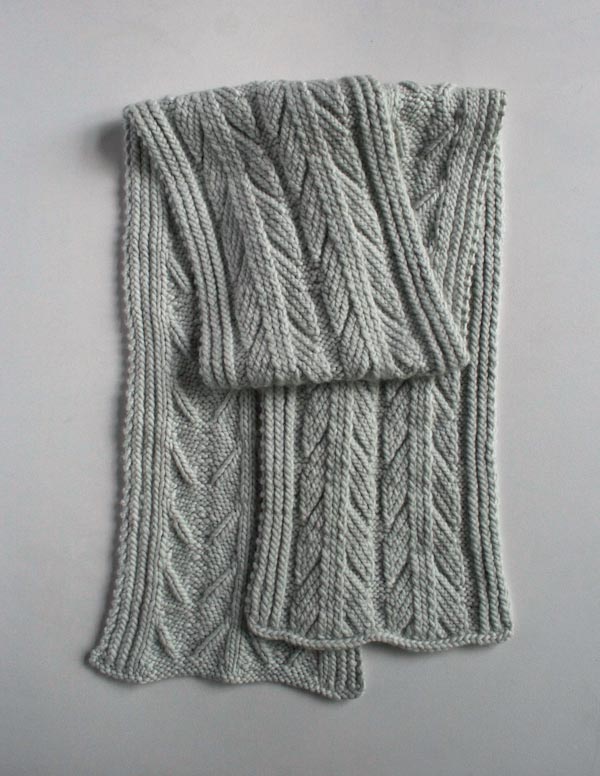

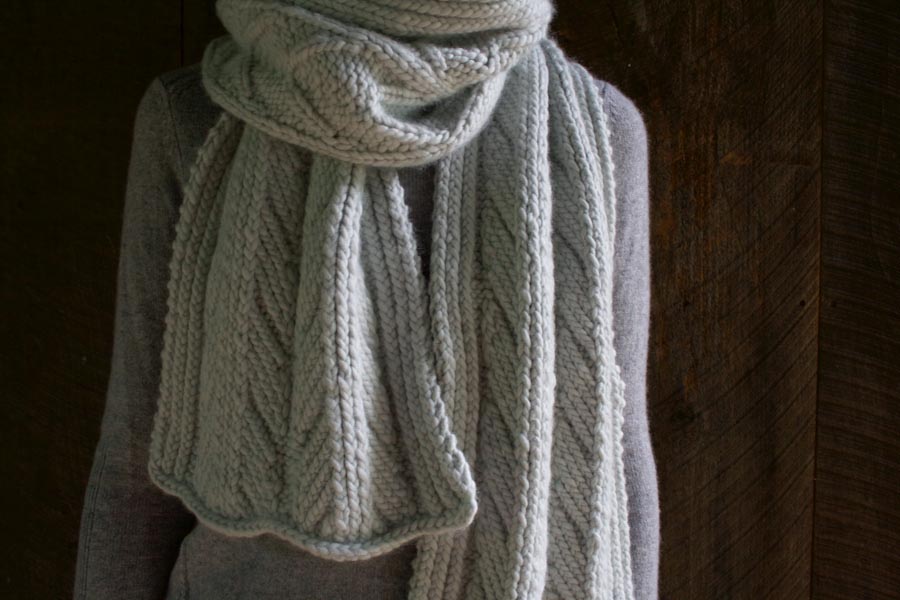
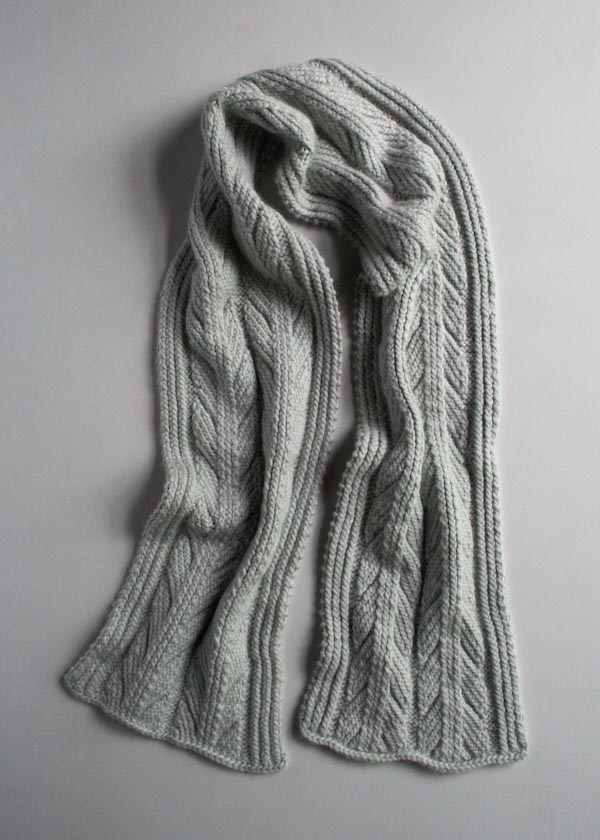
Ancient Stitch Scarf
As far as stitch patterns go, I’ve never encountered one with a more interesting backstory than this. Named Dura-Europos after an ancient Syrian town on the banks of the Euphrates river, a swatch of it is the oldest known piece of knitting in existence. Two thousand years later, the Dura-Europos stitch pattern is the source of inspiration for our big, cozy, and very modern Ancient Stitch Scarf!

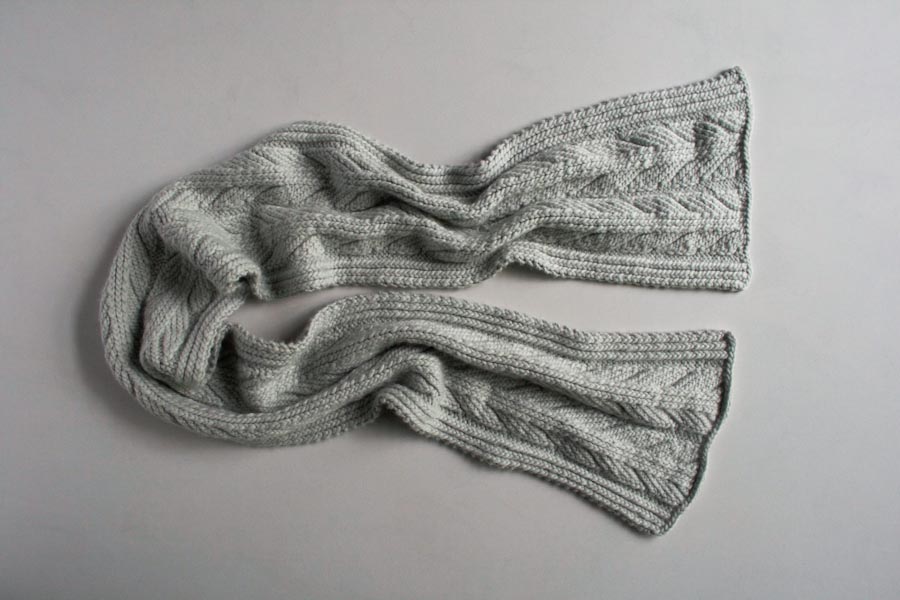
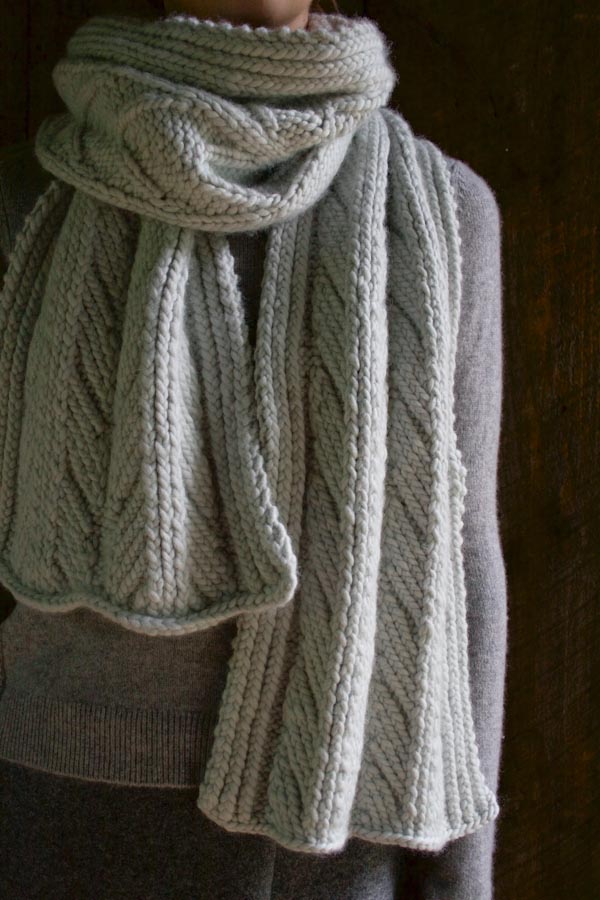
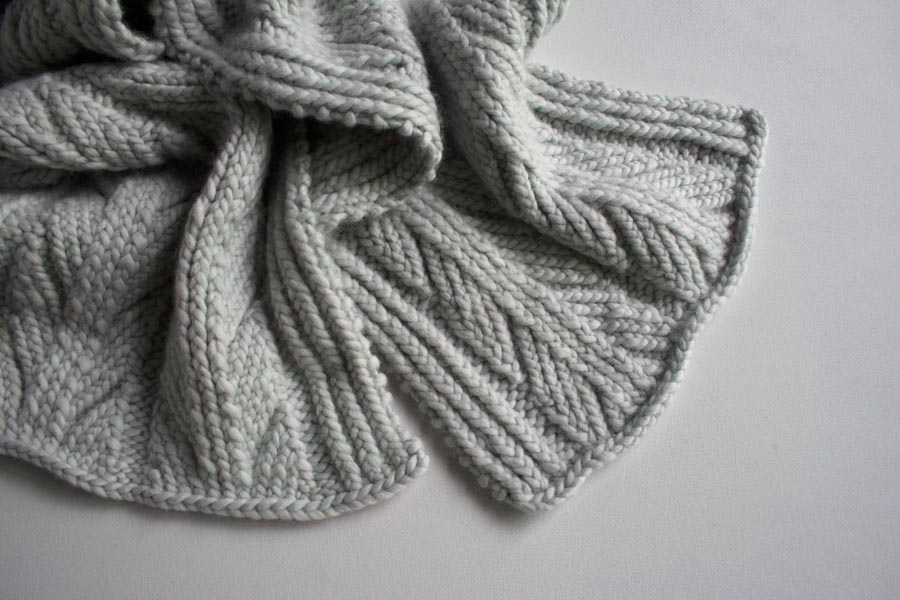
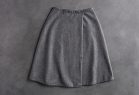
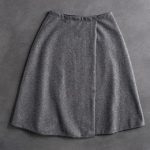
This delicate, embossed-looking motif, achieved primarily by knitting and purling into the backs of the stitches, is beautifully articulated in Purl Soho’s Super Soft Merino. We used icy-green Artemisia, evocative of pale river stones and antique jade treasures, perfect for ancient stitches!
Replicating this vital piece of knitting history was a real time travel experience: bringing the past into the present, connecting to all the knitters in the river of time, and adding my voice to the ancient chorus. First century stitch patterns make gorgeous 21st century scarves! –Kristy

Designed by Purl Soho designer, Kristina McGowan. Click here to see even more of Kristina’s designs!
Share your progress and connect with the community by tagging your pics with #PurlSoho, #PurlSohoBusyHands, #PurlSohoAncientStitchScarf, and #PurlSohoSuperSoftMerino. We can’t wait to see what you make!
Materials
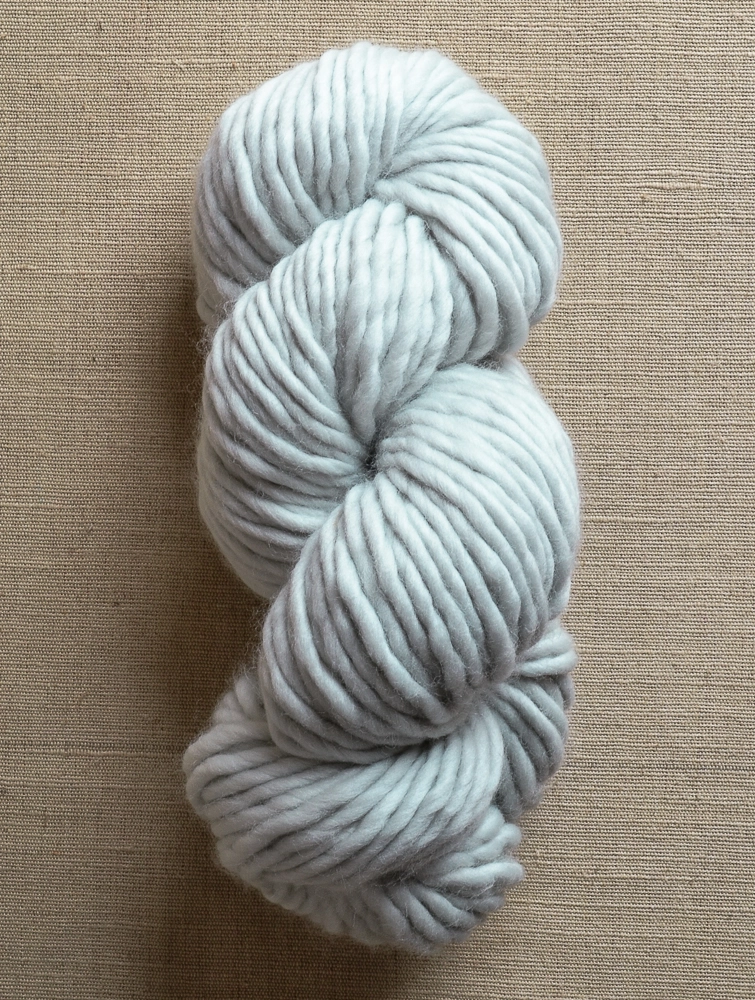
- 5 skeins of Purl Soho’s Super Soft Merino, 100% merino wool. Each skein is 87 yards/ 100 grams; approximately 435 yards required. This is the color Artemisia Green.
- US 11 (8 mm) knitting needles, circular or straight
Gauge
15 stitches = 4 inches in the stitch pattern
Size
11¾ inches wide x 70 inches long
Notes
Techniques
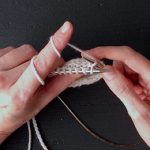
p tbl (purl through the back loop):
Bringing the working needle toward you (in a usual purl motion), purl through the back leg of the stitch, rather than the front. This twists the stitch.
inc (increase into purl bump):
Knit into the purl bump of the next stitch, leave the stitch on the needle, then knit into the back of the next stitch. This is a 1-stitch increase.
pfb (purl front and back):
Purl as usual into the front of the next stitch, leave the stitch on the needle, then purl into the back of the stitch. This is a 1-stitch increase.
Border Stitches
This scarf has a 7-stitch border on either side of two repeats of the pattern. Here’s how to work the border stitches…
Right Border (right side): K1, [k1 through the back loop (tbl), p1 tbl)] three times.
Left Border (right side): [P1 tbl, k1 tbl] three times, k1.
Right Border (wrong side): K1, [p1 tbl, k1 tbl] three times.
Left Border (wrong side): [K1 tbl, p1 tbl] three times, k1.
Pattern
Cast on 44 stitches. We used a basic Long Tail Cast On.
Row 1 (wrong side): Right Border (see Notes, above), [k1, p2 tbl, k1, p7 tbl, k1, p2 tbl, k1] twice, Left Border. Double-checking that, on the wrong side you really do work the right border, then the left border.
Row 2 (right side): Right Border, [p1, inc (see Notes, above), k1 tbl, p1, k1 tbl, k2 tog, k1 tbl, k2 tog tbl, k1 tbl, p1, k1 tbl, inc, p1] twice, Left Border.
Row 3: Right Border, (k1, p3 tbl, k1, p5 tbl, k1, p3 tbl, k1) twice, Left Border.
Row 4: Right Border, [p1, inc, k2 tbl, p1, k2 tog, k1 tbl, k2 tog tbl, p1, k2 tbl, inc, p1] twice, Left Border.
Row 5: Right Border, [k1, p4 tbl, k1, p3 tbl, k1, p4 tbl, k1] twice, Left Border.
Rows 6 and 8: Right Border, [p1, pfb (see Notes, above), k3 tbl, k2 tog, k1 tbl, k2 tog tbl, k3 tbl, pfb, p1] twice, Left Border.
Row 7: Right Border, [k2, p11 tbl, k2] twice, Left Border.
Row 9: Right Border, [k1, p1 tbl, k1, p9 tbl, k1, p1 tbl, k1] twice, Left Border.
Row 10: Right Border, [p1, inc, p1, k2 tbl, k2 tog, k1 tbl, k2 tog tbl, k2 tbl, p1, inc, p1] twice, Left Border.
Repeat Rows 1-10 until piece is just shy of 70 inches (or desired finished length), ending with Row 1.
Bind off all stitches. Cut yarn and pull it through the remaining stitch.
Finish
Pick up 44 stitches along the cast on edge, binding off as you go.
Weave in the ends and block as desired.


I would like to knit this in a cotton chunky. Do you think Juniper Moon’s cotton chunky yarn would work? Thx
Hi Joyce,
Thanks for reaching out! I’m not familiar with that particular yarn, but this pattern is written for bulky to super bulky weight yarns. I would suggest knitting a gauge swatch in pattern to see if your yarn will work!
Best,
Julianna
I’m having trouble with this one , is it possible to re write the instructions, to make it easier to understand ? What’s the front side from the back side . This right boarder, left is confusing I’m American not euopean sorry I’m. Confused
Hi Linda,
Thanks for reaching out, and I’m so sorry this pattern is giving you trouble! Although we aren’t able to rewrite the entire instructions, hopefully I can provide a few tips to make this go a little more smoothly! After you knit your first two rows, I would recommend placing a removable stitch marker or tying a small piece of contrasting yarn to the right side of your work, to help keep track of which instructions to follow. Whenever you see “Right Border” or “Left Border,” you will refer back up to the instructions in the notes, which tell you what to knit for either border depending on whether you are on a right or wrong side. So for instance, the first two rows fully written out would be:
Row 1 (wrong side):
Right Border (wrong side) – K1, [p1 tbl, k1 tbl] three times
[k1, p2 tbl, k1, p7 tbl, k1, p2 tbl, k1] twice
Left Border (wrong side) – [K1 tbl, p1 tbl] three times, k1
Row 2 (right side):
Right Border (right side) – K1, [k1 through the back loop (tbl), p1 tbl)] three times
[p1, inc (see Notes, above), k1 tbl, p1, k1 tbl, k2 tog, k1 tbl, k2 tog tbl, k1 tbl, p1, k1 tbl, inc, p1] twice
Left Border (right side) – [P1 tbl, k1 tbl] three times, k1
Once you get going you should be able to easily see whether you are on the right or wrong side, and the border stitches should be fairly easy to memorize after a few rows!
I hope that clears things up!
Julianna
Hi- any chance there is a chart for this pattern?
Hi Alice,
Thanks for reaching out! We don’t currently offer this pattern with a chart but thank you for expressing your interest, I will be sure to pass this along to the rest of the team!
All the best,
Gianna
I have started making this scarf, but it seems like 5 Skeins isn’t enough. For one skein i made about 12inches of scarf. 12X5= 60in of scarf. The directions however say you only need 5 Skeins. Should I order one more skein? Or will it be long enough with just 5? This is a beautiful scarf pattern, I love it!
Hi Emily,
Thanks for reaching out! 5 skeins should be enough to get to 70″, did you work a gauge swatch prior to beginning the scarf? It could be your gauge is a bit off and that could be causing. the scarf to come up a bit short! In that case you could asses your gauge and if it is off you can make the necessary adjustments if you would like (our All About Gauge tutorial is an excellent resource to use!) or order another skein and just keep going as is!
I hope this helps, happy knitting!
Gianna
Hi Gianna,
I don’t understand what you mean by finish. Seems like there is a standard bind off but then before weaving in the ends, it says pick up 44 stitches and bind off as you go. I don’ t understand what that means.
Thanks
Hi Jane!
Thank you for your question! This pattern has you pick up stitches on the cast on edge and then immediately bind them off so that the cast on edge matches the bind off edge. This means that you pick up and knit two stitches, pass the first stitch over the second stitch, knit the next stitch, pass the remaining stitch on your needle over this new stitch, and so on. If you would like a more complete tutorial for how to bind off, we have a handy Basic Bind Off tutorial. Alternatively, you could do a single crochet or slip stitch border for this cast on edge, which will still match the V shape of a traditional knit bind off!
I hope this is helpful!
All the best,
Margaret
Hi –
how do you think this pattern would look for a full blanket?
Hi Lisa,
Thank you for writing in! I think this pattern would be lovely for a blanket! To do so, you will want to multiply the cast on number by the amount of repeats for the size you’d like. For example, if you multiply the cast on by 3 you will have a blanket with a width of 35.25″ instead of the 11.75″ width of the scarf. I hope this helps!
Happy knitting,
Gavriella
I really like the look of this pattern; however, I am not sure about the purl bump increase, it says knit into the purl bump and leave on needle then knit into the back of the next stitch, does that mean you do that then slip off both of those stitches together? Can you clarify this a little more please?
Hi Lin,
Thank you for writing in! We are thrilled this pattern caught your eye! Yes, that is correct, you will knit into the purl bump to create an extra stitch which is your ‘increase’ and then you will knit the following stitch on your left-hand needle into the back loop. This technique creates two stitches from 1. I hope this helps but please let me know if you have any other questions!
Happy knitting,
Gavriella