
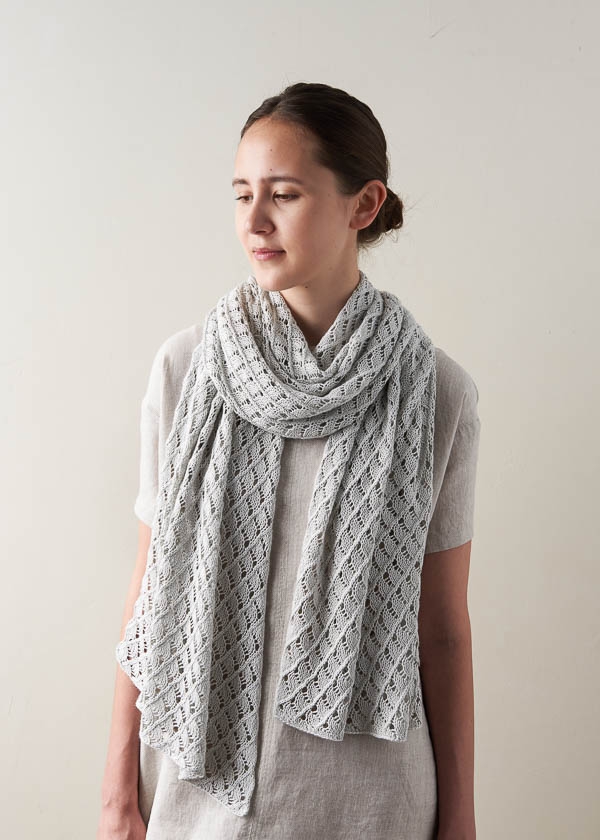
Little Moons Lace Wrap
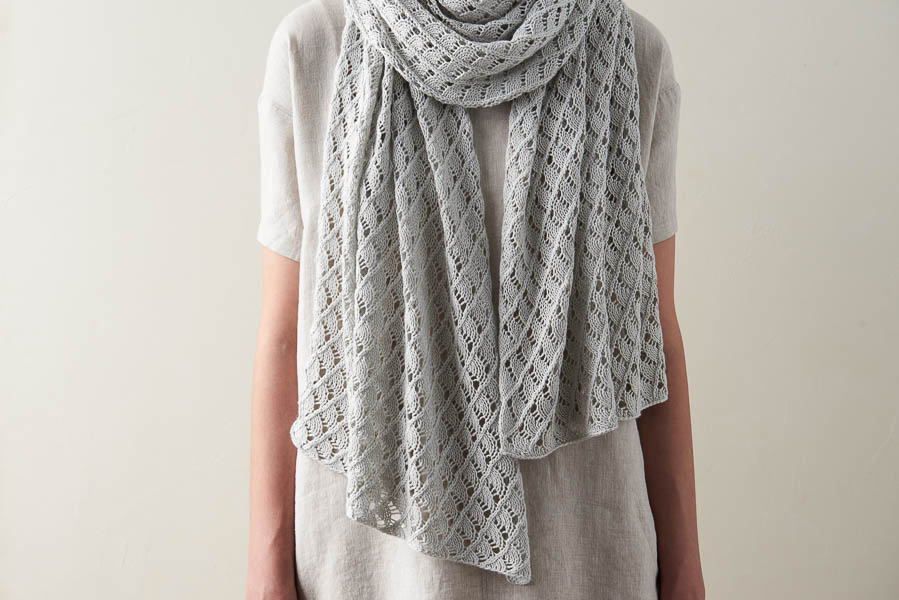
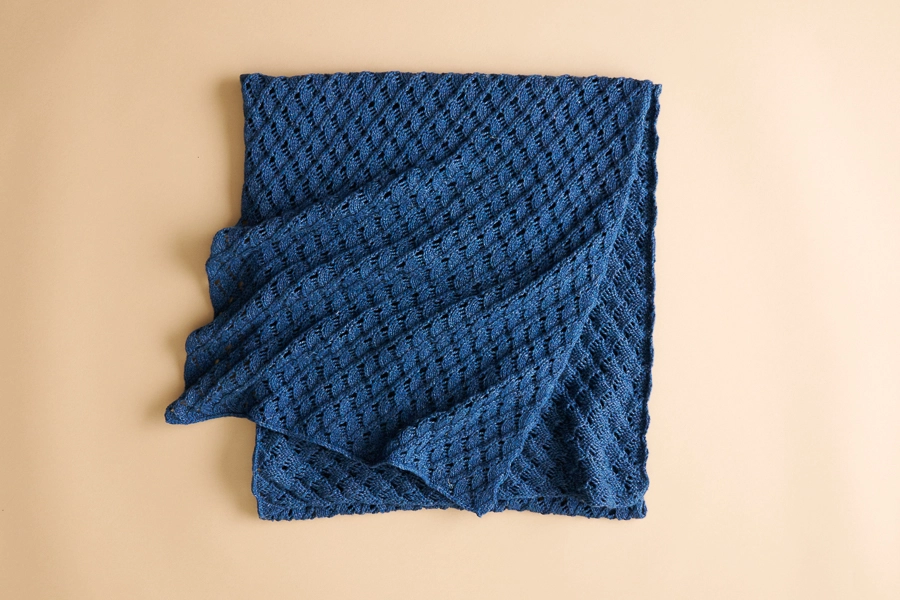
Like the moon making a guest appearance at life’s great parties, our Little Moons Lace Wrap brings a special glow to summer weddings, beach bonfires, and backyard potlucks.
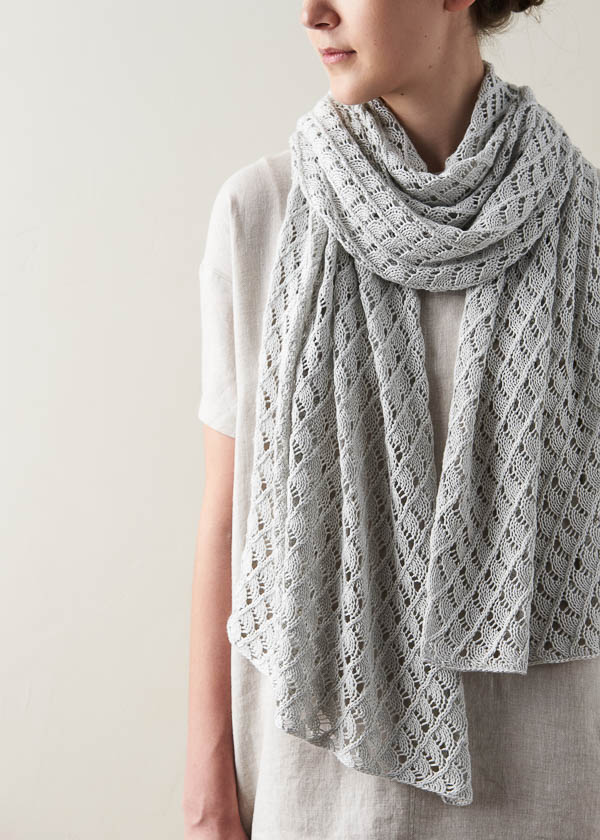
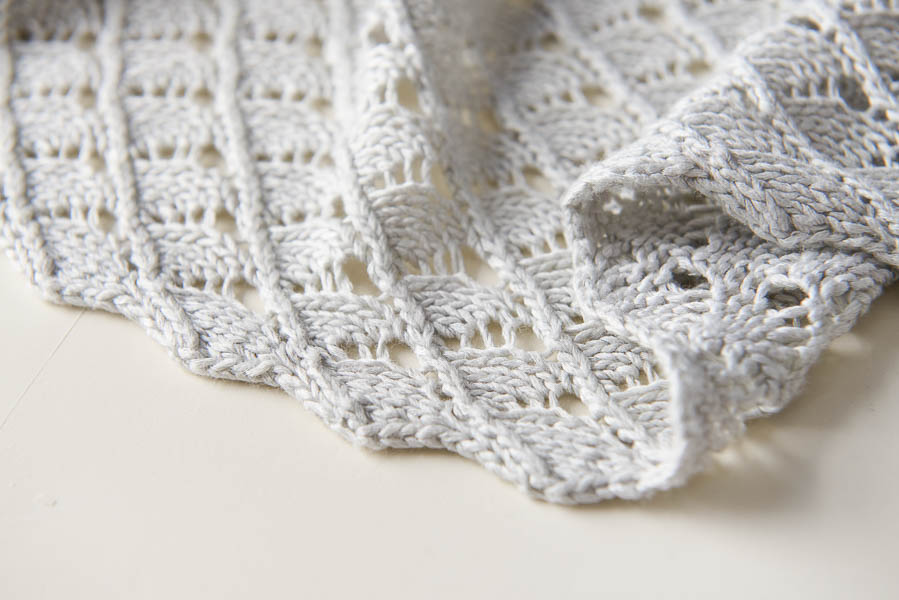
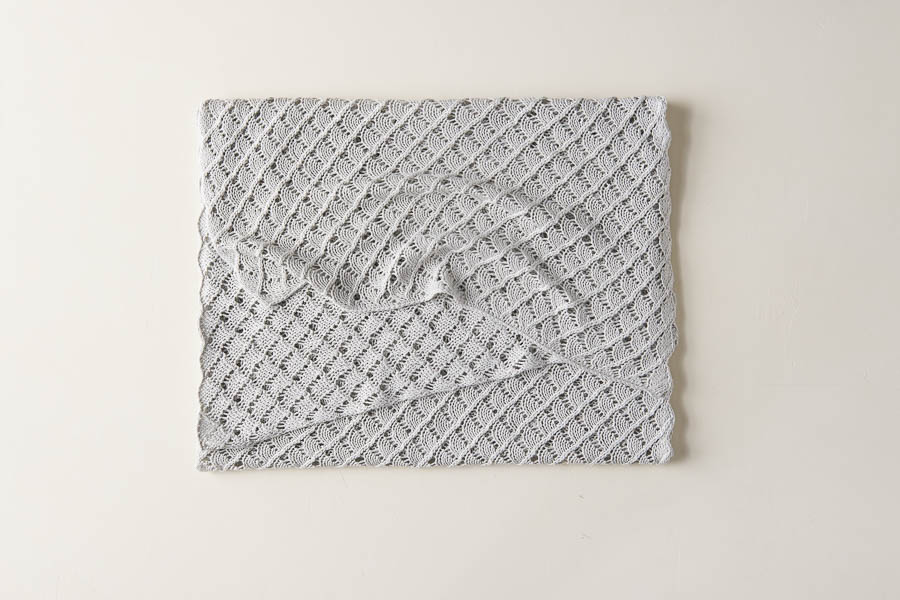
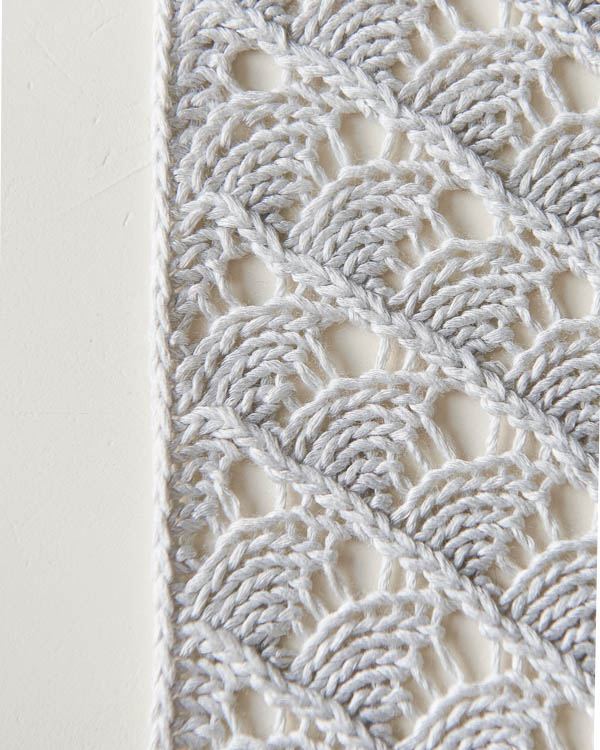
In a classic Milanese lace pattern, this beauty is deceptively simple to work, with just 10 rows of single-stitch increases and decreases. We love the striking diagonal ridges interspersed with rows of lacy crescents, delicate but assertive!
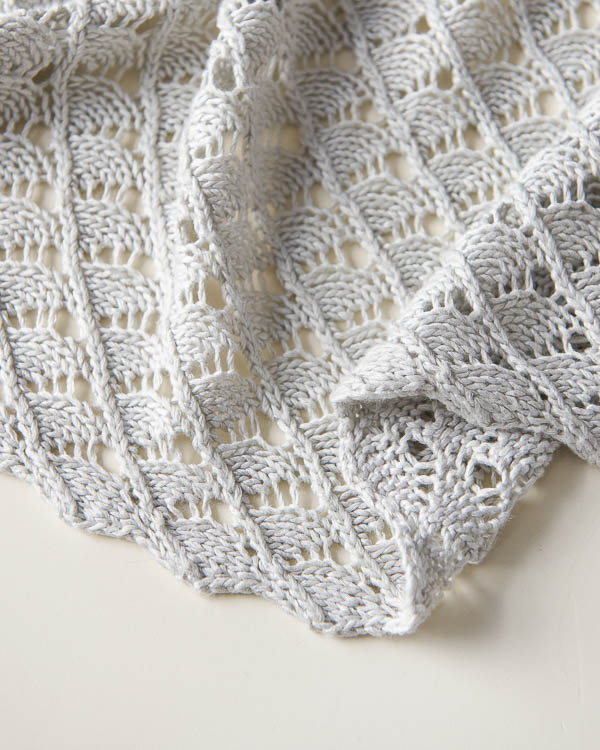
We made our Little Moons Lace Wrap with our newest yarn, Burnish. A rayon made from bamboo fiber, Burnish looks and behaves a lot like silk but is more durable, machine washable, and vegan… Very nice!
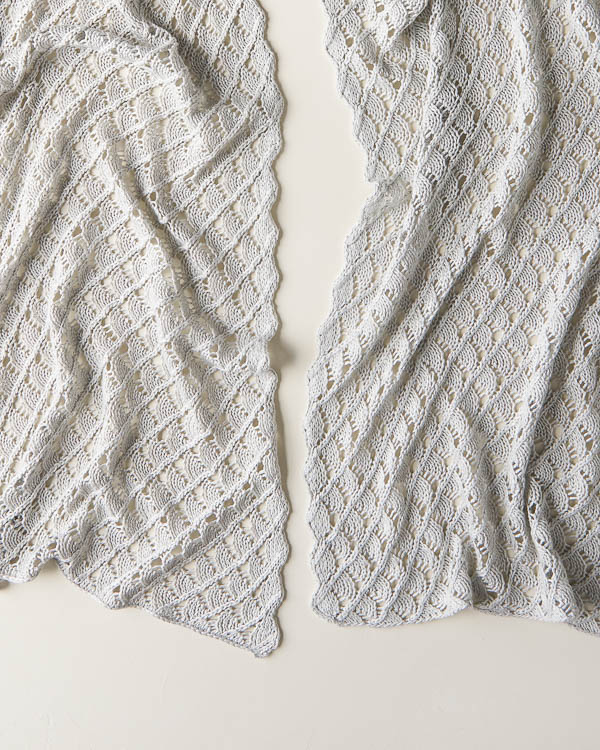
Exceptionally beautiful, shiny and cool, our Little Moons Lace Wrap casts a veritable moonbeam, even under a cloudy sky!
Designed by Purl Soho designer, Jake Canton. Click here to see even more of Jake’s designs!
UPDATE: NOW IN SANTOLINA
JUNE 2022
Our Little Moons Wrap is now in lovely Santolina, a combination of 70% organically grown cotton, 20% rayon from bamboo, and 10% hemp. It is soft with a gentle shine and a lightness that makes it fantastic for three-season accessories. Add in the gorgeous drape you’d expect from these plant fibers, and you’ll be over the moon for our Little Moons Lace Wrap!
Share your progress + connect with the community by tagging your pics with #PurlSoho, #PurlSohoBusyHands, #PurlSohoLittleMoonsLaceWrap, and #PurlSohoBurnish. We can’t wait to see what you make!
Materials
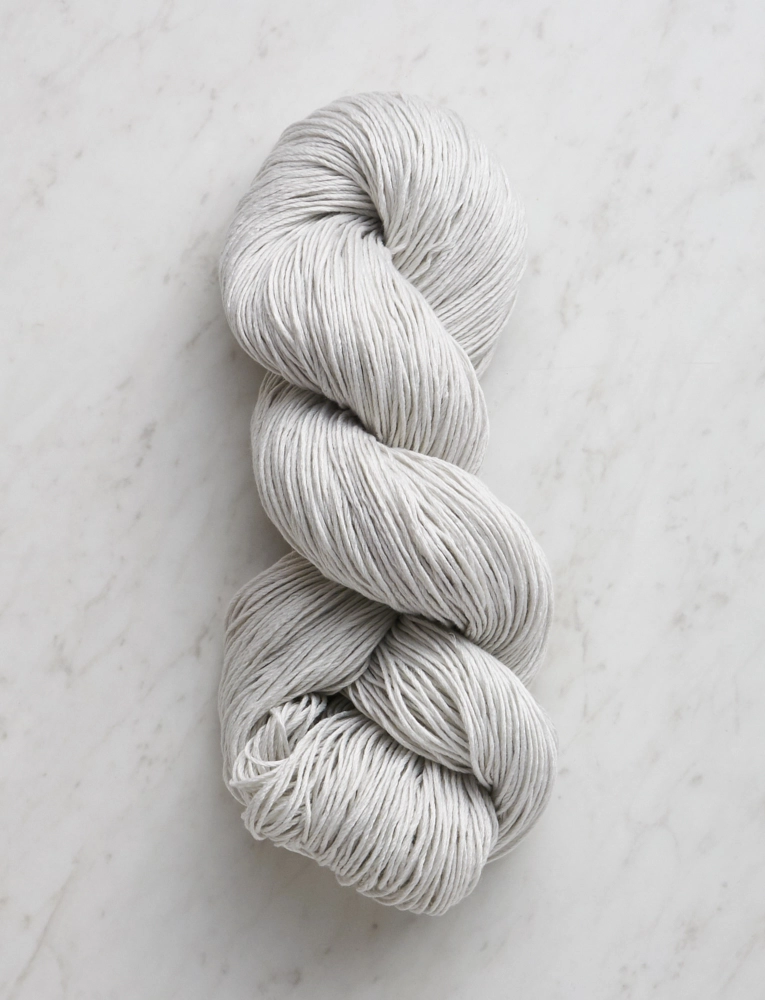
- 4 skeins of Purl Soho’s Burnish, 100% rayon from bamboo. Each skein is 339 yards/ 100 grams; approximately 1,242 yards required. We used Gray Willow. (NOTE: We no longer offer Burnish, but choose from one of our other fingering/sport weight yarns.)
- US 6 (4 mm) straight or circular needles
Gauge
22 stitches and 34 rows = 4 inches in stitch pattern
Size
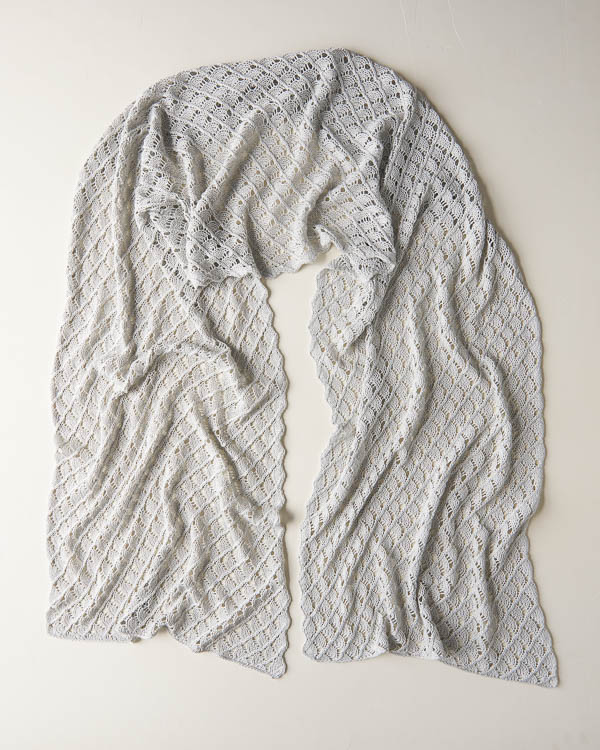
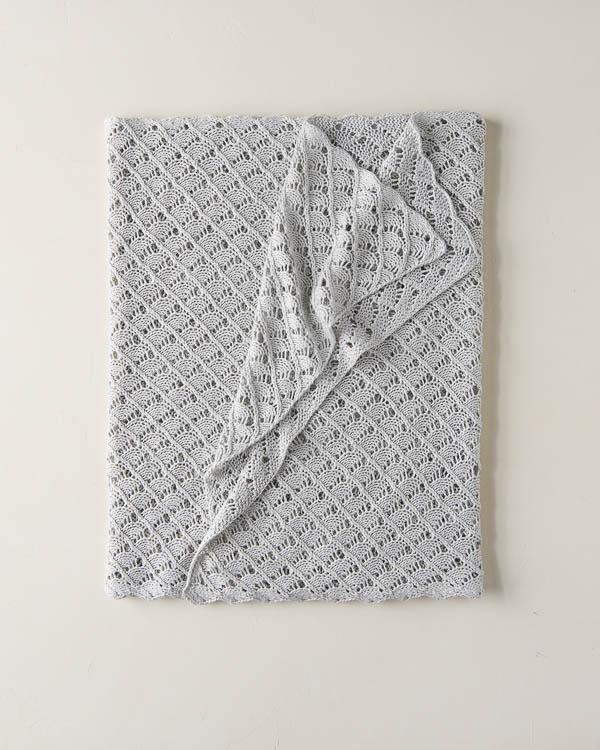
Unblocked Dimensions: 14½ wide x 77 inches long
Finished Dimensions: 18 inches wide x 78 inches long
Notes
Stitch Multiple
Worked over a multiple of 6 plus 10 stitches.
Increases
RLI (Right Lifted Increase): Lift right leg of the stitch below the next stitch on the left-hand needle onto the left-hand needle and knit it. [1 stitch increased]
For more information about this technique, please visit our Lifted Increases Tutorial.
m1R purlwise (Make One Right Purlwise, worked on the wrong side): With the left needle, pick up the horizontal strand between the last stitch you knit and the one you’re about to knit, bringing the needle from back to front, then purl through front loop of the strand. This makes a right-leaning increase on the right, or knit, side of the fabric. [1 stitch increased]
For more information about this technique, please visit our Make 1 Purlwise Tutorial.
Pattern
Cast on 100 stitches.
Set-Up Row (wrong side): Purl to end of row.
Now follow either the Written or Chart Instructions, both below.
LITTLE MOONS LACE: WRITTEN INSTRUCTIONS
Row 1 (right side): K6, *knit 2 together (k2tog), yarn over (yo), k4, repeat from * to last 4 stitches, k2tog, RLI (see Notes), k2.
Row 2 (wrong side): P3, m1R purlwise (see Notes), *purl 2 together (p2tog), p3, yo, p1, repeat from * to last 7 stitches, p2tog, p5.
Row 3: K4, *k2tog, k2, yo, k2, repeat from * to last 6 stitches, k2tog, k2, RLI, k2.
Row 4: P5, m1R purlwise, *p2tog, p1, yo, p3, repeat from * to last 5 stitches, p2tog, p3.
Row 5: K2, *k2tog, k4, yo, repeat from * to last 8 stitches, k2tog, k4, RLI, k2.
Row 6: P1, m1R purlwise, *p2tog, p4, yo repeat from * to last 3 stitches, p2tog, p1.
Row 7: K3, *yo, k3, k2tog, k1, repeat from * to last stitch, k1.
Row 8: P2, *p2tog, p2, yo, p2, repeat from * to last 2 stitches, p2.
Row 9: K5, *yo, k1, k2tog, k3, repeat from * to last 5 stitches yo, k1, k2tog, k2.
Row 10: P2, *p2tog, yo, p4, repeat from * to last 2 stitches, p2.
Repeat Rows 1-10 until piece measures 77 inches from cast-on edge, ending with Row 9.
Go on to Finishing section below.
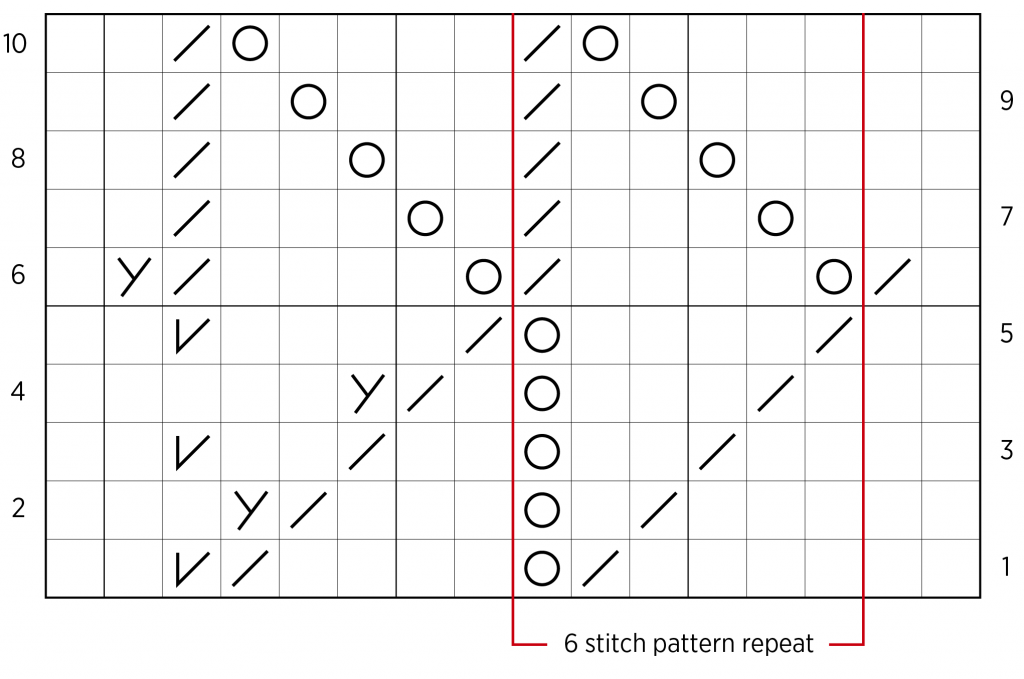
LITTLE MOONS LACE: CHART
NOTE: New to reading charts? Unravel the mysteries with our Reading A Chart Tutorial!
Starting in the bottom right corner of the Chart below, work right-side (odd number) rows from right to left and wrong-side (even number) rows from left to right.
Work Rows 1–10 until piece measures approximately 77 inches from cast-on edge or to desired length, ending with Row 9.
KEY
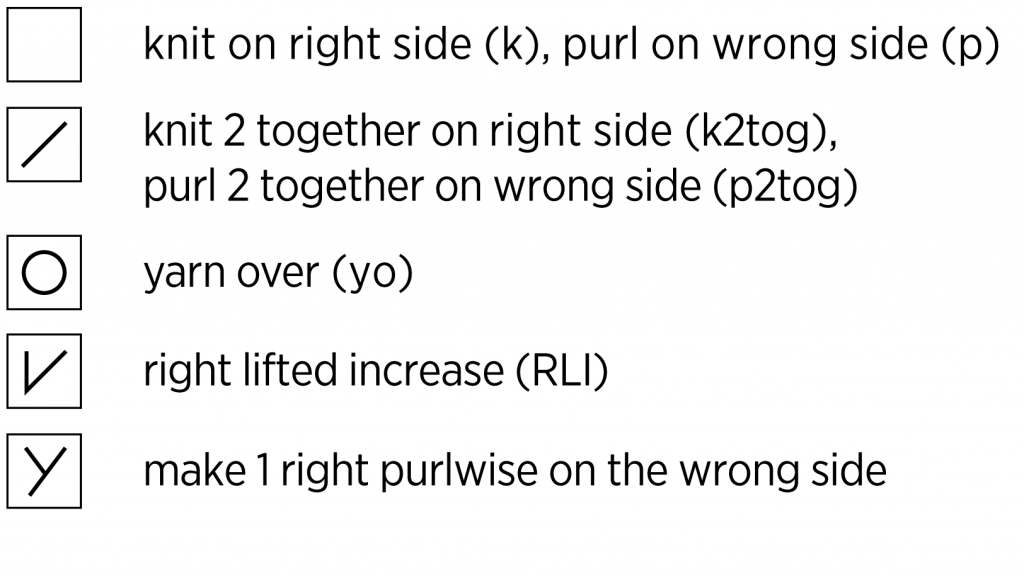
CHART
NOTE: Want to see it bigger? Download this chart (and key) as a PDF!
Go on to Finishing section below.
FINISHING
Next Row (wrong side): Purl to end of row.
With right side facing you, bind off knitwise.
Weave in ends and block as desired.


Thank you.
Hello!
I knitted the scarf ( 100 stitches) and used only 3 of the 4 skeins to finish It…
Now I have 1 left: what can I make with It? I live in Belgium and do not send It back! It is the color Pale Celery
Thank you for your help!
Hi Vandenabeele,
Thanks for reaching out! I think the Knit Drawstring Bag + Backpack would be adorable, one skein of Burnish will be plenty for either the bag or backpack! Just be sure to check your gauge before beginning to ensure you are consistent with the pattern!
I hope this helps and please let me know if you would like any more suggestions!
Gianna
Hello,
Maybe I can knit a scarf with 1 skein of Burnish together with 1 skein left of Cattail Silk? What needles can I use?
Thank You!
Hi Kristin,
Thanks for reaching out! That’s a great idea! If you are planning on using the two yarns held together I would suggest using a US 3-5 needle depending on how tightly-knit you would like it!
I hope this helps, happy knitting!
Gianna
Love this yarn and pattern. Wondering how much of the 4th skein you used to get to 77 inches. Thanks!
Hi Gail,
Thanks for reaching out! This wrap requires approximately 1,242 yards, and each skein of Burnish is 339 yards so you will use approximately 225 yards of the 4th skein leaving you with about 114 yards leftover!
Happy knitting!
Gianna
I just got passed the dastardly row 6! Thanks for writing the row, it totally helped! I feel so proud.
No way to overcome the BIG row-6 problem! I did it and undid it so many times I cannot even remember! I followed the pattern instructions and your final extended explanation, but I still have 2 and not 3 stitches at the end of the row.
I’m quite stubborn and don’t want to give up and I’m currently solving the problem by making another increase before the final 2 stitches. But I REALLY would like to know where the ‘trick’ is! Thank you
Hi Barbara!
Thank you for your question! I’m so sorry Row 6 has been difficult, and I commend your efforts to get it right. Row 6 is when the first stripe of yarn over “moons” ends and the next stripe of yarn over “moons” begins, so this row will naturally feel a bit different than the previous five rows. I suggest making sure your rows leading up to row 6 are all correct. Another way to do this would be to knit a small swatch of 22 or 28 stitches or so, to do a small-scale study of how you’re getting to 2 stitches left and not 3 at the end of row 6.
I hope this helps, but please feel free to reach out to us at customerservice@purlsoho.com if you would like to share a photo of your work so we can better understand what’s going on!
All the best,
Margaret
Thks Margaret but….I finallly discovered where the ‘bug’ is! It’s the row 5 the problem, beacause I did not make the YO before the last 8 stitches! All the focus was on those last stitches and to row 6, which I knittted always right….I feel MUCH better! Aaaaahhh Thank you all
You are very welcome, Barbara! I am so glad you were able to find the sticking point, and that you can continue on with your wrap now!
All the best,
Margaret
Hi! I am having trouble ending up with the correct number of stitches at the end of several rows. Can you please confirm how many stitches total we should have at the end of each finished row? I can’t figure out where my mistake is! Thank you!
Hi Lindsey!
Thank you for your question! Since each increase in this wrap has a decrease to go with it, the number of stitches should stay the same throughout the pattern. I suggest double checking your stitch counts at the end of each row like you mentioned (instead of in the middle of each row) so that all decreases and increases can be accounted for when you count. If you cast on 100 stitches, there should be 100 stitches after each row!
I hope this helps you get your wrap back on track, and please feel free to reach out to us with a photo of your wrap at customerservice@purlsoho.com if you would like some extra help!
All the best,
Margaret