Arboretum Wrap
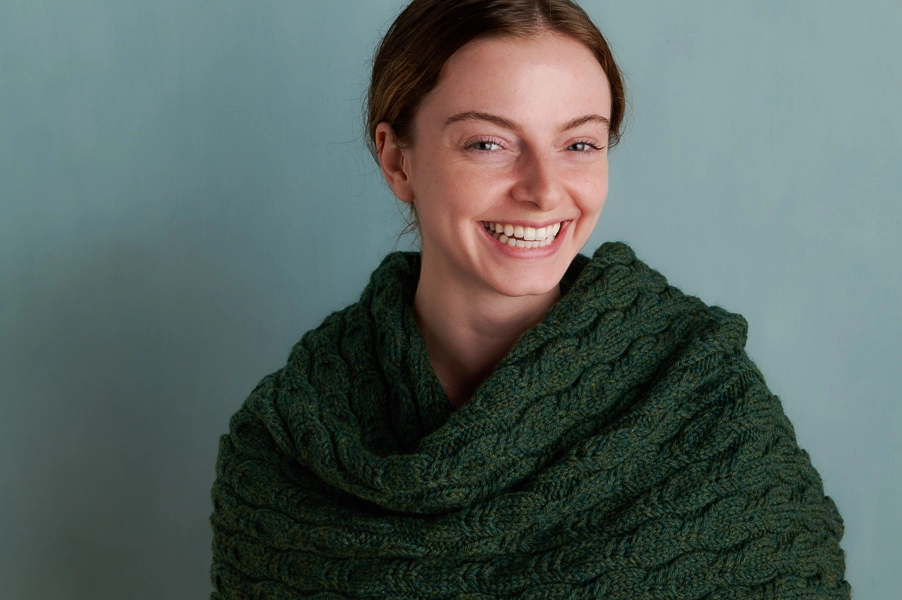
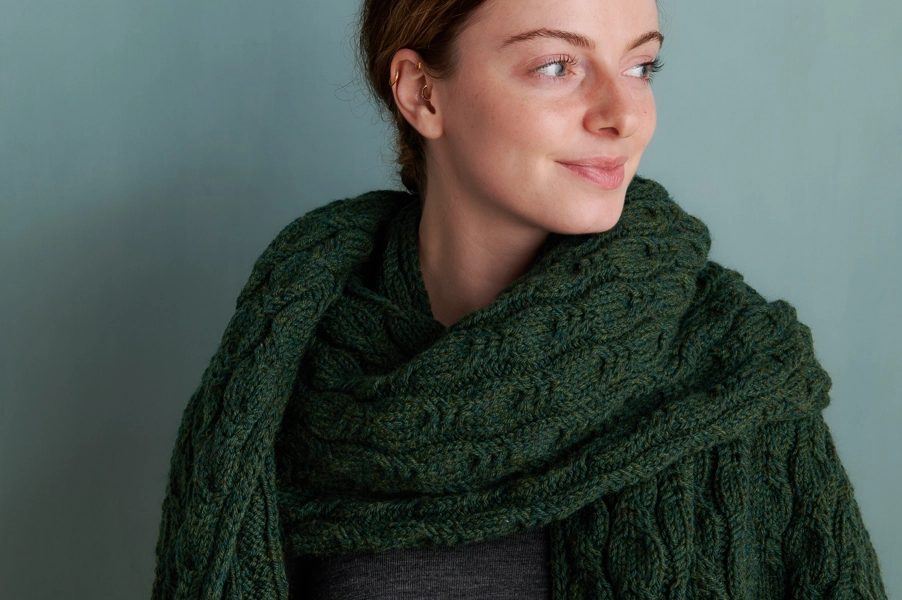
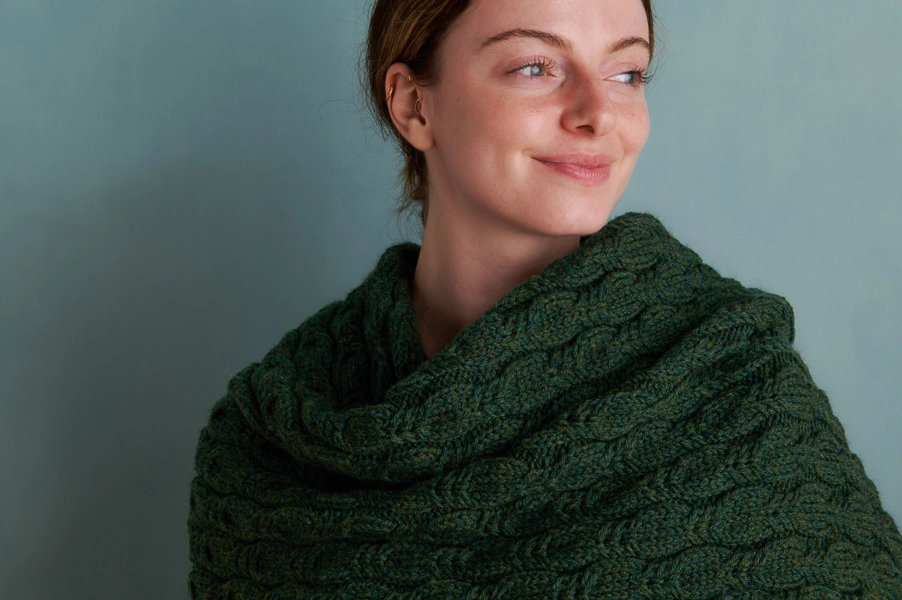
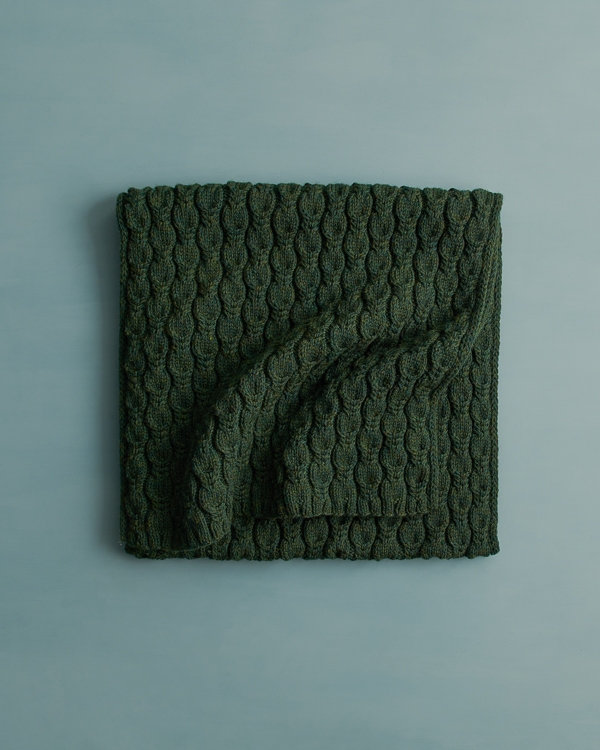
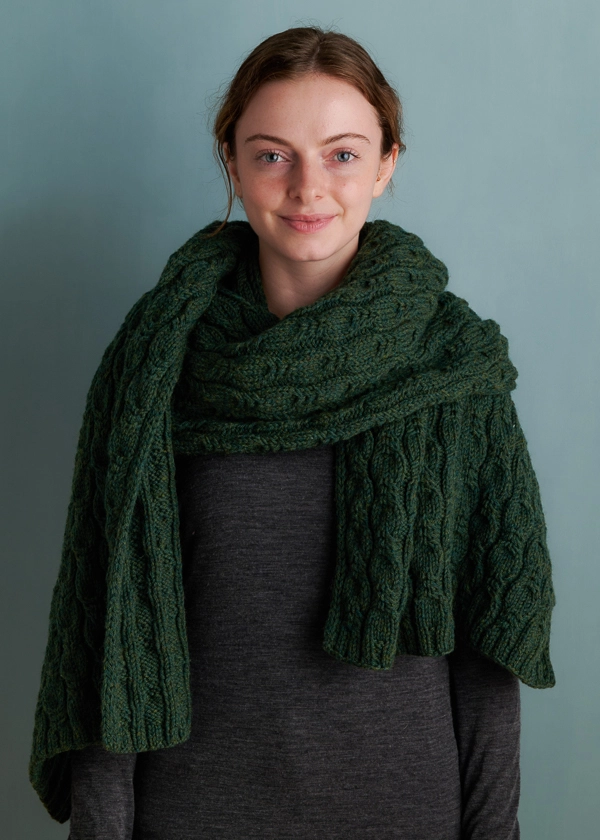
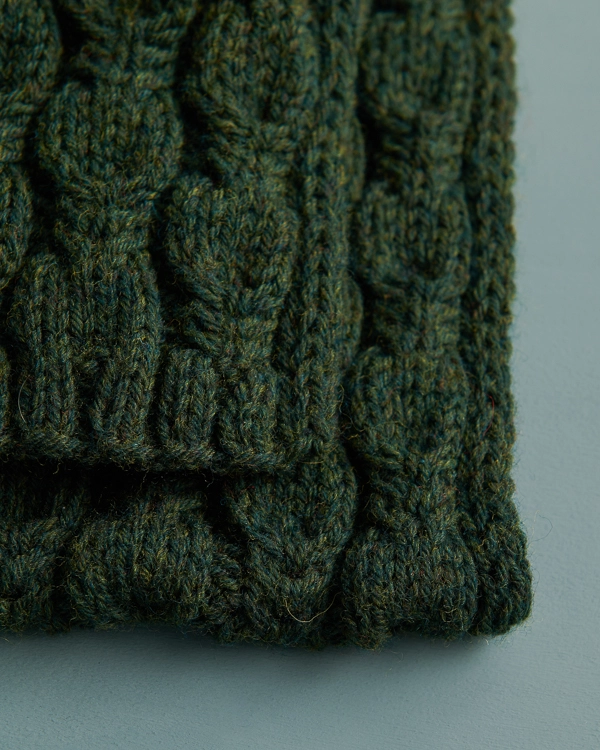
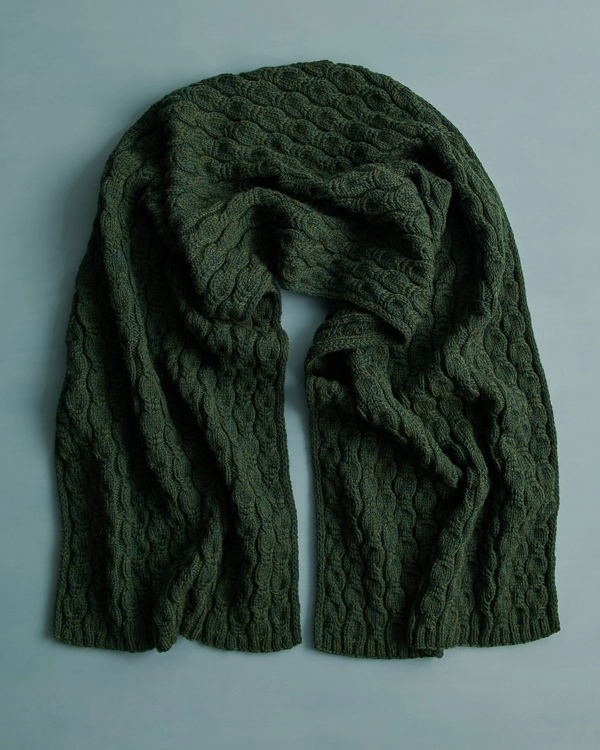
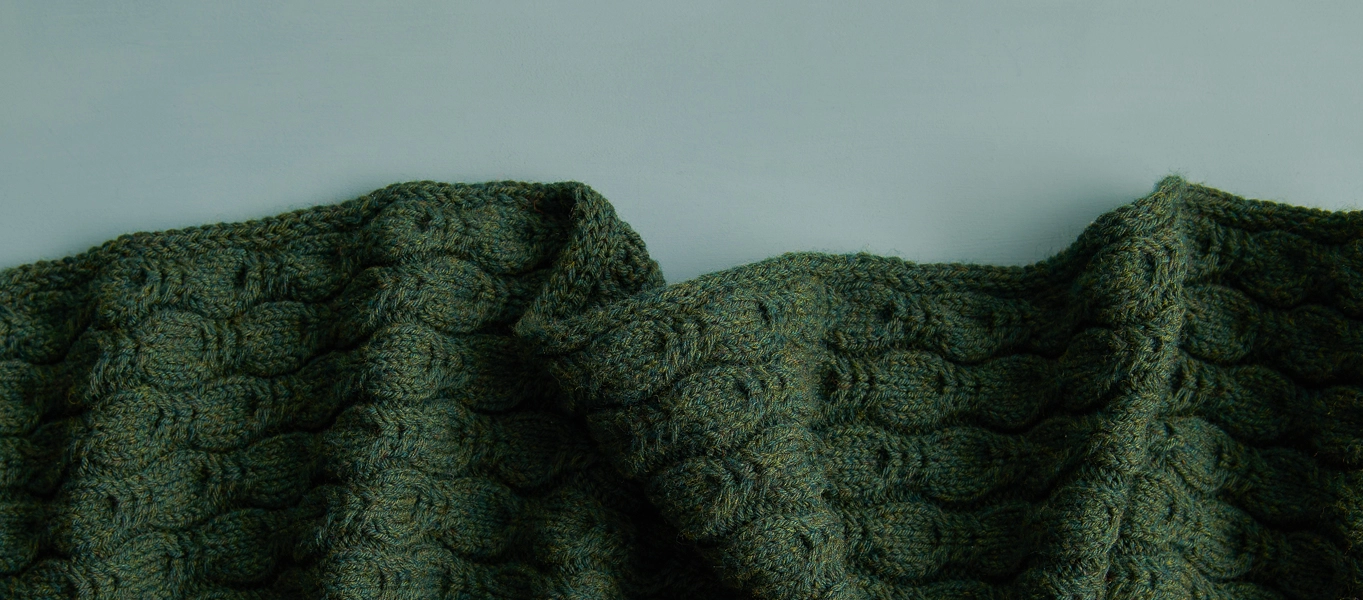
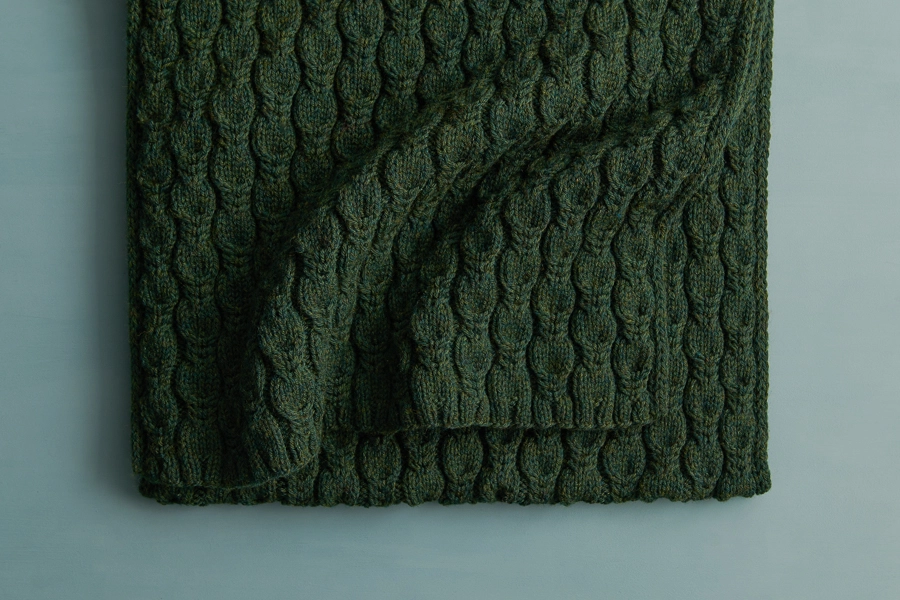
The stunning deep green of our Arboretum Wrap, designed by Alexis Hughes, will transport you into the forest, but it’s the depth of the beautiful cables that will keep you cozy when the winter wind whispers through the trees.
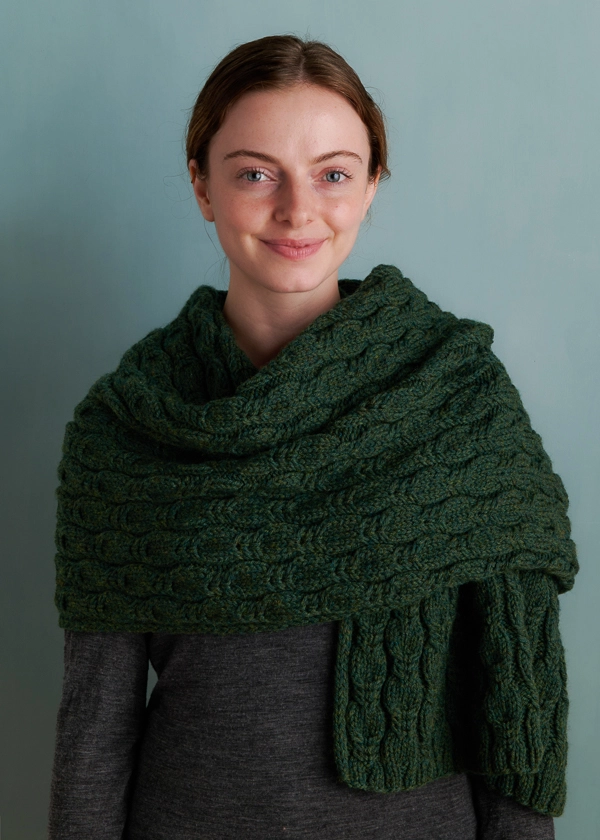
We often talk about cables as their own category of knitting, but the reality is they’re just knits and purls! If you’ve never done them before, you totally can… Give it a try! To make a cable, you simply put a number of stitches on a cable stitch holder or spare double pointed needle (some of us have even been known to use a bobby pin in a pinch!). You then work the next few stitches from your main needles, work the ones you put on hold, and ta-da! You did it!… And the sense of accomplishment is the best part. Alexis’s pattern explains it all in written instructions that walk you through each and every stitch, as well as in a chart, which lets you get a look at the whole thing at once… If you haven’t used one before, give it a try! It’s super easy, and our Reading A Chart Tutorial will give you any guidance you may need.
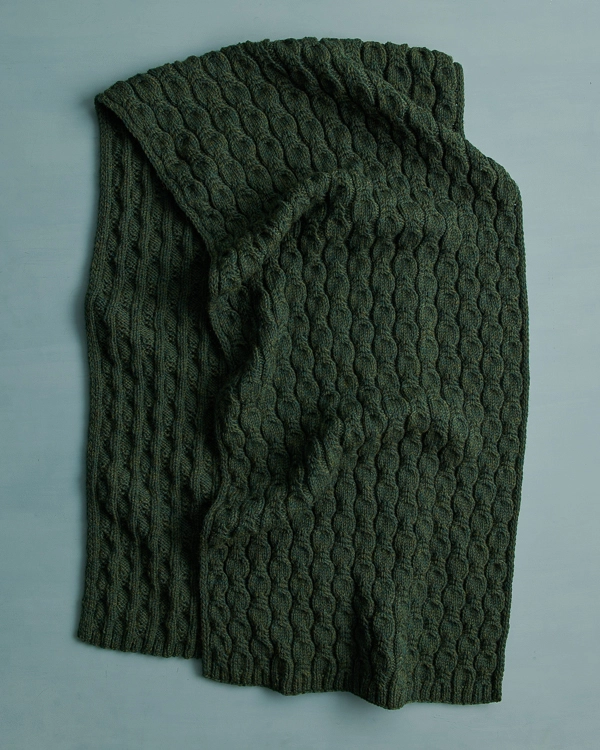
In addition to their stunning appearance, one of the great benefits of cables is that they make things super-duper warm. Crossing those stitches adds (literal) depth to the fabric and doubles the yarn in those spots, providing lots of places for air to get trapped and create insulation. Pretty and practical!
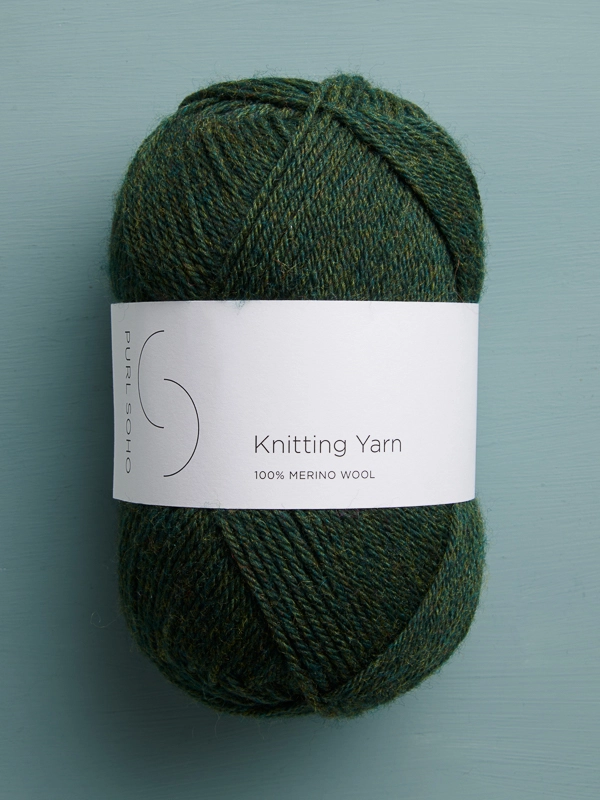
When you’re knitting cables, a nice round, plump, squishy yarn gives those stitches distinction, and our wonderful Knitting Yarn checks each box on that list. Even more, this 100% merino is soft and sturdy and absolutely beautiful, too!
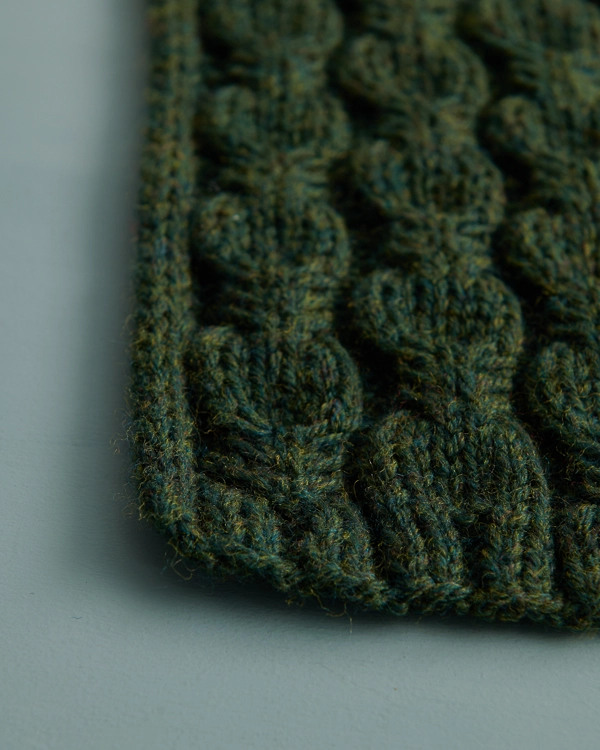
You need just five balls of this economical yarn for a scarf and eight for a wrap. Each heathered hue of Knitting Yarn is gorgeous, with a fascination that adds joy to the knitting and beauty to the finished wrap. So take a walk in the woods with Pine Needle, as we did for our wrap, or pick up another color that takes you where you want to go and cast on!
Yarn lovers, if you adore the yarn used in this project, you’ll love exploring all of our other yarn collections! Discover over 45 thoughtfully designed yarns in nearly every natural fiber and in every spectacular color you can imagine. Only available here at Purl Soho’s online yarn store, where every skein is created with care and your creativity in mind!
Alexis Hughes is the designer behind the company, cold comfort knits. She is passionate about knitting for mental health and strives to create patterns that are interesting for the hands yet relaxing for the mind, guided by the belief that knitting doesn’t have to be difficult to be beautiful and that moving forward is always possible…even if it’s just one stitch at a time.
Share your progress and connect with the community by tagging your pics with #PurlSoho, #PurlSohoBusyHands, #PurlSohoArboretumWrap, and #PurlSohoKnittingYarn. We can’t wait to see what you make!
Materials
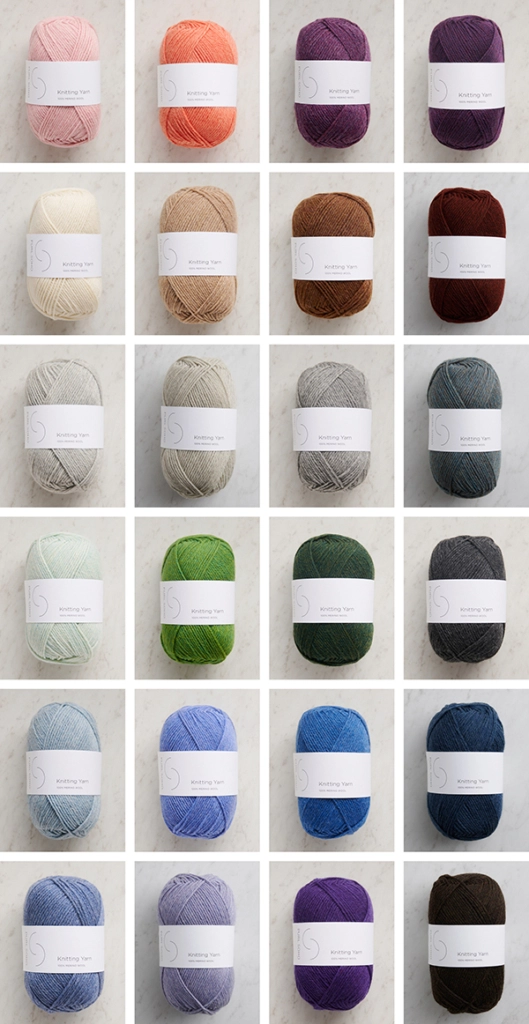
- 5 (8) balls of Purl Soho’s Knitting Yarn, 100% merino wool yarn. Each ball of this light worsted/DK yarn is 219 yards/ 100 grams; approximately 1045 (1690) total yards required. We used the color Pine Needle.
- US 8 (5.0 mm), 24-inch or 32-inch circular needles, depending on size you are making
- A cable stitch holder
GAUGE
24 stitches and 24 rows = 4 inches in Cable Pattern
16 stitches and 24 rows = 4 inches in stockinette stitch
SIZES
Scarf (Wrap)
Finished Dimensions: 13 (21) inches wide x 83 inches long
Sample: We knit the Wrap version.
NOTES
STITCH MULTIPLE
This pattern is worked over a multiple of 16 stitches.
SPECIAL INSTRUCTIONS
SLIP STITCHES
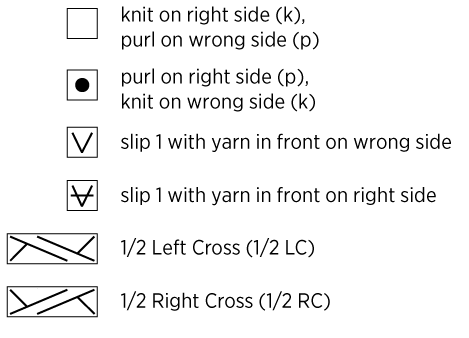
Slip all slip stitches purlwise with yarn in front.
1/2 RC (1/2 Right Cross)
Slip 2 stitches onto cable stitch holder and hold in back of work, k1, then k2 from cable stitch holder.
1/2 LC (1/2 Left Cross)
Slip 1 stitch onto cable stitch holder and hold in front of work, k2, then k1 from cable stitch holder.
PATTERN
Using a basic Long Tail Cast On, cast on 80 (128) stitches.
Work Cable Pattern either from Written Instructions or Chart, both below.
CABLE PATTERN: WRITTEN INSTRUCTIONS
BEGIN CABLE PATTERN
Set-Up Row (wrong side): Slip 1 (see Special Instructions), k1, slip 1, *k2, p2, repeat from * to last 5 stitches, k2, slip 1, k1, slip 1.
Row 1 (right side): K1, slip 1, k1, *p2, k2, repeat from * to last 5 stitches, p2, k1, slip 1, k1.
Row 2: Slip 1, k1, slip 1, *k2, p2, repeat from * to last 5 stitches, k2, slip 1, k1, slip 1.
Repeat Rows 1 and 2 one more time.
REPEATING CABLE PATTERN
Row 1 (right side): K1, slip 1, k1, [p2, k6, p2, k6] 4 (7) times, p2, k6, p2, k1, slip 1, k1.
Row 2 (wrong side): [Slip 1, k1] 2 times, k1, p2, slip 2, p2, k2, [p6, k2, p2, slip 2, p2, k2] 4 (7) times, slip 1, k1, slip 1.
Row 3 (right side): K1, slip 1, k1, [p2, 1/2 RC (see Special Instructions), 1/2 LC (see Special Instructions), p2, k6] 4 (7) times, p2, 1/2 RC, 1/2 LC, p2, k1, slip 1, k1.
Rows 4–7: Repeat Rows 2 and 3 two more times.
Row 8: Slip 1, k1, slip 1, k2, p6, k2, [p2, slip 2, p2, k2, p6, k2] 4 (7) times, slip 1, k1, slip 1.
Row 9: K1, slip 1, k1, [p2, k6, p2, 1/2 RC, 1/2 LC] 4 (7) times, p2, k6, p2, k1, slip 1, k1.
Rows 10–13: Repeat Rows 8 and 9 two more times.
Work Rows 2–13 of Cable Pattern 39 more times (or until work measures approximately 2 inches less than desired finished length), then work Rows 2–7 one more time.
END CABLE PATTERN
Work as for Begin Cable Pattern.
CABLE PATTERN: CHART
NOTE: New to reading charts? Unravel the mysteries with our Reading A Chart Tutorial!
Starting in the bottom right corner of the Chart below, work right-side (odd number) rows from right to left and wrong-side (even number) rows from left to right.
Work Set-Up Row, then Rows 1 and 2 two times for Beginning.
Work Rows 1–13 of Cable Pattern, then repeat Rows 2–13 thirty-nine more times until piece measures 81 inches from cast-on edge, then work Rows 2–7 one more time.
Work Set-Up Row, then Rows 1 and 2 two times for Ending, just as for Beginning.
KEY
CHART

NOTE: Want to see it bigger? Download this chart (and key) as a PDF!
MODIFIED BIND OFF
With right side facing, bind off in pattern, but each time you encounter a pair of purl stitches, purl them together (p2tog). This helps prevent this edge from flaring!
FINISHING
Weave in ends and gently block as desired.
Learn About Knitting Yarn + All Our Beautiful Yarns
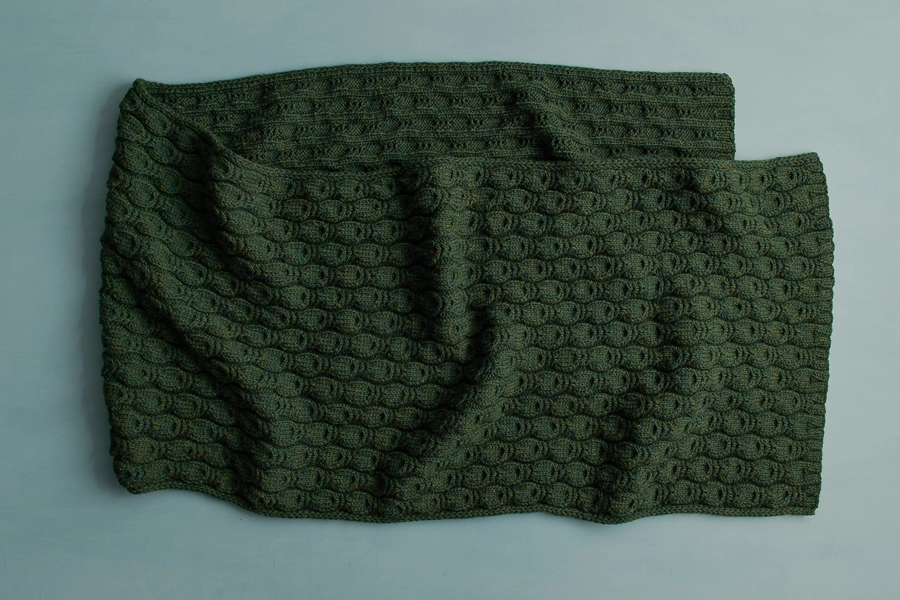
A true classic loved by knitters and crocheters alike, Knitting Yarn brings its crisp stitch definition, soft strength, and cushiony feel to this project! Made with 100% New Zealand merino wool, Knitting Yarn is a light worsted/DK-weight yarn in a ready-to-knit ball you’ll love to knit from. Simple stitches, dimensional textures, beautifully articulated cables, and glorious colorwork… Everything looks amazing in Knitting Yarn! Making something big, like a blanket or sweater? Shop our 1000-gram Knitting Yarn On A Cone collection, too!
More Free Knitting Patterns
- Be sure to explore our collection of (mostly free!) Knitting Yarn knitting patterns and cast on!
More Light Worsted/DK-Weight Yarns
- Shop our entire collection of light worsted/DK-weight yarns (What does DK-weight yarn mean, really? Our guide to DK yarn will answer your questions and demystify.)
- If you want to use a different yarn, be sure to take the time to get the correct gauge. Need help? Check our All About Gauge Tutorial!
More Yarns With Similar Fiber
- Shop merino wool yarn
Looking for more inspiration? Explore all of our free knitting patterns and knitting tutorials, buy one of our many knitting kits and yarn bundles, and shop for beautiful yarn. We have over 35 gorgeous natural fiber yarns in 100’s of magnificent colors, designed to bring integrity, beauty, and joy to your next knitting project and only available at Purl Soho!





Good morning,
I love you site and your store. I live in FL now and was wondering what yarn I could us as an alternative to wool.
Would love to make this as a shawl but wool way too warm for FL.
Many thanks,
Lisa
Hi Lisa,
Thank you so much for your kind words! You’ll probably want to use a yarn that’s made of plant-based materials if you’re living in a warmer climate. Since this wrap uses a DK/light worsted weight, our Morning and Serif yarns would make wonderful alternatives! The Morning is made out of 75% cotton and 25% yak whereas the Serif is made of 100% pima cotton. Both have incredible drape, but I would lean more towards Morning since it has better stitch definition. You’ll want that to show off the cables.
I hope that helps, but please let us know if you have any other questions!
All the best,
Zha Zha
How many skeins of yarn do I need for the wrap. 8?
Hi Fifi,
Yes, the Wrap size calls for 8 skeins of Knitting Yarn!
All the best,
Lili
I love the pattern and am wondering if I could modify this to make a cowl. Would it be as easy as taking the scarf numbers, knitting to the desired length, binding off and seaming?
Hi Noelle,
That’s a great question! You can certainly try that and it would definitely be the route I recommend because converting this pattern into the round would take a lot more work. We’d love to see how it turns out and hope you give it a go!
All the best,
Zha Zha
This pattern would make a lovely throw. How would you go about converting it to 48×60″ size, and how many balls of yarn would be required? Thank you!
Hi Kathy,
To modify this stitch pattern for a blanket, you would need to alter the stitch count so that it comes to the larger width! To figure out your cast-on number, you can multiply the number of stitches per inch (6, based on the gauge of the cable pattern) by the width that you would like and cast on the nearest multiple of 16 stitches. Then you can follow the pattern as written until the blanket is as long as you’d like! You would need 13 balls of Knitting Yarn for a blanket of that size. Hope this helps!
All the best,
Lili
This a very beautiful cable stitch! When I was reading through both the written & cable chart patterns, I was confused by the difference in the written & chart patterns on the written section “Rows 10–13: Repeat Rows 8 and 9 two more times, then repeat Row 8 one more time.” The written instructions seem like it should be for Rows 10-14 & the chart does NOT have a row 14, which would be the number of rows necessary if adding an additional Row 8. Should the additional row 8 be left out, or included? Thanks for any help clearing this up for me & for all of your wonderful patterns, tutorials, etc. This a fabulous website.
Hi Karen,
Thanks so much for reaching out about this! There is indeed a small error in the written instructions, which we’ve just fixed. Rows 10–13 should just read:
Rows 10–13: Repeat Rows 8 and 9 two more times.
Thanks again for bringing this to our attention!
All the best,
Lili
Hi,
The directions say “Rows 10–13: Repeat Rows 8 and 9 two more times, then repeat Row 8 one more time.” Is the “Row 8 one more time” a 14th row? This isn’t reflected on the chart.
I follow the written pattern and refer to chart when a visual understanding is needed.
Thanks,
Sonya
Hi Sonya,
Thanks so much for reaching out about this! There is indeed a small error in the written instructions, which we’ve just fixed. Rows 10–13 should just read:
Rows 10–13: Repeat Rows 8 and 9 two more times.
Thanks again for bringing this to our attention!
All the best,
Lili
Beautiful pattern, but I have a question on why the work rows are repeated from 2-13 instead of 1-13? If we finish with the a repeat of row 8 (row 14?), then we are starting the Cable Pattern repeats on the wrong side.
Could you pls clarify?
Thanks, Elaine
Hi Elaine,
Thanks so much for reaching out about this! There is indeed a small error in the written instructions, which we’ve just fixed. Rows 10–13 should just read:
Rows 10–13: Repeat Rows 8 and 9 two more times.
Thanks again for bringing this to our attention!
All the best,
Lili
Hi, a little confused over the written instructions, could you help? It says R10-13, repeat 8 and 9 twice, then repeat 8 again. Then repeat the pattern starting at R2. Both are wrong side rows. Should I omit repeating R8 again, just go to R2?
Hi Jen,
Thanks so much for reaching out about this! There is indeed a small error in the written instructions, which we’ve just fixed. Rows 10–13 should just read:
Rows 10–13: Repeat Rows 8 and 9 two more times.
Thanks again for bringing this to our attention!
All the best,
Lili
I am wondering if I can use Hedgerow for this scarf and what the impact would be on the weight and pattern
Hi Nina,
This pattern would be absolutely lovely in Hedgerow! You should definitely be able to achieve the gauge of the pattern, so you likely won’t need to modify the stitch count at all. Just be sure to swatch beforehand to determine the best needle size to use!
Hedgerow is a much airier yarn than Knitting Yarn, which is a relatively dense yarn, so that will give the wrap a fluffier and lighter feel when worn. The burrs of color in Hedgerow will also add additional visual texture to the cabled design!
All the best,
Lili
When you have to slip two stitches, for example, in row two, does it always result in a little bar across the stitches? I’m just wondering if I’m doing that the right way?
Hi Lori,
Thanks for writing in! You are correct that when you slip stitches, you will notice the strand of yarn across the stitch you have just slipped. This will eventually disappear in the pattern. You will just want to be sure you are slipping all stitches purlwise with yarn in front and you should be good to go! I hope this helps but please let me know if you have any other questions.
Happy knitting,
Gavriella
Thank you!
I’m finally at the end of knitting the wrap, but want to make sure I understand the “modified bind off”. After finishing row 7 (right side), then working set-up row (wrong side) and ending rows 1 (right side) & 2 (wrong side) twice, I would normally follow that by binding off with right side facing. The modified bind off states “with wrong side facing”. Should I work the bind off on ending row 2 (wrong side facing) or on right side of work? Both have pairs of purl stitches.
Hi Lucille,
Thank you for reaching out! Our team has looked over the pattern and made a minor adjustment to the modified bind off to reflect how you can finish off your project. You will repeat rows 1 & 2 before binding off on the right side! I hope this helps but please let us know if you have any more questions!
Happy knitting,
Gavriella