Bramble Wrap
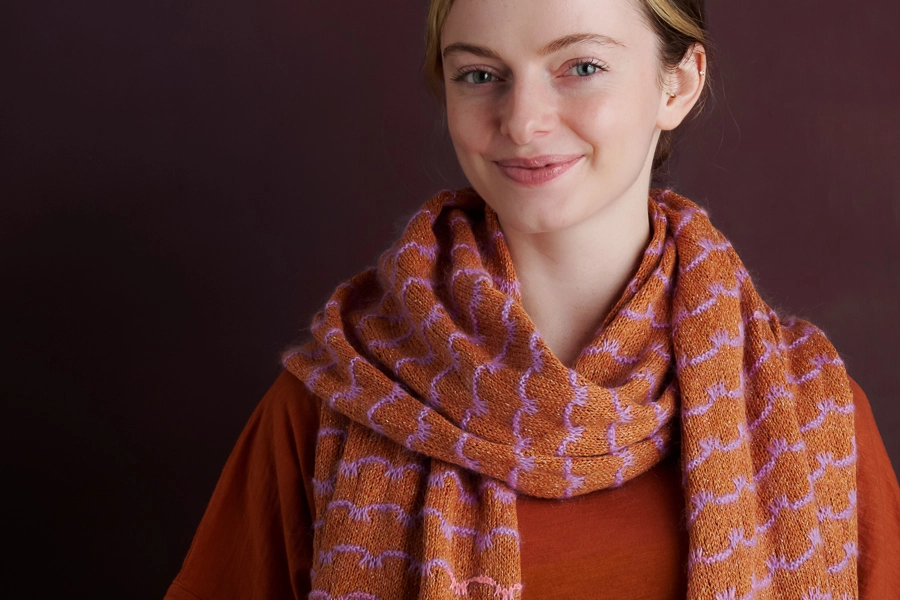
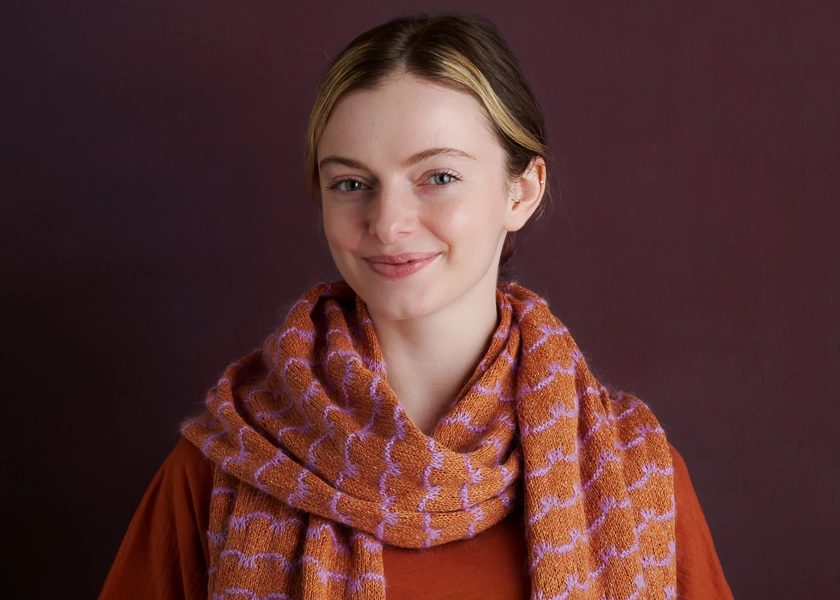
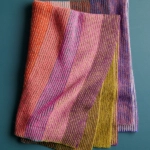
With its balance of lightness and warmth, Alexis Hughes’ Bramble Wrap knitting pattern is a gorgeous companion through the shifting seasons, with a natural beauty we love at any time of year.
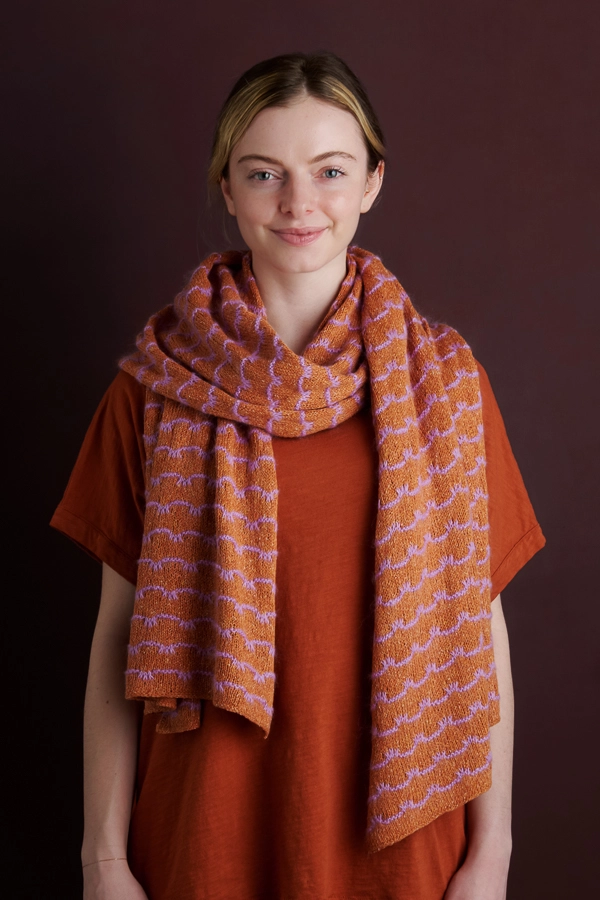
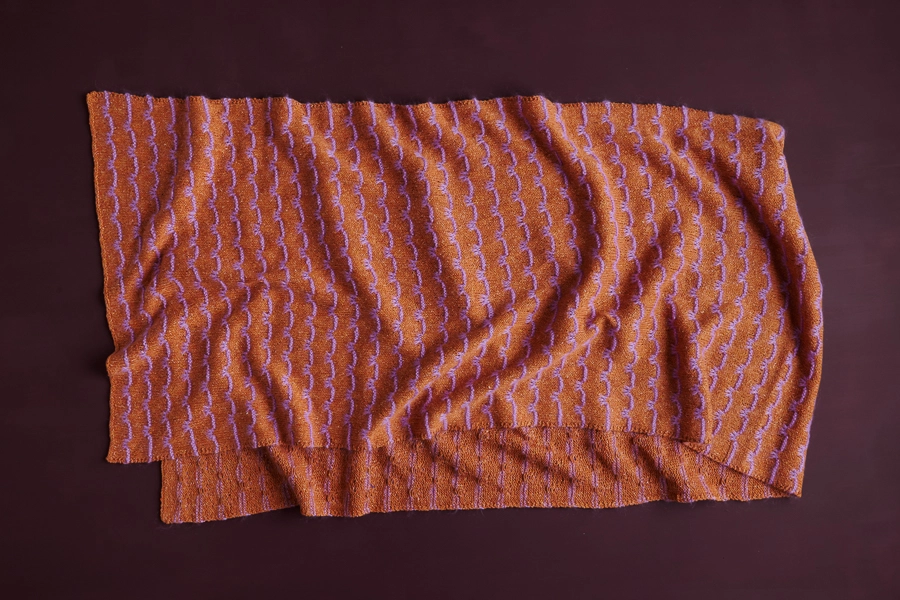
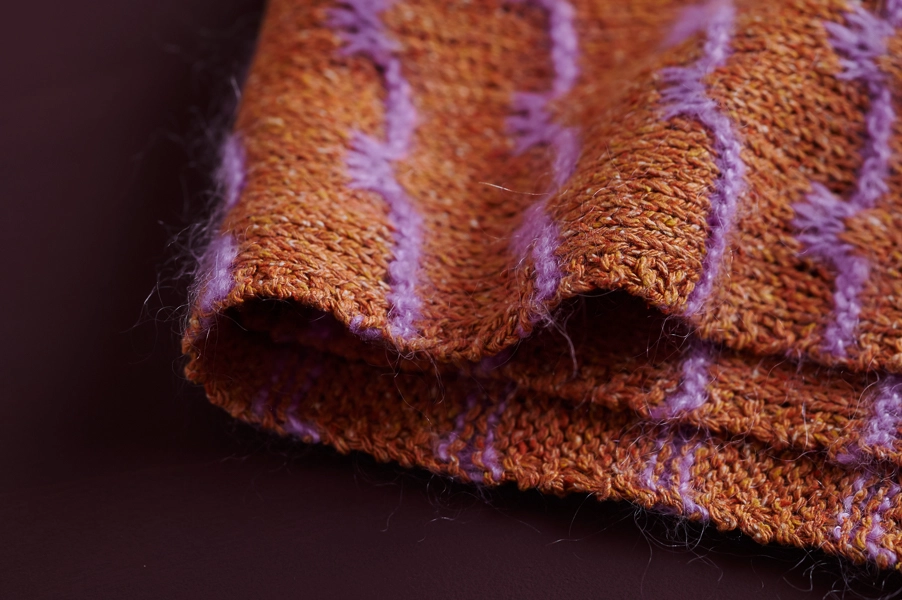
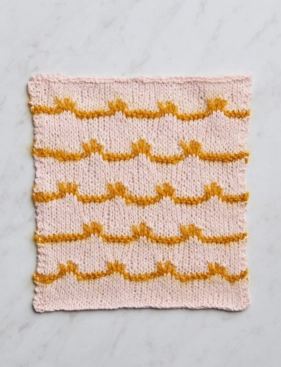
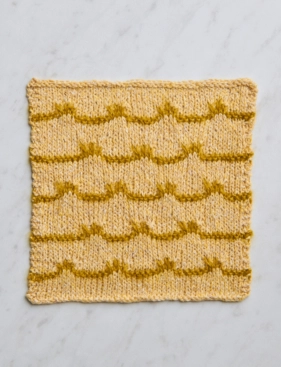
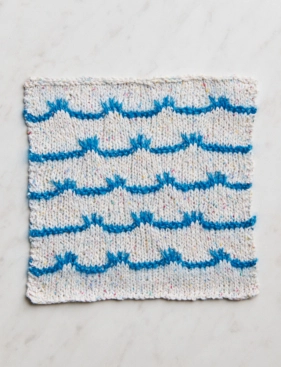
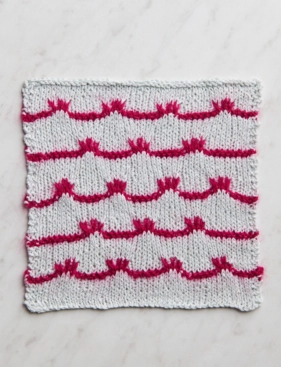
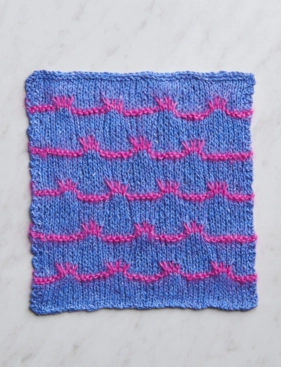
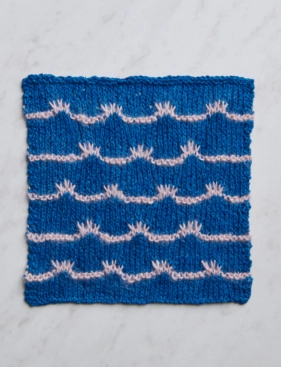
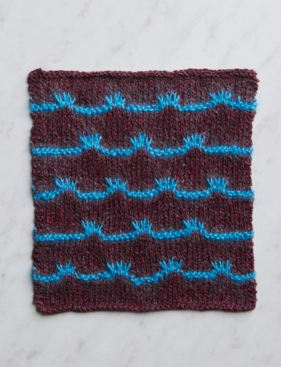
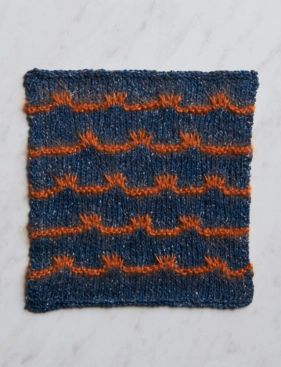
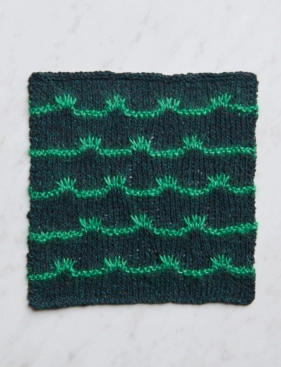
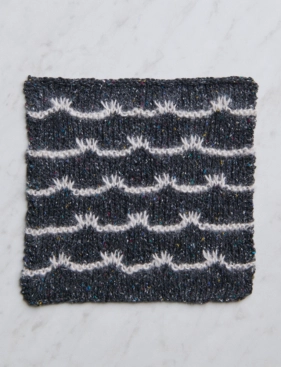
Alexis takes a simple stockinette wrap and infuses it with fun, knitting, slipping, and twisting stitches to create lines of contrast color with a striking triple-point design. An easy technique with a big impact, it’s a cast on any knitter will enjoy!
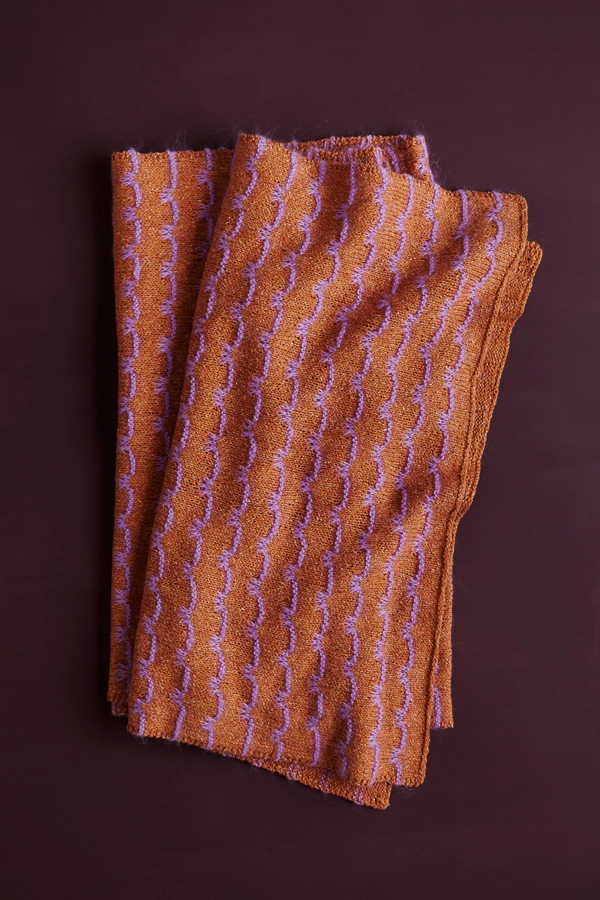
The main yarn here is our Cattail Silk, whose distinctive texture always elevates a project and whose earthy appeal is especially wonderful in this wrap.
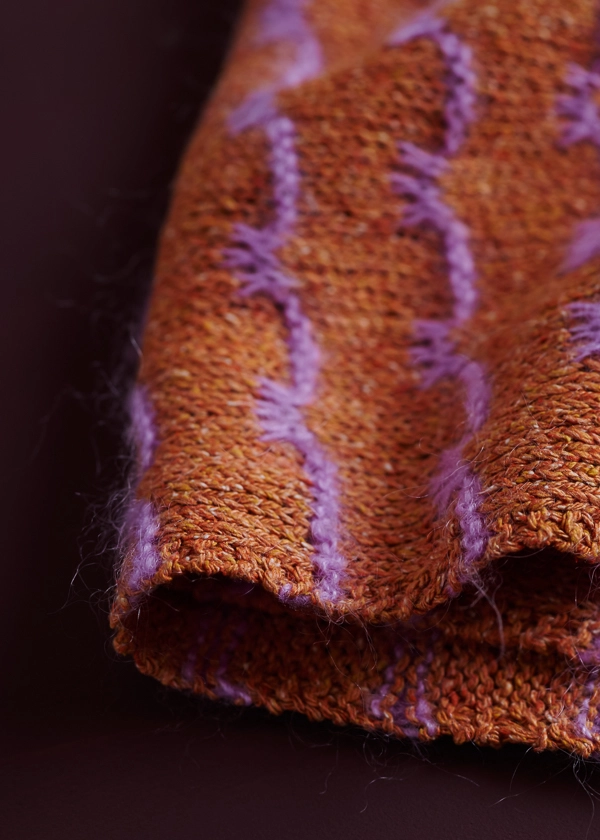
One hundred percent mulberry silk, Cattail Silk is speckled with nubs, the result of spinning three plies of just the short noil fibers. This means the Bramble Wrap has a lighter drape and more subtle shine than most silk yarns would give.
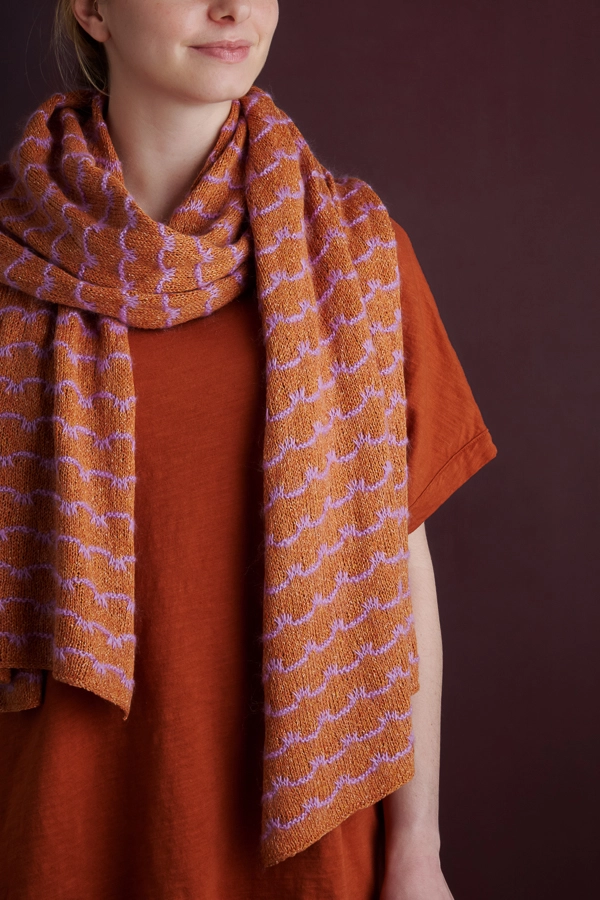
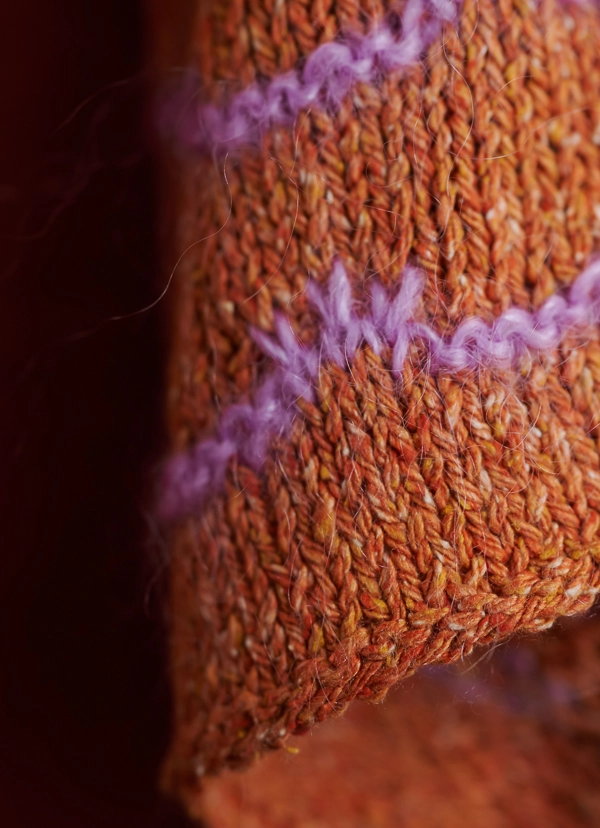
For the lines of contrast, Alexis chose one of our softest yarns, the wool-mohair-silk Brume, whose fuzzy halo adds even more character to this gorgeous knit.
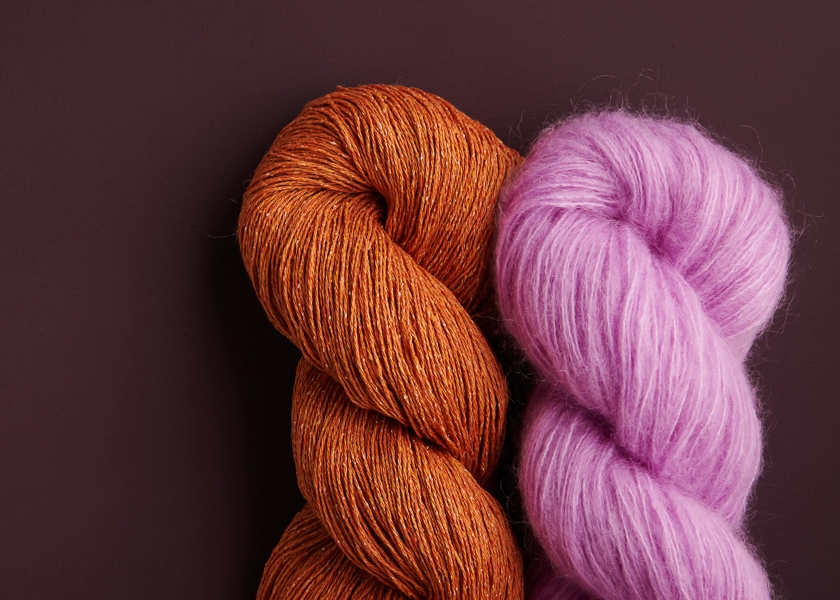
We’ve put together eleven Bramble Wrap Bundles, with three skeins of Cattail Silk for the wrap size or two for a scarf, along with one skein of Brume for the contrast. So cast on your favorite and welcome spring with this beautiful design!
Yarn lovers, if you adore the yarn used in this project, you’ll love exploring all of our other yarn collections! Discover over 45 thoughtfully designed yarns in nearly every natural fiber and in every spectacular color you can imagine. Only available here at Purl Soho’s online yarn store, where every skein is created with care and your creativity in mind!
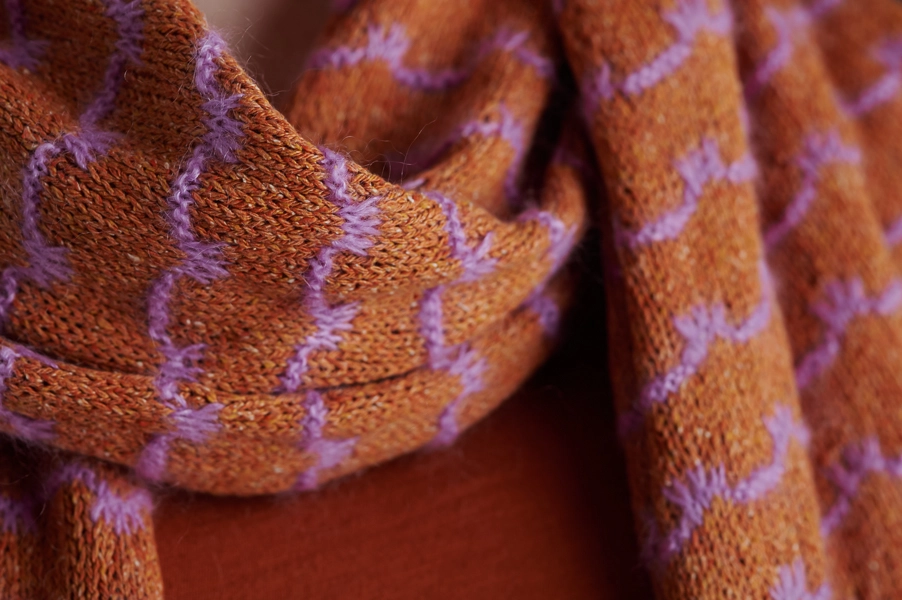
Alexis Hughes is the designer behind the company, cold comfort knits. She is passionate about knitting for mental health and strives to create patterns that are interesting for the hands yet relaxing for the mind, guided by the belief that knitting doesn’t have to be difficult to be beautiful and that moving forward is always possible…even if it’s just one stitch at a time.
Share your progress and connect with the community by tagging your pics with #PurlSoho, #PurlSohoBusyHands, #PurlSohoBrambleWrap, #PurlSohoCattailSilk, and #PurlSohoBrume. We can’t wait to see what you make!
Materials
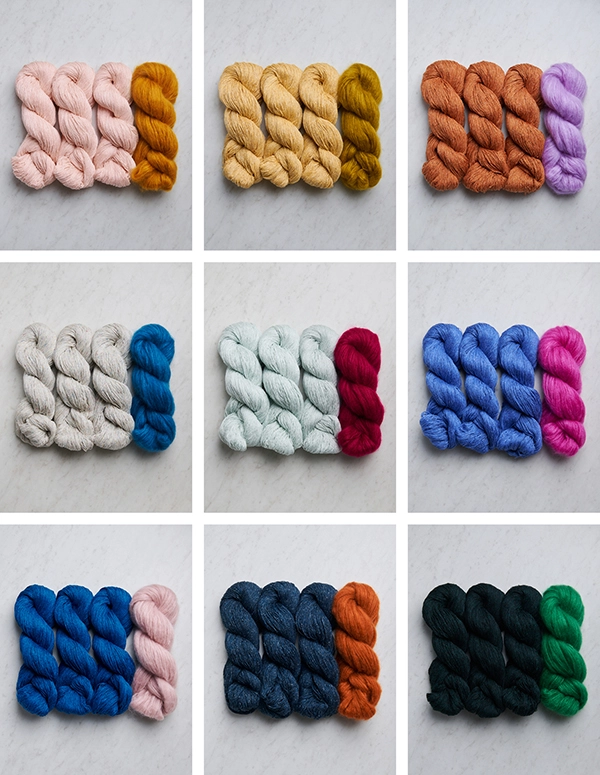
Our Bramble Wrap Bundle includes… (NOTE: We no longer offer the Bramble Wrap Bundle)
- Yarn A: 2 (3) skeins of Purl Soho’s Cattail Silk, 100% mulberry silk yarn. Each skein of this fingering weight yarn is approximately 618 yards/ 100 grams; approximately 820 (1470) total yards required. We used the color Fallen Leaves.
- Yarn B: 1 skein of Purl Soho’s Brume, 58% mohair, 25% wool, and 17% silk. Each skein is approximately 273 yards/ 50 g; approximately 150 (265) total yards required. We used the color Alpine Phlox.
You’ll also need…
- US 1½ (2.75 mm), straight or 24-inch circular needles
This bundle comes in 10 more vibrant palettes…
Cherry Blossom + Saffron Yellow; Golden Oak + Golden Lichen
Flower Field Gray + Cerulean Sea; Blue Bamboo + Claret Pink
Blue Iris + Bright Thistle; Cerulean Velvet + Pink Fog
Purple Sumac + Blue Lagoon; Kingfisher Blue + Alizarin Orange
Green Velvet + Lucky Green; Flower Field Charcoal + Beach Stone
GAUGE
31 stitches and 43 rows = 4 inches in pattern
SIZES
Scarf (Wrap)
Finished Dimensions: 9¾ (17½) inches wide x 73½ inches long
Sample: We knit the Wrap version.
NOTES
STITCH MULTIPLE
This pattern is worked over a multiple of 10 plus 5 stitches.
SPECIAL INSTRUCTIONS
SLIP STITCHES
All slipped stitch should be worked purlwise, with yarn in front or back as directed.
When instructed to “slip 3” with yarn in front (or back), be sure not to pull working yarn too tightly across the slipped stitches. Maintaining even tension will help prevent your finished piece from puckering.
LOCK YARN B TAILS
The Bramble Wrap uses a full skein of Yarn B. To make sure you have enough, join and cut Yarn B when needed, leaving tails that measure 2 inches and locking tails as you go.
To lock a Yarn B tail, knit the first stitch of the row with Yarn A or B as directed, then bring the tail over the working yarn at the wrong side of the work, and work the next stitch with the working yarn as usual. Repeat 4 more times, and celebrate not having to weave in those ends later!
RIGHT + LEFT TWISTS
RT (Right Twist): Knit into front of second stitch on left needle, leaving stitch on needle, then knit into front of first stitch on left needle and slip the two stitches from needle together.
LT (Left Twist): Knit into the back of second stitch on left needle, leaving stitch on needle, then knit into the front of first stitch on left needle and slip the two stitches from needle together.
For help with these stitches, please visit our Right + Left Twist tutorial.
PATTERN
With Yarn A and using a basic Long Tail Cast On, cast on 75 (135) stitches.
Set-Up Row 1 (wrong side): Knit to end of row.
Set-Up Row 2 (right side): Knit to end of row.
Set-Up Row 3: K2, purl to last 2 stitches, k2.
Set-Up Row 4: Knit to end of row.
Repeat Set-Up Rows 3 and 4 two more times, then repeat Row 3 one more time.
Work Bramble Pattern either from Written Instructions or Chart, both below.
BRAMBLE PATTERN: WRITTEN INSTRUCTIONS
Row 1 (right side): Join Yarn B, leaving a 2-inch tail and knit to end of row, locking Yarn B tail as you begin the row (see Special Instructions).
Row 2 (wrong side): With Yarn B, k6, *p3, k7, repeat from * to last 9 stitches, p3, k6.
Cut Yarn B, leaving a 2-inch tail.
Row 3: With Yarn A, k6, locking Yarn B tail as you begin the row, *slip 3 with yarn in back (wyib, see Special Instructions), k7, repeat from * to last 9 stitches, slip 3 wyib, k6.
Row 4: With Yarn A, k2, p4, *slip 3 with yarn in front (wyif), p7, repeat from * to last 9 stitches, slip 3 wyif, p4, k2.
Rows 5 and 6: Repeat Rows 3 and 4. (Note: No need to lock Yarn B tail this time!)
Row 7: With Yarn A, k5, *Right Twist (RT, see Special Instructions), slip 1 wyib, Left Twist (LT, see Special Instructions), k5, repeat from * to end of row.
Row 8: With Yarn A, k2, purl to last 2 stitches, k2.
Row 9: With Yarn A, knit to end of row.
Rows 10–12: Repeat Rows 8 and 9, then repeat Row 8 one more time.
Row 13: Repeat Row 1.
Row 14: With Yarn B, k11, *p3, k7, repeat from * to last 4 stitches, k4.
Cut Yarn B, leaving a 2-inch tail.
Row 15: With Yarn A, k11, locking Yarn B tail as you begin the row, *slip 3 wyib, k7, repeat from * to last 4 stitches, k4.
Row 16: With Yarn A, k2, p9, *slip 3 wyif, p7, repeat from * to last 4 stitches, p2, k2.
Rows 17 and 18: Repeat Rows 15 and 16. (Note: No need to lock Yarn B tail this time!)
Row 19: With Yarn A, k10, *RT, slip 1 wyib, LT, k5, repeat from * to last 5 stitches, k5.
Row 20–24: Repeat Rows 8 and 9 two times, then repeat Row 8 one more time. Repeat Rows 1–24 thirty-one more times, or until work measures approximately 1¼ inches less than desired finished length, then work Rows 1–10 one more time.
Go on to Finishing section, below.
BRAMBLE PATTERN: CHART
NOTE: New to reading charts? Unravel the mysteries with our Reading A Chart Tutorial!
Starting in the bottom right corner of the Chart below, work right-side (odd number) rows from right to left and wrong-side (even number) rows from left to right. Be sure to Lock Yarn B Tails (see Special Instructions) where indicated.
Work Rows 1–24 thirty-two times; then work Rows 1–10 one more time, then go on to Finishing section, below.
KEY
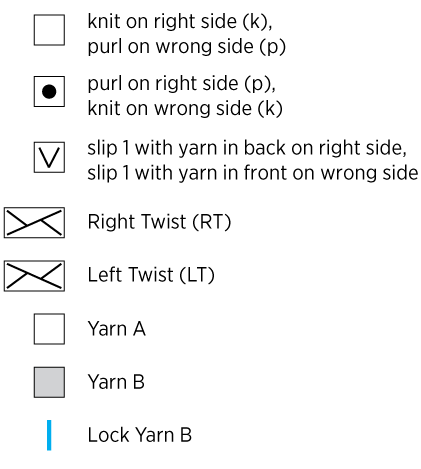
CHART
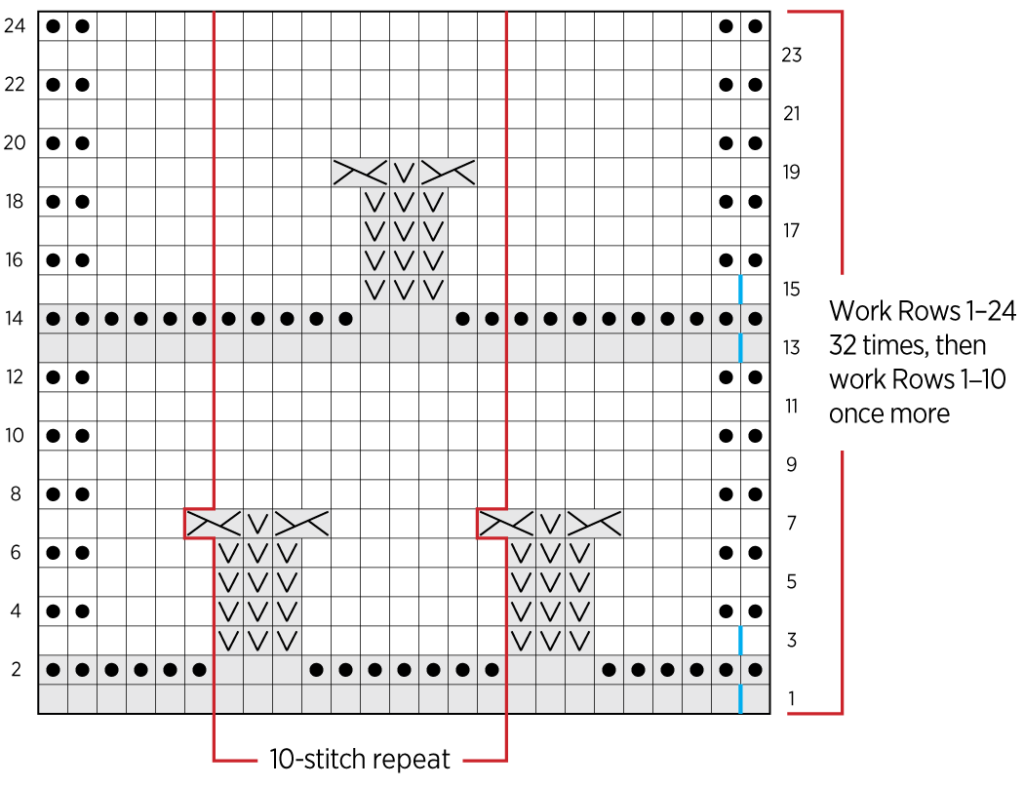
NOTE: Want to see it bigger? Download this chart (and key) as a PDF!
FINISHING
Next 2 Rows: With Yarn A, knit to end of row.
With right side facing you, bind off loosely knitwise.
Weave in any remaining ends and gently spray block to given dimensions.
LEARN ABOUT CATTAIL SILK + ALL OUR BEAUTIFUL YARNS
We used Cattail Silk for this pattern because its earthy, natural beauty brings a light drape and offhanded elegance to your knitting. A 100% mulberry silk yarn, Cattail Silk has a rustic spin with bitty nubs and very subtle variations in texture. Choose from a lovely bouquet of colors, and cast on with this fingering-weight yarn for a truly compelling knit!
More Free Knitting Patterns
- Be sure to explore our vast collection of (mostly free!) Cattail Silk knitting patterns and cast on!
More Fingering-Weight Yarns
- Shop our entire collection of fingering-weight yarn
- If you want to use a different yarn, be sure to take the time to get the correct gauge. Need help? Check our All About Gauge Tutorial!
More Yarns With Similar Fibers
- Shop silk yarn
Looking for more inspiration? Explore all of our free knitting patterns and knitting tutorials, buy one of our many knitting kits and yarn bundles, and shop for beautiful yarn. We have over 35 gorgeous natural fiber yarns in 100’s of magnificent colors, designed to bring integrity, beauty, and joy to your next knitting project and only available at Purl Soho!





Are there crochet instructions for the Bramble Wrap?
Hello,
Thanks for writing in! I’m afraid that we have not designed this wrap in crochet. I’ll pass along your interest in seeing more crochet patterns to our design team though!
All the best,
Lili
I have leftover Tussock and Line Weight from other projects. Would either of them held double or a combination (one tussock and one line weight; or two tussock and one line weight) work as a substitute for Brume?
Hi Sam,
Thanks for reaching out! I’d recommend holding Line Weight single and using it in place of the Cattail Silk and then holding Tussock double in place of Brume. Hope this helps!
All the best,
Lili
This is beyond gorgeous!! Is there any way to make this suitable for a very warm, humid, tropical environment, like by making it much smaller or making a shoulder wrap instead of a scarf? Or, does it just knit up too heavy and thick?
Hi Julie,
I think that a smaller version of this wrap would work well for a warm and humid climate! The main fiber is silk, which, unlike wool, doesn’t trap heat, so it’s a naturally lightweight fiber.
All the best,
Lili
How long would you suggest a scarf version to be? Using one less skein of the silk?
Hi Kerri,
Thanks for reaching out. We actually did design a scarf version of this pattern! The dimensions are 9 3/4 inches by 73 1/2 inches, and it requires only 2 skeins of Cattail Silk.
All the best,
Lili
Bought the kit but cannot get it into Ravelry! Any suggestions?
Hi Linda,
Thanks for reaching out! If you navigate to the Bramble Wrap on Ravelry (here), you should be able to click “add to library” to save it to your Ravelry library. Because this pattern is offered on our website, it doesn’t exist as a Ravelry download, but you can always navigate back to this page to read the pattern. Hope this helps!
All the best,
Lili
I love this pattern! Would like advice about gauge. I can’t seem to get 31 st. = 4″. With a size 0 I am still getting 28 st.= 4″….but with that 0 I am getting 48 rows = 4″. Would you advise using a 1 or larger size, in order to get 43 rows instead of 48?
I guess my question is: with gauge– do you think row number per inch is more important than stitches per inch on this pattern?
Hi Debra,
Thanks for writing in! Have you tried blocking your swatch yet? When you have a swatch with an uneven stitch vs row gauge, you can often “aggressively block” it to achieve both the correct stitch and the correct row gauge. In your case, you can try gently stretching the swatch vertically after you soak it in water. That will make the row gauge a bit taller while simultaneously bringing the stitch gauge inwards. You should be able to even it out to the correct gauge this way! Then, when you finish your wrap or scarf, you can block it in the same manner to even out the gauge.
All the best,
Lili
Good Morning, I had a question about the needle size. A 2.75 mm needle does not equal 1.5 in US. What is the correct needle size for the wrap? Thank you. KT
Hi KT,
Thanks for reaching out! The metric sizes we indicate in our patterns might differ from what you’re used to since different needle companies sometimes assign the millimeter measurements to different US sizes. These inconsistencies, while frustrating, are very common when comparing needles, so when in doubt, rely on metric sizes…they’re standardized! And as long as you find needles with which you can achieve the correct gauge, those will work for the pattern!
All the best,
Lili
I’ve started working on the wrap and love the pattern. I’m confused how cutting and locking the yarn uses less yarn than carrying it up the side. My distance between bramble rows is less than 2 inches, so I don’t see how having 2 2 inch tails can use less yarn. Is this a mistake in the pattern?
Hi Kate,
Thanks for reaching out! I can absolutely see how the wording we used in the note on locking tails is confusing, and we’ve actually gone ahead and updated it to hopefully make it clearer.
You’re right that carrying the yarn up the side would use less yarn than cutting 2-inch tails. However, we don’t recommend carrying the yarn up at all since it ends up being very visible and unsightly. Because of that, cutting Yarn B is the best option, and of the methods one could use for that, cutting 2-inch tails and locking them will use up less yarn than cutting longer tails so that you can weave them in at the end!
I hope this helps clarify things, and thank you for bringing this question to our attention!
All the best,
Lili
I would like to make to make the Bramble as a scarf using the Cattail silk. However I cannot use anything with mohair and would like a suggestion for replacing the Brume.
Hi Ila,
I’d recommend using a fingering weight yarn in place of Brume!
All the best,
Lili
I am up to row 3 in the Bramble Wrap pattern. It is a knit row where I have to slip 3 wyib. In your instructions it says only slip on a purl row. Help?!
Hi Susan,
Thanks for reaching out! In this pattern you will end up working slipped stitches on both right and wrong side rows. Can you let me know where in the pattern you’re seeing instructions to only slip stitches on wrong side rows? We’d like to fix that so it doesn’t cause any more confusion!
All the best,
Lili
Hello,
Can you advise about blocking this shawl? Mine came out pretty well, after I pinned it out and sprayed it. I used pins and also blocking wires on the sides, and it looks like the sides are picot edged, which I think came about because of how I put in the wires. I will probably have to block it again, but I’m not sure how to avoid the picot look. Advice?
Hi Debra,
I would recommend blocking the wrap once more, but not using pins or wires at all! The reason that you’re getting an uneven edge is because the pins and wires are pulling the knit fabric too far out in the spots where it’s pinned. In order to get a smooth finish to the edges, you’ll just need to lay out the wrap on your blocking mats and leaving it to dry–no need to stretch or pin it!
All the best,
Lili
thank you so much!
Hi, I love this pattern but I don’t quite understand about the “lock yarn B tail” section. Is there a video for reference? Thank you.
Hi Sophie,
Thanks for reaching out, although I’m sorry to say that we do not have a video tutorial of this technique. Can you let me know what’s confusing about it though? I’d be happy to help explain!
All the best,
Lili
Hi Lili,
I also have a question about the yarn lock. I understand it conceptually and it works well at the start of Yarn B, but when I used the yarn lock when transitioning back to Yarn A, the Yarn B color is visible on the right side. Any advice for the yarn lock when moving from Yarn B to Yarn A?
Thanks!
Hi Rebecca,
Thank you for writing in! To lock in those yarn B tails, you will want to make sure you are bringing the tail from left to right over your working yarn. Kind of the way you would complete an intarsia twist! This way your ends sit behind your stitched to the back of your work! I hope this helps but please let me know if you have any other questions!
All the best,
Gavriella
Are you breaking yarn A? Or are you expected keep it connected and have a float up the side?
Hi Jean,
You will keep Yarn A connected throughout the whole pattern!
All the best,
Lili
Row 14 is confusing. The chart shows one thing and the written instructions another. Please clarify.
Hi Tracy,
Thanks for writing in! We try to keep chart and written instructions the same when possible, but that sometimes means the written pattern will not read intuitively if they match the chart. That happens to be the case for Row 14 of this pattern in particular, which is why the pattern repeat in the chart doesn’t match the bracketed instructions. So here, we felt the pattern read better when we tried not to force it into chart formatting.
I hope this helps clarify things, but please let me know if you have any other questions!
All the best,
Lili
Hi Lili,
Is there a way to adopt the pattern to be knitted in the round? I would love to use it in my next sweater pattern. I will try it but do you have any tips?
Thanks a lot,
Kate T
Hi Kate,
It should be possible to modify this stitch pattern to be knit in the round! I would recommend following the charted instructions, since those will really help you visualize how all the stitches line up. You should be able to pretty much just follow the chart, but reading it as if it was written in the round, rather than flat!
All the best,
Lili
Thanks so much.