Wandering Cable Cowl
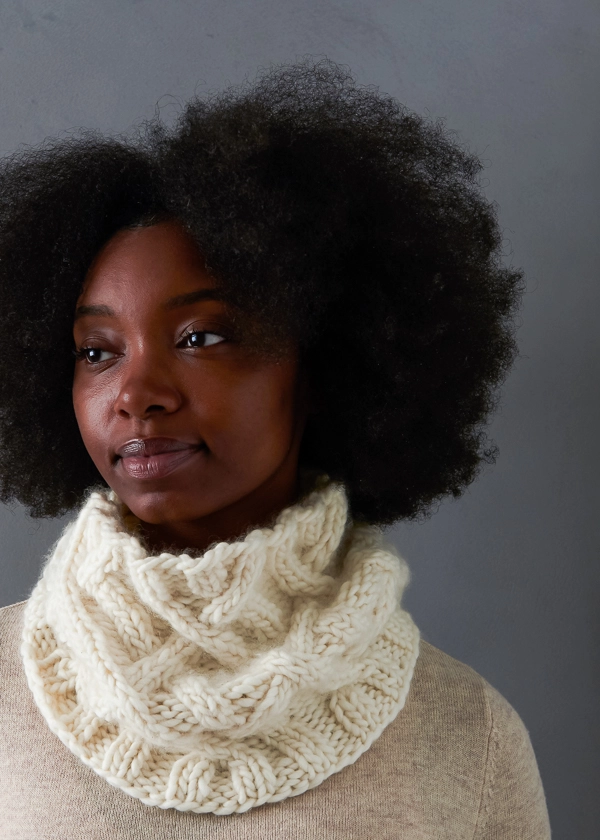
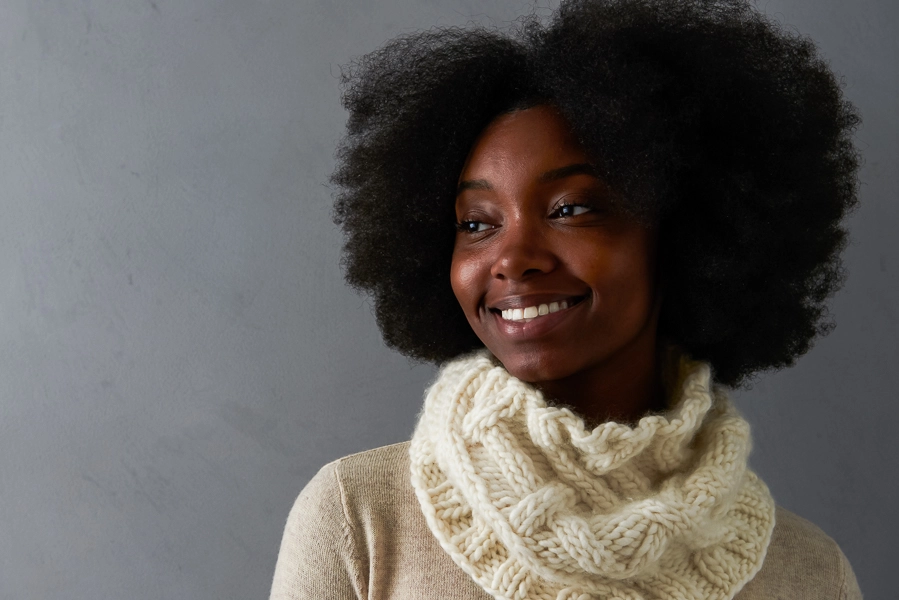
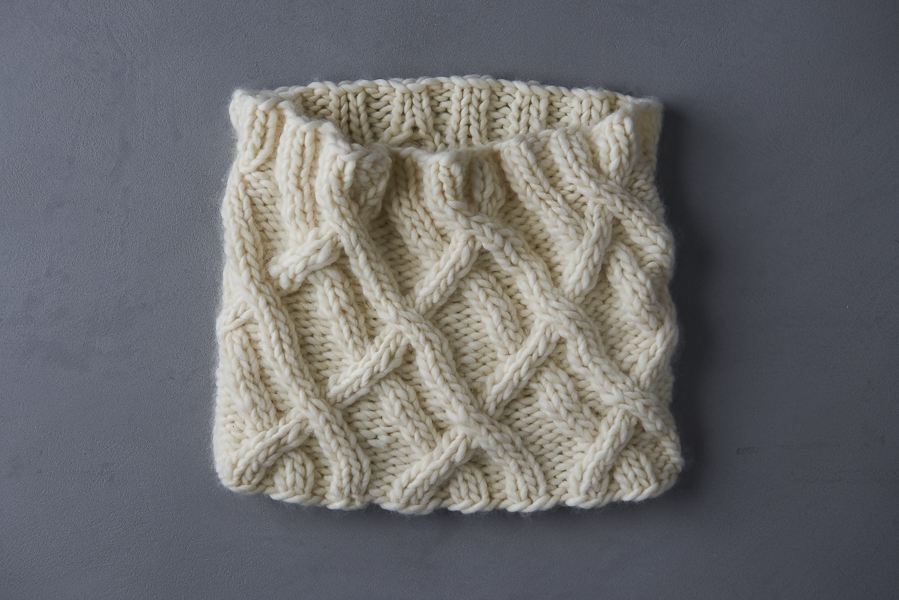
Our Wandering Cable Cowl unleashes cables from the confines of strict braided columns and allows them to roam free!
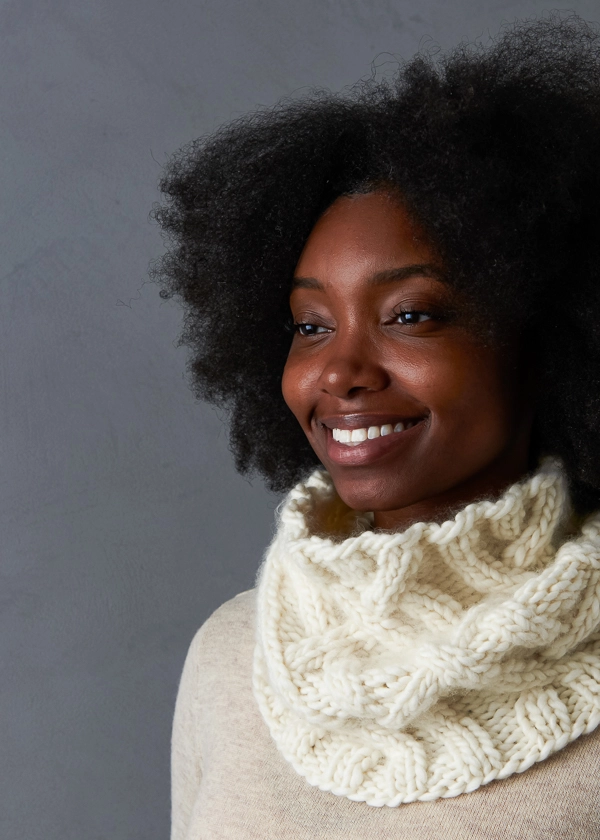
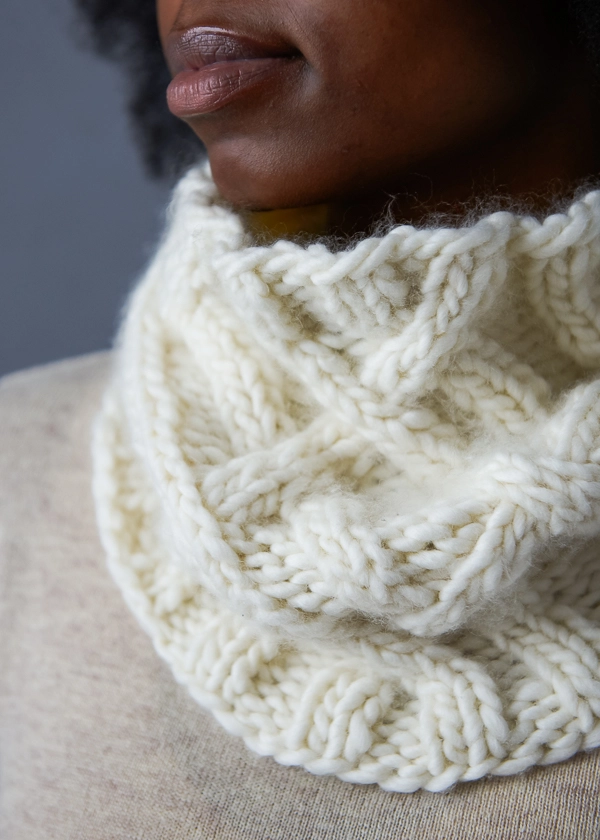
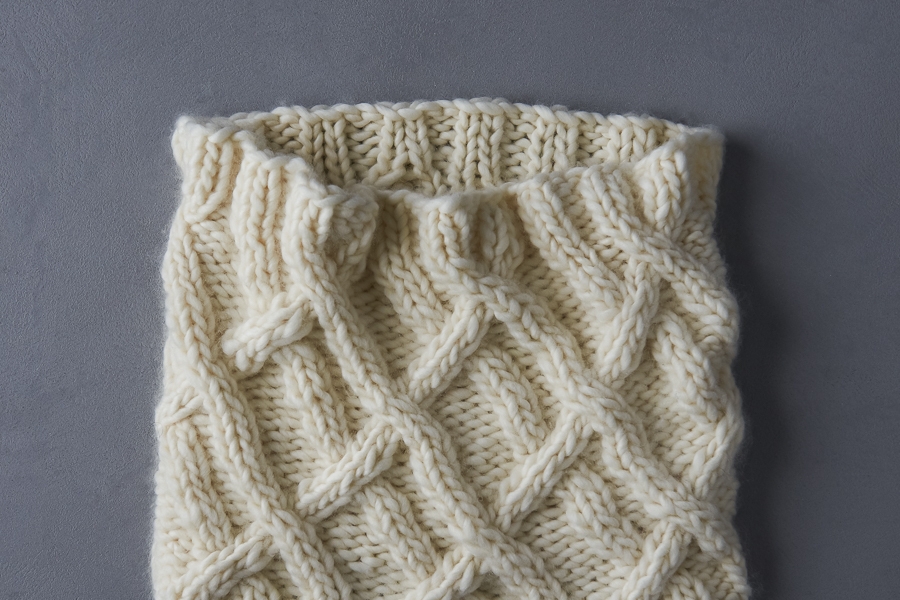
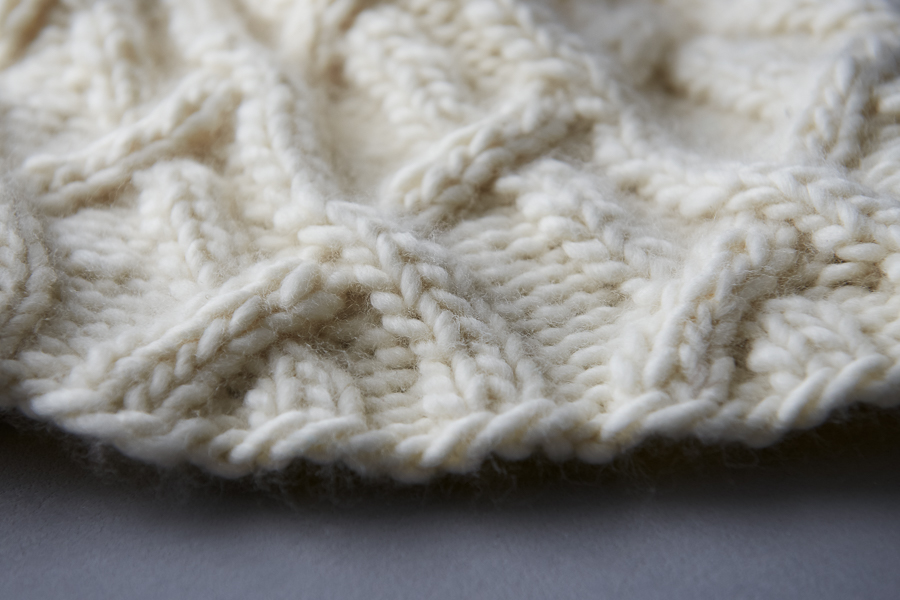
Cables drift across this cowl in what-appear-to-be background, middle, and foreground layers. Highly dimensional and wonderfully quirky, on the wearer all these details meld into an overall impression of beautiful, classic cablework.
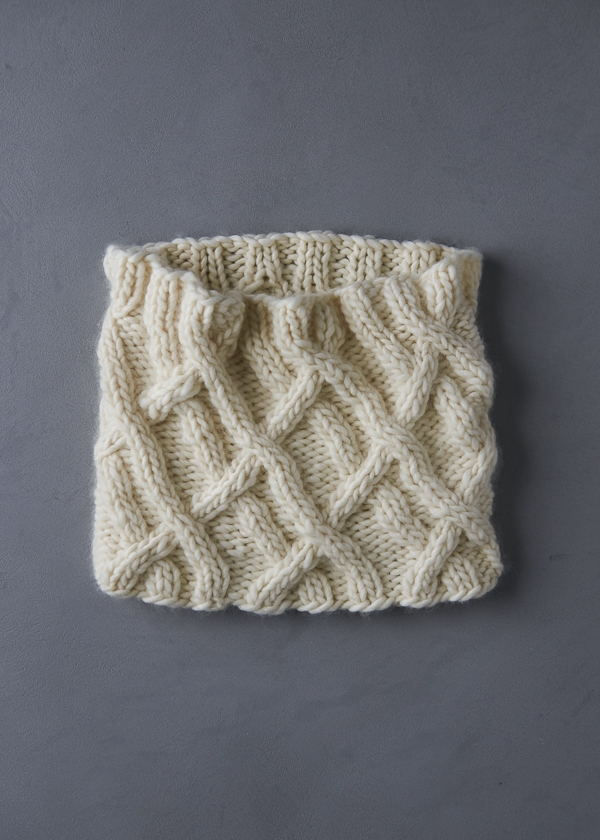
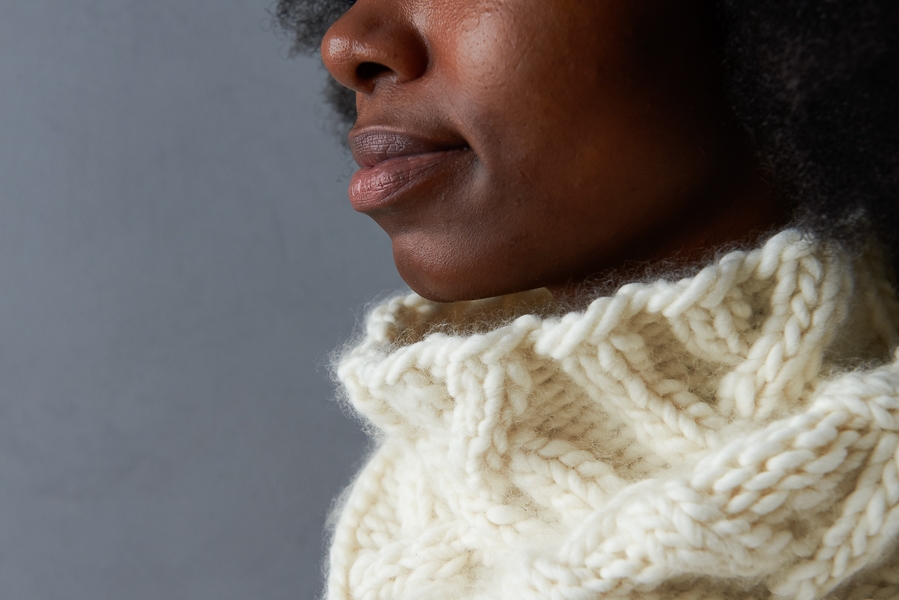
Using our single-ply Super Soft Merino, these cables have a nice, chunky modernity and a very soft and cozy feel. And thanks to its bulky size, you’ll only need two skeins, so cast on and see where wandering cables might take you!
Designed by Purl Soho designer, Jake Canton. Click here to see even more of Jake’s designs!
Share your progress + connect with the community by tagging your pics with #PurlSoho, #PurlSohoBusyHands, #PurlSohoWanderingCable, and #PurlSohoSuperSoftMerino. We can’t wait to see what you make!
Materials
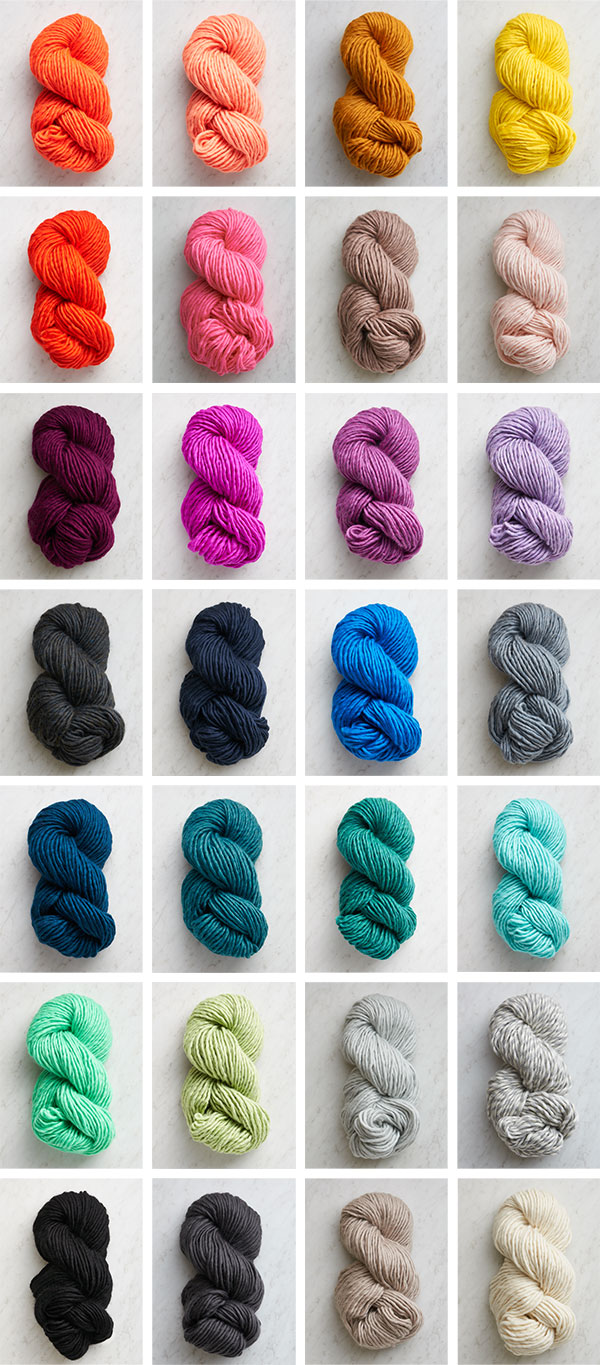
- 2 skeins of Purl Soho’s Super Soft Merino, 100% merino wool. Each skein is 87 yards; approximately 146 yards required. We used Heirloom White.
- US 13 (9 mm), 16- or 20- inch circular needles
- Cable stitch holder
- 2 jumbo stitch markers or scrap yarn
Gauge
11 stitches and 14 rounds = 4 inches in stitch pattern
Size
- Finished Circumference: 26 inches
- Finished Height: 10 inches
Notes
Stitch Multiple
This pattern works over a multiple of 12 stitches.
Cables
NOTE: Slip slip stitches purlwise with yarn in back. And for more information about making cables, visit our Cable Tutorial. Although it shows a 4- or 6-stitch cable and this pattern uses 3- or 4-stitch ones, the technique is the same!
LC (Left Cross)
Slip 2 stitches onto cable stitch holder and hold in front of work, k1, then k2 from cable stitch holder.
RC (Right Cross)
Slip 1 stitch onto cable stitch holder and hold in back of work, k2, then k1 from stitch holder.
C4F (Cable 4 Front)
Slip 2 stitches onto stitch holder and hold in front of work, k2, then k2 from stitch holder.
C4B (Cable 4 Back)
Slip 2 stitches onto cable stitch holder and hold in back of work, k2, then k2 from cable stitch holder.\
Pattern
Ribbing
Using a basic Long Tail Cast-On, cast on 72 stitches.
Place a marker and join for working in the round, being careful not to twist the stitches.
Set-Up Rounds 1-3: *K2, p2, repeat from * to end of round.
Cabling
Round 1: *K2, p2, LC (see Notes), RC (see Notes), p2, repeat from * to end of round.
Round 2: *K2, p3, k4, p3, repeat from * to end of round.
Round 3: *LC, p2, C4B (see Notes), p3, repeat from * to end of round.
Round 4: *P1, k2, p2, k4, p3, repeat from * to end of round.
Round 5: *P1, LC, RC, LC, p2, repeat from * to end of round.
Round 6: *P2, k4, p2, k2, p2, repeat from * to end of round.
Round 7: *P2, C4F (see Notes), p2, LC, p1, repeat from * to end of round.
Round 8: *P2, k4, p3, k2, p1, repeat from * to end of round.
Round 9: *P1, RC, LC, p2, k2, p1, repeat from * to end of round.
Round 10: *P1, k2, p2, k2, p2, LC, repeat from * to end of round.
Round 11: *RC, p2, LC, p2, k2, repeat from * to end of round.
Round 12: *K2, p4, k2, p2, k2, repeat from * to last 12 stitches, k2, p4, k2, p2, slip 2 purlwise with yarn in back.
Round 13: Remove end of round marker, slip last 2 stitches from previous round back to left needle, C4B with last 2 stitches of Round 12 and first 2 stitches of this round, placing end of round marker in center of cable, *p4, k2, p2, C4B, repeat from * to last 10 stitches, p4, k2, p2, k2.
Round 14: *K2, p4, k2, p2, k2, repeat from * to end of round.
Round 15: *LC, p3, LC, RC, repeat from * to end of round.
Round 16: *P1, k2, p4, k4, p1, repeat from * to end of round.
Round 17: *P1, k2, p4, C4F, p1, repeat from * to end of round.
Round 18: *P1, LC, p3, k4, p1, repeat from * to end of round.
Round 19: *P2, k2, p2, RC, LC, repeat from * to end of round.
Round 20: *P2, k2, repeat from * to end of round.
Round 21: *P2, LC, RC, p2, k2, repeat from * to end of round.
Round 22: Remove end of round marker, p1, replace end of round marker, *p2, k4, p3, LC, repeat from * to end of round.
NOTE: The final LC uses the first purl stitch from this round.
Round 23: *P2, C4B, p4, k2, repeat from * to end of round.
Round 24: *P2, k4, p4, k2, repeat from * to last 12 stitches, p2, k4, p4, place new end of round marker.
NOTE: Do not knit last 2 knit stitches of this round. They will be knit in the first LC of the next round.
Round 25: LC, removing old end of round marker, *RC, LC, p3, LC, repeat from * to last 9 stitches, RC, LC, p3.
Round 26: *P1, k4, p2, k2, p3, repeat from * to end of round.
Round 27: *P1, C4F, p2, k2, p3, repeat from * to end of round.
Round 28: *P1, k4, p2, LC, p2, repeat from * to end of round.
Round 29: *RC, LC, p2, k2, p2, repeat from * to end of round.
Ribbing
Rounds 1-3: *K2, p2, repeat from * to end of round.
Loosely bind off in stitch pattern.
Weave in ends and lightly steam.





I realize beggars can’t be choosers as this is an amazing free pattern… but is there a chart pattern for this? Or would you consider a chart for this and perhaps some of your other great works?
I find worded patterns very difficult to follow…especially with cables.
Thanks!
Hi Cecily,
Thanks for writing in! You will see that for most of our cable patterns, we have opted for written out directions rather than charts. Charted or written patterns tend to be a matter of preference with some loving charts and others preferring written directions. We certainly appreciate the request and will keep it in mind for the future and for future cabled patterns!
Best,
Julianna
If I wanted to make this pattern in a soft Dk merino, how many stitches would I need to cast on ?
Hi Phyllis,
Thanks for reaching out! To modify this pattern for a lighter weight yarn, I would start by knitting a swatch in pattern on the needle size recommended on the yarn label. To do so, you will need to cast on 24 stitches and follow the stitch pattern as written by swatching for circular gauge. You can then measure your stitches per inch by measuring the center 4 inches of the swatch, multiply that number by 26 inches, and round to the nearest multiple of 12 to determine how many stitches to cast on.
Best,
Julianna
Hi hi
What a great pattern. Could I do it holding two strands of cashmere tend? Do you think the same approx 150 yards would work. It would be 300 if I double it. Thanks!!
Hi Jane,
Great question! You would have to knit a gauge swatch to make sure, but I do think two strands of Cashmere Tend would be very similar to a single strand of Super Soft Merino! You are correct that you will need double the yardage, or about 300 yards. Four skeins of Cashmere Tend will give you about a half skein extra just in case you go over!
I hope that helps, and please do let us know how it turns out!
Julianna
Love this! I have some great yarn that uses size 10 needles. Could you please advise me on how to enlarge this a bit to account for the different yarn/needles? Do you think just an extra 12 stitches would be enough? Thanks!
Hi Cindy,
Thanks so much for the kind words and for writing in! Unfortunately it’s hard to say just how many more stitches you will need without swatching. I would start by knitting a swatch in pattern on the needle size recommended on the yarn label. To do so, you will need to cast on 24 stitches and follow the stitch pattern as written by swatching for circular gauge. You can then measure your stitches per inch by measuring the center 4 inches of the swatch, multiply that number by 26 inches, and round to the nearest multiple of 12 to determine how many stitches to cast on.
I hope that helps!
Julianna
Thanks! I will try that.
This cowl looks fantastic. Is it reversible? I’m wondering if this cable patterning would be suitable for a scarf, or if it will curl without a hefty border of some kind?
Thanks so much:-)
Hi Kathy,
Thank you so much for the kind words! Unfortunately this cowl is not reversible – like most cable patterns, the wrong side looks like mostly stockinette with some movement from the cables, but it isn’t nearly as pretty as the right side! The top and bottom edges are worked in 2×2 ribbing which doesn’t curl up at all, so you won’t need to modify those edges, but you would probably want to add some a narrow border of garter or ribbing on the long edges to help them lay flat.
Happy knitting!
Julianna
This is beautiful!! I can’t wait to make it. I’d like to make it for my 5 year old – how would you suggest I alter it to fit her? Thank you!
Hi Lauren,
Thanks so much for the kind words! For a five year old, I would recommend making the cowl about 22 inches around, or just a little larger than their head circumference. You will need to cast on 60 stitches to make the cowl this size, and probably stop the cable pattern after Round 20 and go immediately to the last few rows of k2, p2 ribbing at the end of the pattern to make it a little shorter.
I hope that helps, and please do let us know how it turns out!
Julianna
I wonder how to go about adapting this pattern for worsted weight yarn instead of chunky. I love this pattern, but in my stash I have lots of non-chunky yarn I’m trying to use. Any advice?
Hi Jeanne,
Great question! Most worsted weight yarns held doubled are about the same as a super bulky yarn like Super Soft Merino, so you might want to give that a try first! If you would like to modify the pattern to use your yarn held single, I would start by knitting a swatch in pattern on the needle size recommended on the yarn label. To do so, you will need to cast on 24 stitches and follow the stitch pattern as written by swatching for circular gauge. You can then measure your stitches per inch by measuring the center 4 inches of the swatch, multiply that number by 26 inches, and round to the nearest multiple of 12 to determine how many stitches to cast on.
I hope that helps, and happy knitting!
Julianna
I agree it’s a stunning pattern, reminds me a Little of tree roots. I’m from the Westcoast where root systems are often above ground and look like this – lovely
And
I agree a chart for this would be very helpful for those of us who may be more visual learners.
What size needles are used? I believe the round needles listed above as 13, 16, and 20 are the length of the circular needles.
Thank you,
Shirley
Hi Shirley,
Thanks for reaching out! We used a size US 13 needle for the cowl, and you can use either a 16 or 20 inch long circular needle.
I hope that clears things up!
Julianna
I love this cowl. Thank you for this free pattern!
Would I be able to add an additional (or 2) rows to the set-up and finishing rows to give a bit more height to the cowl without distorting or disrupting the pattern?
Thanks much!
Jamie
Hi Jamie,
Thanks for reaching out! You could absolutely add a row or two of the set up round to add a bit of length to the cowl!
All the best,
Gianna
Hi Ladies,
I would like to increase the length of the cabling but I am fairly new to knitting. If I wanted to double the cable portion of this cowl, is there a point in the pattern where it will repeat?
Thanks for the help!
Hi Staci,
Thanks for writing in! The cable pattern repeats continuously from the beginning to the end of the cowl so you can repeat the cable pattern instructions until you reach your desired length/amount of repeats!
All the best,
Gianna