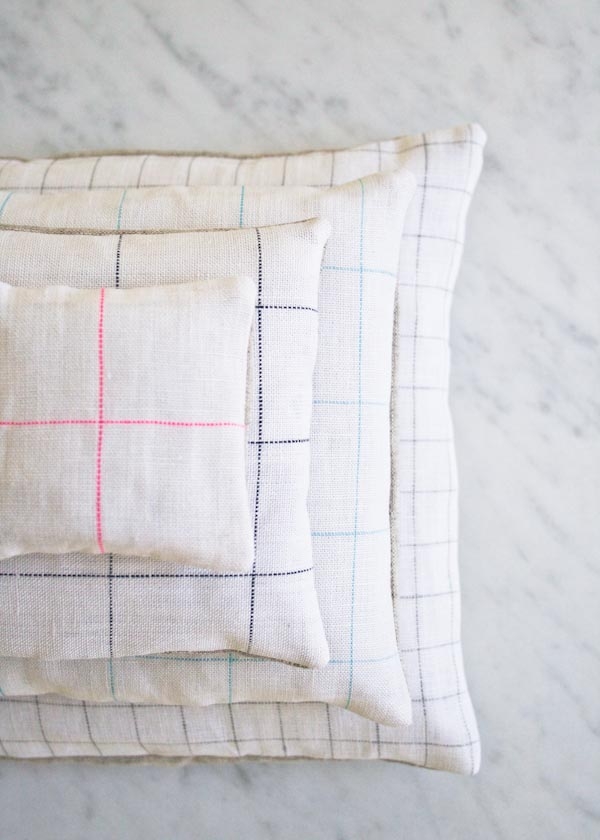
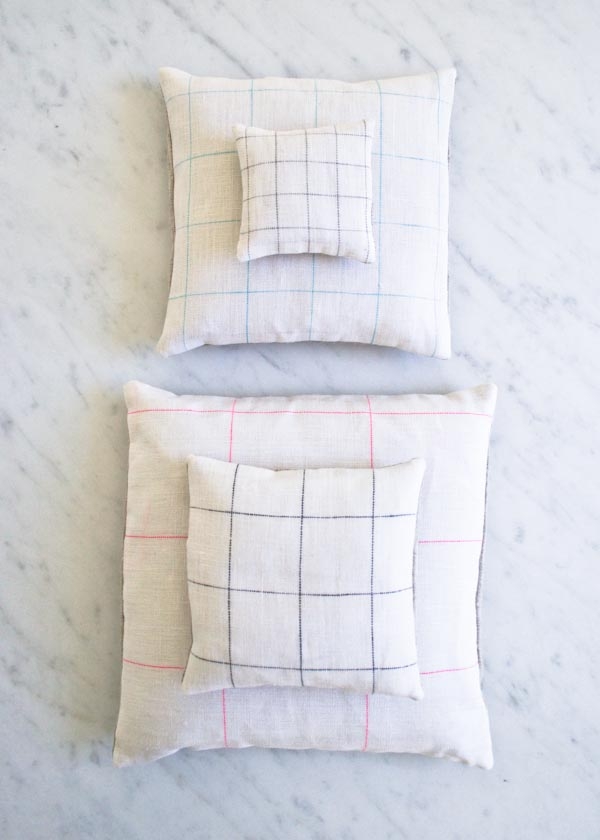
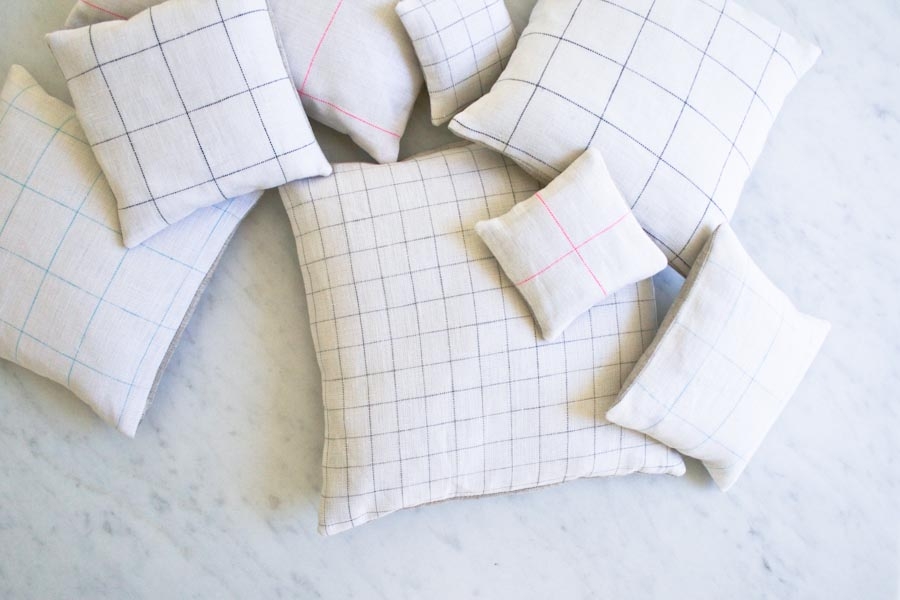
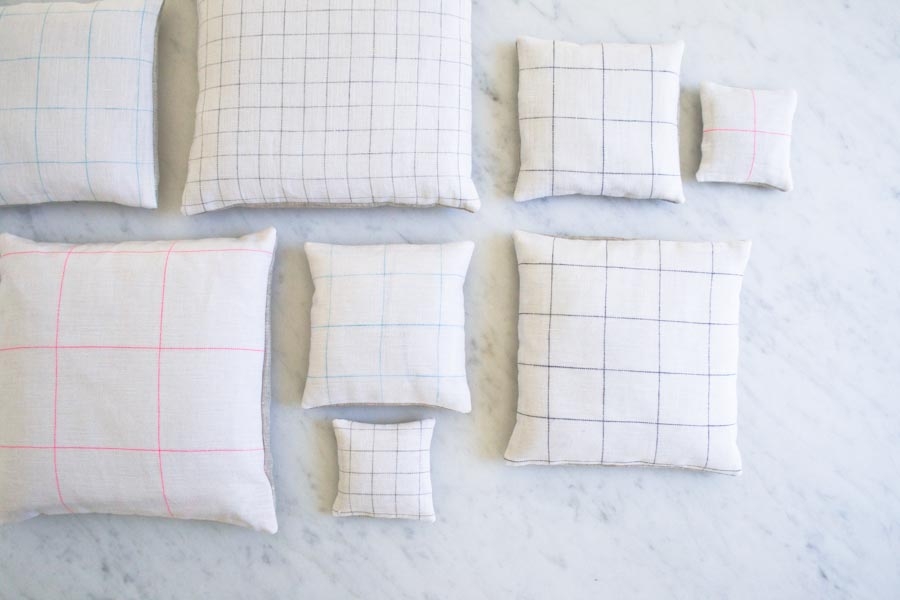
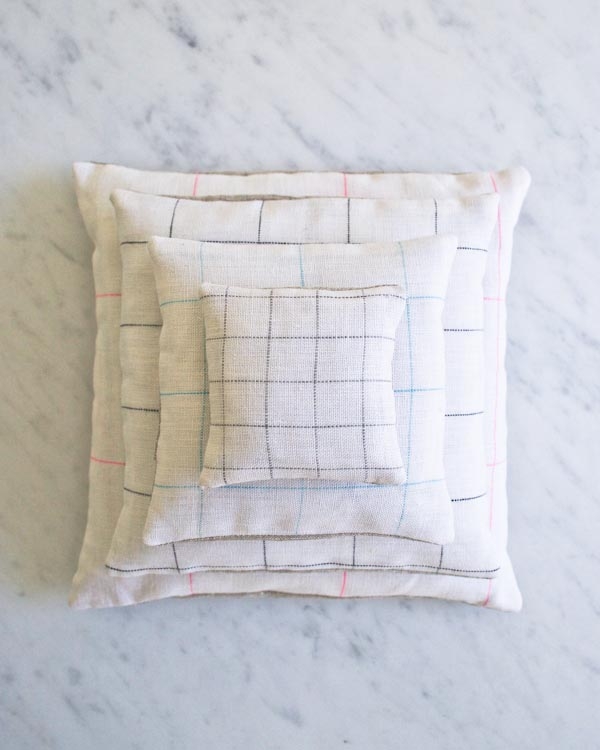
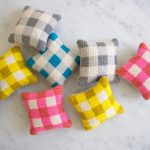
Tower of Sachets
I know, the idea of sachets may sound a little old fashioned and stuffy, but made with Purl Soho’s lovely Linen Grid and filled with exquisite smelling herbs and flowers, the reality is something both beautiful and useful!

Our new Linen Grid is perfect sachet material. Its fabric is light and airy so scents flow through it easily, and its crisp grid looks clean, classic and pretty in any drawer. You’ll whip up this Tower of Sachets in a couple of hours, but you’ll be appreciating its fresh emanations for months! Old fashioned and stuffy? I don’t think so! -Molly
Materials

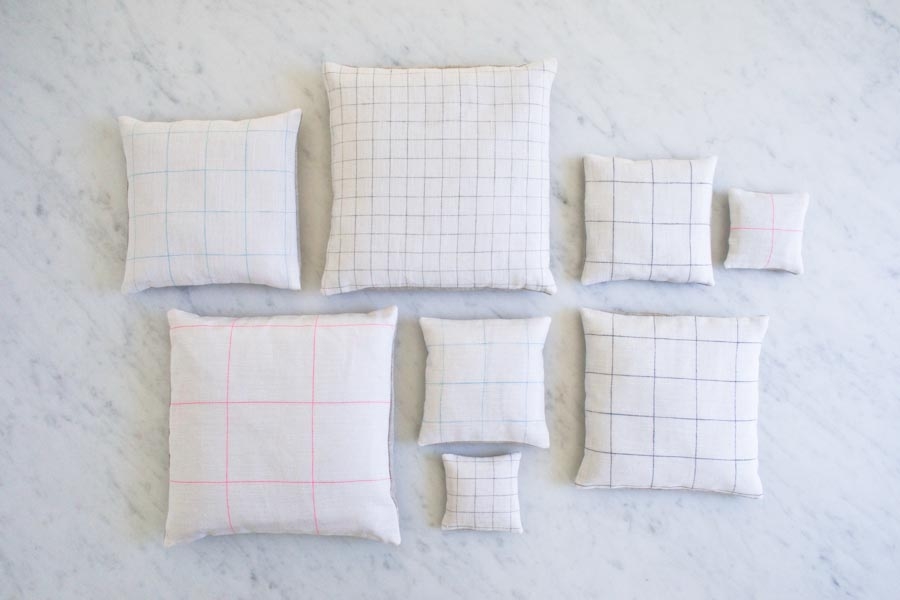
To make a set of four Sachets you’ll need…
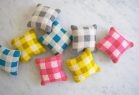
- 1/4 yard (for the 3, 5, and 7-inch sizes) and ½ yard (for the 9-inch size) of Purl Soho’s Linen Grid in each of the following colors: Silver Gray, Glacier Blue, Dark Graphite and Super Pink
- Please note: We have sold every last bit of our limited-release Linen Grid. As substitutes, we encourage you try our Daily Linen or Watercolor Linen, all suitable in weight and in a stunning palette of colors!
- ½ yard of Purl Soho’s Handkerchief Linen in Flax
- ½ yard of Moda’s Muslin, 45-inch 60 X 60 count in Warm White
- A 110-yard spool of Gutermann’s Cotton Sewing Thread in color 1040
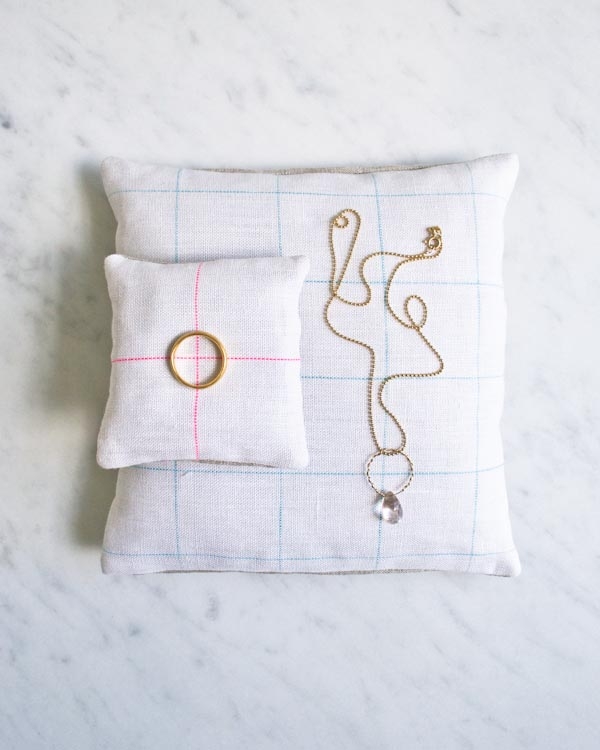
- 1 pound of dried herbs and flowers for stuffing the Sachets. We used a mix of rose buds and lavender in ours, all from the lovely Monterey Bay Spice Company.
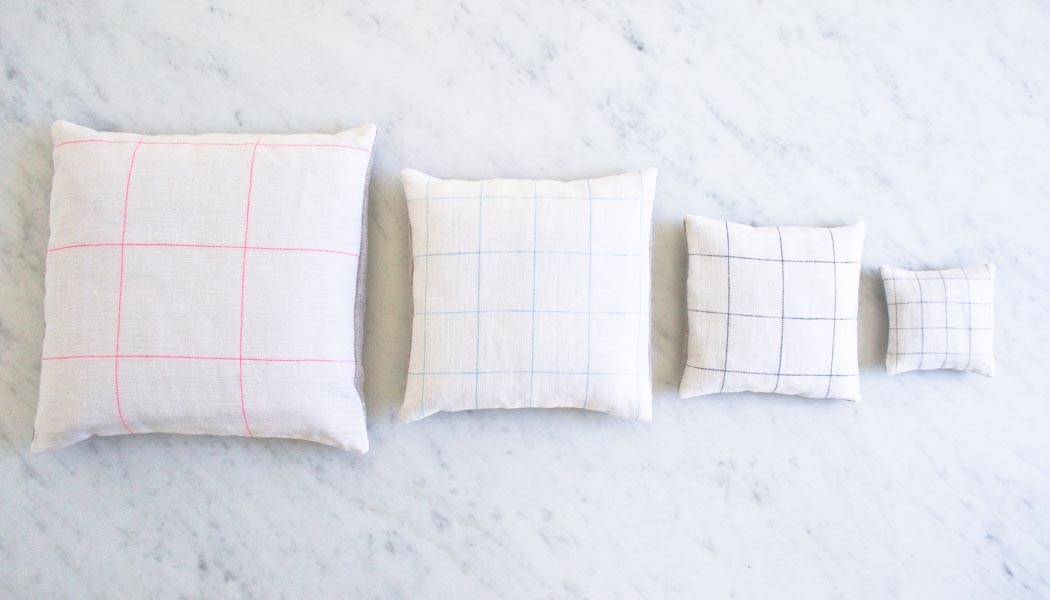
Sizes
3 (5, 7, 9) inches square
Note
All seam allowances are ¼ inch, unless otherwise noted.
Pattern
Cut
From the Linen Grid, cut…
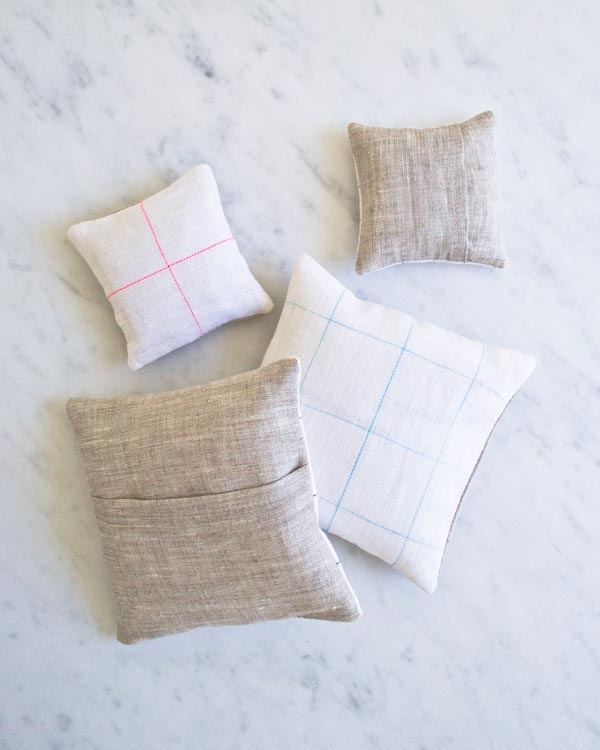
- One 3½ (5 ½, 7½, 9½)-inch square. This is the Front Panel. From the Handkerchief Linen, cut…
- Two 3 ½ x 3 (5 ½ x 4, 7½ x 5, 9½ x 6)-inch rectangles. These are the Back Panels. From the Muslin, cut…
- Two 3½ (5 ½, 7½, 9½)-inch squares. These are the Insert Panels.
Sew the Insert
Pin the Insert Panels together around all four sides.
Sew the two squares together around all four sides, leaving a 2-inch gap in the middle of one side. Backstitch at the beginning and end of this seam.
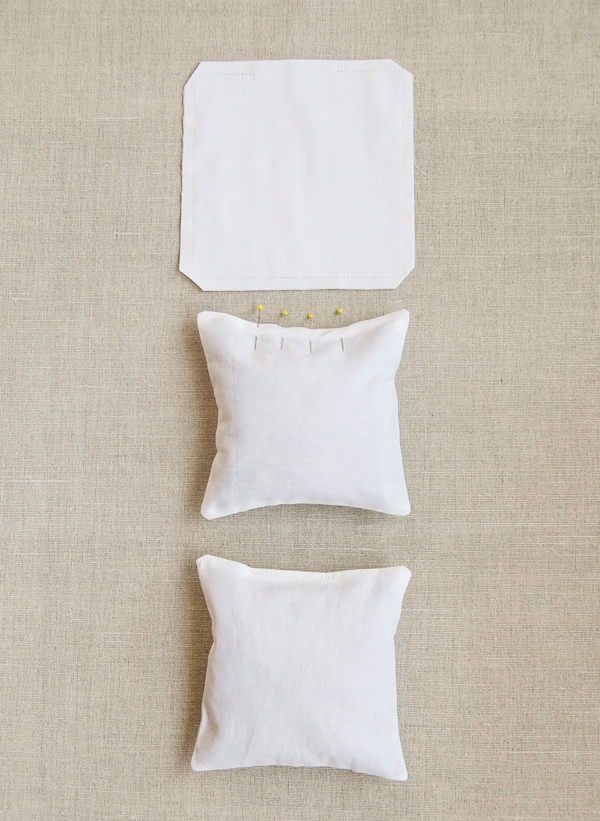
Fill the Insert with herbs until it’s stuffed to your liking (you can use a funnel or kitchen spoon to do this). Then, pin the un-sewn gap closed with its raw edges folded to the inside.
Shake the filling away from the pinned area, and then, using a scant 1/8-inch seam allowance, sew the gap shut, backstitching at the beginning and end of the seam. (Since the Insert goes inside of the Sachet you won’t end up seeing this irregular seam.)
Sew the Sachet
Hem the Back Panels
Press and pin one of the longer edges of a Back Panel ¼ inch twice towards the wrong side. Edgestitch this fold down.
Repeat for the second Back Panel.
Sew Together

Lay the Front Panel flat, right side facing up.
Stack one of the Back Panels on top, wrong side facing up. Align its raw edges with the left, top, and bottom edges of the Front Panel. The hemmed side of the Back Panel will be in the middle of the Front Panel.
On top of this, lay the second Back Panel, wrong side facing up, so that its raw edges align with the right, top, and bottom edges of the Front Panel. Pin all three Panels together around the outer sides of the square.
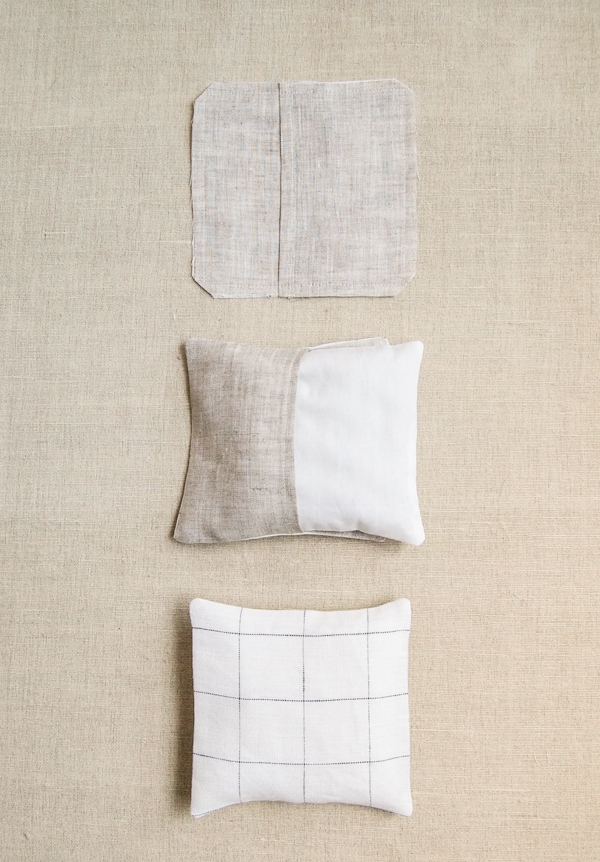
Sew the Panels together around all four sides. Snip off the corners and turn the Sachet right side out through the opening at the two hemmed edges of the Back Panels. Poke the corners out neatly.
Stuff the Insert into the Sachet through the opening and you’re done!


Ha ha…my husband asks me to relay this message: “Please stop with the patterns. ‘Oh, I NEED to make this!’ has become a household motto. How many projects do you think one person can realistically have going at once?”
Having done my wifely duty, I give you permission to completely ignore his request and do, please, continue providing all of us with more “Oh, I NEED to make this!” moments.
And now, off to my sewing machine. Sachet time.
Is this project available as a kit?
Thanks!
Hi, Ann!
Thank you so much for writing in! Unfortunately, we do not have this project available as a kit! However, if you are interested we can totally put a kit together for you! We’ll contact you via email about this! If you have further questions please let us know!
Best,
Kumeko