

Drawstring Shoe Bags

I’m only 35, but I’ve already compiled a to-do list for my retirement: I’m going to get a Cavalier King Charles Spaniel, bake bread and see the world. While I’m busy planning, my parents are actually living the retirement dream. My mom has opened a pottery studio and my dad has started making digital movies, but mostly, they travel, exploring all the wonderful places on their to-do list.

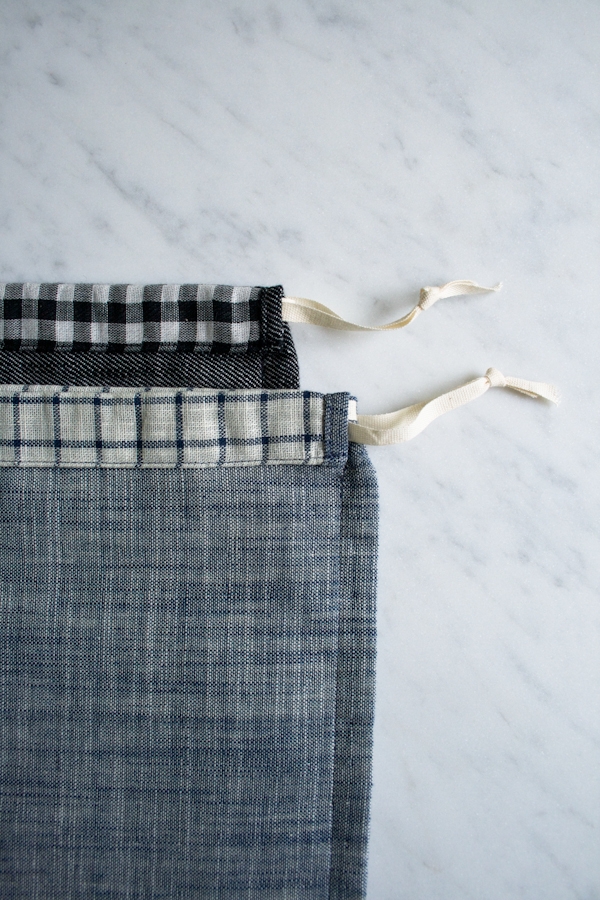
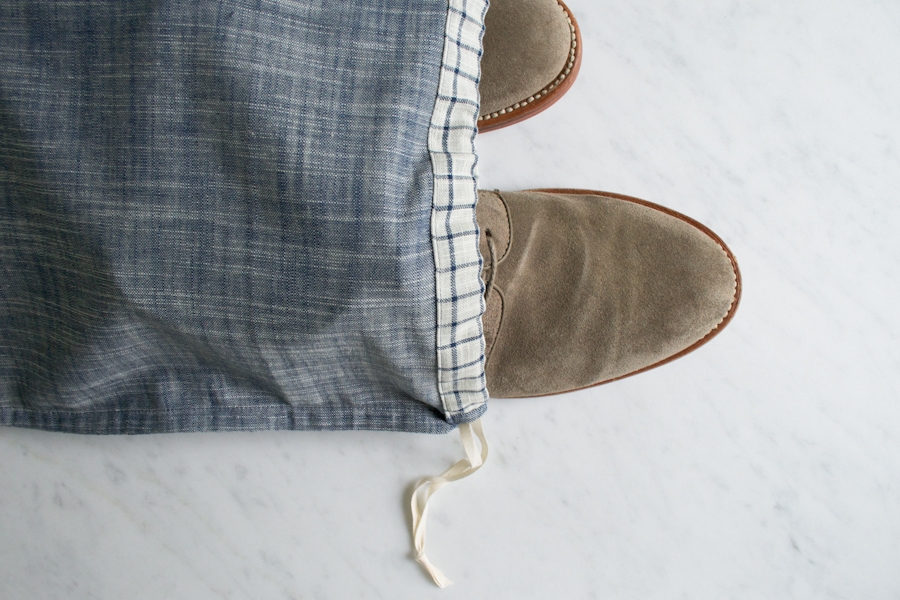
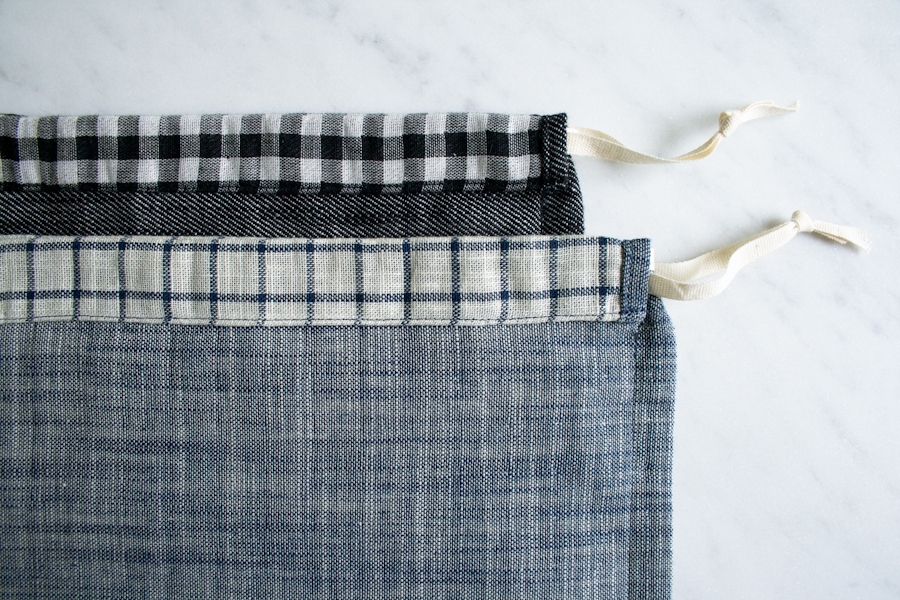
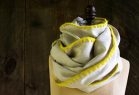
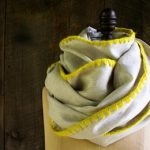
Before his retirement I could always make my dad a tie but these days he doesn’t have much use for formal stuff like that. So, for my dad’s new globetrotting lifestyle, I’m celebrating this Father’s Day with these super simple Drawstring Shoe Bags. With Robert Kaufman’s Double Cloth Cotton, an amazing two-sided fabric that gives a nice contrasting pop at the top of the drawstring channel, these bags are perfectly designed for quick crafting and tidy packing!

If, like me, you’ve got a travelling dad (or maybe a grad who’s off on a new adventure) these Drawstring Shoe Bags are just the ticket. With just a half a yard of Double Cloth Cotton, 2 yards of Fettucia Ribbon and some thread, you can sew up this thoughtful gift in a matter of minutes! Happy Father’s Day! -Molly

Materials

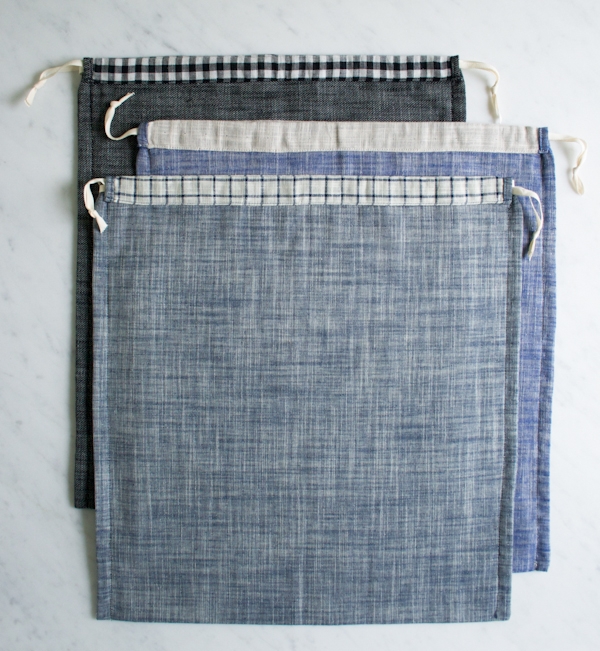
- ½ yard of Robert Kaufman’s Double Cloth Cotton. I used Indigo Plaid (pictured here), Gingham Black, and Indigo Hatches.
- Gutermann’s Cotton Thread to match the fabric. I used color #7400 in the example, color #1040 for the Indigo Hatches, and color #9800 for the Gingham Black.
- 2 yards of Carta’s ¼-inch Fettuccia Ribbon. I used the color Natural.
- Optional: Merchant & Mills’ Bodkin and Threader
Size
Finished size: 14 ½ X 15 3/4 inches
Notes
Prewash and dry the fabric.
Backstitch at the beginning and end of each seam.
I used the lighter sides of my fabrics as the wrong side, but you could reverse them if you like.
Pattern
Cut
Cut the fabric into a 15-inch X 34-inch rectangle.
Cut the ribbon into two 34-inch lengths.
Sew
Zigzag stitch across both of the 15-inch edges of the rectangle. This will control fraying along the drawstring channel later.

With right sides together, press the rectangle in half widthwise so that the 15-inch sides meet up with each other. The 15-inch sides are now the top of the bag and the fold is the bottom. Pin the left and right sides together, leaving the top open.
Using a ¼-inch seam allowance, sew the left and right sides together, stopping 2 inches from the top.

Turn the bag right side out and press it flat, taking care to poke out the corners. Pin the left and right sides together once again.
Using a ½-inch seam allowance, sew along the left and right pinned edges, again stopping 2 inches from the top of the bag. The first ¼-inch seams will be encased in this seam, and the top of the bag will be unfinished and flare out a bit, as in the photo above.

Fold open the front flap at the top of the bag. Press one of the vertical unfinished sides of the back flap ¼ inch twice towards the wrong side and pin this fold down. Repeat for the other vertical side of the back flap.

Edgestitch down these folds.
Repeat for the front flaps.

Press the top edge of the front flap ¼ inch towards the right side. Then fold the front flap over 1 inch towards the right side and pin this fold into place. Repeat for the back flap.
Edgestitch down these folds to create the front and back drawstring channels.
Adding the Drawstrings

Thread one of the lengths of ribbon onto the bodkin (or use a big tapestry needle or a safety pin).
Push the bodkin into the front channel at its right-hand side. Pull the ribbon through the channel, exiting at the left, and then pull the bodkin through the back channel from left to right. Tie the two ends together in an overhand knot at the right side.

Add the second drawstring by entering the front channel from the left, pulling the ribbon through the front channel, exiting at the right, and then pulling the bodkin through the back channel from right to left.

Tie the two ends together in an overhand knot at the left side.

Just pull on the drawstrings’ ends to cinch the your new Shoe Bag closed!


These are great; they can organize my suitcase in a way that reminds me of home when I'm in a strange city. Even better, black shoe polish doesn't rub off on my white linen shirts!
These will be great for pointes and balletsshoes!
Every week I click on your beautiful makes and patterns and I really love each and every one. I bookmark them all to make later, when I have time. When I retire! They are truly inspirational. Beautifully photographed and succinctly explained. 10 out of 10. I realised lately that I click and enjoy looking at things online a lot but don't always stop to comment. This is my thank you to you for always brightening my day and giving me making dreams.
Thank you
{*}
This doubleweave fabric is really great! As a weaver, I find myself inspired to weave up a bit of doubleweave for practice, and then use the resulting cloth to make a simple bag like this.
I love these.They look like they would work great for travel laundry bags too.
This is such a great Father's Day gift idea! Both of my dads (dad and step-dad) travel a lot, and I bet neither of them has a snazzy bag like this to keep their shoes contained. I might make a pair for each of them and they can use the extra bag for small items or dirty laundry on the road.
Thanks!
looks great but I wanted to recommend 1 shoe per bag. It is best to keep your shoes from bumping together. Sometimes shoes come with 1 shoe in the only shoe bag for just that reason.
I hope this is not a silly question. Can this be done with regular (not double weave) fabric? Thanks!
Hello, Sandra!
Thank you for writing in! Not a silly question at all! You can use any sort of fabric for these bags.
Best,
Kumeko
Hello there, I find myself having a hard time edgestitching the drawstring channel, it’s a little cumbersome for me (I am new to sewing!), do you have any tricks or recommendations?
I love this bag thank you for sharing this design!
Hi Melissa,
Thank you for writing us! Edge stitching is only something you become good at with lots and lots of practice. It requires a lot of precision and patience, but once you get the handle of it, you are just sewing another line! It helps a lot to make sure your folded edge is very crisp and for beginners I suggest using a few pins. Do not use a ton of pins because it actually warps the fabric and it’s annoying to have to stop and take out pins ever inch or so. Hope all this helps!
-Adam
Hi there, given that this fabric is no longer available. I wonder if you have an alternate suggestion? Or would love to see an update on this project with freshened up fabrics.
Hi Kim,
Thanks so much for reaching out – I’ll be sure to pass your suggestion along to the design team! In the meantime, I would suggest using Robert Kaufman Double Gauze Chambray or Double Gauze Chambray Dobby – it has a similar doubled weight and texture, and the Dobby does reverse colors on the wrong side for a bit of interest at the drawstring channel.
I hope that helps, and happy sewing!
Julianna
These instructions were clear and easy peasy. Thank you.
Do you mean to cut two pieces?
Hi Karin,
Thanks for writing in! Can I clarify if you are asking if you need to cut 2 pieces of fabric? For each bag, you need to cut just one piece of fabric. This piece gets folded in half to create the bag leading to less seams! You will cut the ribbon into 2 34 inch lengths to create the closing pulls!
I hope that this helps!
Cassy
I’m going to do this for my new Christmas shoes – have to look for a different fabric though or search online for the double sided RK. A lot quicker sew than most drawstring bags, that have you make the lining too.