New Year’s Needlepoint Clutch

It is an undeniably magical night, and happily, it is just around the corner… New Year’’s Eve, the glitz and glamor night of the year! Shoes shined and lips glossed, we’ll all wave a fond farewell to 2011 one minute and the very next, greet 2012 head on. We’ll celebrate the accomplishments of last year, while we bubble over with hope for what’s to come.

I haven’t picked out my dress yet, but no matter what I wear, I will definitely be holding my New Year’s Needlepoint Clutch. It has such a feeling of whimsical elegance, I know that I’ll be gracefully prepared for whatever the night may bring! With a practical form and minimalist style, this clutch is perfectly finished with the gorgeous, simple and rugged Koigu Premium Merino. Subtly hand dyed color and a refined spin emit a surprising and beautiful shimmer. Pops of dark raspberry and moody dark cherry pack a punch and lend a pinch of surprise, just like New Year’s Eve!
This year, I plan to dance the night away, clutch in hand, ready for any adventure 2012 might bring. Happy holidays and all the best this coming year!!! –Laura
Designed by Purl Soho designer, Laura Ferguson.
Materials
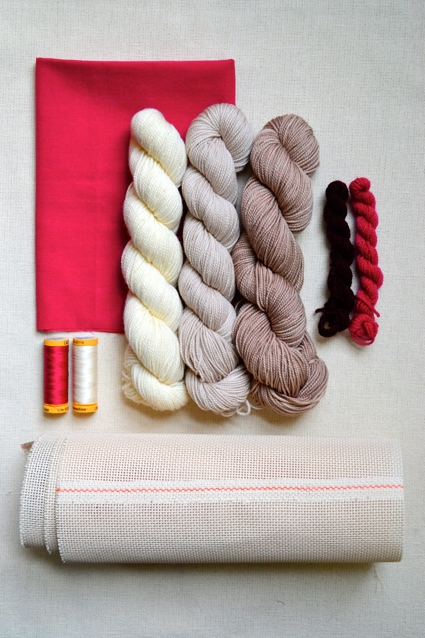
To make a 6-inch tall x 8-inch wide clutch:
- 1 skein of Koigu’s KPM (100% merino), color 0000
- 1 skein of Koigu’s KPM (100% merino), color 2390.5
- 1 skein of Koigu’s KPM (100% merino), color 2392
- 1 skein of Koigu’s KPM Needlepoint Yarn (100% merino), color 1160
- 1 skein of Koigu’s KPM Needlepoint Yarn (100% merino), color 1170
- 1/4-yard of Fleur de Paris 13 Mesh Blank Needlepoint Canvas. I used the color Eggshell.
- 1/4-yard of Rowan’s Shot Cotton. I used the color Magenta.
- Cotton Thread. 1 spool to match your Shot Cotton. I spool to match your Needlepoint Canvas. I used 1040 and 5860.
- Size 20 Tapestry Needles
Pattern
Cut
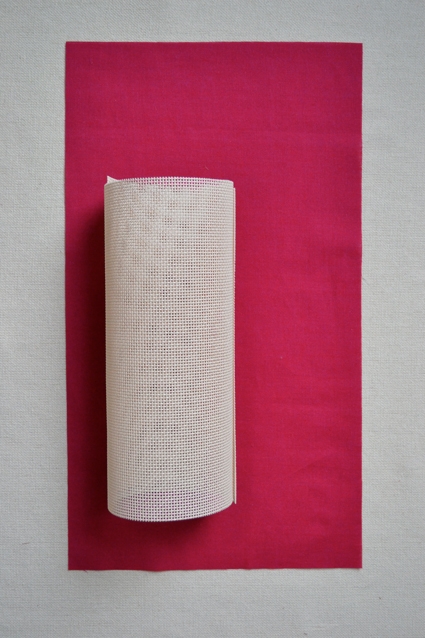
From the needlepoint canvas, cut one 16-inch by 9-inch rectangle.
From the Shot Cotton, cut one 15 3/4-inch by 8 3/4-inch rectangle. Put this to the side for now.
Hem the Canvas
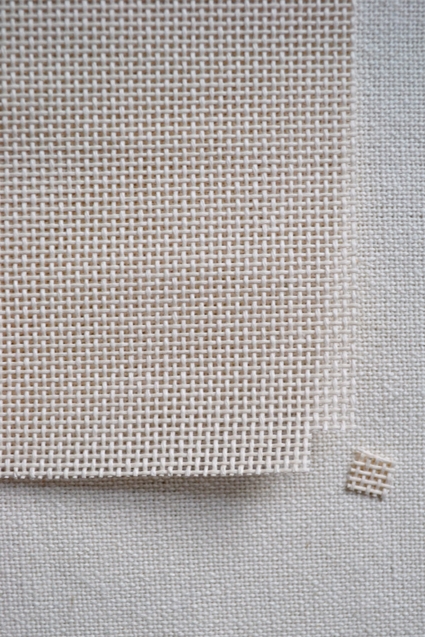
Cut a square, approximately 1/2-inch by 1/2-inch or a little smaller, out of each of the four corners of your cut piece of canvas.

Fold one edge of the canvas back 1/2-inch so to align with the cut you made out of the corner. Using the matching cotton thread, hand sew the folded edge to tack it down, taking a stitch every 1/4-inch or so. Be careful to align the mesh. Later, You will be stitching through both of these layers of canvas.
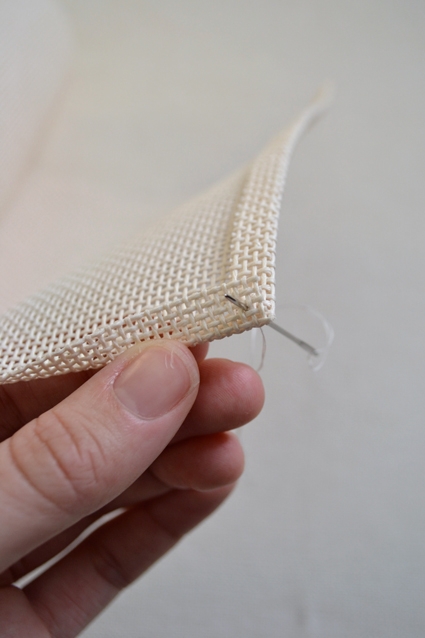
Repeat the previous step for the second, third and then fourth edge of the canvas, always carefully aligning the mesh.
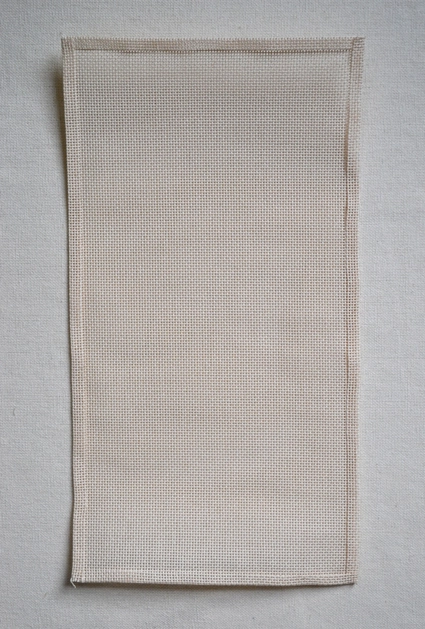
Now that the edges of the canvas have been hemmed, you are ready to needlepoint.
(Fancy) Stitch the Canvas
The pattern I chose for this clutch is known as the Fancy Stitch. If you are unfamiliar with this stich, check out our tutorial, right here!
Please note that two strands of Koigu are used at once for the entirety of this project.
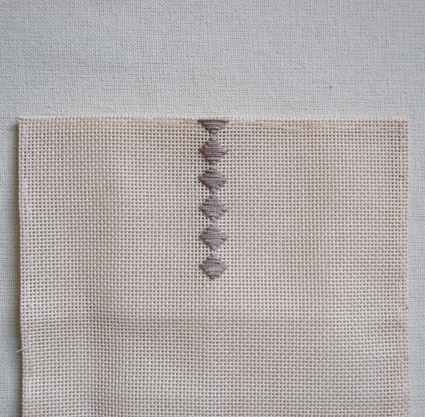
Usually I work my needlepoint canvases from the upper right to the lower left corner. For this project, I wanted to ensure this graphic pattern is centered so I started needlepointing down the center of the canvas and worked from there.
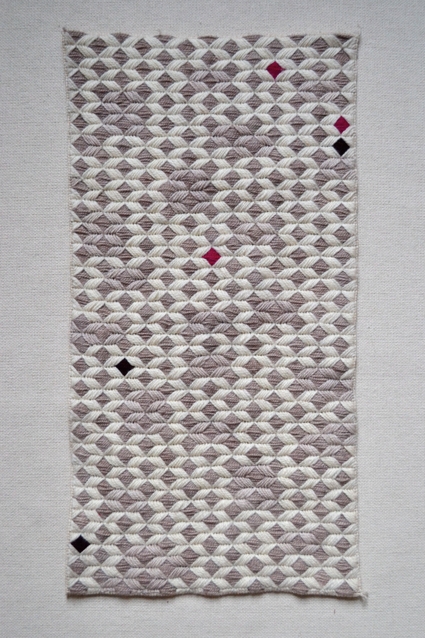
The diamond shaped portion of the Fancy Stitch is stitched primarily in the darkest of the three neutrals, color 2392, with an occasional diamond of contrasting yarn, color 1160 and 1170.

After working the diamond shapes, I worked the diagonal stitches. These are worked in, roughly, 80% color 0000, an off white, and the remainder in the medium neutral, color 2390.
Line the Canvas
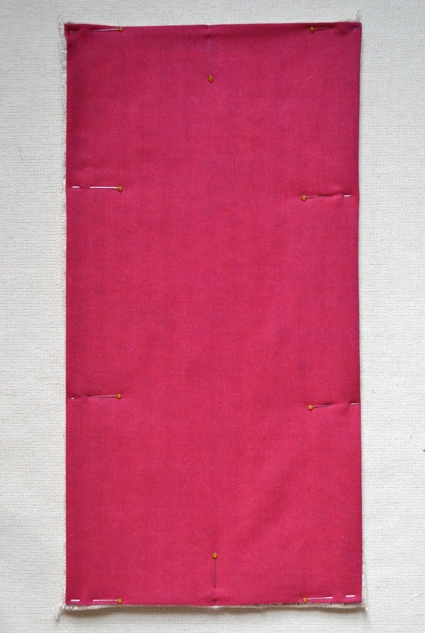
Press the edges of the Shot Cotton 1/4-inches to the wrong side of the fabric. Fold and press once more. Your pressed fabric should now measure 7 3/4-inches by 14 3/4-inches.
Place your needlepoint canvas, wrong side up, on your work surface. Place your pressed Shot Cotton, wrong side down, on top of your canvas. Center the fabric on the canvas and pin in place. The fabric should be just a pinch smaller than your canvas.
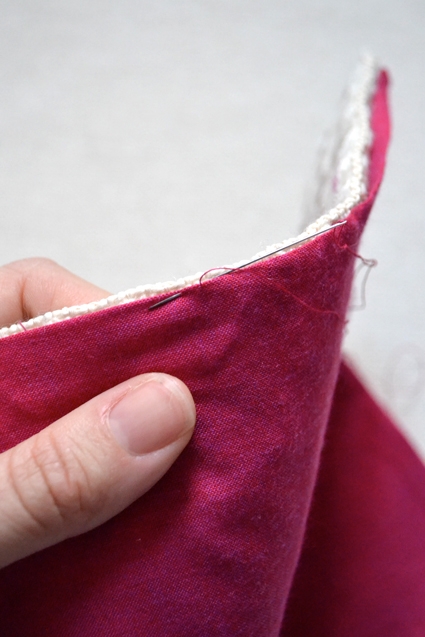
Hand sew the lining fabric to the needlepoint canvas using a blind stitch and matching thread.
Finish the Opening Edge
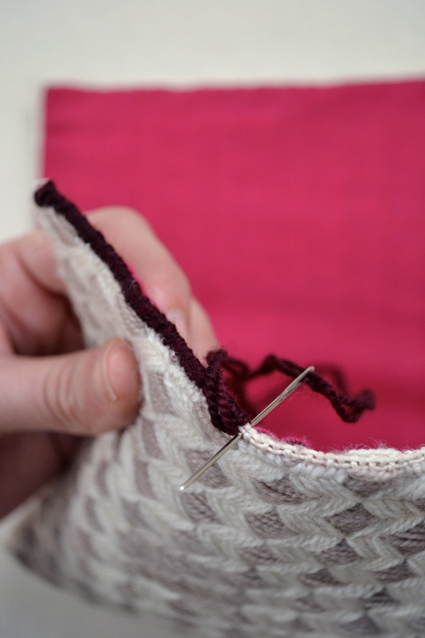
With your tapestry needle threaded with two strands of a contrasting yarn, use a whip stitch to finish one of the shorter edges of the canvas. This will be at the ‘mouth’ or opening of the clutch. A surprise splash of color when you lift the folded over flap.
Fold the Canvas

Lay the lined canvas on your work surface with the Shot Cotton fabric facing up and the recently finished edge at the bottom. Fold the bottom edge of your rectangle up 5-inches. Pin along the left and right sides.
Bind the Edges
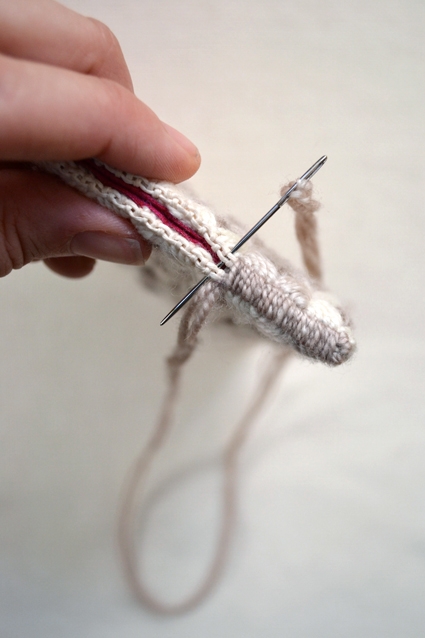
Starting at the crux of the fold, use whip stitch to bind the folded canvas. I used the darkest neutral yarn, the same color as most of the diamonds.
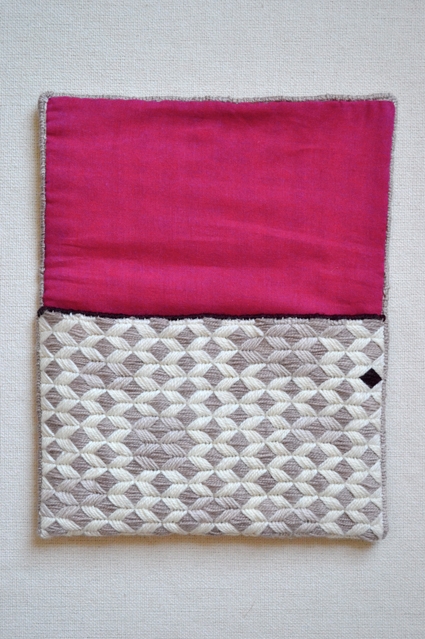
Continue along the side of the clutch, continue along the top edge and then down the other side.
You’ve done it! You’re ready to hit the town with your new needlepoint clutch! Happy New Years! –Laura



This would make a perfect gift for my sister! Impossible to get it ready this year but defenitely next year…
love love love this tutorial! What a beautiful piece!
Do you know about how long this project would take?
Hi Jamie. Thanks for the compliments! I am so happy you like the tutorial. The project took me about 3 or 4 long days of stitching. Because of the stitch used, it's not actually all that time consuming. I hope you make it! I just love mine. –Laura
You have outdone yourself! This is gorgeous. Happy New Year!
This is stunning. I want to make it right now.
This is really beautifully put together. I'm already on my holiday crafting, but maybe I could make this for Valentine's Day. It's really beautiful.
Gorgeous! Wish I had the patience for needlework.
This is simply stunning! Will there be a kit available in your shop to purchase the wool all together? Sam xox
This is just stunning (I realise I am repeating someone above in the comments but there is no other word!!)
You are very clever.
Beautiful. I love the mixture of traditional crafts with a contemporary look.However, I would add some tipe of closure (a magnet, a button, a wrap around ribbon) and a thin strap that might be tucked inside if you don't want to use it but that would allow you to hang if from a shoulder if needed.
I'm making two … for my two daughters.
Thank you for sharing your great desing.
Absolutely, gorgeous!
Such a beautiful piece. Thank you for sharing!
This is so gorgeous! I could see J Crew or BRepublic selling something like this for a very dear price. I have never done needlepoint before but avidly knit and sew – do you think a beginner could tackle this darling project?
To date, this is one of my favorite projects you have ever posted. I have been following for almost five years and love every project that is posted but this one really sticks out. Thanks for being awesome!
I made this! it only took me about 6 months but i finally finished it and i love it 🙂 thanks so much for the inspiration. Pictures are on my blog http://abimakes.blogspot.co.uk/2012/05/needlepoint-clutch-finished.html
After drooling over this clutch for the past year, I finally had the chance to buy the supplies – started working on it last night! Unfortunately, my local craft/knitting store doesn't stock canvas, so I'm stuck with a plastic base (small town … sigh!) … it folds well enough, though is going to be mean to stitch together. We'll see how this goes!
I'm going through your old articles and stumbled upon this one just now. Needlepoint has me mesmerized currently (have never done anything but cross stitch), and I want to learn enough to be able to make this clutch one day. It is breath-takingly beautiful.
Can we order this clutch kit with all supplies? It is a beautiful and useful project…
thank you.
Hi Rileyann-
We don't have a kit available for this but if you email customerservice AT purlsoho DOT com and they might be able to put something together for you!
Thank you!
Molly
I found this post last year and made one for my stepsister for Christmas, well the other stepsister loved it so much she requested one for herself, so I am back to make another for this year. I absolutely love it and actually look forward to my evenings sitting down and working on it. Thanks so much!
This is beautiful, I can't wait to make one!
This is such a nice clutch. After drooling over this project for a few weeks, my mother surprised me with the supplies to make one of my own! I think i will change colors around since i dont need such a fancy clutch. Thank you so much for the tutorial. I am so excited to make this!
This is stunning! Would this work well with 1 strand of a thicker yarn?
Hi Anna,
Thank you so much for the kind words! Yes, you could definitely use one strand of a thicker yarn! Fingering weight yarn held double is approximately equal to a single strand of DK yarn, so you could use Koigu Kersti, Brooklyn Tweed Arbor, or any other DK weight yarn.
Happy stitching!
Julianna