Whipstitch
A whipstitch is a super simple finishing technique for assembling knit, crochet, or sewn pieces. In knitting, we most often use the whipstitch when we’re joining cast-on and bind-off edges. This kind of seam is quick and easy, low-profile and durable.
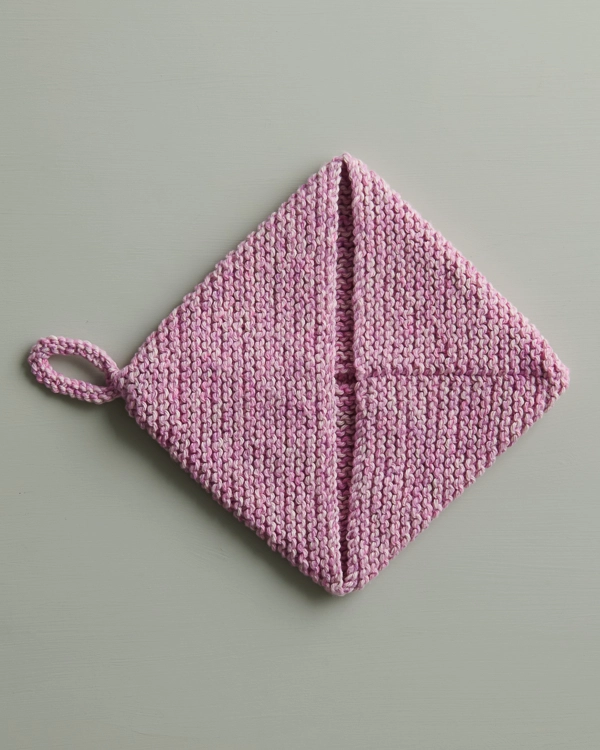
We used a whipstitch to sew together the cast-on edges of our Double-Thick Pot Holder. Here’s how we did it…
WHIPSTITCH: STEP-BY-STEP
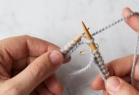
First, align the edges of the pieces that you are assembling, with right sides facing you (unless your pattern indicates otherwise). Next, thread the yarn you will be using onto a tapestry needle. Sometimes your pattern will have you use a remaining tail to whipstitch your pieces, but often you will need to join a new length of yarn.
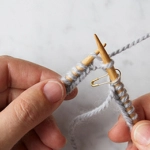
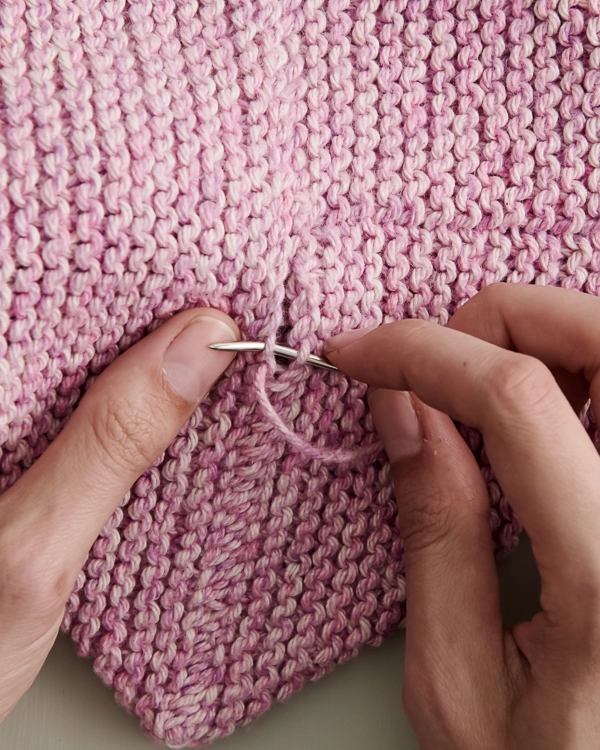
To begin, *insert the tapestry needle from right to left under the top leg of the first right-hand stitch…
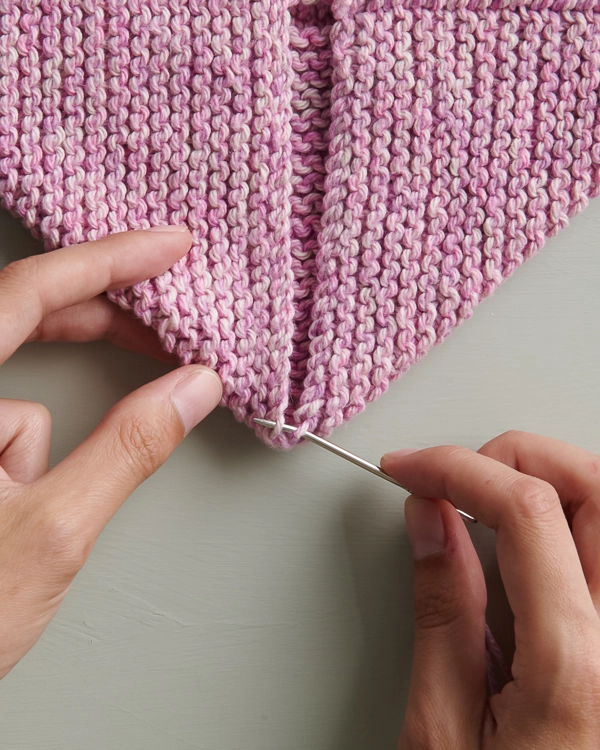
…then insert the needle from right to left under the top leg of the first left-hand stitch.
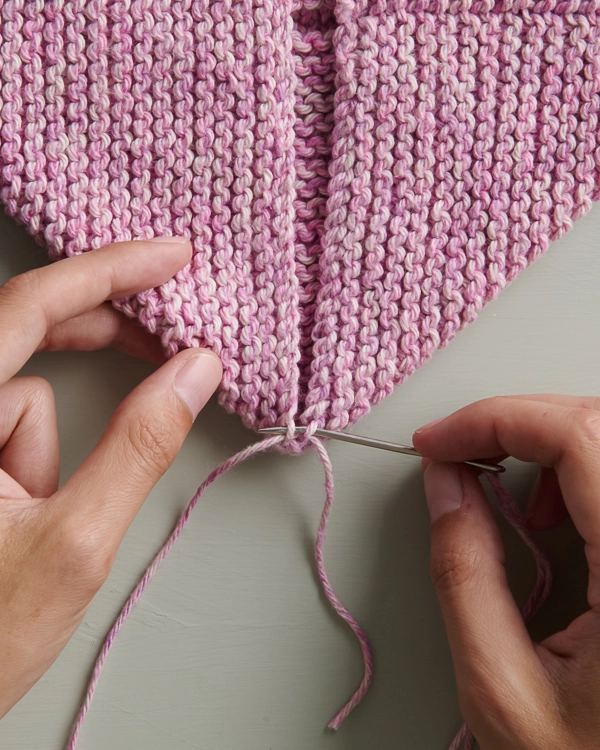
Pull the yarn through, leaving a tail to weave in later, then repeat from * one more time into the same stitches. Now, you’re ready to whipstitch!
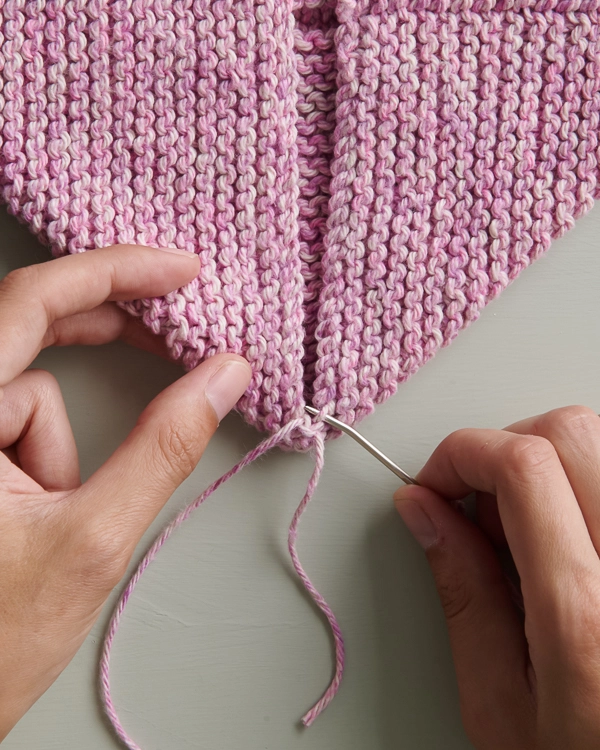
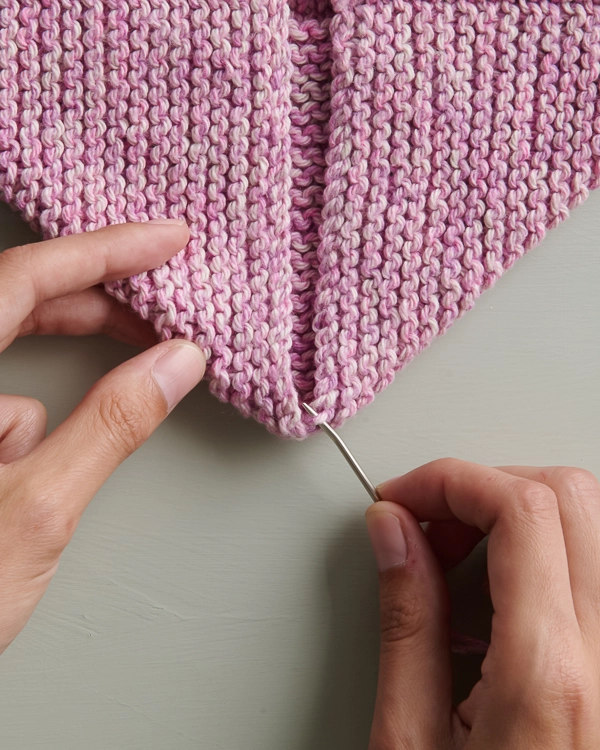
Locate the next stitch on the right side and, again, insert the needle from right to left through the top leg of the stitch…
…then through the next stitch on the left side from right to left.
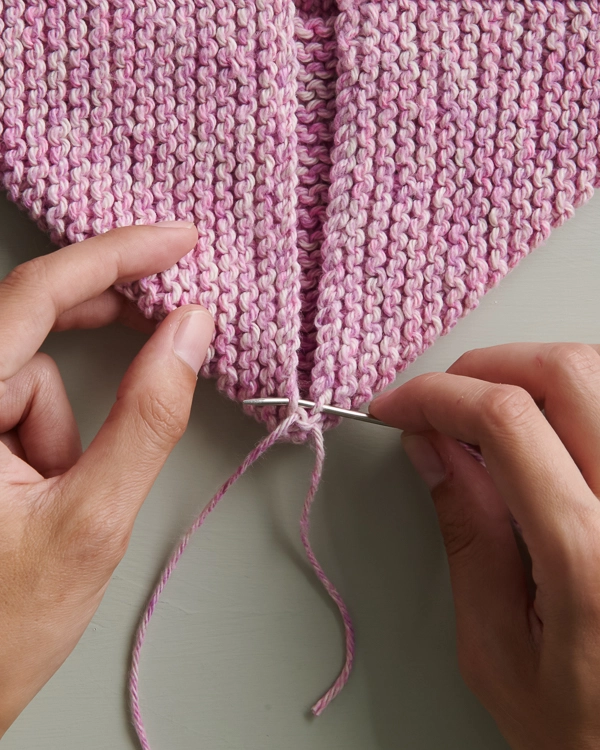
Repeat these steps for the remaining stitches. To finish the seam, work the final whipstitch twice before weaving in the tail on the wrong side.
Note that sometimes it might look better to pick up both legs of the cast-on or bound-off stitches. Experiment and see!

We used the whipstitch to finish our Double Thick Potholder, a free knitting pattern that uses our 100% organically grown, worsted weight Sunshower Cotton yarn, its gorgeous stippled color lending its sunny colors to everyday kitchen tasks!
Looking for more inspiration? Explore all of our free knitting patterns and knitting tutorials, buy one of our many knitting kits and yarn bundles, and shop for beautiful yarn. We have over 35 gorgeous natural fiber yarns in 100’s of magnificent colors, designed to bring integrity, beauty, and joy to your next knitting project and only available at Purl Soho!