Classic Mitered Corner Napkins
A mitered corner is an elegant finishing touch, a crisp fold that tucks a hemmed corner in an engineering feat of beauty. There are lots of ways to create a mitered corner, but our Classic Mitered Corner Napkins illustrate our favorite technique. It’s easy, straightforward, and very tidy!

Our Classic Mitered Corner Napkins pattern, along with our new video tutorial, show you exactly how to transform a square of Handkerchief Linen into a lovely napkin.

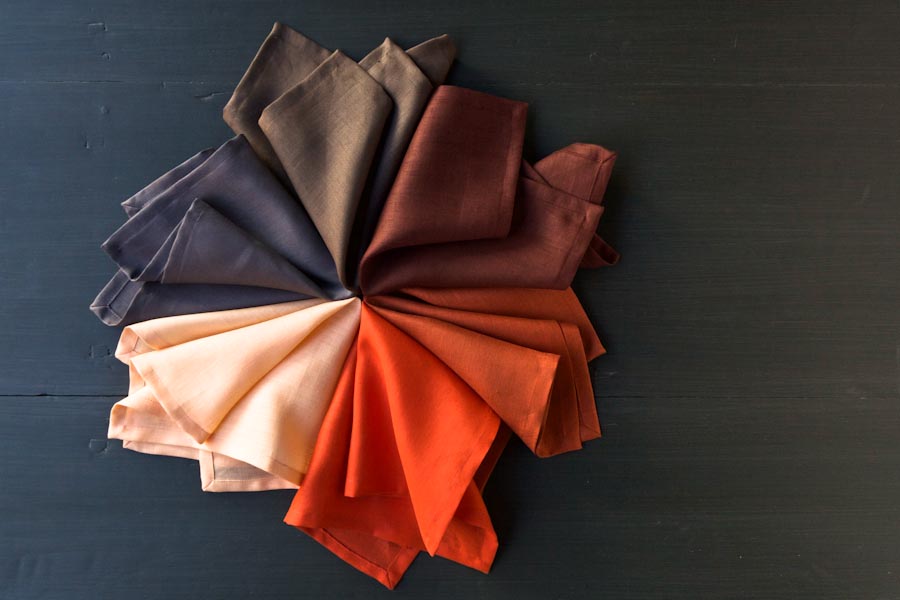
Pick up a bundle of Purl Soho’s Handkerchief Linen and coordinating Cotton Sewing Thread Bundle to make a grand total of 18 napkins. They will certainly add grace and charm to the Thanksgiving table or any table anytime! – Molly
Update: New Fabric
March 14, 2016

We created a new set of these napkins just for spring! To check out the materials for our Classic Mitered Corner Napkin in Early Spring colors click here.
Update: More New Fabric
April 1, 2020
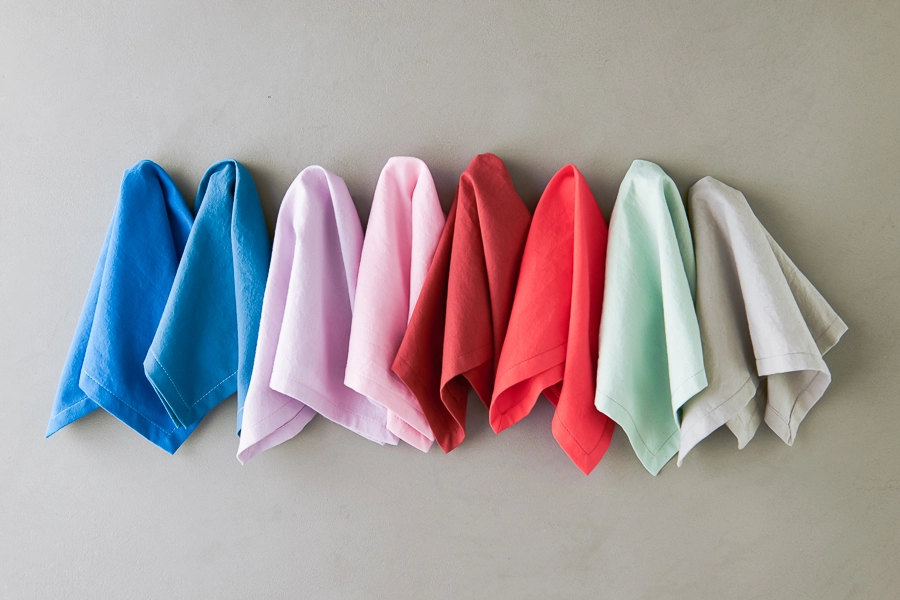
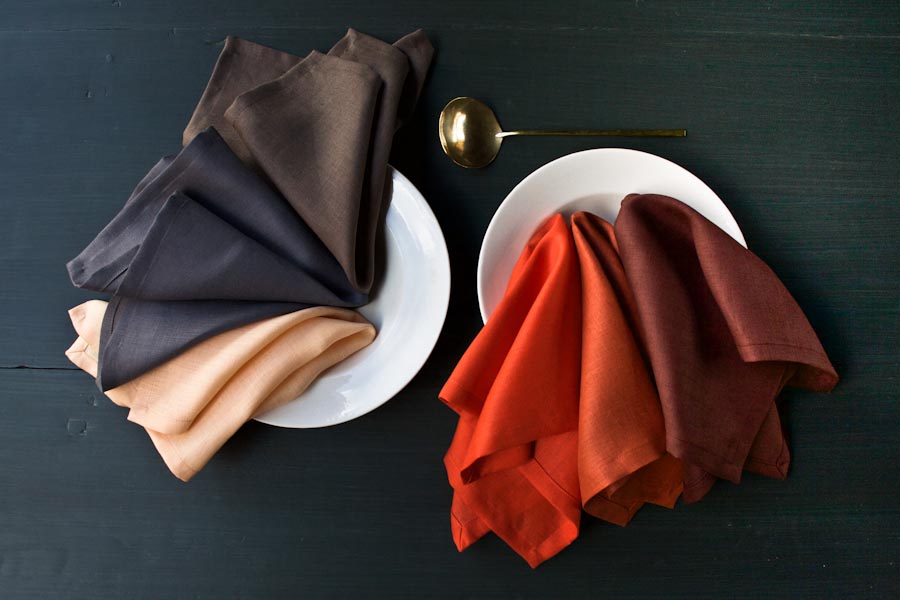
Tidy mitered corners, super soft garment-dyed cotton, and a rainbow of colors make our Classic Mitered Corner Napkins in Spectrum Cotton our favorite dinner guests!
Materials

To make 18 dinner napkins you’ll need…
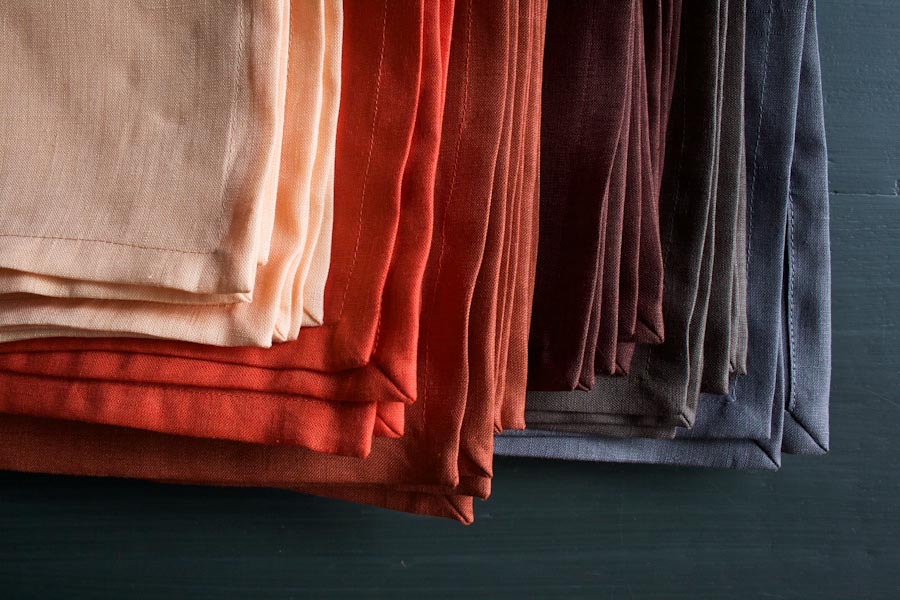
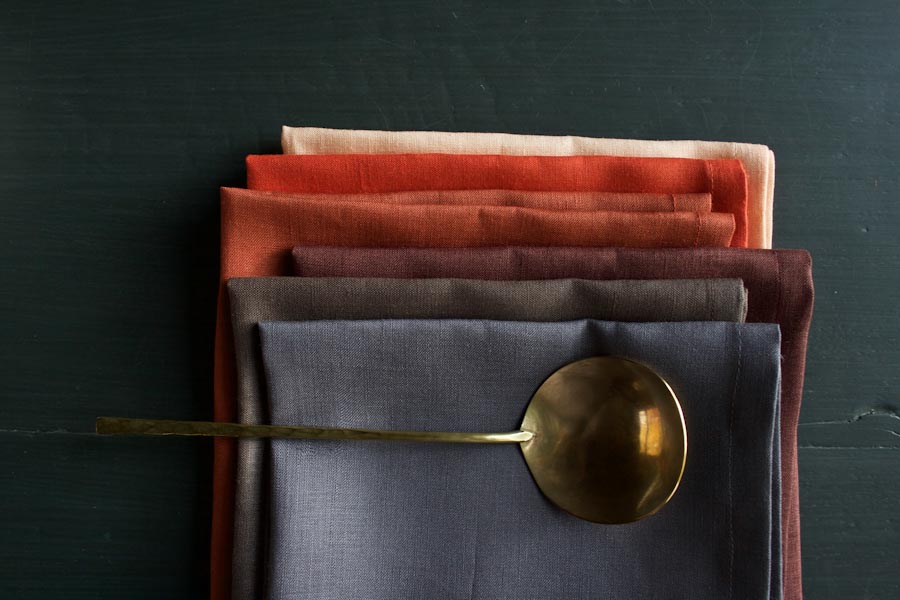
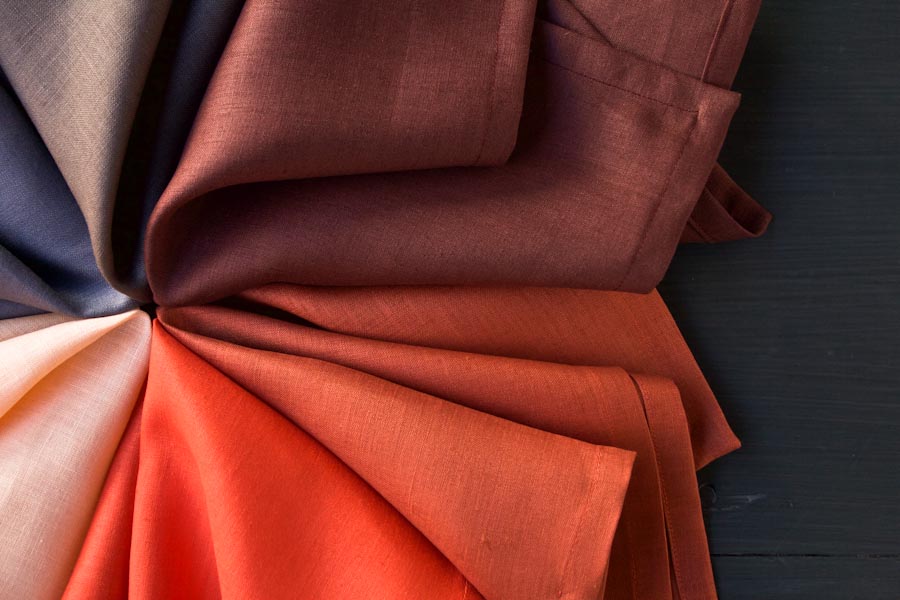
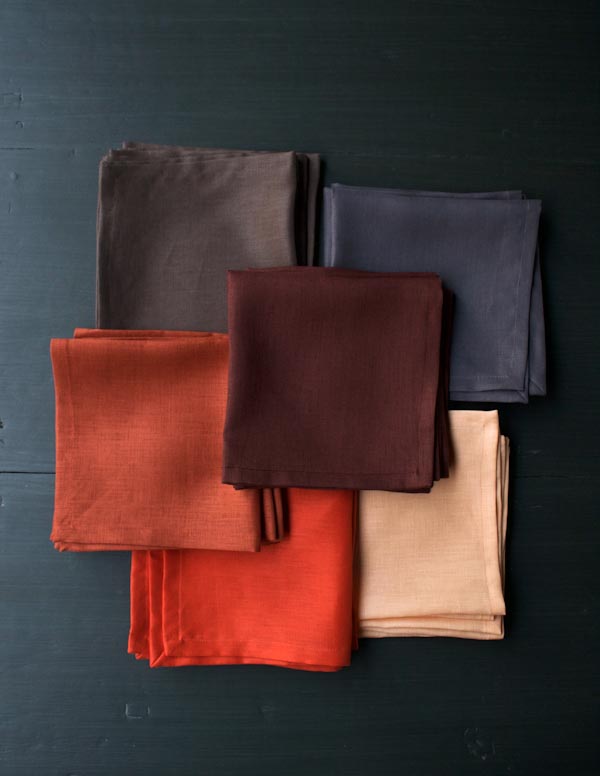
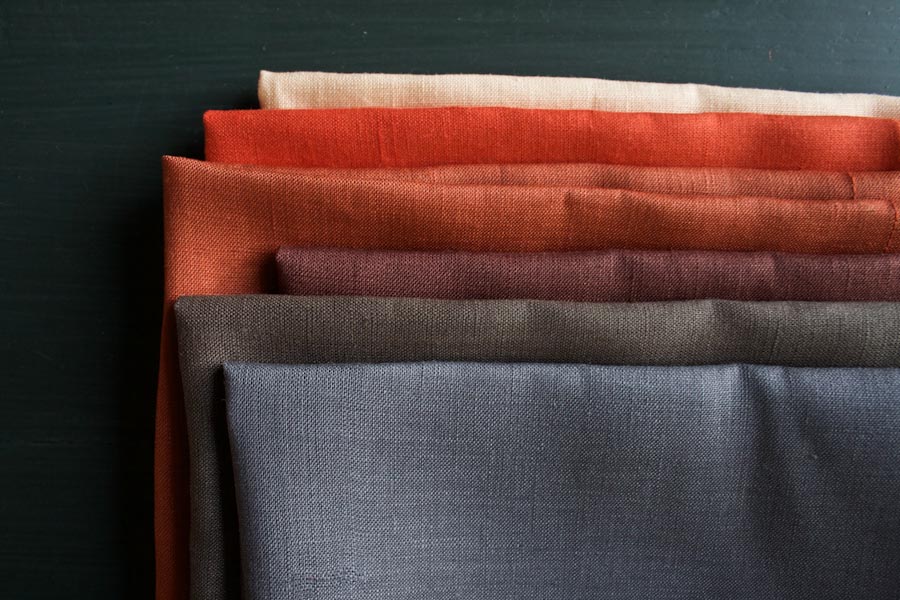
- Six ½-yard pieces of Purl Soho’s Handkerchief Linen. We used colors Peach, Redwood, Persimmon, Date, Hippo and Midnight. (Please Note: Handkerchief Linen is no longer available. To view our full line of fabrics, click here!)
- Purl Soho’s Cotton Sewing Thread Bundle, in color Trail, which includes six 110-yard spools of Gutermann’s Cotton Sewing Thread and color coordinates with the Linen bundle.
You will also need…
- An erasable fabric marker
- A pair of tweezers
- A rotary cutter
- A self-healing cutting mat
- A 6 1/2 x 24 1/2-inch non-slip straight ruler
Size
Finished dimensions: 15 x 15 inches
Notes
Prewash, dry, and iron the fabric before starting.
Use the thread that coordinates with each fabric.
For the sake of clarity our instructional photos use Robert Kaufman’s Botanics + Architextures in Tangerine Hatches, a fabric with a clear right and wrong side. When you are working with a fabric without a clear right or wrong side, choose either side as the right side.
Pattern
Cut
From each ½-yard fabric piece cut…
- Three 17-inch squares
Handkerchief Linen can be tricky to cut on grain. Here’s how to do it…
Pull a Thread

Using a pair of tweezers, pull a warp thread from the raw edge, ½ inch above the selvage (warp threads run parallel to the selvage). The fabric will pucker along the selvage. If the thread breaks, pull one next to it.

Once you have pulled and removed the thread across the whole width of the fabric, press the fabric once again. You will be left with a little gap in a perfectly straight line just above the selvage. This is called the Warp Line, and it will help you make square cuts.
Rotary Cut
Note: If you have never used a rotary cutter, now would be a good time to read our Rotary Cutting Tutorial. Once you do, you’re ready to cut!

First, line up the short edge of your rotary ruler along the Warp Line so that the ruler’s long right side is approximately ¾ inch from the right raw side of the fabric. Take care to line up the weft threads (perpendicular to the warp threads) so that they appear straight. Cut along the right side of the ruler for approximately 18 inches.
Then, double-checking against the side you just cut, cut along the Warp Line. From these two perpendicular sides, use the rotary ruler to cut a 17-inch square.
To cut the next 17-inch square, pull a Warp Thread just above the last cut section and repeat the same steps you followed for the first square.
Create the Mitered Corners
To learn how to create mitered corners, either watch this video tutorial or skip ahead to our step-by-step still photos and instructions. Or study both explanations and become a mitered corner expert!
Take one of the cut squares and fold and press all 4 of its raw sides ½ inch towards the wrong side of the fabric. This is the First Fold.

Fold and press the edges ½ inch towards the wrong side again. This is the Second Fold.

Unfold the Second Fold at one corner.

Fold the corner so that its two legs measure 1 inch. The ½-inch seam allowance on the inside of the corner will meet up with raw edge of the First Fold.

Unfold the corner and trace the crease with the fabric marker.

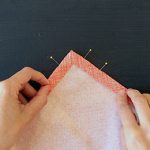
Fold the corner into a point, right sides together, making sure that the ends of the drawn lines meet. Pin the corner into place.

Sew the two sides together along the marked line, backstitching at the beginning and end of the seam. Clip the tip of the corner off, leaving a scant 1/8-inch seam allowance.
Repeat for the other 3 corners.

Re-fold the Second Fold, inverting the corners into their neat mitered position as you do. Push the tips of corners out so they are pointy. Press and pin down the Second Fold.

Edgestitch this fold around all four sides, backstitching at the beginning and end of the seam. You don’t need to sew the miters themselves. They’ll stay in place! Your napkin is done!
Now, repeat for all the remaining cut squares and you have a set!


Thank you so much for your very helpful tutorial on mitered corners for table napkins I am very grateful Valerie x
This will make the perfect gift for a friend who has everything, thank you!
What a simple yet so effective and neat way to hem napkins. Such a lovely well explained tutorial – I can’t wait to make a set of napkins! Thank you!
This is by far the best tutorial for mitered corners. Very clear instructions with great photos of the steps. Thank you!
Fantastically helpful and clear mitered corners video! Thanks!
I found the instructions and video so clear to follow.
Just beautiful instructions. superb graphics.
my only “beef”: how can i download as file?
Hi Susan-
Thank you! You can download this as a pdf by clicking on the “print” button on the right had side of the page. From there hit “pdf” and then download it!
Please let us know if you have any more questions!
Best-
Molly
Thankyou so very much for making mitered corners so easy !
Beautiful! Can I wash and dry this linen by machine? Thanks!
Hi Dianne,
Thank you for your kind words! These lovely linen napkins can be machine washed and dried. We recommend washing cold and line drying or drying on a gentle cycle. I generally recommend trying to wash a swatch using your preferred method to see how that fabric will react before washing the actual objects. In the case of these napkins, perhaps you can sew a mini napkin and try laundering it.
Happy sewing!
Cassy
That’s a great suggestion–thanks for your help! Dianne
You can use these general directions to make lovely receiving blankets for babies, too. The mitered corners make them special.
I may be missing something, but how do we end up with a finished napkin that is 16″ square if we cut a 17″ square and fold over 1/2″ twice around all sides? Don’t we lose an entire inch from all sides, resulting in a finished napkin of 15″ square? Thank you!
Hi Dianne-
You are correct! I have updated the pattern with the correct finished size: 15-inches.
Thank you so much for getting in touch!
Molly
Good tutorial! I made up some nice, sturdy linen napkins by following these instructions. Thanks for the clear directions and photos.
Thanks so much for this wonderful tutorial. I have been sewing more than 50 years, but I did not know how to do this. You have made it so clear!
Aarghhh! Several attempts to pull the thread(s) have been very frustrating–the thread(s) keeps breaking! I simply cannot imagine how I could pull enough threads to make a visible gap in the fabric without working in it for several days! And I’ve got 6 selvages to do! HELP!!
Hi Dawn!
Thank you for writing in! I am sorry to hear that your having a frustrating time pulling the threads! This step can be a bit tricky and you certainly don’t have to do this step. This step is here to help you to make square cuts and by omitting this step your napkins may have a more rustic, handmade look (a look I personally adore when it comes to linen napkins!). Please keep us updated on how your napkins turn out!
Best wishes,
Kumeko
Thank you for your response, Kumeko. I will proceed without attempting to pull threads & let you know how it all goes. Rustic & handmade are actually much more in keeping with our way of life. Have a wonderful day!
How do you guys get such straight ironed edges? Just curious if there was a tool to make this easier than just eyeballing…
Hi Brittany,
Thank you for writing in! I highly recommend using a sewing gauge to help ensure that your edges are nice and even!
Please let us know if you have any more questions and again, thank you for writing in!
Best wishes,
Kumeko
Thank you so much for the tutorial, always had trouble doing mitered corners especially on napkins, you make it look so easy.
Additionally, as a novice, I forgot to ask, which side do I sew by machine the edge stictching on the front side of the fabric or on the back side of the fabric. Thanks so very much for this tutorial. It is crystal clear and easy to follow!
Hi Joyce,
Thanks for reaching out! In the case of these napkins, I would do the edge stitching from the wrong side so that you can see how close you are to the edge of the hem and make sure you don’t miss the fold.
Best,
Julianna
Thank you for a great tutorial on mitered corners. Very clear instructions. I’ve always hesitated trying them, but they came out perfect!
I have been sewing even longer than Cindy above but I too had never done mitres this way. So much better than my previous ‘cobbled together’ efforts! Thank you for the very clear instructions.
How lucky younger people are to have the internet to learn sewing and craft techniques!
Excellent! Will use it for my class.
Thank you so much for your clear and concise instructions for sewing mitered corners. It became very clear and easy to do.
I love the finished look.
test
test
I used your tutorial to miter curtain panels for a grand babies room. I have large remnants from other projects. I don’t know how to square fabric when I didn’t know how in the beginning . I have “stash” to make lots of napkins. Do I pull a thread from welp or weft, or does it matter.
Hi Sandy,
Thanks for reaching out! You will be pulling the thread from the warp!
Warmly,
Gianna
Hi! First of all, thank you so much for all the beauty and inspiration you have here on the blog! I looove the style and aesthetics and explanations are so to the point. My only question here is… usually to cut the fabric I was taught to cut INTO a selvage and pull a weft thread/tear fabric along the weft line. But here you advise to establish the warp line as a base for cutting. Is there a particular reason for this? Why can’t I use (or can I?) the weft line? Thank you so much in advance!
Hi Elina,
Thanks for writing in! We find it easier to pull a thread from the warp as opposed to the weft, but I don’t think it particularly matters for this pattern, so if you are more comfortable pulling the weft you certainly can!
I hope this helps!
Gianna