Liberty Nap Mat

My daughter recently moved from the infant room of her daycare into the toddler room. There were a lot of changes for little Lupe that day: new teachers, new snacks, and a new naptime routine. Instead of being put into her very own crib whenever she seemed tired, she was now expected to sleep on a mat on the floor at the same time as all the other squirmy toddlers in the class. I was worried that Lupe wouldn’t adjust well to communal sleeping, but she seemed to like it and is now a champion napper!

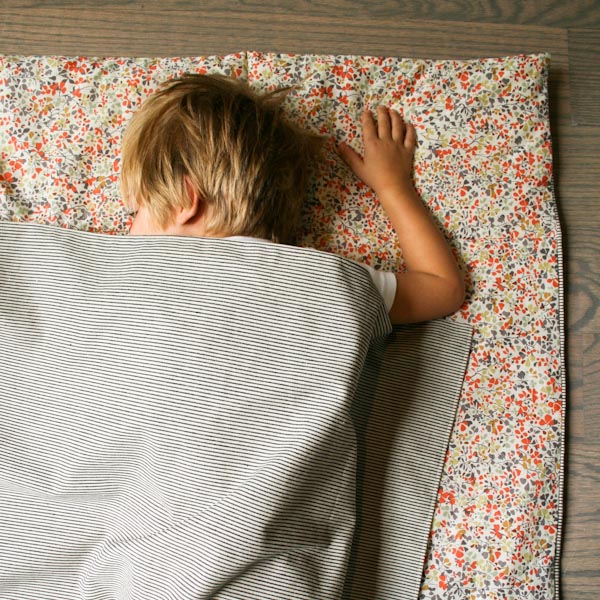
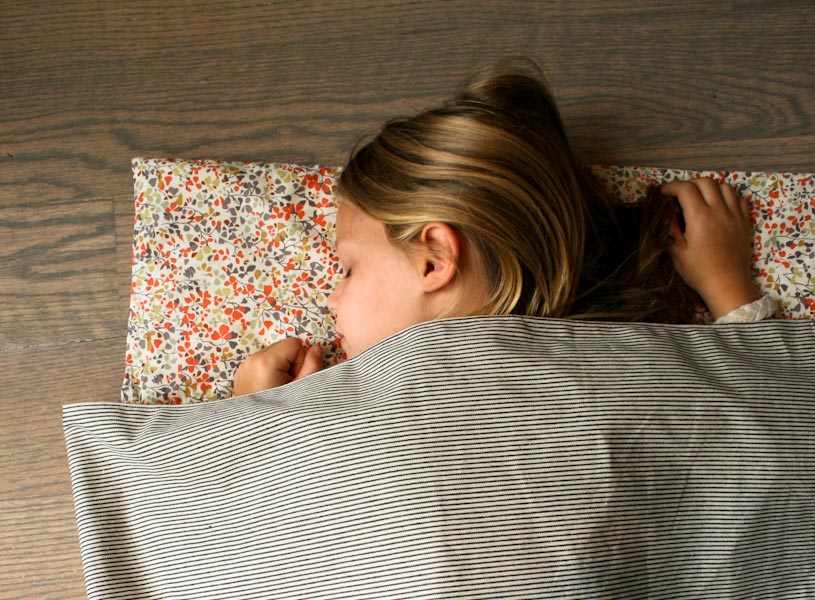
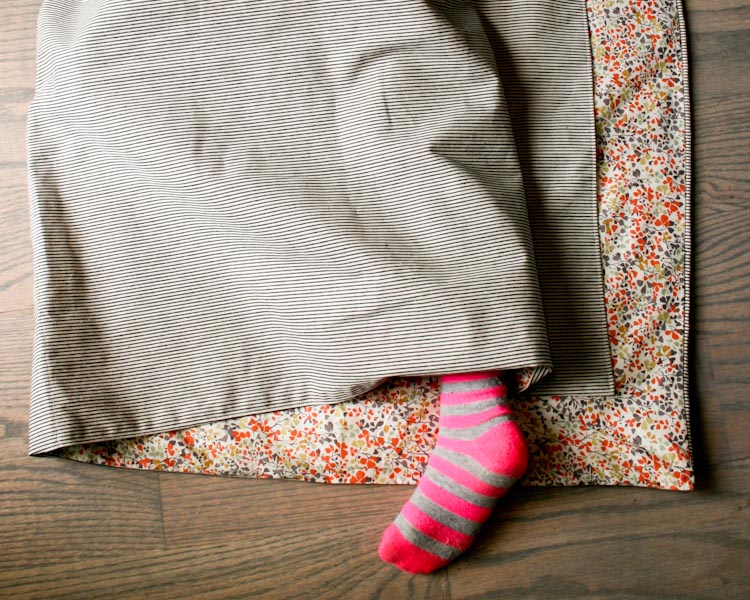
To keep up her new routine when we’re on the go or traveling I made this pretty Nap Mat with a blanket and a pillow built right in. It’s made from just two pieces of fabric: Railroad Denim for durability and strength and Liberty of London’s Tana Lawn for softness and beauty. And for a really cozy snooze the Nap Mat is stuffed with lofty wool batting. The whole thing sews together in a jiffy!

Bring your Liberty Nap Mat to an afternoon at grandma’s; set up a special nap corner in your own house; and when a child’s not sleeping in it, the Nap Mat is as a lovely place for teddy bears and stuffed bunnies to rest! -Molly
Materials

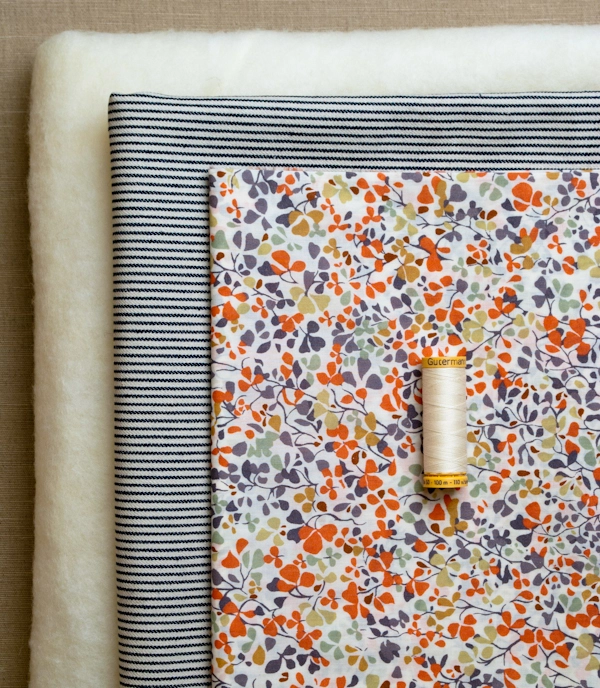
- 1 1/2 yards Liberty of London’s Tana Lawn Seasonal in Orange Ninataylor. This is the Lining.
- 1 1/2 yards Robert Kaufman Railroad Denim in Twill stripe Indigo. This is the Outer Fabric.
- 1 small spool of Gutermann’s 100% cotton thread in color 1040
- 1 crib sized Dream Wool Batting
You will also need…
- Curved Safety Pins
- A Hera Marker or erasable fabric marker
Pattern
Cutting

With the right side of the Lining facing up, cut a rectangle 56-inches wide by 52-inches tall. Cut a rectangle 27 1/2-inches wide and 9-inches tall from the upper left corner of the fabric so that you get a 6 sided shape as shown above. Press the piece in half widthwise and create a crease.
With the wrong side of the Outer Fabric facing up, cut the same shape and create the Middle Fold Mark in the same manner.
Take note of the Top Edge as shown in the diagram above.
Cut the batting to be 27-inches wide by 60-inches long. Put the batting aside for now.
Sewing

Pin the Lining to the Outer Fabric, right sides together. With a 1/2-inch seam allowance, sew the two pieces together around every edge except the Top Edge, which you will leave unsewn.
Trim off the corners of the seam allowances, and snip into the seam allowance of the concave right angle at the base of the 9-inch edge.

Turn the entire piece right sides out and press it flat. Pin the Lining to the Outer Fabric down the Middle Fold Mark and around the three edges of the shorter half of the piece. With Outer Fabric facing up and starting at the top of the Middle Fold Mark sew down the Mark and then continue sewing along the three other pinned sides 1/8-inch from the edges. This sewn half is now the Blanket Section. The opposite half is the Mat Section.
Insert the batting through the unsewn Top Edge and carefully slide one end down to the end of the Mat Section. The batting is longer than the Mat Section so the Batting will stick out the top after you’ve slid it all the way down. Fold the extra batting over on itself 9 ½ inches, and tuck this folded section into the Mat Section. This folded area is now the Pillow Section.

Lay the Mat Section down on a flat surface and make sure all three layers (the Lining, the Batting, and the Outer Fabric) are wrinkle free.
Using a Hera Marker or erasable fabric marker mark a line 9 5/8 inches below and parallel to the Top Edge. This line should meet up with the top edge stitching of the Blanket Section.
Using the curved safety pins, baste all four layers (including two layers of Batting) of the Mat Section together along this marked line. Using your machine’s walking foot, sew the layers together along this line, taking out the safety pins as you come to them. This is the Pillow Line. The area above it is the Pillow Section.
Press both sides of the Top Edge ½ inch towards the wrong side and pin the two sides together. Using a blind stitch, hand sew the Top Edge closed.
Make a mark perpendicular to the Pillow Line, in the center of the Pillow Section, 13 ¾ inches from either edge. Baste along this mark and quilt it down in the same manner as for the Pillow Line.
Using the curved safety pins, baste the Mat Section below the Pillow Line at even 7-inch intervals down the center of the section. Then place another safety pin 5 inches to the left and right of each of these center pins.
Quilt the Mat Section together at each pinned spot using a short, wide zig zag stitch and removing each pin as you come to it.
Trim the threads and you’ll be all done!





How would you wash this?
How does the wool batting hold up with weekly washing? I made one recently that has a removeable foam insert, but it's a pain to get it in and out.
What an ingenious design. It looks so practical and I love the fabric choice.
Hi Sarah-
It holds up great to frequent washing!
Thanks for your question!
Molly
Hi Jo-
You just wash it in the machine on a regular cycle. Pre-wash your fabrics before you sew it. There is no need to pre-wash the batting.
Thank you!
Molly
This is adorable – what a good idea! 🙂
Hi there!
My little man is just about to move rooms in his crche and I too have been a bit anxious about how the transition goes. Can't wait to make this lovely blanket! Maybe he'll love it as much as his monkey!
I have really enjoyed reading your blog since I discovered it about 2 years ago! I've rediscovered my love of hand crafts and have been knitting & sewing since.
Thank you!
xx Sarah
Dublin, Ireland.
Hi-I went and purchased the 1 1/2 yards of to fabrics, how ever the width is only 42 inches? What now?
Hi Jane,
Thanks for writing in! In this case, I see two options to solve the issue. The first option is to make the mat smaller. The piece that you would cut would be 56×42 instead of 56×52. This would work for the fabric you have but may result in a mat that is a little too small for the child. The other option is to purchase additional fabric and piece it together so that you can achieve the larger piece.
I hope that this helps and happy sewing!
Cassy
I had this same issue and I went for fabric twice. I’m on a budget and this was really disappointing. I’m just learning how to sew and it would have been helpful to have this note in the materials section of the pattern. I’m trying to piece it together but it isn’t looking right.
Hi Danielle!
Thank you for writing in! I am sorry to hear that you had a disappointing experience with our pattern. I will certainly pass along your suggestion to include the fabric width in the pattern’s Materials Section. Again, thank you for sharing your experience.
Best wishes,
Kumeko
This is the perfect blanket for naps at school. I made one for my grandson last year. He loves it and the teacher likes it is because it rolls up easily to fit Into his cubby at school. It gets washed every week and has held up beautifully.
Next up, making one for his younger brother for this school year!
Hello,
I have some home fabric in my stash, would that work in place if “denim” seeing home fabric is durable. I wasn’t sure if the denim would be softer. Also, for the liner didntounuse quilters cotton or like a jersey cotton?
Thank you
Hi Amoura,
Thanks for writing in! As the denim is only on the outside of the mat, home decor fabric would be a great sturdy alternative and softness isn’t an issue. The pattern is not designed for stretch fabric, so a quilting cotton would be more comparable to the Liberty Tana Lawn for the lining fabric.
Warmly,
Julianna