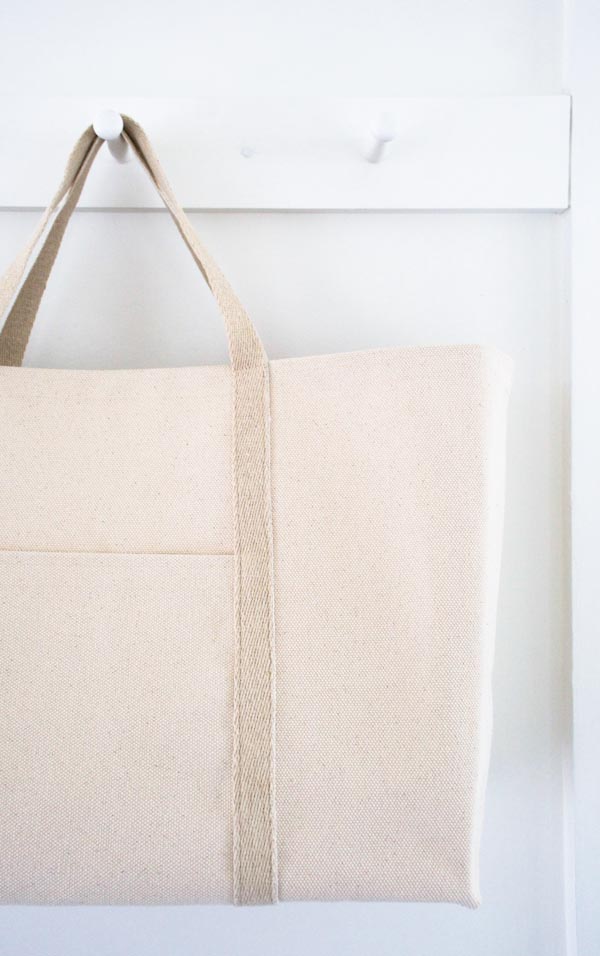

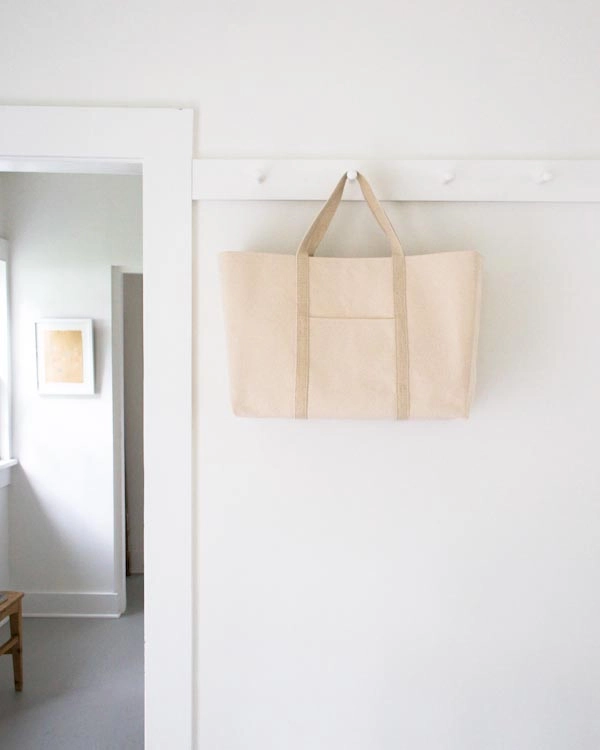
Big Boat Tote
I may not go boating very often (or ever), but I do appreciate a good boat tote! Instead of filling my tote with boat stuff (fishing rods? anchors?), I use it to haul around just about everything else, from fabric to food.

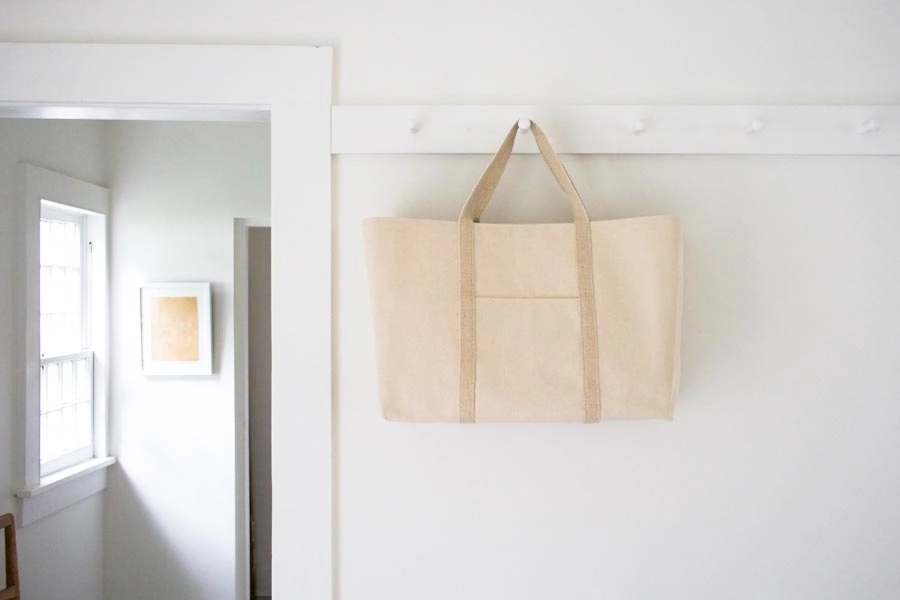
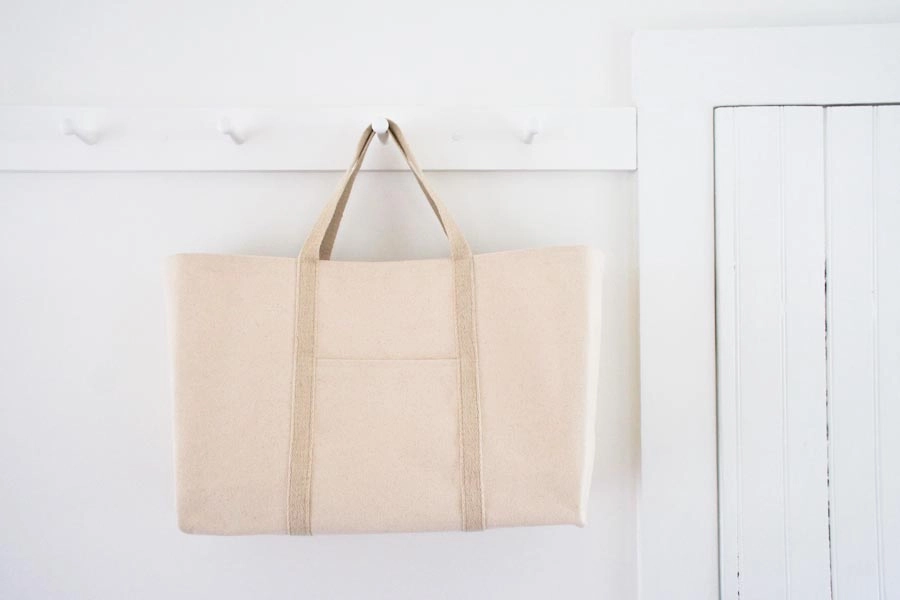
This Big Boat Tote is designed for any haul; it’s definitely the sturdiest thing I have ever sewn. It literally stands up all by itself and also stands up to anything you throw in it or at it!

Made from Purl Soho’s ultra thick 24-ounce Canvas and our nearly indestructible Hemp Webbing, our Big Boat Tote is built to last a lifetime. And when I say, “built,” I mean it… Sewing with fabric this heavy feels more like a construction project than a sewing one, but if you follow our few simple tips, it’s actually a ton of fun! -Molly
Materials

- 1 yard of Purl Soho’s 24-ounce Canvas (Please Note: Our 24-ounce Canvas is no longer available. For a lighter weight Tote we recommend using our 10-ounce Canvas.)
- 3 yards Hemp Traders’ 1-inch Hemp Webbing
- 1 spool of Gutermann’s Sew-All Thread in Ivory
- 5 yards of Purl Soho’s 3/4-inch Cotton Twill Tape in Ecru
- A package of Schmetz’s Jeans Needles for your machine
- An erasable fabric marker
Size
Finished Dimensions: 27 inches wide at the top X 19 inches wide at the bottom X 8 inches deep X 14 inches tall. Handle Drop: 8 inches
Notes
This fabric is very heavy, so it’s important that you use a jeans or denim needle, like the one suggested in the Materials list.
Adjust the tension on your machine so that it’s set for heavy woven fabric.
If you have problem sewing over a thick section of the bag, you may have to manually turn your machine’s wheel to make the stitches over this area. I did not have to do this, but every machine is different.
If you encounter any other issues, try re-threading the machine, re-loading the bobbin, and/or changing the needle. Usually one of these things clears up the problem!
Before you start sewing your bag, you might try sewing two scrap pieces of the canvas together to get used to it. A slow and steady pace worked best for me.
Because of the weight of this fabric, you will not use pins for this project.
Backstitch at the beginning and end of every seam.
Pattern
Cut
From the Canvas cut…
- A 29 X 38-inch rectangle. This is the Bag Panel.
- An 8 X 27-inch rectangle. This is the Pocket Panel.
From the Twill Tape cut…
- Two 38-inch lengths. These are the Side Twill Tapes.
- Two 30-inch lengths. These are the Hem Twill Tapes.
- Two 8-inch lengths. These are the Pocket Twill Tapes.
From the Hemp Webbing cut…
- A 108-inch length. This is the Handle.
Finish the Sides

Align a long edge of a Side Twill Tape with a long raw edge of the Bag Panel.
Holding the Twill Tape in place as you go (since you aren’t using pins), sew the outer edge of the Twill Tape to the Bag Panel with a scant ¼-inch seam allowance.

Flip the Bag Panel over and fold the unsewn edge of the Twill Tape over to this side, encasing the raw edge of the Bag Panel. The Twill Tape should reach about ¼ inch over the edge. Holding the Twill Tape in place folded over the raw edge, edgestitch it down.

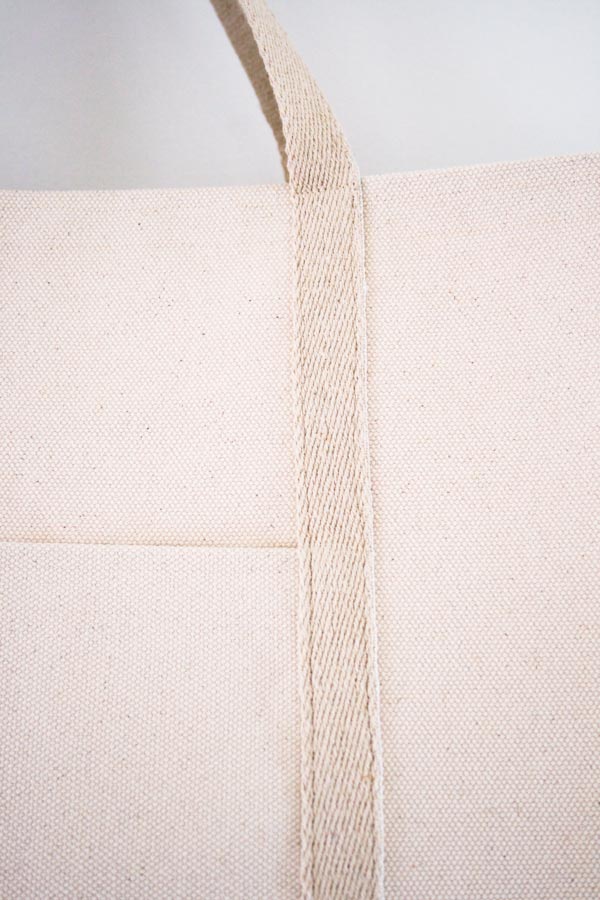
The long raw edge of the Bag Panel is now neatly encased in Twill Tape.
Repeat with the second piece of Side Twill Tape on the opposite long raw edge of the Bag Panel. These long finished edges are the left and right sides of the Bag Panel.
Hem the Bag Panel

Fold and press one of the short raw edges of the Bag Panel ½ inch towards one side. This side is now the wrong side of the Bag Panel.
Fold and press one of the short ends of a Hem Twill Tape ½ inch towards one side. This is now the wrong side of the Twill Tape.

With wrong sides together, lay the Hem Twill Tape along the folded edge of the Bag Panel so that the top edge of the Twill Tape runs 3/16 inch below the fold. Tuck the Twill Tape’s fold under the Bag Panel’s fold.

Sew the Twill Tape to the Bag Panel along the Twill Tape’s top edge with a 1/8-inch seam allowance. Keep the seam straight by running the fold of the Bag Panel along the right edge of the presser foot and the Tape along a marking within the foot, as shown above. It doesn’t matter if you are getting a precise 1/8-inch seam allowance here. What does matter is that you are consistent.
When you get a few inches from the opposite end, fold the Twill Tape’s short end under the Bag Panel’s fold to hide it, and continue the seam until you reach the end.

Sew on the bottom edge of the Twill Tape in the same way, 1/8 inch from the bottom edge. The Twill Tape now neatly covers the raw edge of the Bag Panel’s hem.
Repeat with the second piece of Hem Twill Tape on the opposite short side of the Bag Panel.
Hem the Pocket
You will hem the short sides of the Pocket Panel in the same manner you hemmed the Bag Panel, but without folding the sides of the Twill Tape Pieces. Here’s how…
Fold and press one of the short raw edges of the Pocket Panel ½ inch towards one side. This is now the wrong side of the Pocket Panel.
With the wrong side of the Pocket Panel facing up, lay the Pocket Twill Tape along the folded edge of the Pocket Panel so that the top edge of the Twill Tape runs 3/16 inch below the fold and the short ends of the Twill Tape are flush with the raw sides of the Pocket Panel.
Sew the Twill Tape onto the Pocket Panel along both sides of the Tape in the same way you did for the Bag Panel, except that you don’t need to fold the Twill Tape’s ends.
Repeat with the second piece of Pocket Twill Tape on the opposite short side of the Pocket Panel.
Attach the Pocket
Press the Bag Panel in half, wrong sides together, so that the folded hemmed edges meet. Unfold the Panel and lay it flat with its right side facing up. The crease that now runs along the center of the Bag Panel is the Bottom Fold.
Press and crease the Pocket Panel in the same manner, creating a Bottom Pocket Fold.
Unfold the Pocket Panel and lay it, right side facing up, on top of the Bag Panel, lining up the Bottom Folds of both pieces. Center the Pocket Panel so that it is 10 inches from both the left and right sides of the Bag Panel. The hems of the Pocket Panel should be 5 ¼ inches below and parallel to the Bag Panel’s hems. Make sure that the hems of the Pocket Panel are very straight and parallel to the hems of the Bag Panel.
Using the erasable fabric marker, trace all around the Pocket Panel. This will help you keep it straight as you sew it on.
Sew the Pocket Panel to the Bag Panel across their Bottom Folds. Holding the Pocket Panel in place, baste the corners of the Pocket Panel into place by taking a few stitches ¼ inch in from each corner.
Sew the Pocket Panel into place a ¼ inch from its raw edges, using the markings and basting stitches to keep it straight as you sew. Do not sew the hemmed edges.
Attach the Handle

Pick one side of the webbing to be the right side and one to be the wrong side, then being careful to not twist it, fold the Handle in half, right sides together, so that its two raw edges meet up. Use the fabric marker to make a mark along the fold. This is the Bottom Handle Mark.
Sew the ends together with a ½-inch seam allowance. This is the Bottom Handle Seam. Press the seam open and edgestitch the raw ends into place, as shown above.
This is now the Handle Loop. Double check that it is not twisted before proceeding.

With the fabric marker make a mark ½ inch outside of and parallel to a raw edge of the Pocket Panel. Continue this mark to both hems of the Bag Panel. This is a Handle Mark.
Create another Handle Mark on the opposite side of the Pocket Panel.

With its right side facing up, arrange the Handle Loop so that its outer edges are flush with the Handle Marks and the Bottom Handle Seam and the Bottom Handle Mark are aligned with the Bottom Fold.
Sew the Handle Loop down along the Bottom Handle Mark and just next to the Bottom Handle Seam. This keeps the Loop in place for the next steps.

Starting at the Bottom Fold, sew the outer edge of the Handle Loop to the Bag Panel, 1/8 inch from the Loop’s edge. Keep the Handle Loop straight by holding it along the Handle Mark. Sew it all the way to the top hem of the Bag Panel.

Sew down the inside edge of this section of the Handle Loop in the same way, starting at the Bottom Fold and sewing up to the Bag Panel’s top hem. Connect these two seams across the top hem of the Bag Panel, 1/8 inch from the fold.
Sew on the three remaining sections of the Handle Loop in the same way, always starting at the Bottom Fold and working up and being careful to align the outside of the Handle Loop with the Handle Mark.
Finish the Bag

Fold the Bag Panel in half, right sides together, so that the top hems meet and the raw side edges align.
Sew one of the raw sides together with a 1-inch seam allowance. Repeat to sew the opposite raw sides of the Bag Panel together. This is now the Bag.

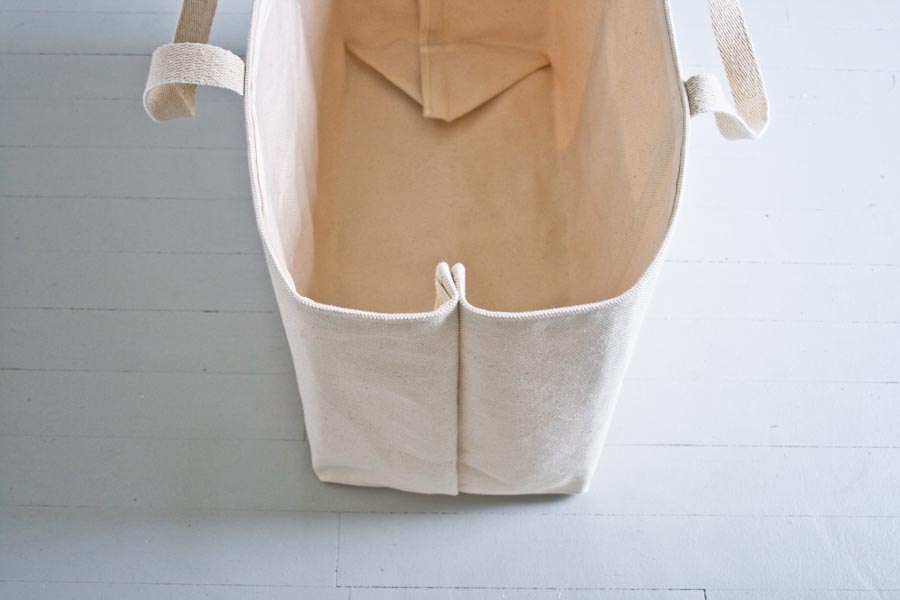
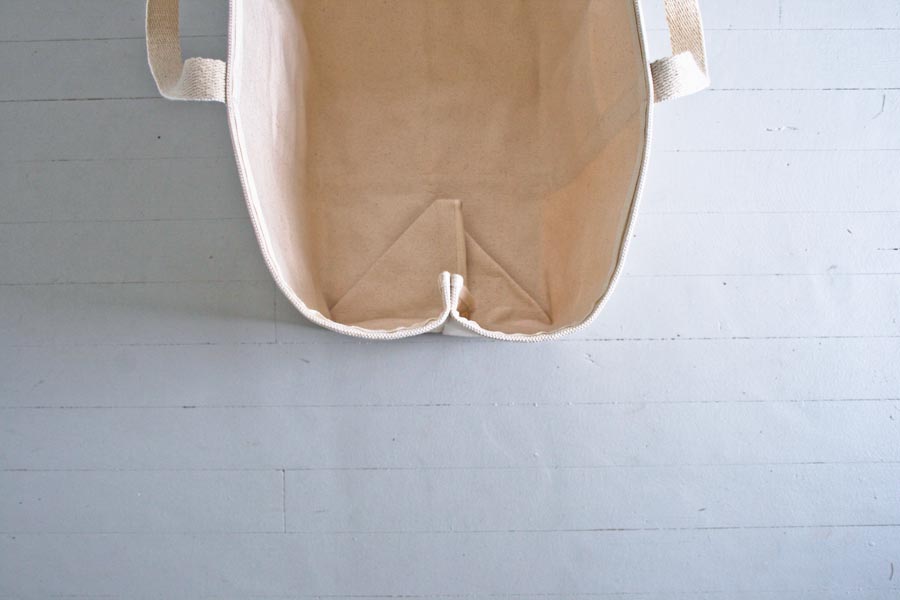
With wrong sides still facing out, pull the front and back of the Bag away from one another until the Bottom Fold aligns with one of the side seams and the corner makes a neat 90-degree angle, as shown above. Mark a line perpendicular to the Bottom Fold (and the side seam underneath it) that is 8 inches across, as shown above.
Sew across this line to create one side of the boxed bottom.
Repeat for the opposite corner of the Bag.

If you’d like your bag to stand up straight like this one you can finger press the vertical corners into place.
You’re all done!

Update 2024: You can explore our current collection of beautiful fabrics and supplies on our page of Sewing Tools + Notions!


Do you prewash the heavy canvas before making the bag?
Hello Denise!
If you plan on washing the bag in the machine down the line, its always best to pre-wash fabric since there is potential for shrinking. Make sure to iron it because (as I’m sure you know) a lot of the sizing and starches will wash out!
Happy sewing! -Alyson
Love this bag even though I’m a muppet and made it wrong twice !
First time I managed to fold it the wrong way so have a long thin bag. However so many friends have asked for my baguette bag it was a lucky mistake.
Second time used a fabric with a illustration print on it. Only when I finished did I realise the pictures are the right way up on one side of the bag and upside down the other side (as it’s made from a single piece of fabric). Oh well at least it’s unique.
Love them though. Keep the fantastic inspiration coming Purlbee
Thanks for this tutorial! Because I’m planning to alter the dimensions somewhat, and I want to make sure I cut my components correctly, I’ve read this very carefully several times with my novice eyes. I believe I’ve confused myself, though, and need some help, please. When I work it out in my head, I can’t understand how the 38″ Bag Panel (minus a 1/2″ hem x 2, and an 8″ bottom) ends up as a bag height of 14″. What am I missing?
Hi Emily-
You are right! It should be 14 1/2 inches tall. 38 (original height)- 8 (for the depth of the bag)= 30- 1 (a 1/2-inch on either side)= 29-inches / 2 (for each side= 14 1/2″
I hope that makes sense. Please let us know if you have any other questions!
Molly
Thank you! I was stewing on this again today, with a little more clarity, and I had been way more than just a half-inch off in my mind, but I see that it was because of a ding-dong math error on my part. I’m sorry if I was seemingly giving you grief over a little ol’ half-inch! I’m grateful, none the less!
Not at all! Thanks so much for writing in! -Purl Bee
Is it just me or do the Hem Twill Tapes need to be 30″? (If the Bag Panel is 29″ wide and the Hem Twill Tape needs to be folded over 1/2″ on both sides, this would require 30″ of tape, correct?) I’m lucky I got enough tape left over to fudge it together. Love the pattern otherwise! Making it as a gift for Mother’s Day.
Hi Jenn-
You are correct! I’m so sorry for this mistake. Thank you so much for pointing it out. It has been corrected. Please let us know if you have any more issues or questions!
Best-
Molly
I finally had a day to sit and sew and I’m happy I picked the Big Boat Tote as the project. I love the weight of the fabric and I’m sure it will stand up to a lot of wear and tear on and off the boat. I would recommend that the handles be made 6- 8″ longer overall. As made the tote fits over my shoulder with no room to spare. The extra length would allow the bag to be carried comfortably over the shoulder, if need be, and still not to long to be carried from your hand. I for one always end up with a tote over each shoulder and one in each hand, trying to make as few trips to the boat as possible.
What type of sewing machine do you use? What type is best for this job? What type of machone would be easiest? Thank you for this post. Do you have a pattern for a cube sized tote? I do want to use the hemp “handles” on it also. Thank you for any help.
Hi Eva Jane-
I used a regular home sewing machine for this. Just make sure it’s in good working order and use a heavy “jeans” needle, as suggested and linked in the materials section of this pattern. We don’t have a cube shaped tote but you can see all of our bag patterns here: https://www.purlsoho.com/create/category/sew/sew-bags-pouches/
Thank you!
Molly
finished this tote. It is quite nice. Thanks. BER
Hello! You no longer seem to have the hemp webbing on the site. What would you recommend for the handle?
Thank you!
Hi Dunrie,
Thanks for reaching out! I would recommend our Purl Soho Cotton Webbing or Sangle Cotton Webbing!
Warmly,
Gianna
Thanks, Gianna, you know I did find the Hemp Traders’ hemp webbing on the site. It looks like all you need to do is repair the link from the materials list to: https://www.purlsoho.com/hemp-webbing-1-inch.html
Hi Dunrie,
Thanks for reaching out and bringing this to our attention! I will be sure to pass this along to the rest of the team and we will get the broken links fixed as soon as possible!
Warmly,
Gianna