Wholecloth Quilts in Mineral Linen
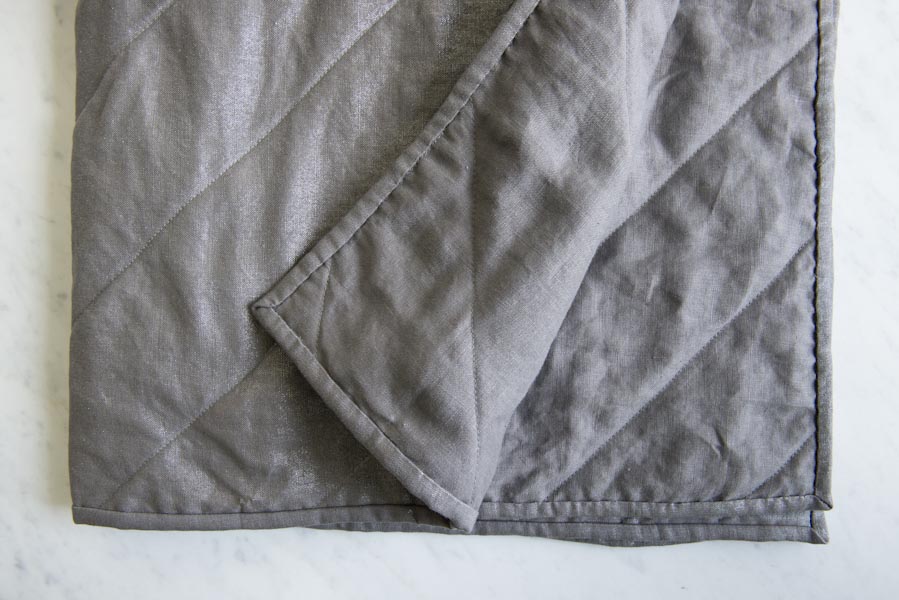
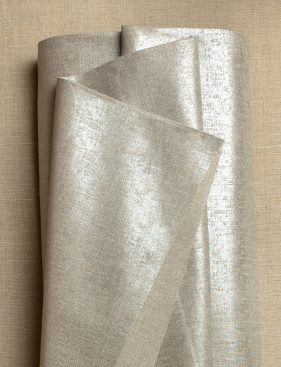
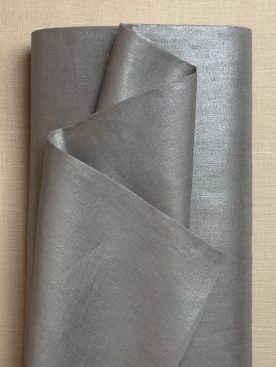
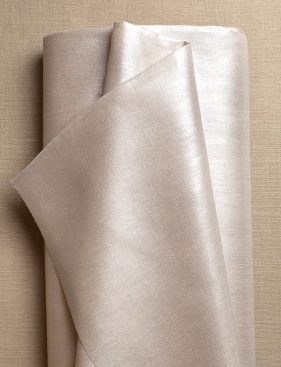
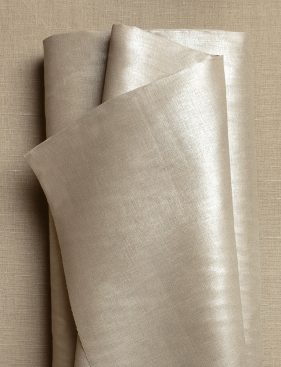
These Wholecloth Quilts literally shine in Purl Soho’s beautiful new Mineral Linen. The fabric has a soft and rumpled texture that glows with the luster of its subtle metallic finish. We used whole swaths of it to create these quilts, using Mineral Linen’s radiant side for the quilt top and its subtle matte side for the back.
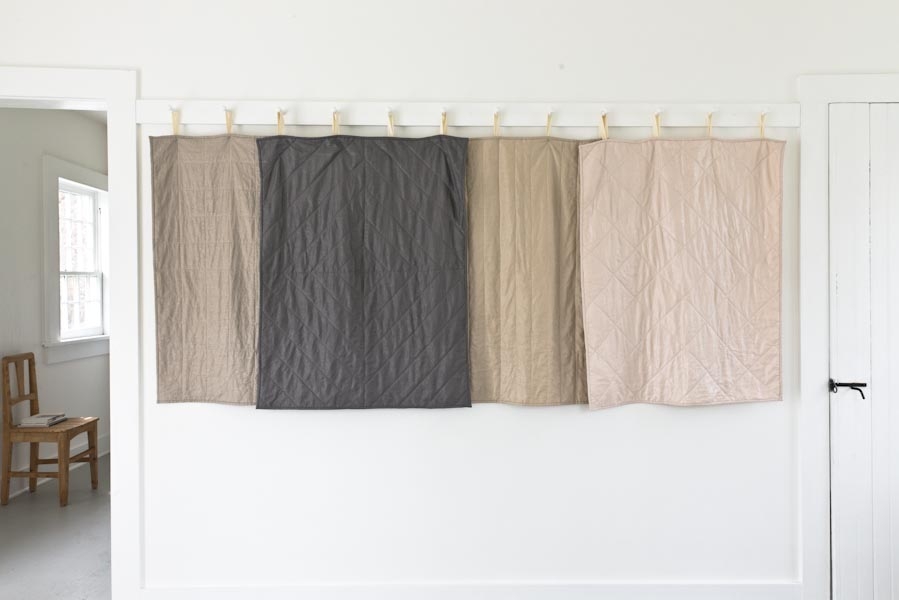
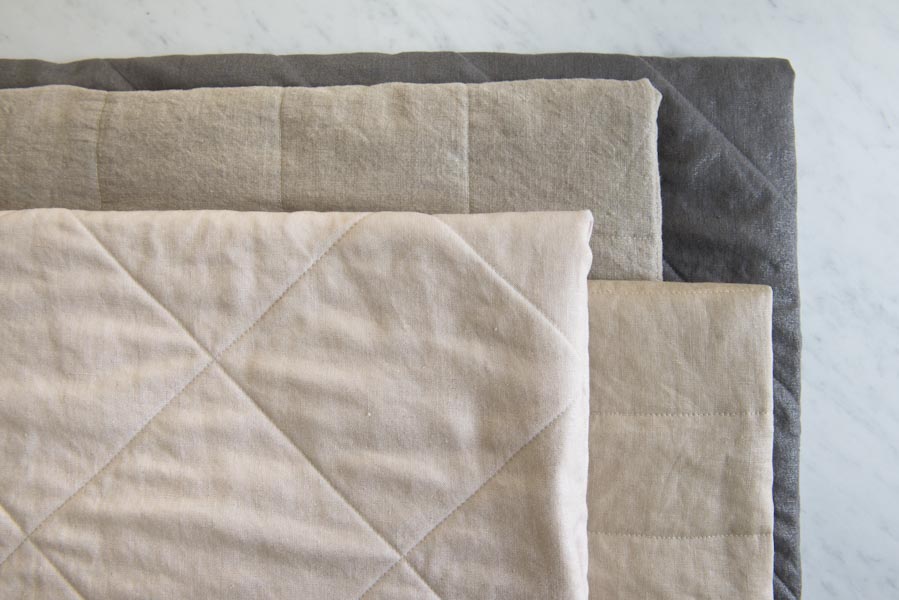
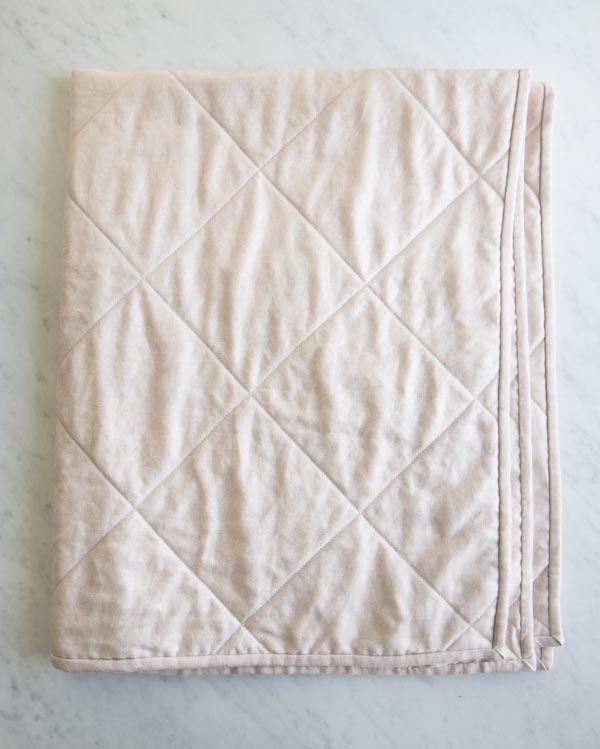
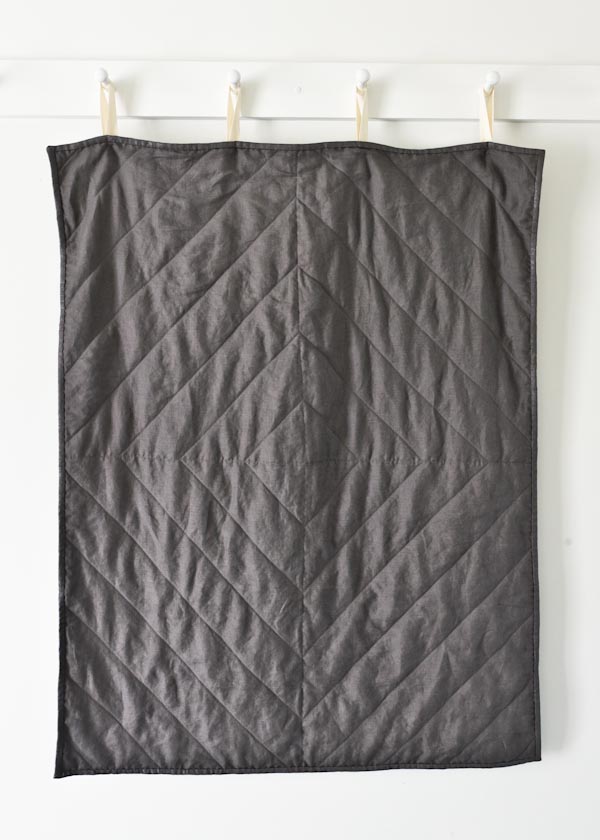
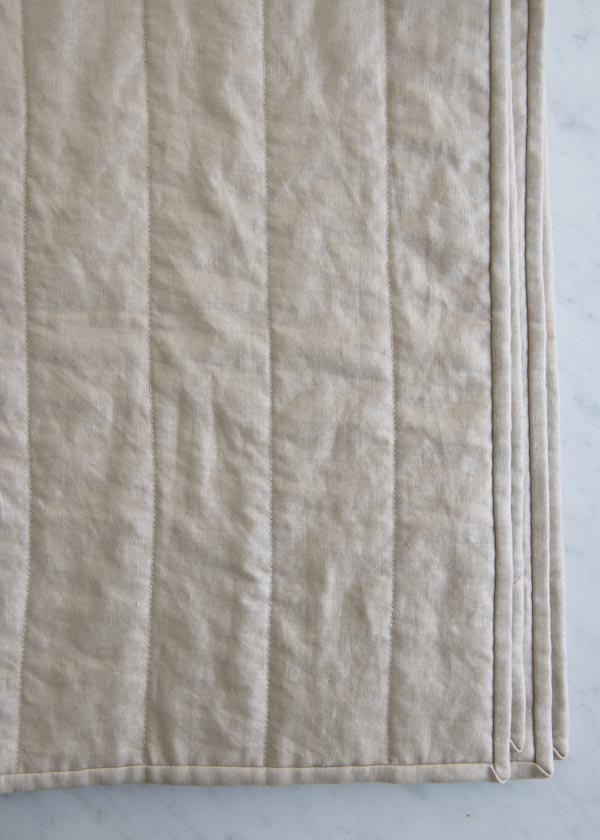
Our four straightforward quilting patterns lend these Wholecloth Quilts additional texture and a tailored finish. Choose Stripes, Grid, Diamond Grid, or Diamond Burst, and also choose from three sizes: baby, crib and throw.

Simple and elegant, the pared-back style of these Wholecloth Quilts really allows the Mineral Linen to shine, just as it was designed to do! -Corinne
Materials
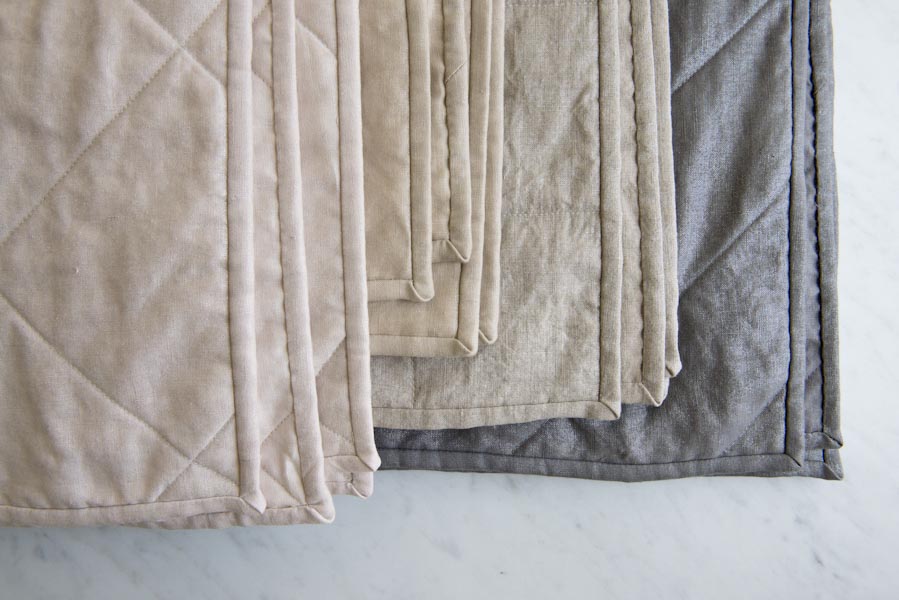
- 2 ¼ (3, 4) yards of Purl Soho’s Mineral Linen. We used Mica, Sterling, Pink Opal, and Warm Silver, shown above from left to right (NOTE: Mineral Linen is no longer available, but choose from one of our other linen fabrics here!)
- One (two, two) 110-yard spools of Gutermann’s Cotton Sewing Thread in a color to coordinate with the fabric. We used color 3170 with Mica and Warm Silver, color 9045 with Pink Opal, and color 9280 with Sterling.
- Quilter’s Dream’s Cotton Batting, Request loft, Craft (Crib, Throw) size.
- Your preferred fabric-marking tool. We used a water-soluble fabric marker.
- Curved safety pins
- A walking foot for your sewing machine
Sizes
Baby (Crib, Throw)
- Finished Dimensions: 32 x 40 (40 x 52, 50 x 60) inches
Notes
This pattern uses both sides of the Mineral Linen as right and wrong sides, and so we refer to the two sides as “metallic” and “non-metallic.”
Prewash the fabric before starting but not the batting.
When possible, iron the Mineral Linen with the non-metallic side facing up.
Use the walking foot attachment for all machine sewing.
Pattern
Cut
For the Binding
Cut three (four, five) 2 ¼-inch strips from selvage to selvage and then trim off the selvages. Put these aside until the Binding section of the pattern.
For the Quilt Top
Cut one rectangle of fabric to these dimensions:
Baby: 32 x 40 inches
Crib: 40 x 52 inches
Throw: 50 x 60 inches
For the Backing
Cut one rectangle approximately 4 inches wider and longer than the Quilt Top:
Baby: 36 x 44 inches
Crib: 44 x 56 inches
Throw: 54 x 64 inches
Mark
Press the Quilt Top.
Stripes, Grid, and Diamond Burst Designs
With metallic sides facing each other, fold the Quilt Top in half length-wise so that its two long edges meet. Press the fold. This is the Vertical Center Line. For the Stripes design, open up the fold and move on to the All Designs section, below.
Grid and Diamond Burst Designs
Now also fold the Quilt Top in half width-wise, so that its two short edges meet, again with metallic sides together. Press this fold as well. This is the Horizontal Center Line. Open up the folds and move on to the All Designs section below.
Diagonal Grid Design
You don’t need to fold and press the fabric at all.
All Designs
With the metallic side facing up, lay the Quilt Top down on a clean, hard surface, like the kitchen floor.
Using short pieces of masking tape, tape the fabric down to the floor around all four sides, pulling it taut as you tape. First tack down the centers of the opposite sides and then tape along each side from the center out.
Now you’re ready to mark your design. Use your fabric marking tool and a long ruler so that your lines are very straight and even.
Stripes
Mark a line 2 ½ inches to the right of and parallel to the Vertical Center Line. Continue to mark parallel lines every 2 ½ inches to the right of this line until you reach the edge of the Quilt Top. Then mark parallel lines every 2 ½ inches to the left of the Vertical Center Line.
Grid

Mark a line 4 inches to the right of and parallel to the Vertical Center Line. Continue to mark parallel lines every 4 inches to the right of this line until you reach the edge of the Quilt Top. Then mark parallel lines every 4 inches to the left of the Vertical Center Line.

Now, mark a line 4 inches above and parallel to the Horizontal Center Line. Continue to mark parallel lines every 4 inches above this line until you reach the edge of the Quilt Top. Then mark parallel lines every 4 inches below the Horizontal Center Line.
Diagonal Grid

Starting in the bottom left corner, mark a line that runs at a 45-degree angle from the straight edges of the fabric all the way across the Quilt Top. This is Line 1.
Next, mark a line 5 ¼ inches above and parallel to Line 1. Continue to mark parallel lines every 5 ¼ inches above this line until you reach the top left corner of the Quilt Top. Then mark parallel lines every 5 ¼ inches below Line 1 until you reach the bottom right corner of the Quilt Top.

Now, starting in the bottom right corner, mark a line that runs perpendicular to the previously marked lines and ends at the fabric’s edge. This is Line 2. Continue to mark lines parallel to this line every 5 ¼ inches, as you did for Line 1.
Diamond Burst

Starting in the top left quadrant (Quadrant 1), mark a line 3 inches from the center point that runs at a 45-degree angle to the Vertical and Horizontal Center Lines. Do not draw past the marked Center Lines. This is Line 1.
Next, mark a line 3 inches above and parallel to Line 1, again starting and stopping at the marked Center Lines. Continue to draw parallel lines every 3 inches above this line until you reach the top left corner of Quadrant 1.

Now, working in the top right quadrant, mark a line that meets Line 1 along the Vertical Center Line and runs at a 45-degree angle to the Vertical and Horizontal Center Lines. Stop at the Horizontal Center Line. This is Line 2.
Mark a line 3 inches above and parallel to Line 2, starting at the corresponding line from Quadrant 1 and ending at the Horizontal Center Line. Continue to draw parallel lines every 3 inches above this line, matching up the start points with the lines from Quadrant 1, when applicable.

Do the same for the bottom two quadrants.
Baste
Using the non-metallic side of the fabric as the right side of the Backing and the metallic side is the right side of the Quilt Top, make a quilt sandwich. Use the curved safety pins to pin-baste the Backing, batting and Quilt Top together. For instructions on how to do all this, please check out our Pin-Basting Tutorial!
Quilt
You are now ready to quilt your blanket along the marked lines. Here’s how …
Stripes

Sewing along the Vertical Center Line, sew from one edge of the Quilt Sandwich to the other. Lift the needle and foot.
Rotate the blanket 180 degrees and sew along the line running next to the line you just stitched.
Starting with the line next to the one you just stitched, continue to sew along the remaining parallel lines in this manner: When you have finished sewing one line, lift the needle and foot, rotate the Quilt, and sew along the line next to it.
Once you have sewn all of the parallel lines on one side of the Vertical Center Line, sew all of the lines on the other side of the Vertical Center Line in the same manner.
Grid
Begin by following the instructions for the Stripes design, above.

Now, sew all of the horizontal lines in the same manner: Start by sewing the Horizontal Center Line and alternate directions as you sew along all parallel lines running above and below this Line.
Diagonal Grid

Starting with a line that runs through the center of the Quilt (or close to it), sew from one edge of the Quilt Sandwich to the other. Lift the needle and foot.
Rotate the blanket 180 degrees and sew along the line running next to the line you just stitched.
Starting with the line next to the one you just stitched, continue to sew along the remaining parallel lines in this manner: When you have finished sewing one line, lift the needle and foot, rotate the Quilt, and sew along the line next to it.
Once you have sewn all of the parallel lines on one side of the center line, sew all of the lines on the other side of the center line in the same manner.

Now, sew all of the diagonal lines slanting in the other direction in the same manner: Start by sewing the center line and then alternate directions as you sew along all parallel lines running above and below this line.
Diamond Burst

Starting with the Vertical Center Line, sew from one edge of the fabric to the other.
Next, sew along the Horizontal Center Line.

Now, sew along the lines of the innermost diamond shape. Here’s how …
Using a very short stitch length, begin at one point of the diamond. Sew for about 1 inch using this stitch length and then adjust to a standard length. Continue stitching along this side of the diamond and stop when you reach the next corner.
With the needle down, lift the foot and pivot the Quilt so that you are now stitching along the next side of the diamond. Sew along the marked line until you reach the next corner and pivot again.
Continue sewing in this manner until you have sewn all four sides of the shape, stopping about 1 inch from the starting point. Switch back to the shorter stitch length to finish the seam. (This is a neater way to secure the thread ends than backstitching.)
Sew around all of the diamonds in this manner.

When all of the diamonds have been stitched, sew along the remaining marked lines, working one Quadrant at a time.
Bind
Using the metallic side as the right side, use the Binding strips to bind the Quilt with double fold binding. For instructions on how to do this, please check out our Making Double Fold Binding and Sewing on Double Fold Binding tutorials!











Great idea! I’ve got some vintage sheets that are too pretty to cut up. Going to try this whole cloth with them
Hi- love these ideas. Please tell me – is the metallic linen stiff and scratchy or does it get very soft with time? Particularly curious about it for a baby quilt and concerned it might look great but be scratchy on infant skin :). Thank you for always having such beautiful materials and great ideas!
Hi, Lori!
Thank you for writing in! The Mineral Linen is a bit stiff straight off the bolt, but it does soften up beautifully once laundered. We have found that this fabric looks and feels the best after about two washings – after that we highly recommend dry cleaning it to maintain the metallic sheen. I know dry cleaning a baby quilt isn’t something everyone is interested in, so I recommend the Nani Iro Double Gauze. It’s got a nice sheen to it and it makes wonderful baby blankets! Please let us know what you think.
Best,
Kumeko
Have a lovely duvet cover too pretty to cut up (don’t use a duvet) but taken apart and re sewn will look beautiful as a diamond sewn quilt.
Would it be possible for you to post the pairings for all of the colors of mineral linen with thread? I’m thinking of making several of these to give out as presents
Hi Natasha,
Great question and thank you for your kind words! We used color 3170 with Mica and Warm Silver, color 9045 with Pink Opal, and color 9280 with Sterling.
Happy sewing!
Cassy
Is there a way to size this pattern up to a twin bed size? I’ve never ventured into quilting but this tutorial seems like it would take me into that craft beautifully.
Hello Stephanie –
Yes! This pattern can easily be sized up and down to any size. However, to make a larger blanket you will of course need to adjust the yardage, and you may have to piece the fabric before you quilt. Just find the dimensions that you would like to make and you can work out the math from there. Please let me know if you would like any help with the specifics in the process!
-Corinne
Hello, I’ve been using your instructions to make my first quilt. I’m confused as to why the back of the quilt is 4 inches smaller. I’ve looked through the binding instructions and those don’t seem to address the 4 inch discrepancy either. Help?
Hello, Tricia!
Thank you for writing in! The Quilt’s backing is 4 inches wider and 4 inches longer than the Quilt Top to allow for the fabric that is taken in during the quilting process. Please let us know if you have further questions!
Happy sewing,
Kumeko
Hello,
Can you use wool batting instead of cotton batting? Would this change any of the dimensions of the fabric?
Also, your pattern says that the backing will be 4 inches extra on both the length and the width. Once the quilt is quilted, will there be some extra fabric to cut off on both sides before adding the bias tape, or with the quilting the backing will end up being the same size as the top fabric? This part is confusing??? I’m hoping to really get the whole picture in my head before I start.
Thanks.
Hi Fran,
Thanks for writing in! Wool and cotton batting are interchangeable, so you will not need to make any adjustments to the pattern to substitute wool batting.
Although quilting will draw in some of the excess fabric of the backing, it is common to still have some leftover backing and batting that will need to be trimmed prior to binding the quilt. After you are done quilting, I would recommend using a quilting ruler and rotary cutter to make the backing and batting match up with the quilt top as necessary, then proceed with the binding.
I hope that helps!
Julianna
I want to make this for a baby to use on the floor for “tummy time”. Can I use a thicker batt? If so how thick?
Thanks,
Nancy
Hi Nancy,
Great question! Yes, you could certainly use a thicker batting for this quilt! The only limit would be what your sewing machine can handle, so I would recommend doing a test run to make sure your machine will be able to get through all three layers of the quilt. The highest loft of Quilter’s Dream Cotton Batting is Supreme, or you could use Quilter’s Dream Wool Batting for an extra fluffy quilt.
Happy stitching!
Julianna
Thanks Julianna. I ordered and everything arrived yesterday. I got the wool batt and it is very nice. I think it will fit my sewing machine. I took a suggestion earlier in the questions thread and ordered double gauze (beautiful polka dot with two distinct sides). I was worried about harshness and laundering the mineral linen. The double gauze is beautiful. I pre-washed it and it is so soft. It’s narrower than the mineral linen and I’m going crib size so I won’t allow much extra width in the backing.
I’m looking forward to starting this lovely project for my new great-niece.
Thanks again,
Nancy
I want to make the crib size…Doesn’t the front and back have to be pieced if using 42-44in wide fabric? Please advise.
Thank you,
Billie
Hi Billie,
Thanks for writing in! Even with a narrower fabric, you should still be able to make the Crib size without piecing! Since your fabric measures 42 to 44 inches wide, you will use the crossgrain of the fabric, which runs from selvage to selvage, as the width of the quilt, which is 40 inches, and cut your yardage to the 52 inch length.
I hope that clears things up!
Julianna
Hi!
I am thinking of combining a few project ideas into one. I plan on making the Lap Duvet in Spectrum Cotton, but with a Liberty of London Binding (knowing I need to make a sandwich). I might decide to hand quilt it in the style of the Wholecloth Quilts in Mineral Linen. Can I hand quilt with wool batting the diamond burst pattern? And do I need to use hand quilters thread or can I get away with cotton sewing thread? Whats the difference?
Thanks – Ganna
Hi Ganna,
Thanks for writing in! This sounds like a gorgeous combination of quilting details! Although it’s somewhat thicker and fluffier than most cotton batting, you can certainly hand quilt when using wool batting, and it’s also possible to hand quilt with regular cotton sewing thread. Hand quilting thread has been treated with wax to make it glide more easily through all the layers of the quilt, but many quilters use regular cotton thread successfully. If you like, you can run your thread through Tailor’s Beeswax to stiffen and strengthen it so it behaves just like hand quilting thread!
I hope that helps, and please do let us know how it turns out!
Julianna
Thank you for these quilting designs. I would like to resize up to a double bed. I would use another cotton or linen for the back side. How much yardage would I need for the top in this beautiful linen?
Lynn
Hi Lynn,
Thanks for reaching out! An average double quilt is 96″ x 108″ and the width of the Mineral Linen is 58-60 inches so I would recommend 4-5 yards!
All the best,
Gianna