Braided Friendship Bracelets for Valentine’s Day
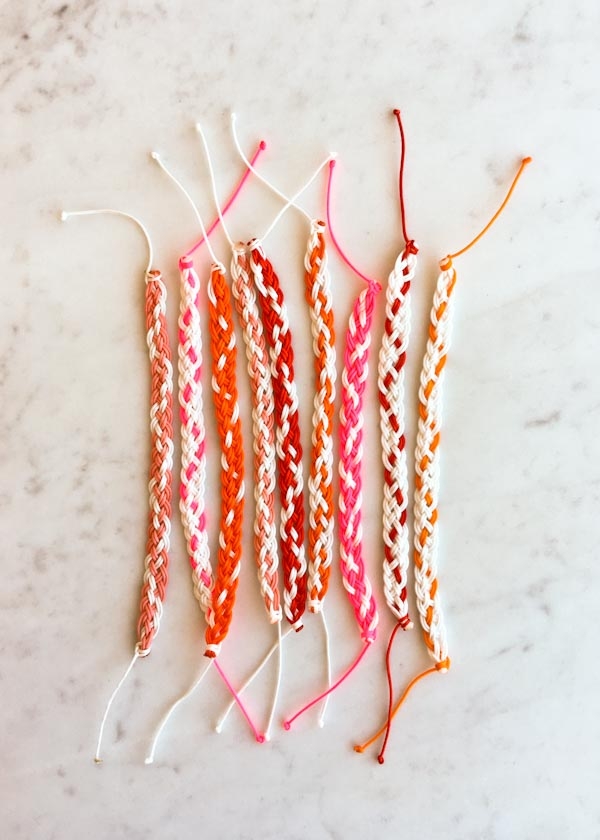
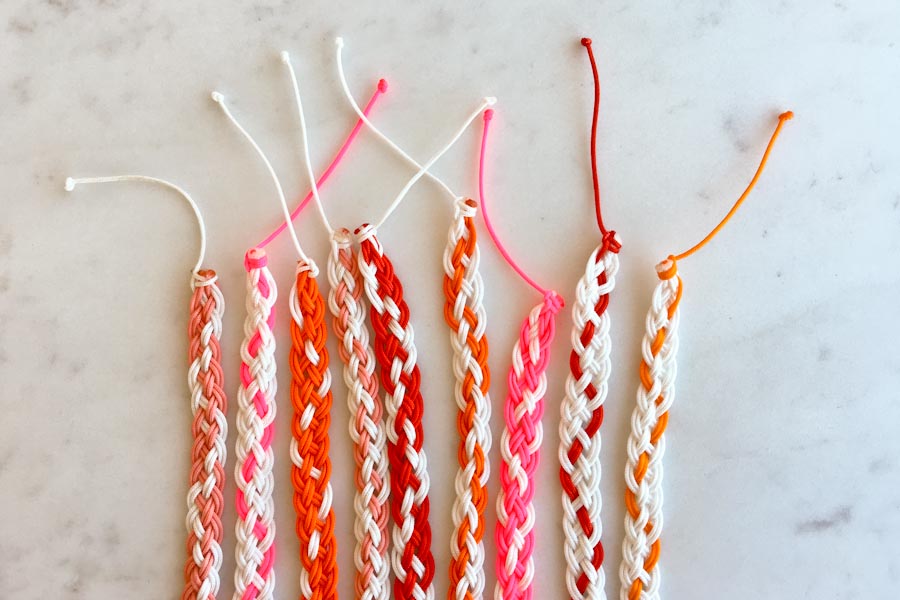
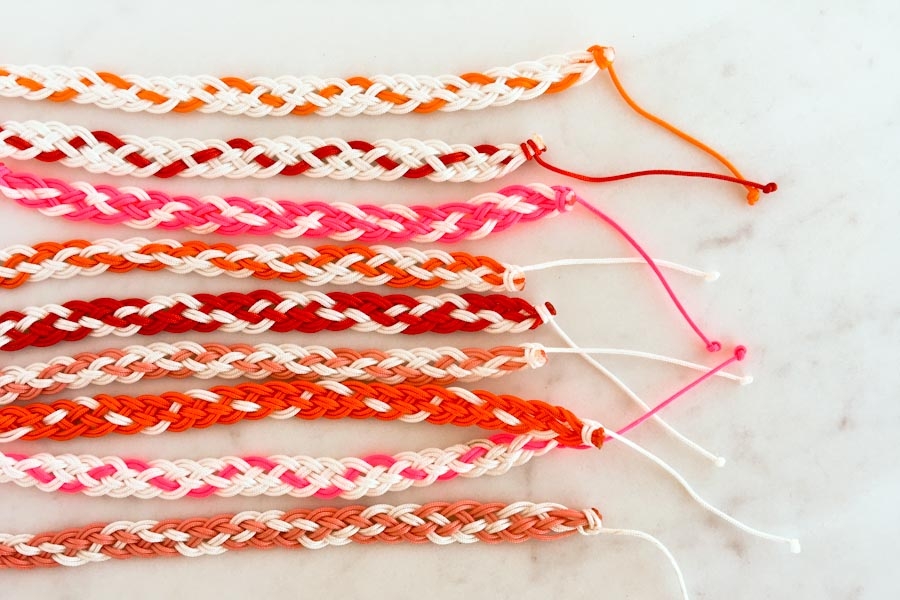
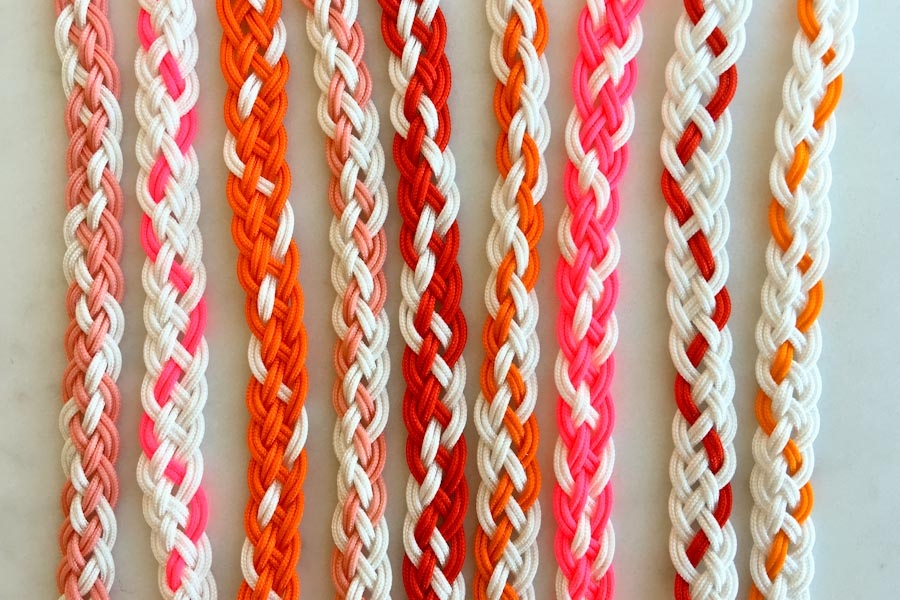
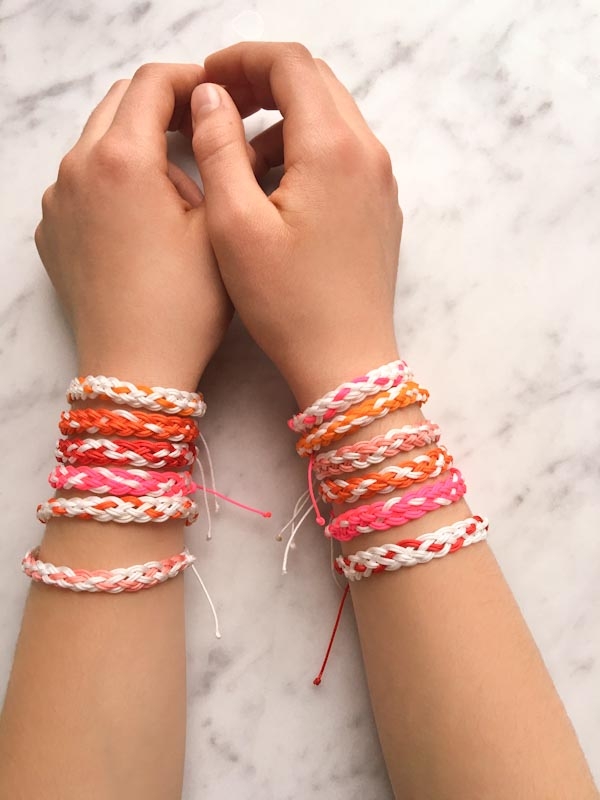
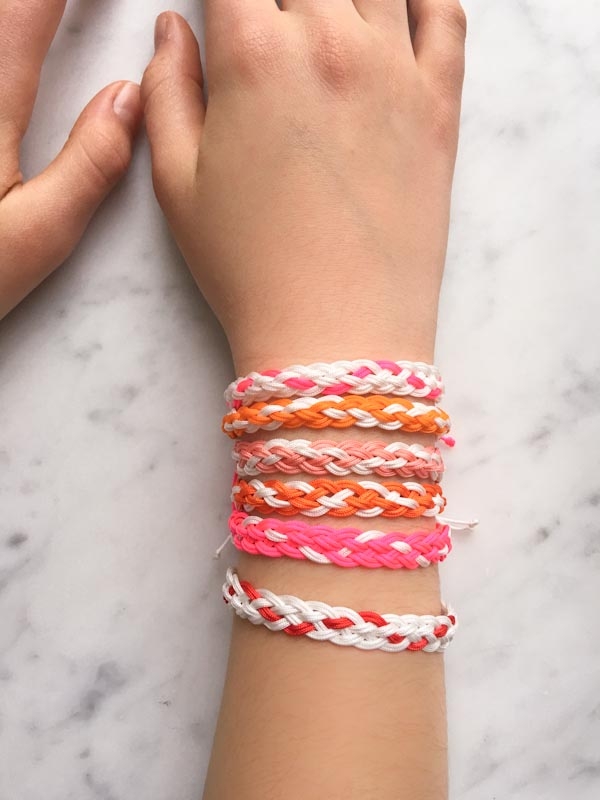
These little bracelets make such sweet Valentine’s gifts, for the whole class, the whole office, or for one special friend. They’re easy enough to whip up a whole pile, and a neat adjustable closure means they’ll fit just about everybody. Plus, they are so bright and winning, I can’t think of a better way to celebrate the big day!

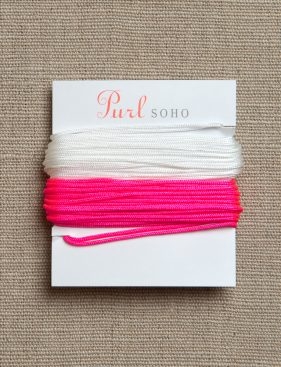
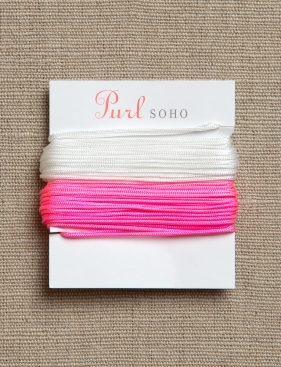
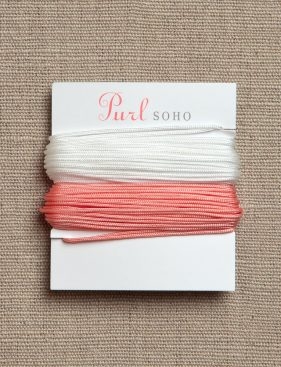
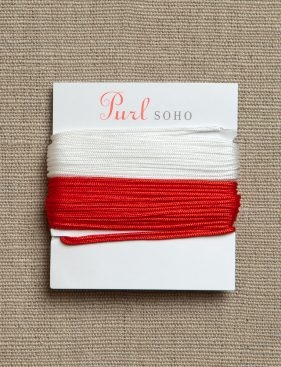
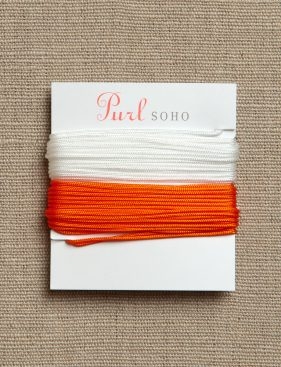
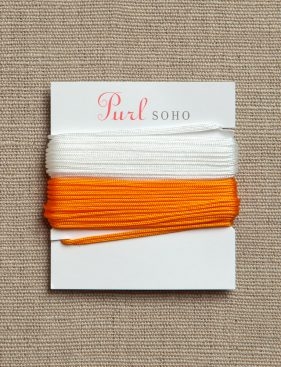
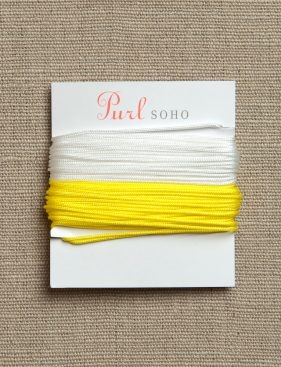
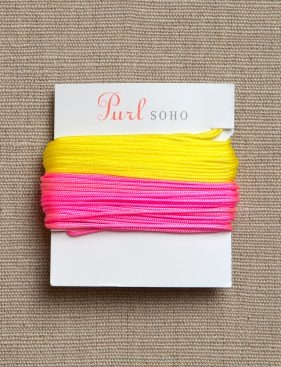
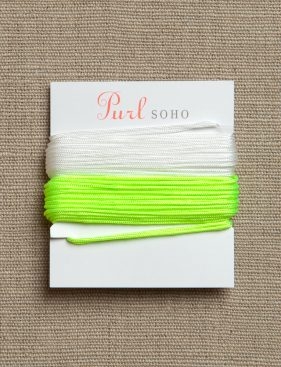
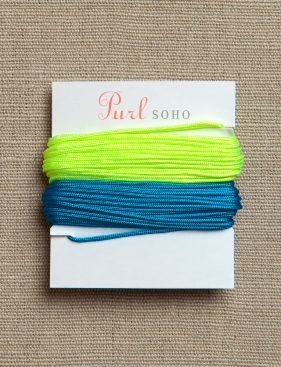
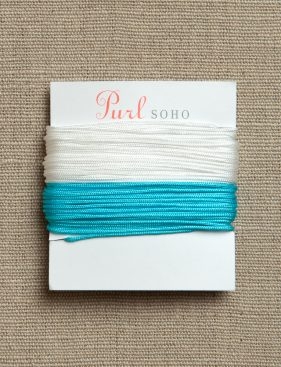
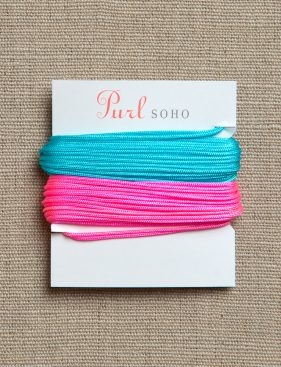
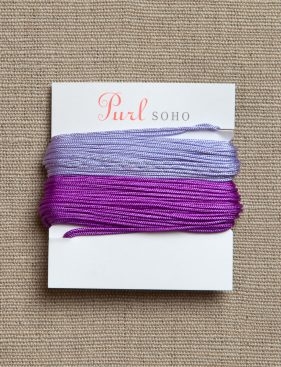
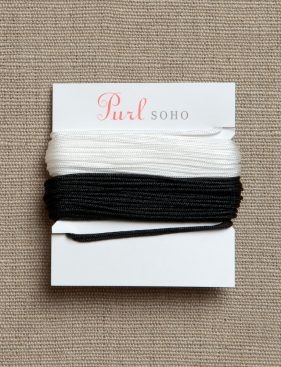
Get started with Purl Soho’s new Mini Knotting Cord Sets. Each one includes two 5-yard lengths of 1mm cording in pretty Valentine colors, enough to make two bracelets. Can’t you just feel the love! -Molly
Update May 2024: While we no longer carry these materials, you can check out our Friendship Bracelet Kit right here!
- A Purl Soho Mini Knotting Cord Set, 1mm. These are enough materials to make two bracelets in either size.
Sizes
Kids: 5 inches of braiding, with an adjustable closure
Adults: 7 inches of braiding, with an adjustable closure
Begin
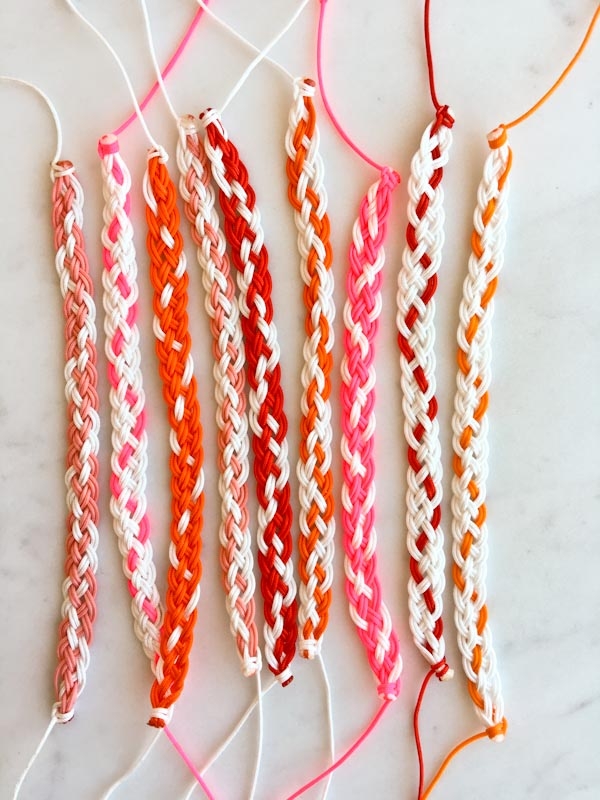
Cut ten 18-inch lengths from the Knotting Cord. If you’re using both colors from the Knotting Cord Set, cut any even number of lengths from each color, as long as they total ten. For example, cut 2 lengths from one color and 8 from the other, or 4 from one and 6 from another. You can also use only one color for a monochromatic look, if you like.
To begin (and end) this bracelet, please check out our Adjustable Closure for Friendship Bracelets Tutorial.
Braid
You will hold two same-color lengths of cord as one piece during the braiding process. Make sure that the two cords lie flat next to each other as you braid. Try to not allow them to tangle or loop around each other.

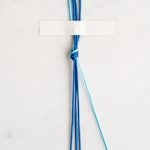
After you have tied your beginning knot and secured it with either tape or a safety pin, arrange the cords so that there are 3 pairs on the left and 2 pairs on the right, in any color order you like, as shown above.

Start with the pair of cords on the far left. This is the Working Pair and in this photo is orange. Working from left to right, bring the Working Pair over the next pair to its right and then under the following pair to the right. Then pull the Working Pair over to the right side.
You now have 2 pairs on the left and 3 pairs on the right.
Pick up the rightmost pair, i.e. the new Working Pair.

Repeat this process on the right, working from right to left this time…
Bring the Working Pair (orange, above) over the next pair to its left and then under the following pair to the left. Then pull the Working Pair over to the left side.
You now have 3 pairs on the left and 2 pairs on the right.
Starting with the new leftmost Working Pair (white in the photo above), repeat these steps until your bracelet measures 5 inches (for kids) or 7 inches (for adults) from the beginning knot.
Here’s what the process look like as you move a little further down the bracelet…

When there are 3 pairs on the left and 2 pairs on the right, the leftmost pair is the Working Pair.

Working from left to right, go over and then under the left side pairs, then pull the Working Pair to the right.
You now have 2 pairs on the left and 3 pairs on the right.
Pick up the rightmost pair. This is now the Working Pair.

Repeat this process on the right, bringing the Working Pair over and under the right side pairs, then pulling the Working Pair to the left.
Finish

To finish the bracelet, be sure to visit our Adjustable Closure for Friendship Bracelets Tutorial!










love thepatterns
how perfectly lovely these bracelets are. i am anxious to make them for my beautiful granddaughter and her friend. thank you
My second grade son and I made these yesterday. It was very simple to get the hang of, and we are both wearing our bracelets now.
As a side note. We recently moved from Irvine, CA to Western NY, and although we are in the same state as the flagship store, we do miss the small Purl warehouse in CA.
I love these!
I’ve braided and am having a tough time with the closure..
help!
Hi Kim-
We’re happy to help! What exactly are you having trouble with about the closure? Please let us know the specifics and we’ll try to get to the bottom of the issue!
Molly
I’ve tied double knots as instructed and it doesn’t seem to adjust. I am certain it is very simple and I am missing something.
Hi Kim-
Can you take a picture of the closure and email it to [email protected]. Hopefully I can see what’s going on!
Molly
I purchased several of the envelopes of cord, and I just started on these last night–there is not enough in a packet to make two bracelets–there is not enough to cut 20 18″ lengths, which is what is required to make two bracelets. The blurb says that there is enough to make two bracelets in each packet. I made one bracelet and have enough to cut only seven, not ten, lengths for the second bracelet. 🙁
Hi Bridgett-
I’m so sorry to hear that you ran into this problem. There should be enough to cut twenty 18-inch lengths. Each spool contains 5 yards of cord. A yard is 36-inches. 36 (inches per yard) X 5 (yards)= 180 inches which will allow for ten 18-inch cuts per spool.
If you think your spool was short please please let us know by emailing [email protected]
I hope this clears things up and please don’t hesitate to get in touch if it doesn’t!
Best-
Molly