Simple Linen Apron

From rolling out cookie dough to mixing champagne cocktails on New Year’s Eve, so much holiday action takes place in the kitchen. The warmth and cheer of this time of year just seem to belong there!

With this in mind, we are launching Cooks Week here on the Purl Bee. This week we’ll be posting three great sewing patterns, all for the cooking enthusiasts in your life. These quick and ultra-useful projects make perfect gifts that will be appreciated long after the tree comes down!

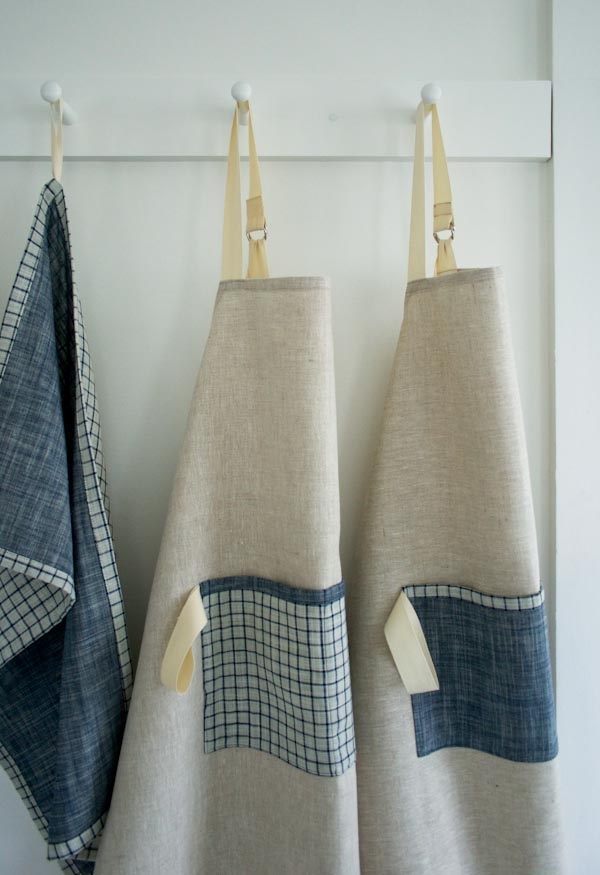
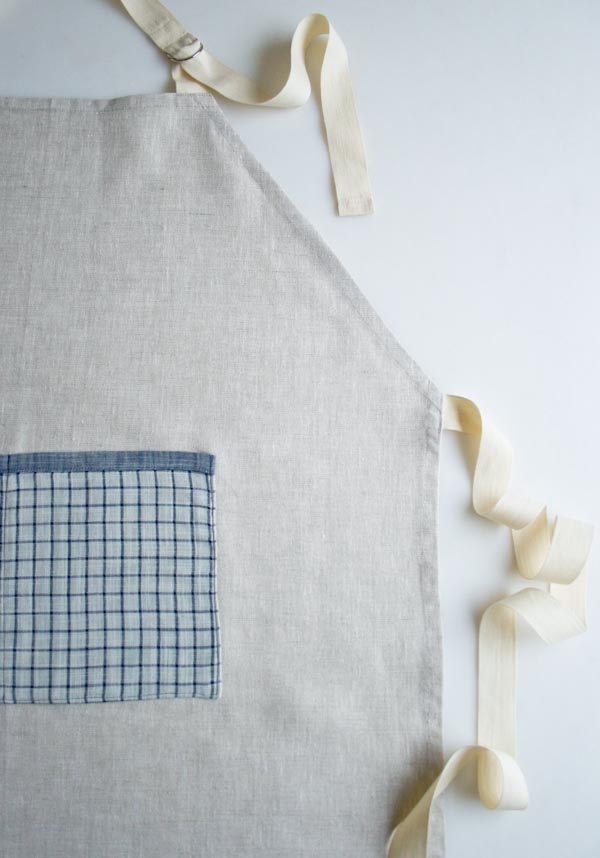
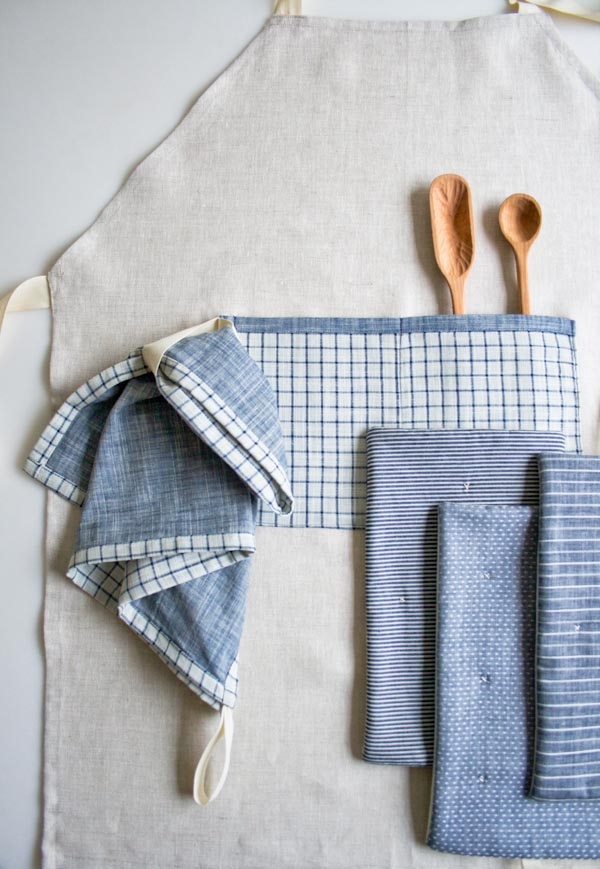
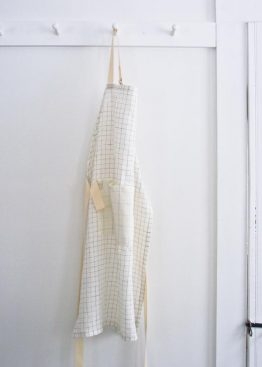
First up is our lovely Simple Linen Apron. With handy adjustable neck ties and long waist ties, I designed it to fit anyone, and I made it with sturdy 100% linen, which lends both durability and timeless charm. The pocket is Robert Kaufman’s Double Cloth, a very special cotton fabric that has two distinctly different sides and adds just a hint of playfulness and color. And best of all, this apron takes about an hour to sew! What better way to celebrate the cooks in your life! -Molly
Update: New Fabrics
JUNE 15, 2015
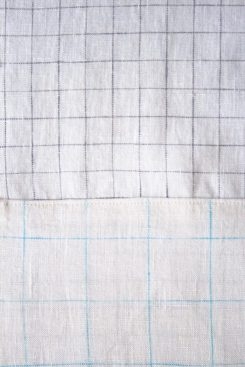
Purl Soho’s beautiful Linen Grid fabric is a no-brainer in the kitchen, so it’s only natural that we turned to one of our all-time favorite kitchen projects to celebrate our Linen Grid collection! For all the details go here.
Materials

Our Materials for Simple Linen Apron kit includes…
- 1 yard of Robert Kaufman’s Waterford Linen in Natural
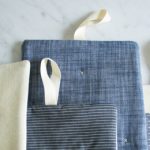
- 1/2 yard of Robert Kaufman’s Double Cloth in Plaid Indigo
- 100% cotton thread in color 1040 (ecru)
- 100% cotton thread color 7380 (blue)
- A pair of 1-inch D Rings
- 4 yards of 30mm Cotton Twill Tape in Ecru
You will have enough fabric to make two aprons, but you would need to buy another pair of D Rings, as well as an additional 4 yards of Twill Tape.
Size
33 inches tall by 25 inches wide (at the widest point)
Pattern
Cut
From the Linen, cut a rectangle 27 inches wide by 35 inches tall. This is the Apron Piece.
From the Double Cloth, cut a rectangle 14 inches wide by 9 inches tall. This is the Pocket Piece.
From the Twill Tape cut…
Two 38-inch lengths; these are the Side Ties.
One 20-inch length; this is the Left Neck Piece.
One 17 ½-inch length; this is the Right Neck Piece.
One 11-inch length; this is the Dishtowel Loop.

Press the Apron Piece in half lengthwise so that the two 35-inch sides meet each other, wrong sides together. Orient this folded piece so that the 14-inch sides are at the top and bottom; the folded 35-inch side is at the right; and the raw 35-inch sides are at the left.
Make a mark on the top edge 6 inches to the left of the fold. Make a second mark on the left hand side 11 inches down from the top. Cut a diagonal line from the top mark to the left mark through both layers of the folded piece.

Sew
Preparing the Ties
Fold one raw end ½ inch towards the wrong side of each of the Side Ties and the Left Neck Piece. Press and pin these folds into place. Using the ecru thread, edgestitch these folds down. Put these pieces aside for now.

Press one end of the Right Neck Piece 1/2 inch towards the wrong side. Then press it over again, 2 inches towards the wrong side. Slide both of the D Rings into the folded end, lining up their straight edges with the fold. Pin the fold into place, as shown above.

Using the ecru thread, edgestitch the end of the fold into place. Then sew a seam 1 1/4 inches from that fold to secure the D Rings into place.
Hem the Apron and Attach the Ties
Fold the two diagonal edges of the Apron Piece ½ inch twice towards the wrong side of the fabric. Press and pin the folds into place. Using the ecru thread, edge stitch these folds down.
Fold the bottom edge ½ inch twice towards the wrong side. Press and pin the fold into place. Using the ecru thread, edge stitch this fold down.

Fold the 12-inch top edge ½ inch twice towards the wrong side. Press the folds down. With the wrong side of the apron facing up, insert the raw end of the Left Neck Piece, wrong side facing up, under the left corner of the Apron Piece’s top-edge fold. Insert the Right Neck Piece’s raw end, right side facing up, under the right corner of the fold. Pin the fold and Neck Pieces into place.

Using the ecru thread, edgestitch this fold down, sewing in the Neck Pieces as you go.
With the wrong side of the apron still facing up, press the Neck Pieces upwards to create a 90-degree angle with the top edge of the Apron Piece. Pin the Neck Pieces into place.

Turn the Apron Piece so that the right side is facing up, and using the ecru thread, edgestitch over just the Neck Pieces to secure them in this orientation.

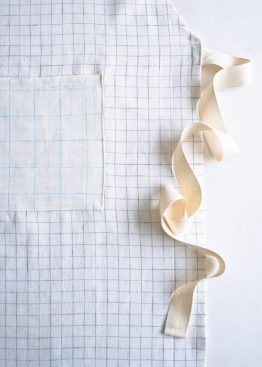
Attach the Side Ties in the same manner: Fold one of the raw side seams of the Apron Piece over ½ inch twice towards the wrong side and press the fold into place. Slide the raw end of a Side Tie, right side facing up, into the top corner of the fold. Using the ecru thread, edgestitch down the entire fold, sewing the Side Tie in the process.

Press the Side Tie outward so that it ipreads out perpendicularly from the side seam. Edgestitch over just the Side Tie to keep it in place.
Repeat on the opposite side with the other side seam and Side Tie.
Make the Pocket

Pick which side you’d like to be the right side of the pocket (I chose the white side).
Orient the Pocket Piece right side up and with the long sides at the top and bottom and the shorts sides at the right and left.
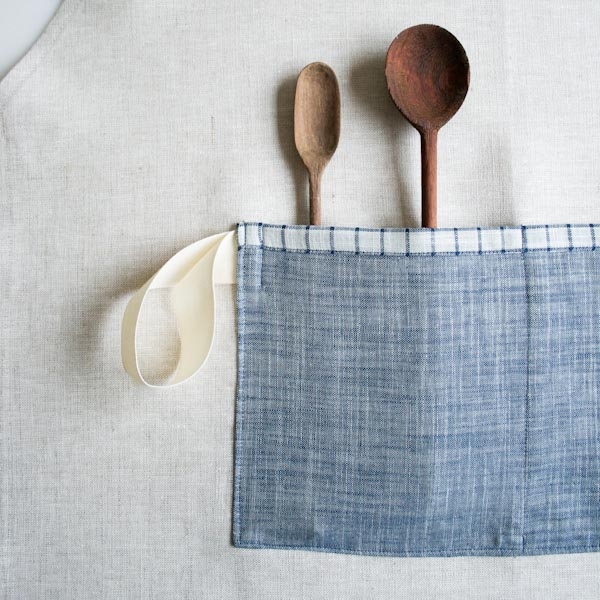
Fold the top edge ½ inch twice towards the right side of the fabric. Press and pin the fold into place and using the blue thread, edgestitch down the fold. Zig zag stitch over the other three edges to keep them from fraying.
Turn the Pocket Piece so the wrong side is facing up and press the three zig zagged edges ½ inch once towards the wrong side.
Press the Dishtowel Loop in half so that the two short raw edges meet one another.

Slide the raw ends of the folded Dishtowel Loop under the top of the Pocket Piece’s right side fold.

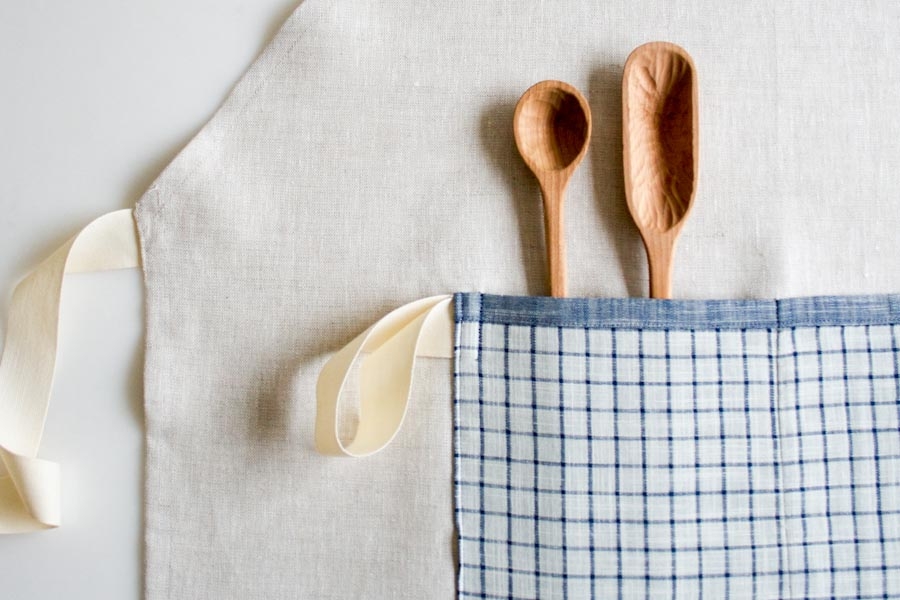
Keeping the ends of the Dishtowel Loop inside of the fold, fold the Loop outwards so that it points away from the Pocket Piece and is perpendicular to the side edge. Pin the Dishtowel Loop into place like this.
Press the Pocket Piece in half, wrong sides together, so that the short sides meet each other, making a center crease. Unfold the pocket piece and place it right side up onto the right side of the Apron Piece, lining up the center crease of the Pocket with the center crease of the Apron. Arrange the Pocket so that its top edge is 2 inches below the start of the Apron’s diagonal sides.

Pin the Pocket to the Apron along the sides, bottom edge and center crease.

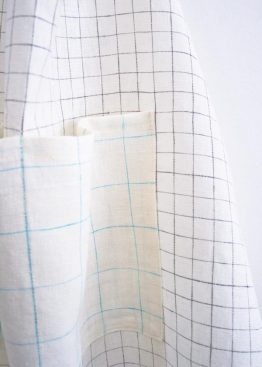
Using the blue thread, edgestitch along the Pocket at the right, bottom, and left sides, then sew along the center crease to create two pocket sections and you’re all done!






I love it and will make it one 😉
beautiful…love the simplicity.
Oh, how lovely! UK crafters may like to know that Merchant & Mills is currently stocking some amazingly nice linen tape which would be great for the straps and dishtowel loop. I can't see it on their website but if you're near their shop in Rye check it out – I bought some on the weekend and it has a lovely bound edge to it.
Just finished two of these aprons and the look lovely (and just in time for Christmas too… They didn't take long at all). Thank you for the excellent instructions.
May I offer a suggestion? I would love it if all your instructions, including the photos, could be downloaded as PDF files for keeping! I like to open PDF instructions on my tablet, which I can keep right next to my sewing machine/cutting table. It makes it all so, so easy!
Hi Barbara-
We started offering all of our new free patterns as a free downloadable PDFs as of about a month ago. And we are going through and reformatting some of our older patterns as PDFs converting them takes a lot of time and effort so it’s pretty slow going! If you’d like to save an older pattern as a PDF we would recommend that you copy and paste it into a Word or Text doc and save as a PDF from there.
Thanks so much for getting in touch about this!
Molly
If you hit print and then choose save as a pdf, that works too. At least it does on a MAC.
Thank you so much for creating this comprehensive tutorial! It is a lot of work, and much appreciated. 🙂 I have just enough of a linnen-like material in my stash to make this apron for my son plus enough left over for a half-apron for his girlfriend. I put ruffles to match the pocket on the bottom of hers. A little something extra for Christmas!
I’m so thankful that purl bee has become my only go-to for any project that comes to mind. I have a bridal shower this weekend and we are a bit tight on funds so I thought I’d search for a quick and easy apron pattern and give the bride a hand-made one of a kind kitchen-ready apron! Thank you for the easy to follow instructions. I’m thrilled to enjoy making this tomorrow!
Love the apron. Thank you
Dear Molly…I wasn’t able to access this pattern and put it in my cart. I am interested in the pattern as well as the fabric. Is the fabric for sale, as well? Is it possible to purchase the finished aprons, themselves, or just the patterns?
I also wanted to know if I am able to purchase the photo that you have of the Simple Linen Apron? The image with the two aprons with the dish towel hanging to the left. I love that photo and I love those aprons, they are exactly what I am looking for.
Thank you for your time, it is greatly appreciated.
Warm regards,
Stephanie McDermott
Hi Stephanie,
Thanks for reaching out! We do not sell finished aprons, but we do have the free pattern above and sell all the materials you need to make your own! While there isn’t a template or paper pattern to print, in the section above titled “Cut,” you will find dimensions of all the pieces you need to cut out for the apron. Unfortunately Robert Kaufman Double Cloth has been discontinued, but you could substitute either Chambray Union or any other print or plaid you like for the pocket. We also do not license or sell prints of our photos, but thank you so much for the kind words – we’re always happy to hear when our projects inspire others!
I hope that helps, and happy sewing!
Julianna
Hi,
How wide is the fabric you recommended in the description? I see it is no longer in stock, so I just want to make sure I get enough when I go to my local store. Thanks.
Hi Em,
Thanks for reaching out! The original fabric was 55″ wide, but since the apron is only 27″ wide, you could use a narrower fabric if you prefer!
Happy sewing!
Julianna
Hi love the apron but was it just me but the lengths for the neck strap seem to be wrong as the lengths given end up with the D rings at the back of the neck
Hi Ruth,
Thanks for reaching out! The D ring should be located at the shoulder not at the back of the neck, its possible that your strap was too long or not sewn at the correct lengths!
All the best,
Gianna
I have a similar question about the D rings. If the right neck piece starts at 17 1/2, even after adding the D rings it will be about 15 inches long. I agree the D rings should be on the shoulder but that does not appear to happen if I follow the instructions. Thanks for any clarification you can give me.
Hi Charlene,
Thanks for reaching out! You’re absolutely correct that once you sew the D rings into place in the Right Neck Piece, that piece will measure 15 inches. The placement of the D rings, however, depends on how tightly you pull the Left Neck Piece. The further you pull this piece through the rings, the further forward the D rings will sit on your shoulder. In our photos, we’ve pulled the Left Neck Piece almost all the way through the D rings, causing the rings to sit on the front of your shoulder. If you pull this piece through less, then the D rings will sit further back on your shoulder, or even behind your neck.
Hope this helps clarify things!
All the best,
Lili