Rotary Cutting
Rotary cutting is a true time saver! It makes clean, quick, accurate cuts, but it can be a little intimidating to the uninitiated. With a few instructions and tips, however, you’ll be wielding a rotary cutter with safety and ease, and once you learn how to do it, you’ll never look back!
Supplies
- Purl Soho’s Rotary Cutting Tool Kit, which includes …
- A rotary cutter
- A self-healing cutting mat
- A 6 ½ x 24 ½ – inch non-slip straight ruler (It is very important to use a non-slip ruler made for rotary cutting. For your safety, do not attempt to rotary cut with a regular ruler.)
- A 12 ½ x 12 ½ – inch non-slip square ruler
- Quilt-weight woven cotton fabric that has been washed and dried
Safety Tips
Please read through carefully before you begin!
NOTE: These pictures and instructions are for righties. If you’re left handed be sure to set up your rotary cutter for left-handed cutting and reverse “left” and “right” in all these directions.
Safety Lock

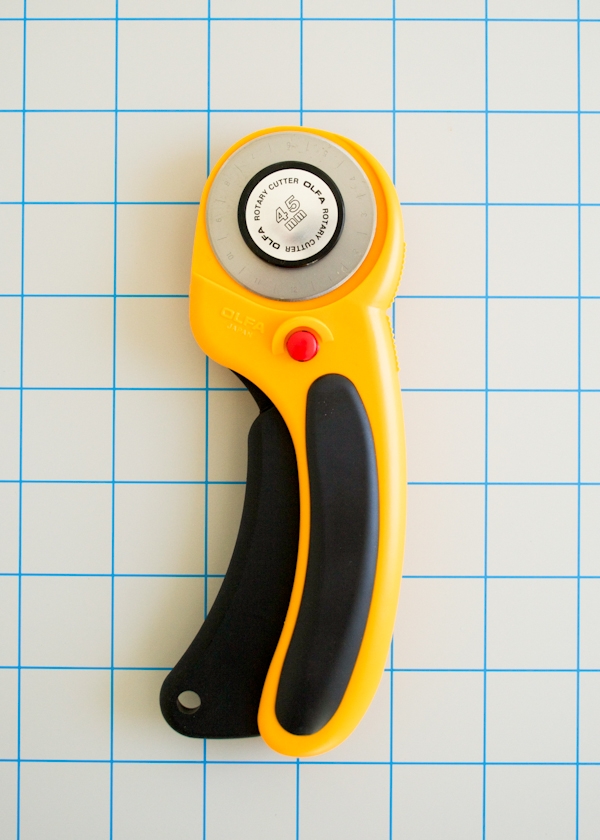
A rotary cutter is basically a razor blade wheel so you need to be extremely careful when handling it. It is highly recommended that you use a rotary cutter with a safety lock. In the above picture, the red safety lock button is pushed to the left, so the lock is engaged. In this position, you can’t squeeze the black lever, which pushes out the blade. To ensure safe handling, always engage the safety lock immediately after cutting.
Hand Position
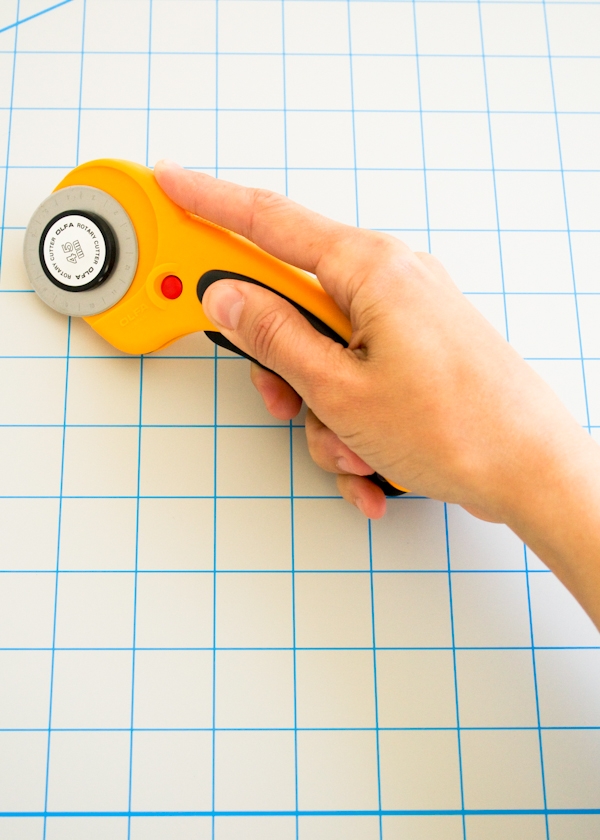
Here is the cutter and my hand in cutting position. The safety is off and I am squeezing the black lever, which pushes out the blade. My hand and wrist make a nice straight line, and my index finger is pressing against the nonslip section on the top. Some people prefer to keep their index finger on the right side of the cutter or against the black lever, but whichever way you prefer, it’s important to keep your wrist straight. This will help prevent a repetitive motion injury.
Blade Position
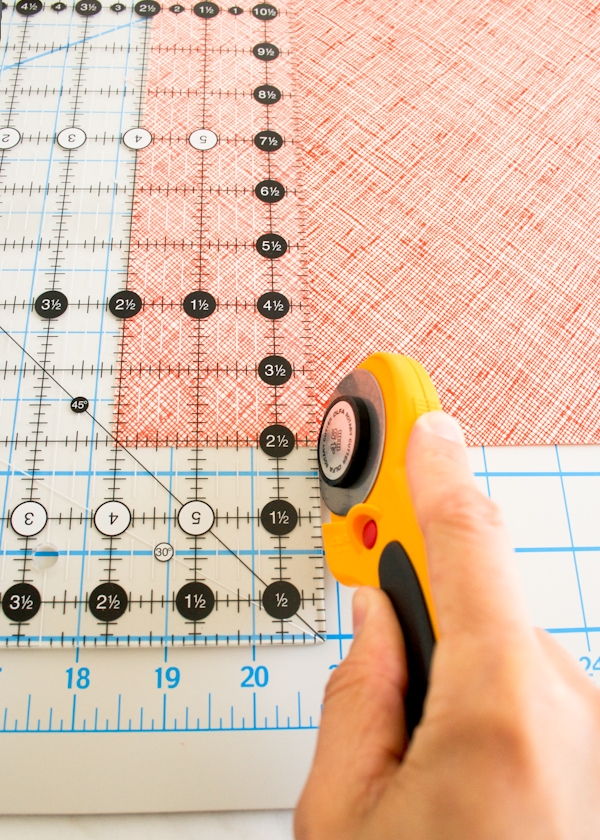
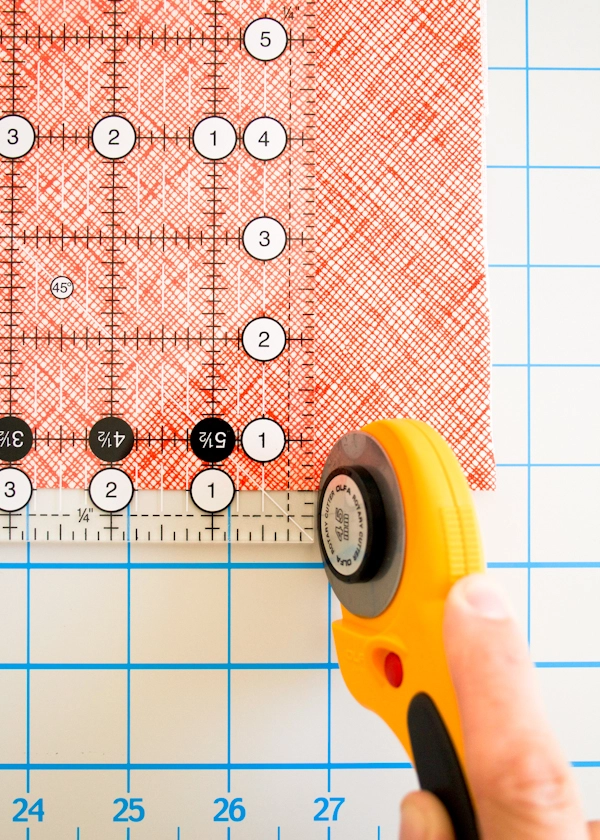
Make sure to place the blade against the edge of the ruler before you start cutting. If the blade is too far away, the cut will be uncontrolled and wobbly, or if the blade is on the ruler, you could seriously cut your ruler hand.
More Safety Tips

Never, ever, ever let one of your fingers hang off of the edge of the ruler as you are cutting.
Keep the rotary cutter away from and out of the reach of children at all times.
Always cut in an away-from-yourself motion! This is very important and something that might not come naturally, so pay close attention. The rotary cutter should only ever move in one direction: away from you!
Cutting Fabric
Neat, Straight Cuts
Always apply constant, even pressure when cutting. You don’t have to push super hard but you do have to apply pressure. Don’t worry if you need to try a few times before you get it right.

When you’re cutting a long length of fabric, push the ruler down firmly with the whole of your left hand and then inch your hand like an inchworm up the ruler as you cut. This keeps the ruler firmly in place.
Remember to change the blade as soon as it shows signs of becoming dull.
Squaring up
Press the fabric and then fold it selvage to selvage. (Do not press the fold.) Place the folded fabric on the cutting mat with the fold at the bottom and the selvages at the top.
Note: You will not be using the cutting mat grid to measure where to cut, so it doesn’t matter where you place the fabric in relation to that grid.

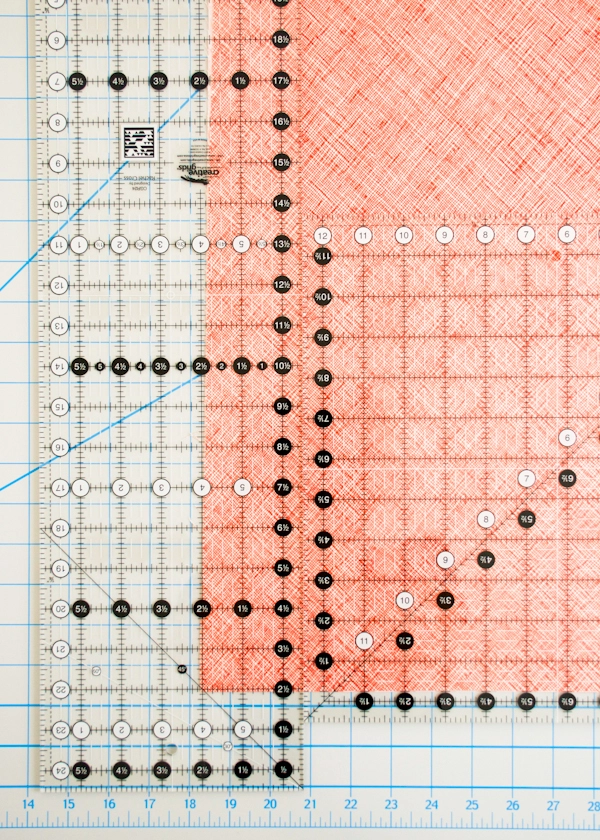
Place the square ruler along the bottom of the fold so that it’s left edge is about 1 ½ inches from the left edge of the fabric and so that a horizontal line near the bottom of the square ruler aligns exactly with the bottom fold.
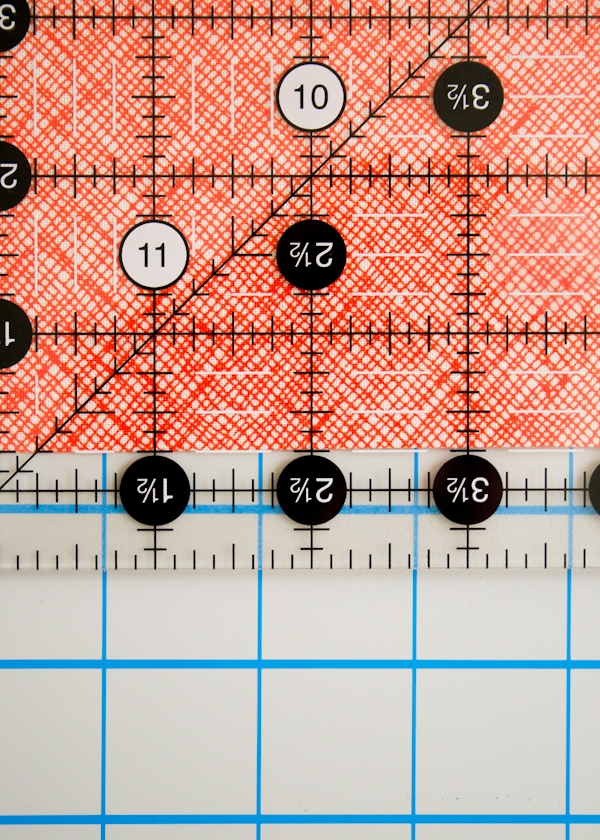
It doesn’t matter what line on the ruler you use, since you’re just getting a straight line, not taking a measurement.

Place the long, straight ruler vertically against the left side of the square ruler, being careful not to jostle the square ruler.

Place your hand on the long ruler to anchor it and then remove the square ruler.
Use the rotary cutter to cut along the right side of the long ruler. Discard the resulting strip or save it for another purpose.
The fabric to the right of the ruler is now “squared up” with the fold, meaning that the fold and the cut edge form a 90-degree angle.
Cutting Strips
The next step in rotary cutting is usually cutting a strip. This strip can either be used in strip piecing, where strips are sewn together along their long sides and then these sewn strips are cut; or the strips can be cut again into rectangles or squares, as I show in the next section.
For this tutorial I cut 3 ½-inch strips, but the same directions apply regardless of the size of your particular strips.
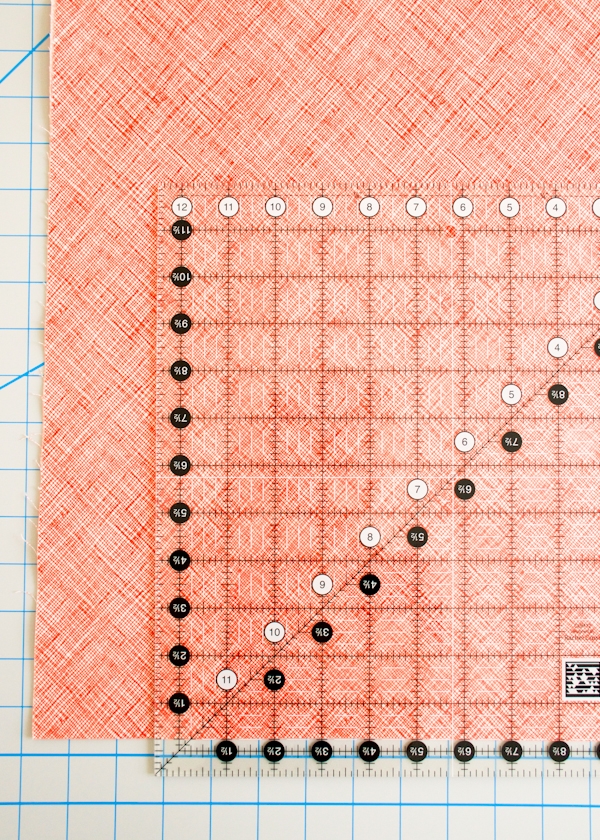
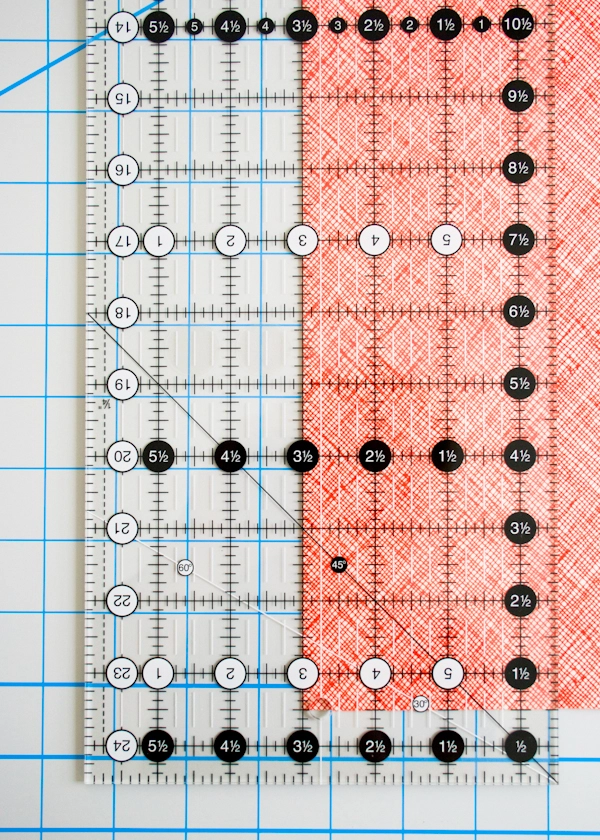
Note about measuring with rotary cutting rulers: The measurements on rotary cutting rulers may seem confusing at first. One side starts with a ½-inch measurement and the grid marks increase by 1 ½-inch increments, while the opposite side starts with a whole inch and progresses in whole inch increments. This means there are a lot of numbers going in different directions. Notice, below, that the fabric is lined up with the 3 ½-inch mark but also an upside down 3-inch mark. It’s good to double check that you’ve lined up to the correct measurement before you cut. It takes a little practice to get the hang of it, but once you do, you’ll appreciate all of the markings, I promise!
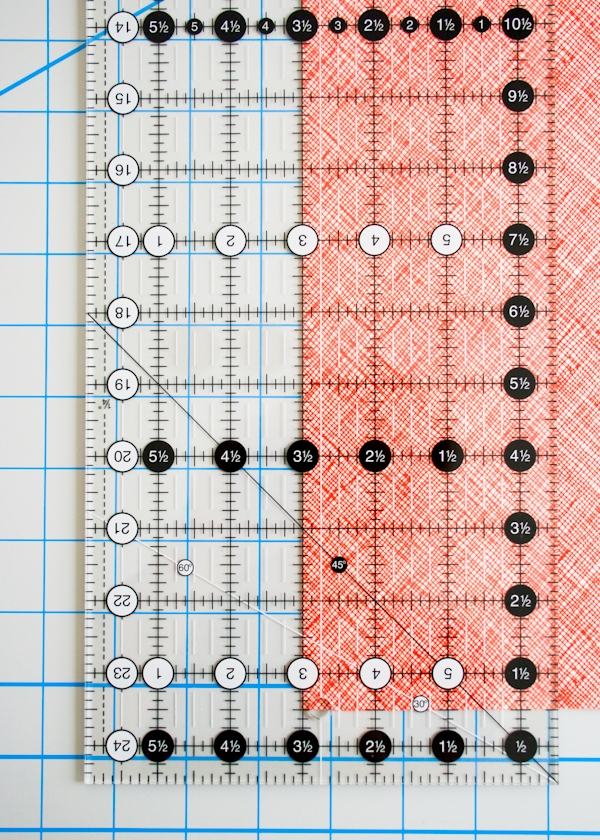
Place the long ruler on the fabric so that the fabric’s left edge lines up with the ruler’s 3 ½-inch marks along the entire length of the fabric, from the fold to the selvages. Use the marks on the bottom horizontal edge of the ruler to make sure the folded side is also perfectly straight. If both the left side and the bottom folded side of the fabric are lined up correctly, you’re ready to cut your first strip.
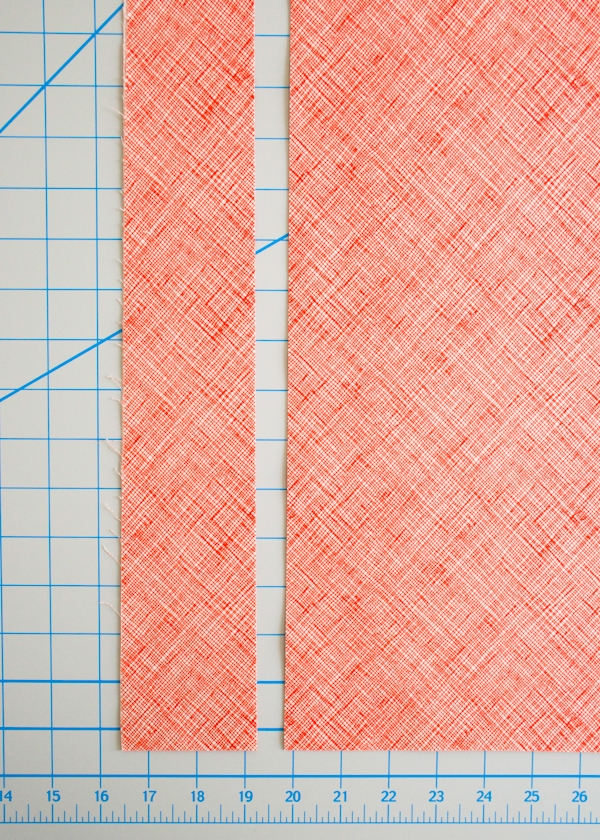
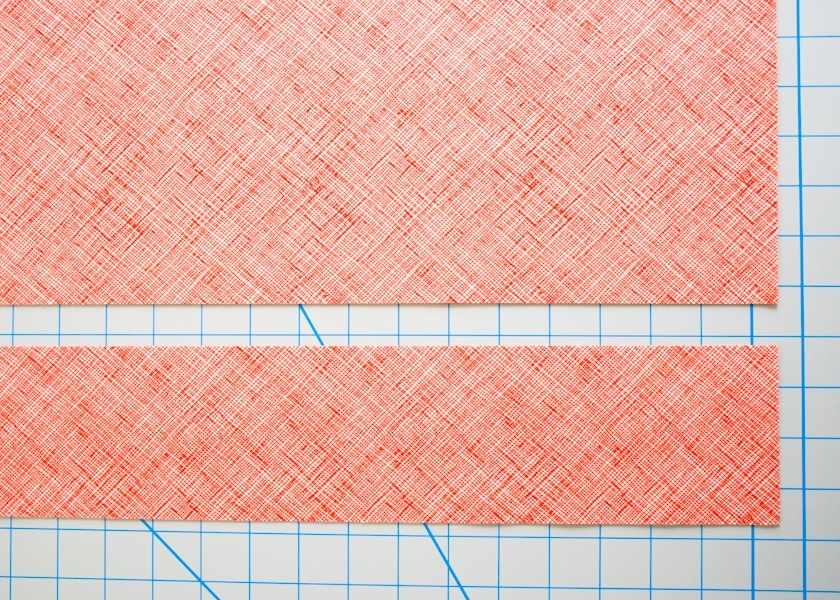
Cut the fabric from fold to selvage and you’ll have a 3 ½-inch strip.
Cutting from the Strips
I cut 3 ½-inch squares for this tutorial, but the same instructions can be used to cut any size square or rectangle.

Carefully, without shifting the two layers of fabric, rotate the strip so that it is horizontal with the selvages on the right. Place the long ruler on the fabric so that the ruler’s right edge is just to the left of the selvages. Make sure the ruler is square to the fabric by aligning the fabric’s top and bottom edges with the ruler’s markings.
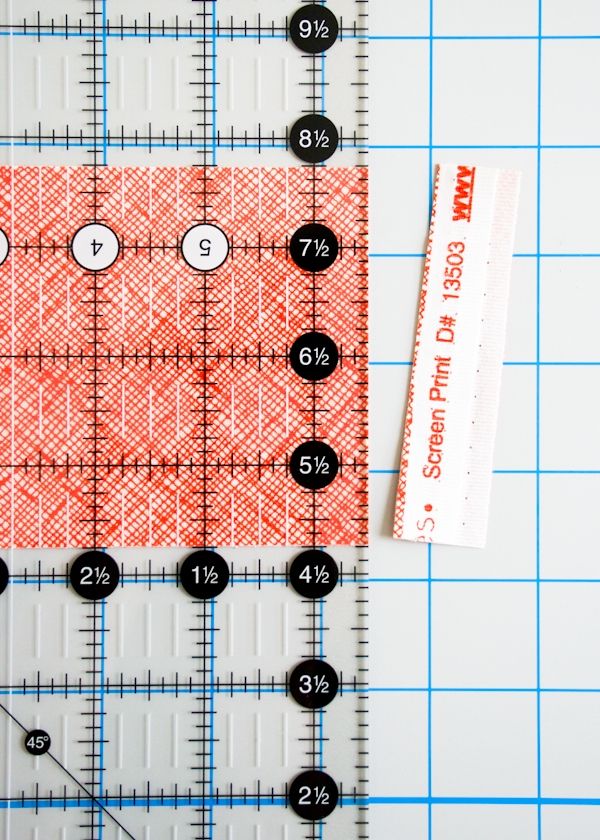
Cut along the right side of the ruler and discard the selvages.

Carefully, without shifting the two layers of fabric, rotate the strip so that the newly cut edge is on the left.
Lay the long ruler vertically on top of this strip. Line up the left edge
of the fabric with the 3 ½-inch mark on the ruler and make sure that the bottom and top edges also line up straight along the ruler’s markings. Cut along the right side of the ruler.
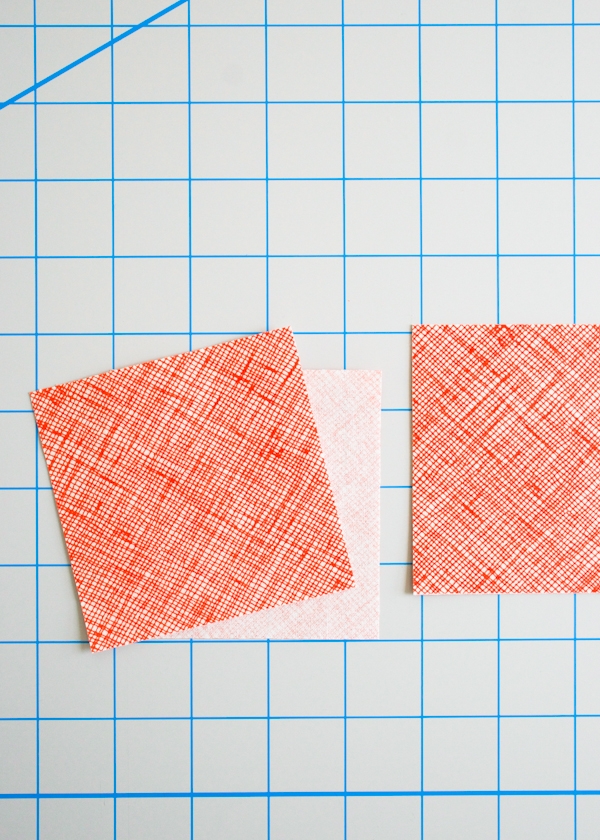
This cut will result in two perfect 3 ½-inch squares.
Continue to cut pieces of any size all along the strip until you reach the folded edge. Discard (or save for another purpose) the remaining fabric with the fold.
Enjoy your new skill!






Thanks very much for the post!
Thanks for this helpful tutorial! I noticed you are using a 45 mm blade here, but I happen to have a 60 mm rotary cutter. Are there any advantages to using one size vs another? Thanks!!
Hi Amy-
I’ve never used a 60-mm rotary cutter but I imagine it would be able to cut more layers and cut more quickly. You can cut more precisely with a smaller cutter but for big straight cuts, such as the ones demonstrated in this tutorial, the 60-mm should be fine.
Thanks!
Molly
Hi Molly, do you have any tips for cutting curves and circles with a rotary blade?
Hi Caitlin-
We don’t recommend cutting curves with a rotary cutter because you can seriously injure yourself. Sorry to be a downer! We recommend very sharp scissors instead!
Best-
Molly
hi, your advice are very important! i just bought the cutter olfa 45mm, but unfortunately after cutting a fabric for mosquito now no longer cutting the fabric. you know how can I fix it? many thanks, rossana
Hi Rossana,
Thank you for the comment! If you are referring to mosquito net fabric, that fabric will dull the blade on the rotary cutter. If you need replacement blades we sell them on our website here; https://www.purlsoho.com/purl/products/item/1618-Olfa-45mm-Rotary-Blades-RB45-5
If you have anymore questions feel free to write us back!
Good Luck!
Jake
Thanks so much for the very useful and needed tutorial! Alway enjoy your help. Have used both the cutter and matt for a number of years, but never knew exactlyl the proper way to use.
Wow! Exactly what I was looking for. I understand now why I need these rulers instead of that old wooden one I was using ! Fortunately, my birthday is around the corner!
Thank you so much for the great instructional video. We tend to think that cutting with a rotary cutter is such a simple thing, but yet we need to know the tricks and hints to make it safe and efficient when using a one. Especially if we are not experienced with one!
My new rotary cutter is skipping. It will cut for several inches and then skip an inch or so. I’m using a proper mat and ruler. What is the problem?
Hi, Sheila!
Thank you for writing in! A rotary cutter can skip like that for a couple of reasons. It will do that if you’re cutting through several layers of fabric, like four or five layers. The most likely reason that this is happening is that you may not be applying even pressure as you push the rotary cutter away from you. I recommend going slow and making sure you’re giving the same amount of pressure as you roll the rotary cutter across the fabric.
Please keep us updated on this, if you have further questions please let us know!
Best wishes,
Kumeko
In response to Caitlin(one year ago), yes, you can cut curves with a rotary cutter… but only with the smallest one: 18mm. It is conceived especially for the curves ! 🙂
Also, in response to Sheila, you can try sharpening you blade with a “rotary blade sharpener”. I don’t give here any links, respect for Purl Soho team. But you can find easily… I use it from time to time and it works well to lengthen the life of my blade; I use it every time my cutter begin to skip little parts of my cutting line.
My experience with replacement blades is ONLY buy Olfa (see Jake’s comment for link). Other blades are simply not sharp and are a waste of money. Thanks for the tutorial!
What about ripping fabric for a reliable way to achieve a straight line or square it up?
Hello, Cahterine!
Thank you for writing in! You can certainly rip the fabric to achieve a straight line and often this is a great way to cut your fabric. A rotary cutter simply provides another great option and it can be helpful if you want to cut a couple of layers of fabric at once. Again, thank you for writing in!
Best,
Kumeko
I use my rotary cutter, Olfa mat and see-through ruler to make clean cuts for tassels. I can easily double-check that they’re even and match in length.
Thank you so so much for this tutorial! I’m a new quilter who couldn’t cut straight lines using my mat as a guide everyday the strips would be different off by a bit! Used your tutorial today I got razor sharp lines!
I’ve finally gotten an opportunity to work on this quilt as a wedding present. For colour D, can I use silk? I’ve purchased (and cut) all of the other colours in cotton, as specified in the pattern, and I did purchase colour D from Purl Soho, however, the bride is in love with a yellow silk dress of mine of which I have a remnant. She also owns items in her home in that same shade of yellow. Please advise.
Hi Lara,
Thanks for writing in! Although I’m not sure which quilt pattern you are referring to, in general, you can mix different fibers and weights of fabric in a quilt with a few considerations! Whenever you add a delicate fabric to a quilt, you will then have to launder the whole quilt the way you need to launder the most delicate fabric – in other words, if the silk is hand wash or dry clean only, you will have to hand wash or dry clean the whole quilt. Also, silk can be prone to fraying and difficult to cut, so you may find it easier to lightly interface your silk before cutting and sewing. As long as you don’t mind these restrictions, I think a few pops of bright yellow silk would add a cheerful, elegant touch to any quilt!
Best of luck and happy sewing!
Julianna
Hello!!
Just wanted to thank you for a great tutorial on rotary cutting!!!
Did you have a response regarding the use of the smaller rotary for cutting curves?? Sounds kind of scary to me, but I thought maybe someone has been able to find something that works??
Thanks for your time!!
Hello Lena,
I’m happy to hear you enjoyed our tutorial! I personally don’t have any experience cutting curve with a very small rotary cutter, I much prefer scissors, so I can’t in good conscious reccomend it.
I hope this helps and thank you for reaching out!
-Marilla
Hi..what if your fabric when folded with the selvages together is longer than your mat?
Do u do a tutorial on rotary cutting and squaring up fabric for left handed quilters?
Hi Cindy,
Thanks for reaching out! Unfortunately at this time we don not have tutorials for left handed rotary cutting and squaring up, but thank you for expressing your interest! It is much appreciated and I will be sure to pass this along to the rest of the team!
Warmly,
Gianna