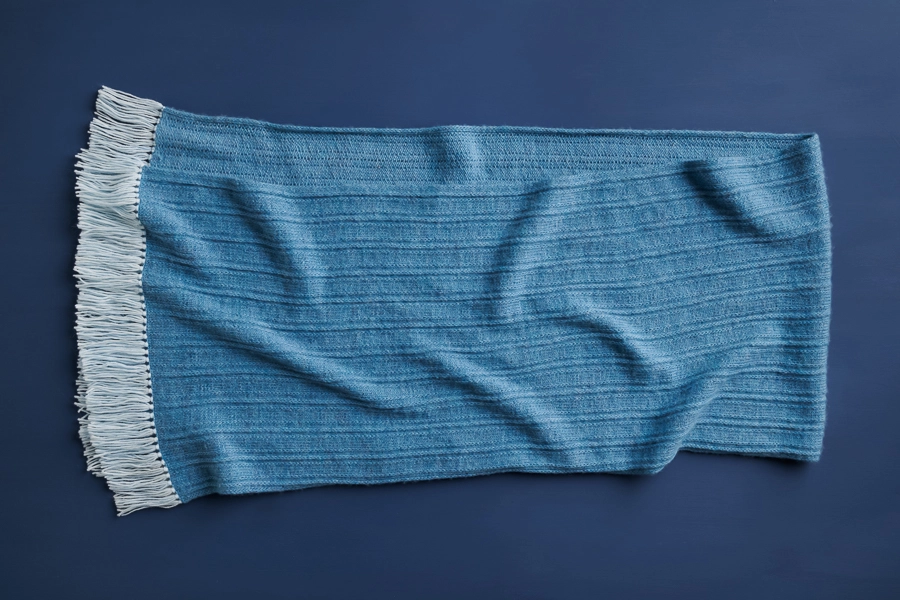
Ticking Ribbed Wrap
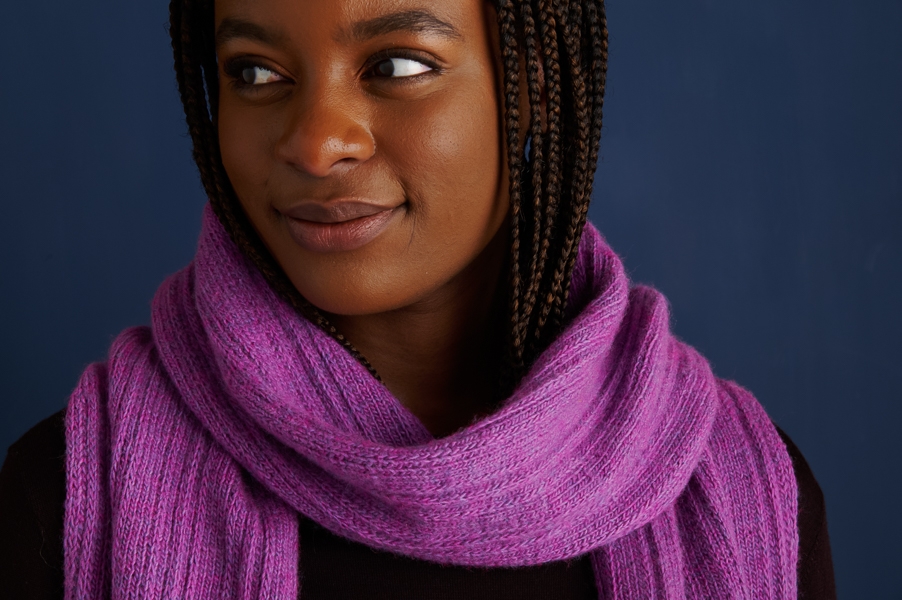
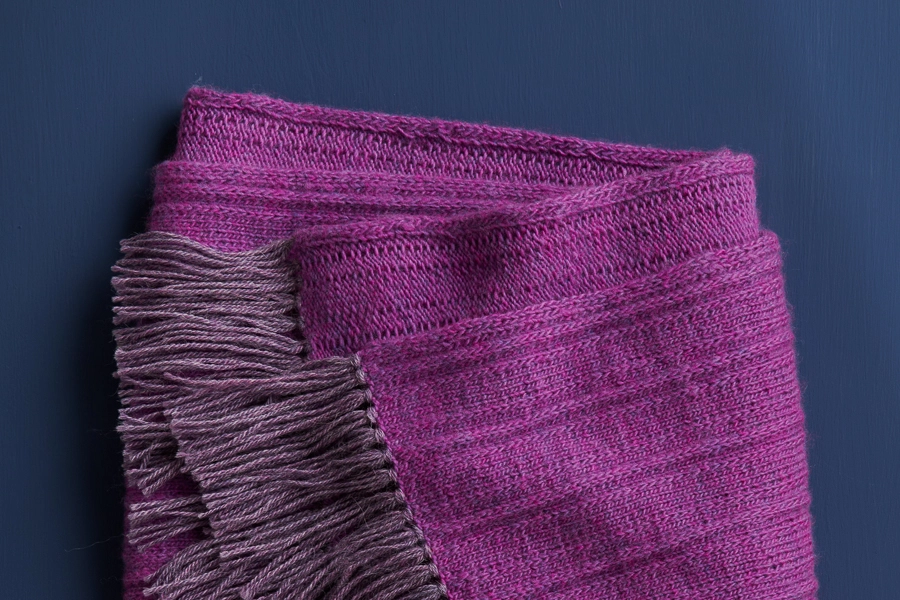
Ticking fabric was traditionally tightly woven so not even the most ambitious feather tip could escape the mattress or chair it covered. Knit in our 100% merino Line Weight, Katrina Walser’s Ticking Ribbed Wrap puts a much softer spin on the iconic stripes of that classic fabric.
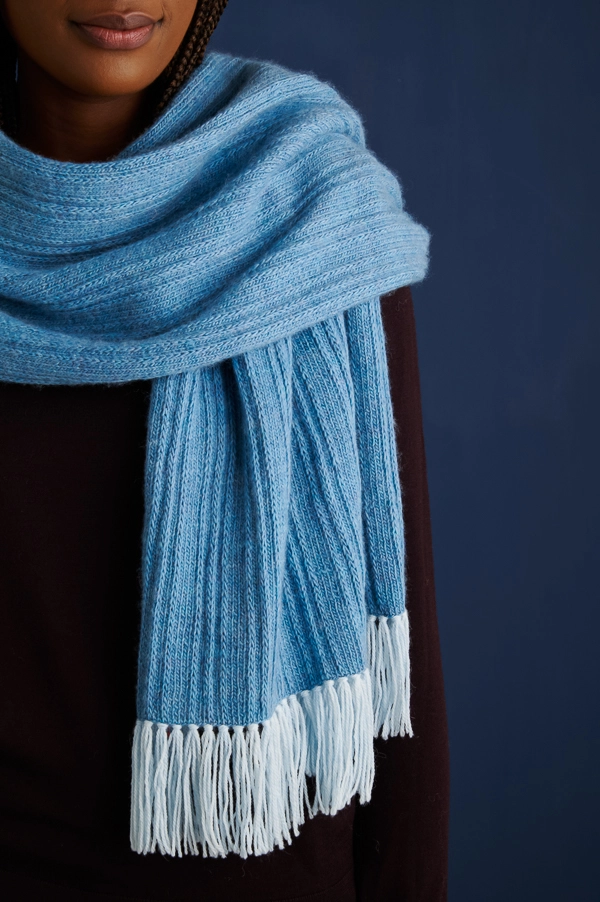
For knitting that is equal parts relaxing and interesting, Katrina designed this wrap in a wonderfully simple and rhythmic slip-stitch pattern.
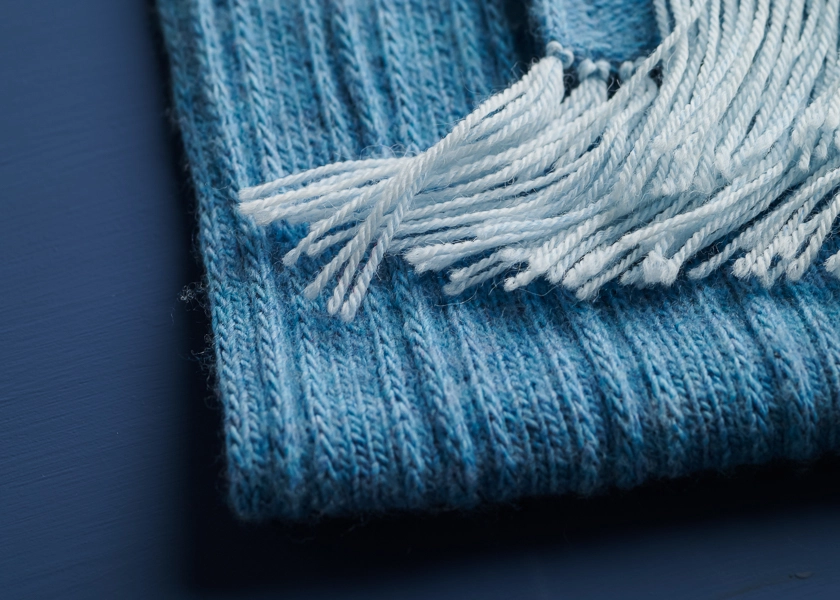
Once you knit the body of the piece in our soft and supple Line Weight, you switch to Quartz and use a crochet hook to attach the fringe, adding a touch more color and texture… And a lot of beauty!
Line Weight is a delicate single ply whose loose twist lets you feel the exquisite softness of the merino fiber. It knits into a light fabric that blooms and relaxes when hand washed.
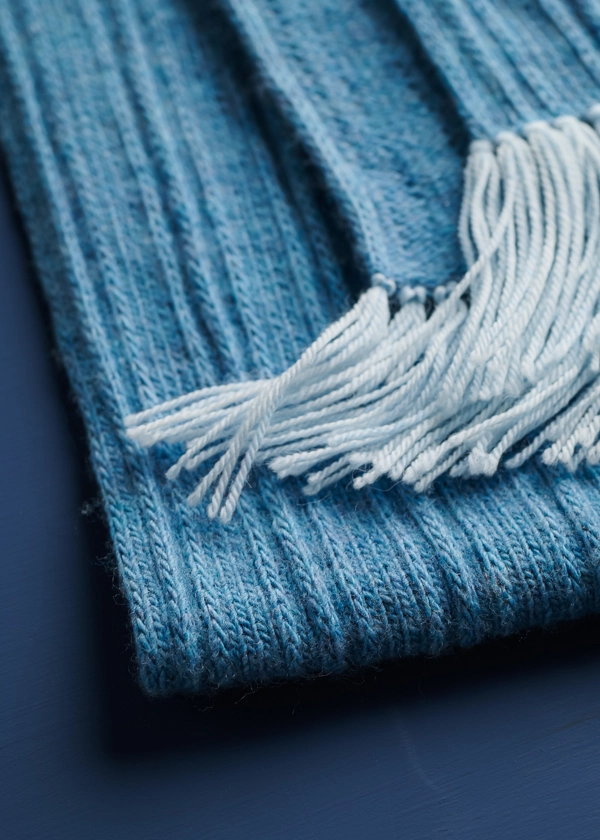
With its two plies and merino-suri mix, Quartz has a bit more strength, for a fringe less prone to felting or unraveling.
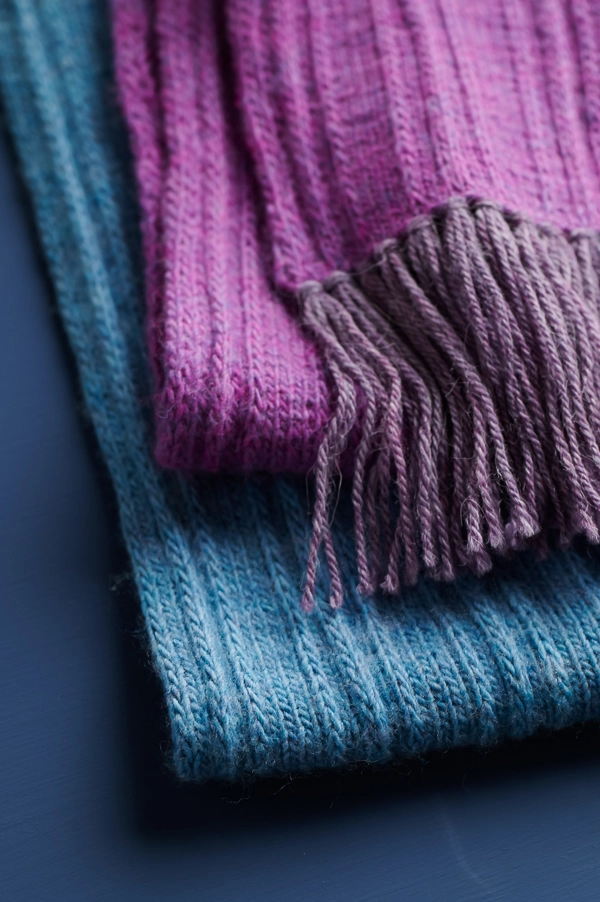
We’ve put together seven gorgeous Ticking Ribbed Wrap Bundles for this wrap, each with four skeins of Line Weight (2 skeins for the scarf version) and one of Quartz in the same color family. Soft and cozy, with character and beauty, this wrap ticks all the boxes for us!
Designed for Purl Soho by Katrina Walser. Based in Sydney, Australia, Katrina is a knitting teacher, tech editor, and the designer behind Oliphant Kat, where she publishes simple, modern pieces. She’s passionate about using her designs to help new knitters develop skills, alongside the confidence to use them!
Share your progress and connect with the community by tagging your pics with #PurlSoho, #PurlSohoBusyHands, #PurlSohoTickingRibbedWrap, #PurlSohoLineWeight, and #PurlSohoQuartz. We can’t wait to see what you make!
Materials
You will need one Ticking Ribbed Wrap Bundle, which includes (NOTE: The Ticking Ribbed Wrap Bundle is no longer available)…
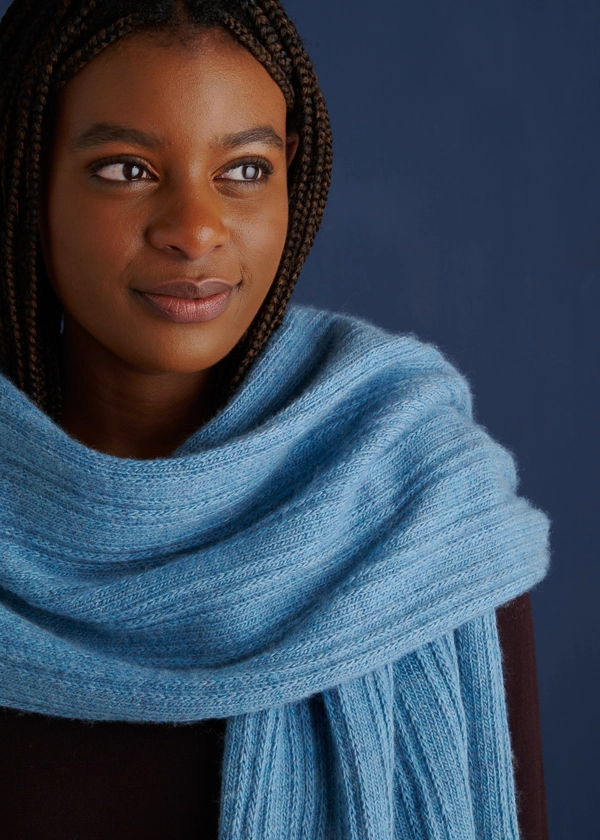
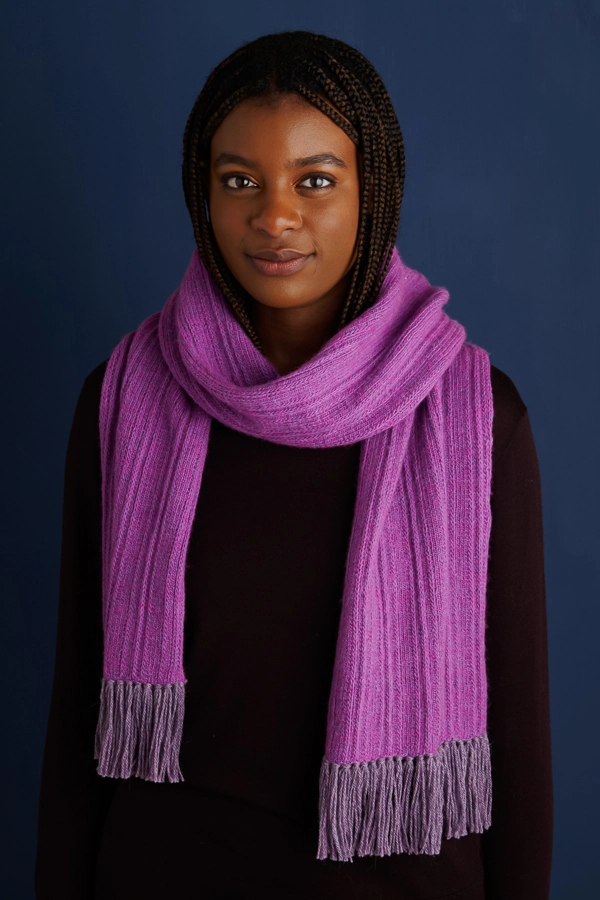
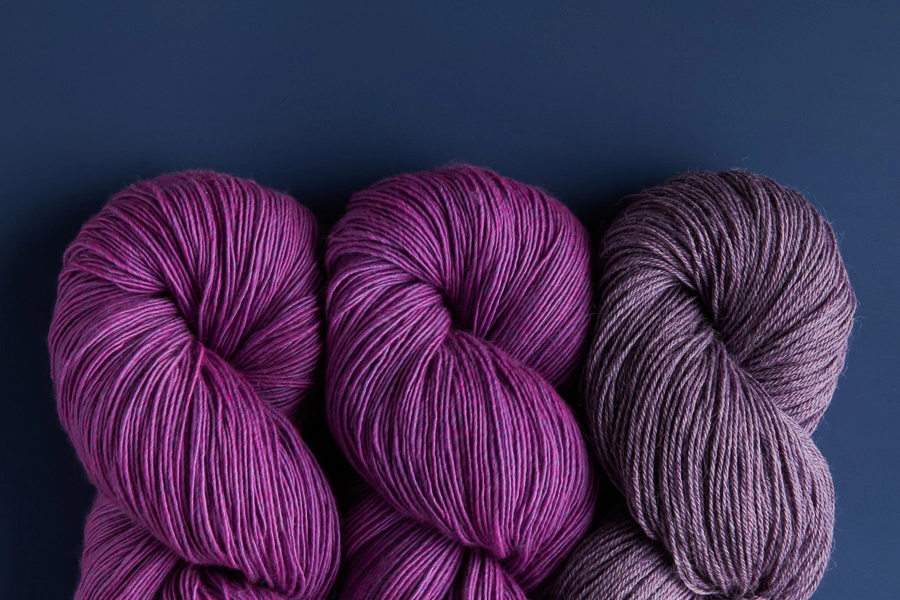
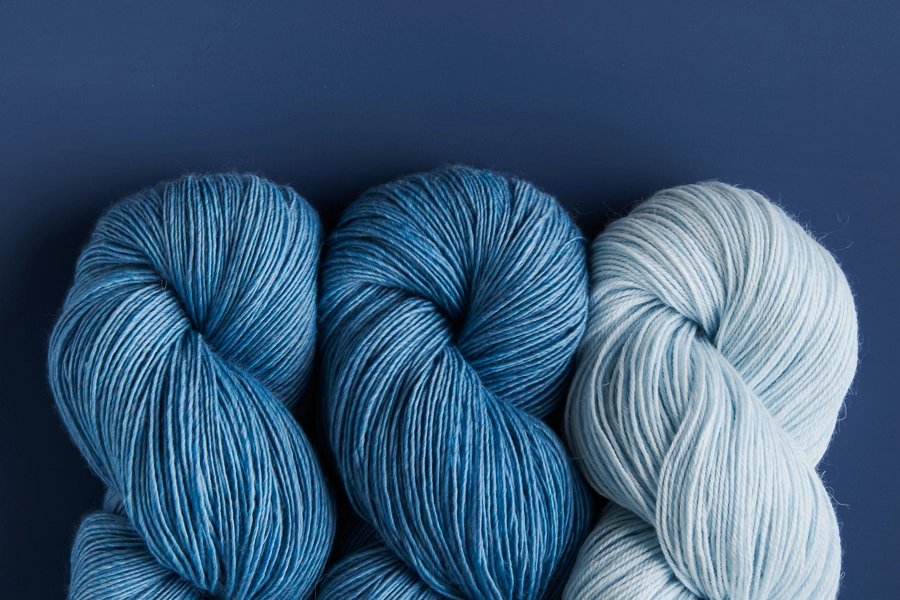
- Yarn A: 2 (4) skeins of Purl Soho’s Line Weight, 100% merino wool. Each skein is approximately 494 yards/100 grams; approximately 975 (1700) total yards required. We used the color Lotus Flower for the Scarf and Cobalt Turquoise for the Wrap.
- Yarn B (for fringe): 1 skein of Purl Soho’s Quartz, 65% merino wool, and 35% suri alpaca. Each skein is approximately 420 yards/100 grams; approximately 55 (95) total yards required. We used the color Wild Lupine for the Scarf and Icicle Blue for the Wrap.
You will also need…
- US 3 (3.25 mm), straight or circular needles
- A small crochet hook (for fringe)
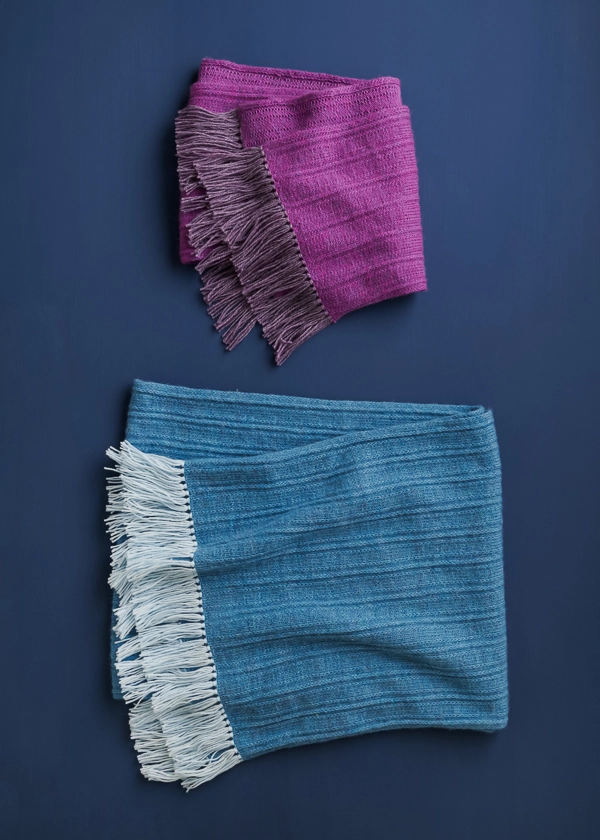
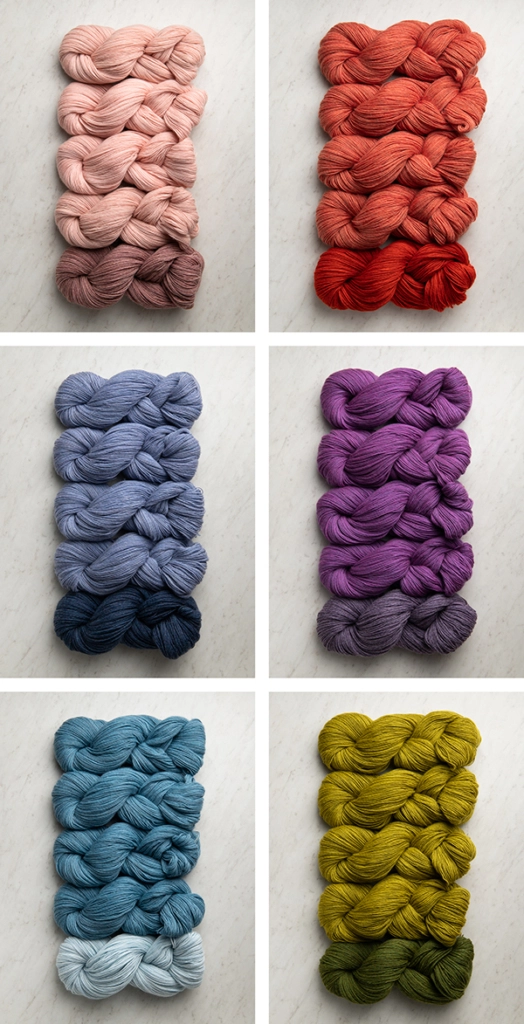
Choose from one of our colorful palettes, above…
- Top Row: Peony Pink + Pink Starfish; Weathered Barn + Cardinal Red
- Middle Row: Hydrangea Blossom + Blue Jeans; Lotus Flower + Wild Lupine (used for our Scarf)
- Bottom Row: Cobalt Turquoise + Icicle Blue (used for our Wrap); Golden Green + Fresh Pickle
- Not Pictured: Fieldstone Gray + Ash Gray
GAUGE
33 stitches and 50 rows = 4 inches in stitch pattern
SIZES
Scarf (Wrap)
Finished Dimensions: Approximately 10 (17½) inches wide x 72 inches long, not including fringe
NOTES
SPECIAL INSTRUCTIONS
STITCH MULTIPLE
This pattern works over a multiple of 12 stitches.
SLIP STITCHES
Slip all slipped stitches purlwise with yarn in back on right-side rows and with yarn in front on wrong-side rows.
PATTERN
With Yarn A, cast on 84 (144) stitches. We used a basic Long Tail Cast On.
Set-Up Row (wrong side): Purl to end of row.
Row 1 (right side): Slip 3 (see Notes), k2, slip 2, k2, *slip 1, k4, slip 1, k2, slip 2, k2, repeat from * to last 3 stitches, k3.
Row 2 (wrong side): Slip 3 (see Notes), purl to end of row.
Repeat Rows 1 and 2 until piece measures approximately 72 inches from cast-on edge, ending with Row 2.
With right side facing you, bind off knitwise.
FINISHING
Weave in all ends, and prior to attaching tassels, gently wet block to finished dimensions.
FRINGE
**Cut three 8½ inch long pieces of Yarn B. With wrong side facing you, insert crochet hook into corner, just above cast-on edge. Holding strands of Yarn B together, fold them in half, creating a loop. Use hook to pull loop a little bit through to wrong side of work. Thread yarn tails through the loop and pull gently to tighten***.
Repeat from ** to *** across length of cast-on edge, inserting the crochet hook 2-3 stitches away from the previous fringe, or desired spacing. Repeat again for bind-off edge.
Trim fringe so it’s even, and you’re done!


I need some color advice – I like your new Matcha Green in Line Weight. What color do you think would work for the fringe in Quartz? I was considering Celadon Green but it is hard to tell without being able to hold them up together. Would Heirloom white work better?
Hi Chantal,
Glad to hear our newest pattern has caught your eye! Quartz in Celadon Green is a great match for Line Weight in Matcha Green. It’s the color we’d recommend using with Matcha Green ourselves!
All the best,
Lili
For those of us who knit for people who are (unreasonably) sensitive to wool, even merino, do you have a different yarn – a cashmere, or silk, or cashmere/silk blend, or even a plant-based yarn, that could substitute in this pattern for Line Weight? Thanks.
Hi Lynn,
Thanks for reaching out. Line Weight is a fingering weight yarn, so most of our other fingering weight yarns would be perfect for this pattern! For this project in particular, I think Santolina would be a great match. This yarn is a blend of cotton, bamboo, and hemp!
As always though, we recommend knitting a gauge swatch before casting on your project, especially when you are substituting yarns. You may need to size up or down your needles in order to get the correct gauge! If you would like to learn more about this, we have a handy tutorial called All About Gauge. Hope this helps!
All the best,
Lili
I dropped stitches off the edge and I have no idea how to fix it. It’s unraveled several rows down but only the last 2 or 3 stitches. Any help or video to figure out how to repair without ripping out several rows?
Hi Gabrielle,
Oh no, it’s always so frustrating when something like that happens! However, I think the best fix in this scenario is to rip back until the point where you still have all the stitches. But before you do this, I’d recommend putting a lifeline in just before the dropped stitches. You can do this by using a tapestry needle to thread a piece of scrap yarn through one leg of each stitch on one row. Then you can rip back without fear of losing any more stitches! Once you’ve unraveled to the point of the lifeline, you can slip those stitches back onto your needles and remove the scrap yarn.
All the best,
Lili
Hi, I’m not a big fan of fringe, but the colors here are so gorgeous, especially the lupine and fresh pickle group. Any suggestions what to do instead of fringe? A border of garter at beginning and end or ribbing or something else? Thanks!
Hi Robin,
I think I’d opt for a bit of ribbing at the beginning and end, personally! I think that it would match the texture of the stitch pattern more than garter stitch would, so it would create a more cohesive look to the wrap overall.
All the best,
Lili
Hi! I’m enjoying this pattern; it’s very zen, but my long edges are rolling inward quite a bit. I’m very conscious of not tensioning my yarn too much, but I wonder if the three slipped stitches at the beginning of the row don’t get pulled inward by the next two knit stitches. Is problem something blocking will rectify?
Hi Mary,
I’m glad to hear that you’re enjoying knitting this wrap! The rolling you’re noticing is due to the fact that this pattern is mainly stockinette. Blocking will help minimize the curl significantly!
All the best,
Lili
Hi,
I’m just starting the pattern and feel a bit confused about slipping the stitches purlwise with either the yarn in front or back. Can you please recommend a video that I can watch? I’ve been searching and haven’t found anything that’s particularly helpful.
Thanks so much,
Lisa
Hi Lisa,
That is a great question! To slip a stitch purlwise means to simply move one stitch from your left-hand needle over to your right-hand needle without twisting the stitch. If you visit our Diagonal Slip Stitch tutorial, you can see a video of this being done. I recommend starting the video at 45 seconds to see exactly what you are looking for! I hope this helps but let me know if you have any more questions!
Happy knitting,
Gavriella
Thanks so much Gabriella,
The video was perfect.
Lisa
I made this scarf with Blue Jeans, Heather as the main color and used some leftover Kiln Red for the fringe. The scarf was an easy knit and the finished project is soft and warm. I really like the hemmed finished edges. Lineweight is a great product and your patterns are easy to follow and make great accessories.
Hi Chris,
We are so happy to hear you are enjoying your finished scarf, it sounds lovely! Thank you so much for sharing! We look forward to hearing about your future projects!
Happy making,
Gavriella
Is there a way to decrease the size of the photos when saving/printing the PDF of the pattern? I usually delete all but one or two photos, but I would like to resize them. My hope with most patterns is to keep them to 2 pages.
Hi Michelle,
Thank you for writing in! You can absolutely make those images smaller when using the print function from our website. If you’re on a desktop version of the site, you will find a “print” icon in the right column just below the “Save To Favorites” button. If you’re on a mobile version of the site, you will find a “print” icon below the pattern and above the comments.
You can follow the easy on-screen instructions to delete whichever parts of the pattern you don’t want to print or save. For example, you may decide to shorten the pattern by omitting certain images or the list of materials. To remove images, click the drop down next to the image icon and change from 100% to 0%, this will also help you resize the images to a smaller scale. You can also hover your mouse over any portions of the pattern you wish to delete, and click the trash can icon that appears. Then, you can click “Print” or “PDF” along the top left of the pattern preview box to print or save the pattern! I hope this helps!
Happy making,
Gavriella