Cozy Sewn Cowl
It will probably not surprise you to hear that I have a huge stash of fabric at home. There is a box of linen under my bed, an amazing stack of vintage chintz in my closet and a whole archive of Seasonal Liberties in my sewing cabinet. All of it was purchased with the best of intentions, but intention does not always equal inspiration. And so my stash waits.

Michael Miller’s Organic Sherpa reminds me a bit of all my sidelined fabrics. Soft, squishy and huggable, Sherpa is love at first sight; but while it is completely irresistible, it is also unique, and without the right vision, all its plush perfection can end up folded on a shelf.
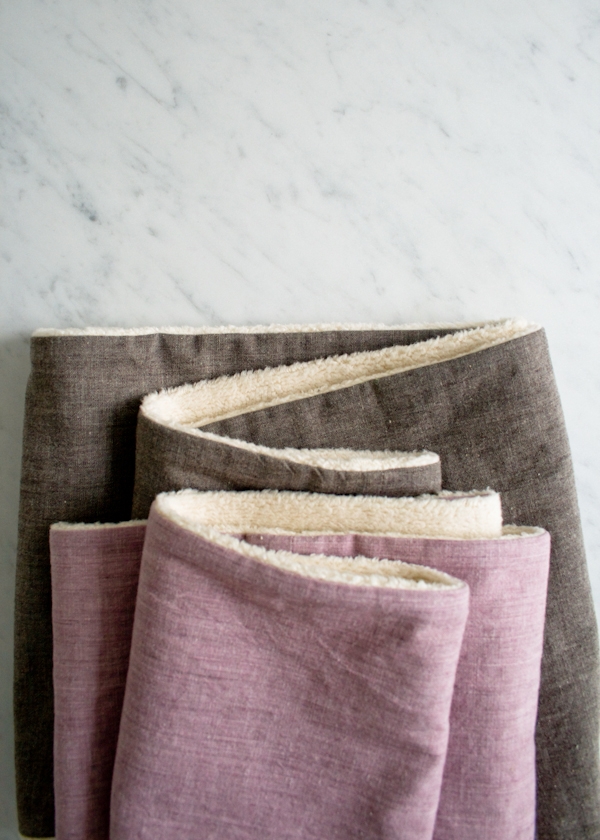
Purl Soho has carried Michael Miller’s Organic Sherpa since 2007. In the seven years since, we’ve only featured it once on the Bee, until this season, when you may have noticed that we’ve become a bit infatuated with it. From blankets to bonnets, Organic Sherpa is no longer floundering in our stash!

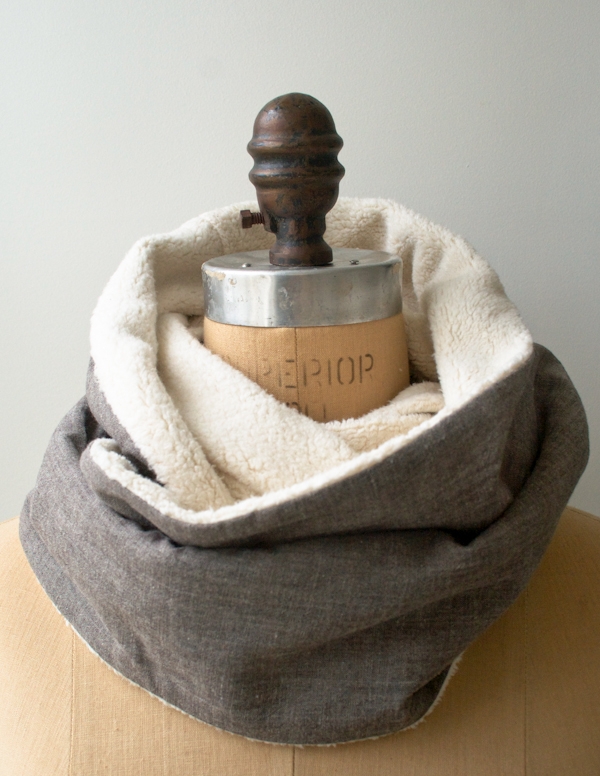
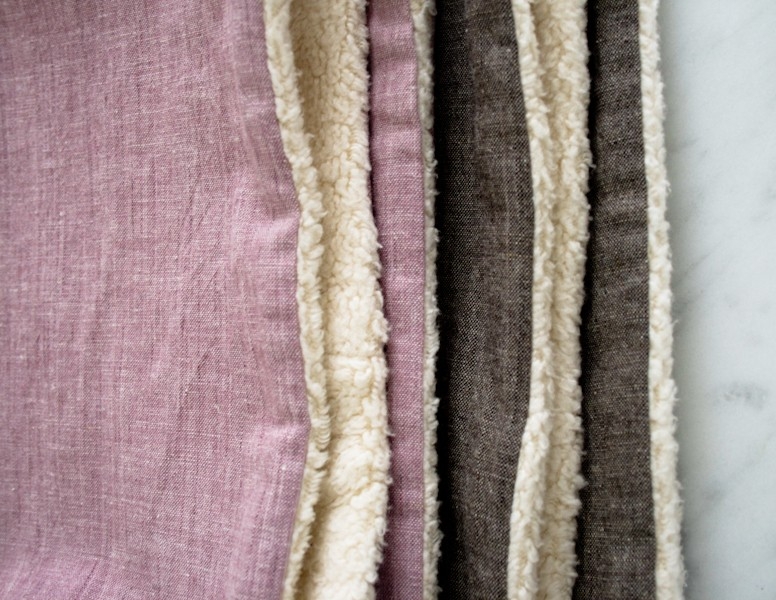
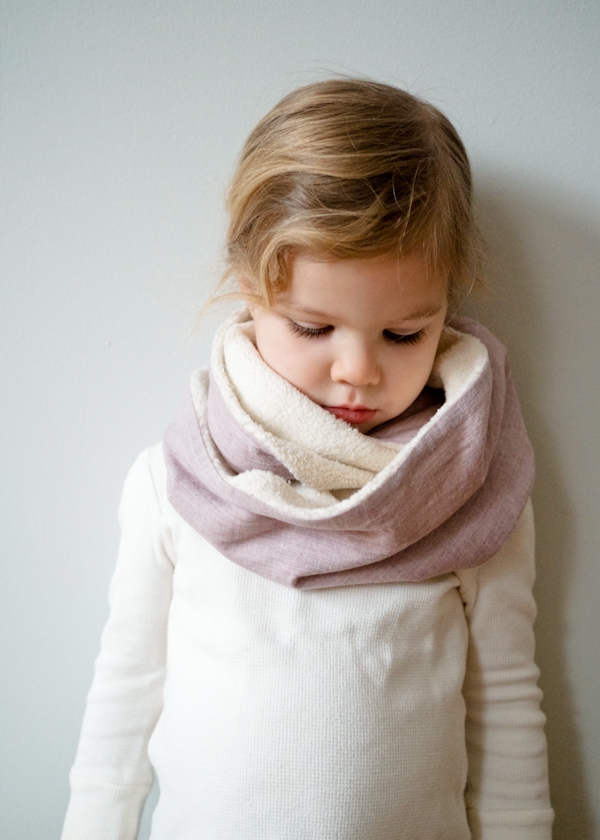
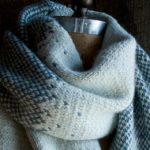
And so, caught up in the fever, I’ve whipped up another Sherpa creation. This time I’ve paired it with Kiyohara’s beautiful and subtle Linen Blend Solids to make a Cozy Sewn Cowl. Soft and comfortable, this cowl is so easy to wear and even easier to make. So easy, in fact, I’ve made two: one in an adult size and one for kids.
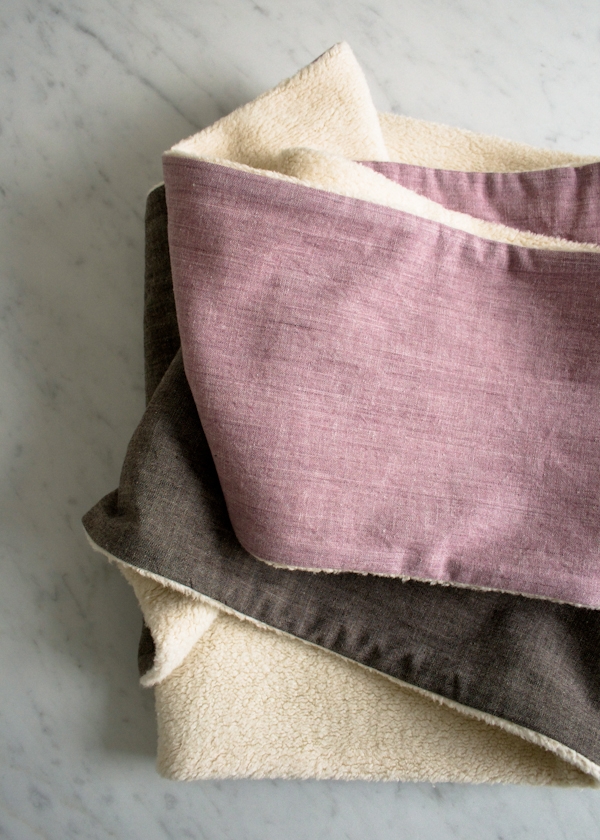
Now, if I could only think of what to do with all that chintz! – Corinne
Materials

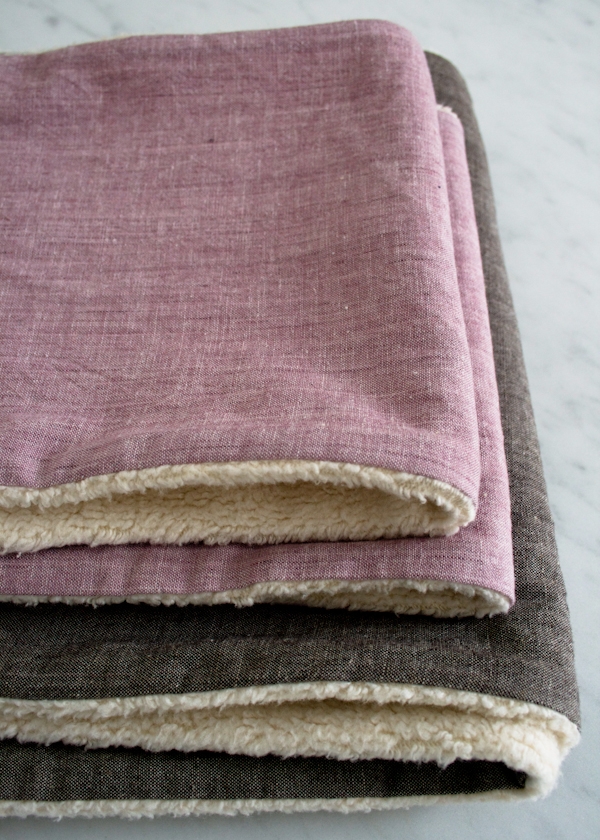
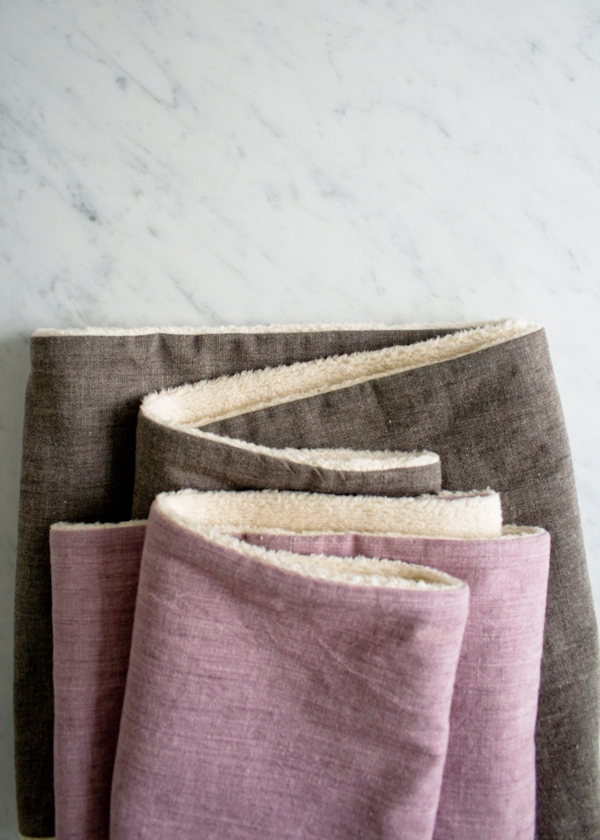
- Lining: 1 yard Michael Miller’s Organic Sherpa, 100% organic cotton
- Outer Fabric: 1 yard Kiyohara Linen Blend Solids, 85% cotton, 15% linen. I used Lavendar for the child’s size and Brown for the adult.
- A spool of Gutermann’s 100% Cotton Thread
You will also need . . .
- A walking foot for your sewing machine
These are enough materials to make one adult and one child sized scarf or two child sized scarves.
Sizes
Adult
53 inches in circumference by 10 ½ inches wide
Child
47 inches in circumference by 7 inches wide
Notes
Prewash all fabrics before starting. This is particularly important with the Organic Sherpa, which shrinks quite a bit with its first wash and dry.
Use ¼-inch seam allowances unless otherwise noted.
The right side of the Organic Sherpa is the fuzzy side.
Pattern
Cut

Cut two rectangles (27 by 11 inches for the Adult size and 24 by 7 ½ inches for the Child size) from both the Lining and the Outer Fabric. Make sure that the long side of each rectangle runs parallel to the selvedge.
(The measurements are given as a guide. You can easily adjust the size of your cowl, just be sure to cut all 4 rectangles to the same dimensions.)
Sew the Tube

With rights sides facing, stack the two Outer Fabric rectangles on top of each other and pin along one short edge.
Sew along this pinned edge.
Now, change the foot of your sewing machine to the walking foot and repeat with the Lining.
Press the seams open.

With right sides facing, stack the Outer Fabric rectangle on top of the Lining rectangle. Pin along the two long sides. Sew along these pinned edges.
You may find that the Lining is slightly wider than the Outer Fabric at the center seam. This is because the knit of the Sherpa stretches when sewn against the grain. When pinning and sewing, keep the edge of the Outer Fabric straight and allow the Lining to bulge out a bit at this point. Trim any overhang in the seam allowance after sewing.

Turn the tube right side out through one open side and press flat.
Connect the Ends

Fold the tube in half, right sides together. Line up and pin together the raw edges of the Outer Fabric, making sure to line up the side seams.
Sew along the pinned edge, being careful to only sew through the two Outer Fabric layers. This seam can get a little awkward. I advise taking it slow, sewing an inch or two at a time, and then, with the needle in the down position, rearranging the fabric for the next inch or two.

Now, starting from the side seams and sewing toward the center, sew the Lining together with right sides facing, leaving a 3 inch gap between the seams.
Finish
Use a ladder stitch to close the gap at the center of the seam. Here’s how: Thread a length of cotton thread onto a needle. (For the example photos we used red thread, but you will use the matching sewing thread.)

Fold the raw edges of the Lining ¼ inch toward the wrong side, so that they align with the adjacent seams. Pull the needle from the wrong side to the right side of the hem’s fold so that the thread’s knot is inside the cowl.

Insert the needle into the opposite fold, directly across from the exit point, picking up about ¼ inch of fabric.

Go back and forth like this, entering across from the last exit point and sewing through the fold, until you reach the end of the opening. Tie a knot at the end.
Pull the thread through the cowl and snip it at the exit point to hide the end.

Your cowl is ready to wear!


I love this idea! And I know I could easily make it into a scarf, but how much fabric would I need for adults and pre-teens? I was thinking about normal scarf length… if that makes sense.
Thank you again for the idea!
They look great and lovely and snuggly!! xx
Hi Kristyn –
Making this into a scarf is a great idea!
One yard of each the Outer Fabric and the Lining should yield two scarves: One adult (10 1/2 inches wide) and one pre-teen (from 7 to 8 1/2 inches wide) up to 66 inches long.
I hope this helps!
-Corinne
What a wonderful blog you have here. I really enjoyed this article 🙂
So adorable! Looks so warm and cozy 🙂
http://lifeandcity.tumblr.com
This is beautiful! I made one with red silk and I love it. What a simple, elegant project!
what a lovely piece.
i can even picture myself wearing one of these.
xoxo
agnes
at
iiiinspired.blogspot.com
The finished length for the adult cowl would be 53', not 55", if the length for each half is 27" and assuming a 1/4" seam?
Hi Emily –
You are absolutely right – good spot! I've adjusted the pattern.
Thanks!
-Corinne
Are there any pics of the cowl on an adult? Just want to get an idea of how it fits.
Hi Stephanie-
We don't have any photos of it an an adult human but the top photo is on an adult sized dress form so hopefully that will give you an idea of the fit.
Thanks for your question
Molly
Thanks for the tutorial!
I made one cozy cowl for my son, he likes it very much.
Greetings from Sweden:
Rita
I added 6" to the length of my cowl as I wanted a fit closer to that pictured on the child model. It is still a bit snugger than I had hoped for – I could have added another 4-6 " easily. Still, it turned out super cute and was a great beginner project. I did mine in the yellow color way, which is a pretty neutral and will be easy to wear. If only my White Caps cowl was working up as quickly…
Thank you so much for this wonderful pattern. Your little girl is really adorable. I love seeing pictures of her.
How much yardage of the sherpa would you suggest if I wanted to make just one adult cowl?
Hi Lauren –
Thank you for writing in. This is a great question!
To make just one adult Cowl, you will still need the full yard of the Sherpa. Because the Sherpa is a knit fabric, it has just one grain line that runs along the length of the selvage. The rectangles for the Cowl are cut with the grain line running along the long edge. However, if you were to cut the rectangles against the grain, you would use about 5 inches less in length (from 27 inches to 22). However, with this change I would probably still recommend that you purchase a full yard of the Sherpa to accommodate the significant shrinkage you can expect with this fabric.
I hope all of this helps! Please let me know if you have any other questions as you work on this project!
-Corinne
Très jolie !! Est-il possible d’avoir les explications en français ;-)??
Hello Pimpiche –
Thank you for writing in and for your interest in this pattern! Unfortunately we don’t have the resources translate this pattern into French at the moment.
Sorry we can’t help more!
-Corinne
Another nice idea would be to embroider a name on each to make it personal. You can do it before or after sewing the Sherpa and outer material together.
Hi, Linda!
That is a great idea, thank you for sharing it!
Best,
Kumeko
Thanks for the tutorial! This looks like a relatively easy project for a beginner but I can’t seem to visualize how one of the steps work: “Now, starting from the side seams and sewing toward the center, sew the Lining together with right sides facing, leaving a 3 inch gap between the seams.” This is for connecting the lining ends. I don’t think I understand how to position the scarf on the sewing machine for this since the outer linen layer is already sewn together.
Hi, Christina!
Thank you so much for your kind words! You’re right, this is a great project for a beginner! Let’s see if we can help you visualize how to position the scarf on the sewing machine when sewing the lining ends together.
For this step the tube should be folded in half with the right sides together. The sewn outer linen layer should be sandwiched between the two lining ends. You’ll bring those two lining ends together (enclosing the outer linen layer) and pin – I recommend marking where the 3-inch gap will be begin and end. It will be these two lining layers that you place under the needle. You’ll start from one side of the scarf and sew toward the center of the scarf stopping where you’ve marked the beginning of the 3-inch gap (I recommend backstitching a couple of stitches). Then you’ll sew from the other side of the scarf toward the center, again, stopping where you’ve marked the end of the 3-inch gap.
Then you’ll unfold the scarf and use a ladder stitch to close up the 3- inch gap.
Does that make sense? Please let us know! Thank you for writing in!
Best,
Kumeko
I agree this is such a lovely pattern and project! But the instructions for the final step are a little hard to understand. How do you sew the right sides of the sherpa together if they are already turned right side out?
Hi Kara,
Thanks for writing in! This step is quite tricky. For me, I would sew that whole seem by hand using the ladder stitch that we mentioned above. You can also fold up the bulk of the cowl and bring the sherpa sides back to one another (this is very hard to explain without photos) and then sew them to one another. I do think that hand sewing might be the most straight forward way here and given that the seem is only 7-10 inches, not too much extra work!
I hope that this helps!
Cassy
Thanks for trying to explain this step more clearly… I was searching the comments for clarification.
Although, I still do NOT understand this part at all. The way you explain joining the lining fabric and sewing makes it sound like the seam is going to be exposed. How do you turn your work so the seam is enclosed??
Hi Stephanie,
Thanks for reaching out! The seam will not be exposed, basically, you will be sewing the pieces so the right sides are facing each other on the inside, and you will leave a 3″ gap so that when you finish sewing you can turn the tube right-side-out so that the seams are neatly hidden inside the center of the tube, and not exposed. After that you will sew up the 3″ gap!
I hope this clears things up!
Gianna
I found it difficult to get a clean seam when closing the ends, at the intersection of end and side seams – not sure if I interpreted your directions correctly, but I figured out an alternate way that worked nicely.
When sewing the Outer Fabric ends together, match up the side seams carefully but begin and end sewing about an inch from each side seam, backstitching at start and finish.
Turn the work inside out so that right sides of the Inner Fabric are facing. Right sides of the Outer Fabric will also be facing, and you’ll be able to begin/end sewing at the seam you just made for the Outer Fabric, crossing the side seams and making a nice clean edge on both sides. Leave the 3-inch center gap and backstitch at beginning and end both times.
You can then turn the work right side out again through the gap you’ve left in the center of the Inner Fabric, and close up as instructed with ladder stitch. (Backstitching these seams helps since the work is a bit bulky to turn inside out, especially through the 3-inch gap.)
Thanks for this pattern! I’ve already made two for Christmas presents, and even though I’m a novice sewer, they look really cute and well-made.
Hi Neil,
Thanks for writing in and for the in depth description! I am sure that your words will help others if they find themselves in a similar pickle!
Best,
Cassy
Can you say how you go about preshrinking the sherpa? Straight stitch all edges so the fabric doesn’t fray (like usual, except all side) and wash ny hand or in machine? What temperature for water and for dryer? Or air dry? 🙂
Hi,
Thanks for writing in! We recommend machine washing the sherpa with warm water and tumble dry low!
All the best,
Gianna
Would this work with stretch fabrics?
Hi Kathleen,
Thanks for reaching out! With the correct treatment of the fabric, I believe you could use a stretch fabric for this project!
All the best,
Gianna
Why is a walking foot needed for this pattern?
Hi Lisa,
Thanks for reaching out! We used a walking foot for this pattern because it is extremely helpful when working with two layers of fabric like these where one is much heavier than the other! It will evenly feed both the top and bottom layers of fabric together at the same time. This helps reduce the chances of one of the layers slipping or bunching!
I hope this clears things up!
Gianna
Hi, could you make this from two long rectangles, 53” each, (one lining and one outer) instead of two rectangle is each? Or is there a reason for the four pieces?
Thanks!
Hi Amy,
Thanks for reaching out! I think you could certainly leave out the seam and use 2 53″ long pieces instead! The reason we cut 4 smaller pieces is that we didn’t think it was necessary to purchase more than a yard of fabric for this project since we instruct to cut the pieces parallel to the selvage edge, with 4 smaller pieces you can get all that you need out of one yard. But if you cut two longer strips you will need more than one yard of fabric to get enough length!
I hope this helps, happy crafting!
Gianna
I was just wondering if there was a particular reason you went with a cotton linen blend? Would a medium or a light weight linen work?
Hi Lesley,
I’m afraid this is such an old pattern that we aren’t in communication with the designer anymore, so I can’t say for sure! I think she might have used a cotton-linen blend since cotton tends to feel a bit “cozier” than linen, but it’s also on the outside of the cowl so it wouldn’t really matter. I think you could definitely use an 100% linen fabric for this pattern!
All the best,
Lili
Hi Corinne,
Just wondering why cut two 27″ rectangles and not leave it one long 54″ piece? Is it because of the shrinkage? Thank you!
Hi Brittany,
Thanks for writing in! I believe the reason is so that you can complete the cowl with as little yardage as possible. Since many fabrics come in 45-inch widths, they wouldn’t be long enough to cut the entire 54 inches unless you purchase more than 1 yard. So the most economical way to use the fabric ends up being to cut 2 pieces!
All the best,
Lili