Your basket is empty.
Continue Shopping
No-Turn Bobble
Add delightful, no-fuss bobbles to your knitting with No-Turn Bobbles! Just as the name suggests, this clever technique lets you make charming bobbles without having to turn your work. If you’ve ever knit a pattern with traditional bobbles, then you know the nuisance of having to flip your work back and forth to build up your bobble stitches… Especially annoying for a big project like a blanket or sweater!
To solve the problem, we developed a super easy No-Turn Bobble that uses a technique similar to knitting an I-cord and makes plump, even bobbles that you will want to add to everything. Find out how it’s done with our No-Turn Bobble Tutorial!
No-Turn Bobble: Video Tutorial
Click To See Video Transcript
Hi, this is Whitney from Purl Soho, and I’m going to show you a No-Turn Bobble. Like it sounds, this is a really clever way to make a bobble without having to turn your work. If you’ve ever made a traditional bobble, then you know the nuisance of having to flip your work around two, four, six times to build up stitches for your bobble. This is particularly cumbersome if the piece is as big as our Chamomile Blanket, for example. So for that project, as well as our Snowberry mittens, we developed a No-Turn Bobble that draws on the lessons of an I-cord. It’s super easy, and most importantly, it makes really nice, plump, round bobbles that you will want to add to everything. Here’s how you do it.
So you’re going to knit to the stitch in your pattern where it calls for a bobble, and you’re going to start by knitting into the front and back of this next stitch on your left needle. So you insert the right tip into the front leg of that stitch like you’re knitting. Then wrap the yarn around your needle and pull a stitch through without allowing that stitch off the left needle. Insert the right tip into the back leg of that same stitch. Bring your needle to the back of the work and insert it into the back leg just like that. Wrap the yarn around and pull a stitch through again, keeping that stitch on the left needle.
Now do that all again. Insert the right needle into the front leg, wrap the yarn around, pull a stitch through and insert the needle into the back leg, wrap the yarn and pull the stitch through, and now you can finally let that stitch off the left needle. And you can see here that you have four stitches on your right needle.
Next, simply slip those four stitches from your right needle back to the left needle. Just slip the stitches one by one, all four of them.
And now just knit those four stitches like usual. So just wrap your yarn and make a knit stitch. Knit all four just like that. Here’s the last stitch.
And then once again, slip those four stitches back onto your left needle. One, two, three, four, and we’re going to knit them again. Your pattern might have you repeat that 1 or 2 more times, depending on the size of the bobble. So just keep repeating those steps as many times as called for, ending with the stitches on the right needle.
Now we have made four stitches out of one, so we need to decrease three stitches to get back down to one stitch. To do that, simply pass the second stitch on the right needle over the first stitch and off the needle just like you’re binding off. So do that again. Insert the tip of your left needle into the second stitch, pass it over the first stitch and off the needle, and then do that with the last stitch. Grab it with your left tip, pass it over the first stitch, and off the needle.
You’ll have just one stitch on the right needle and a cute plump bobble underneath it. And from here, you can just keep knitting along until your next bobble.
And that’s how you knit a No-Turn Bobble!
No-Turn Bobble: Step-By-Step Instructions
Prefer still photos and text? Follow along here!
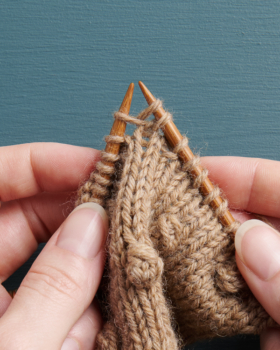
Increase: When you reach the bobble stitch in your pattern, you will start by knitting into the front and back of the next stitch on your left needle as many times as your pattern calls for. We knit into the front and back twice, so we have four stitches on the right needle.
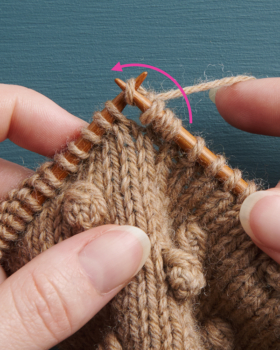
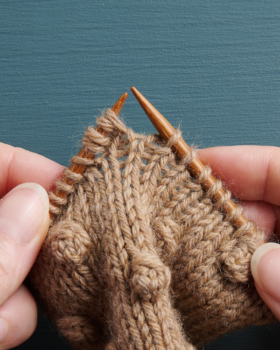
Step 1: Slip all those stitches back onto the left needle.
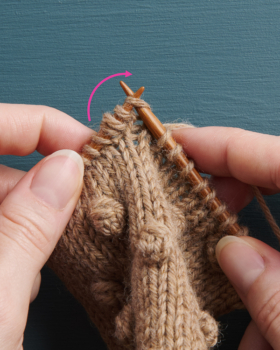
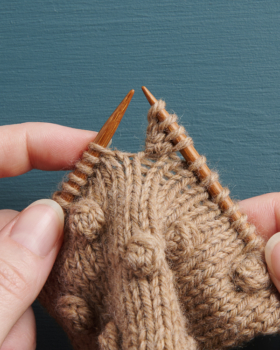
Step 2: Knit each of those same stitches, which brings them back to the right needle.
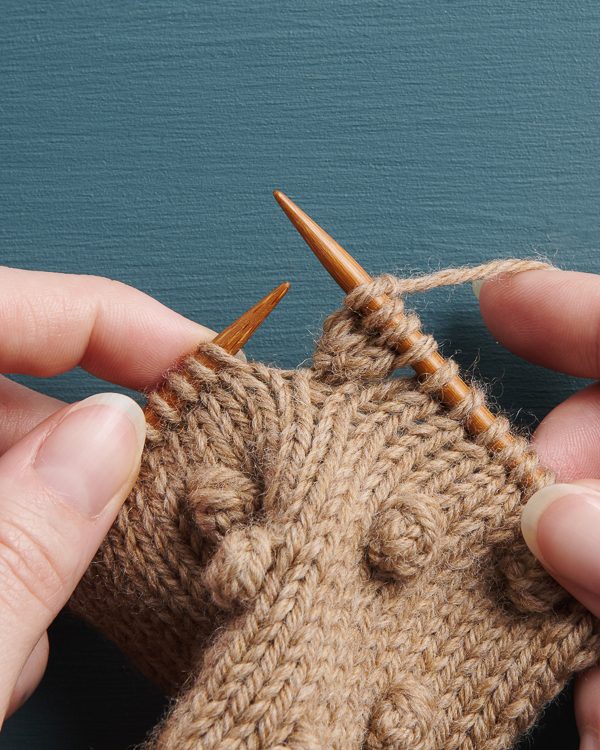
Continue: Repeat Steps 1 and 2 as many times as your pattern calls for, ending with your bobble stitches on the right needle.
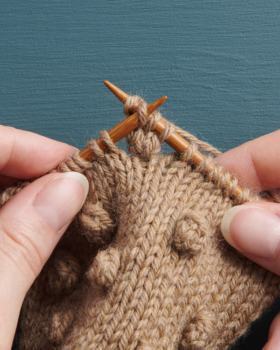
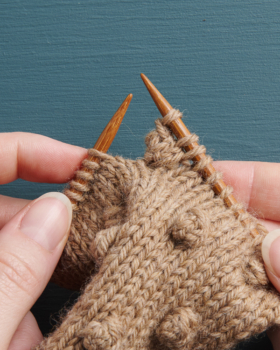
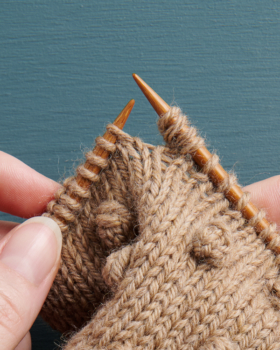
Decrease: Pass the second stitch on the right needle over the first stitch, then repeat for the rest of the bobble stitches, passing each one over the first stitch until one bobble stitch remains.
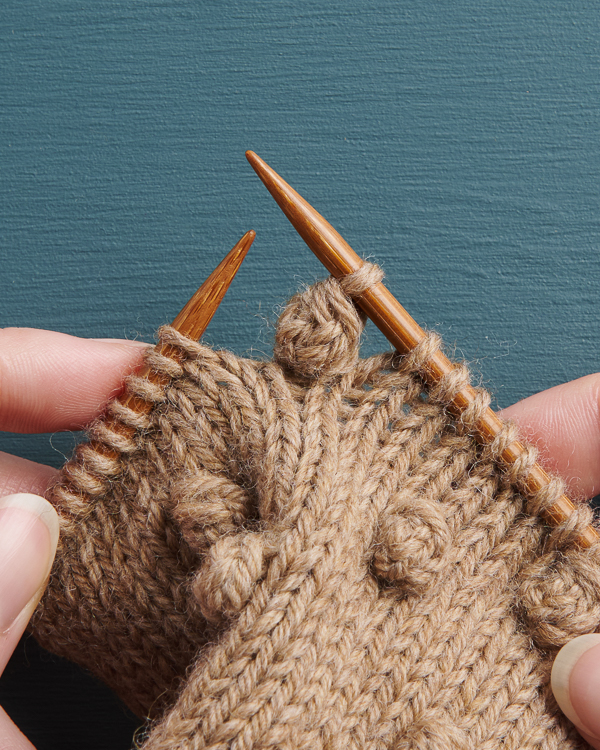
You’ll end up with just one stitch on the right needle and a cute, plump bobble underneath it.
From here, you can just keep knitting along until your next bobble. And that’s how you knit a No-Turn Bobble!
Practice No-Turn Bobbles
Now that you know how to knit our easy No-Turn Bobbles, here are a few free patterns to put them to work…
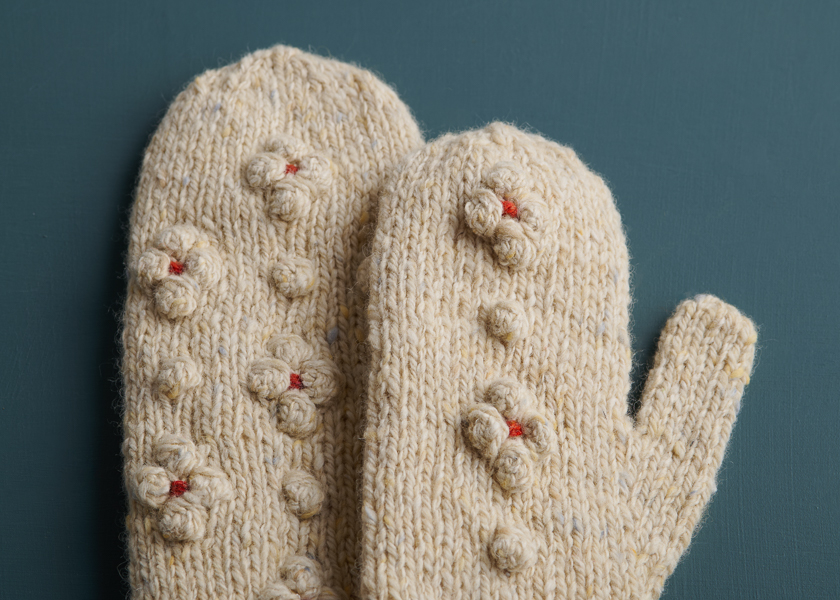
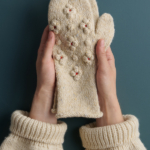
Free Pattern: Snowberry Mittens in Hedgerow
Our free Snowberry Mittens pattern is a great project to try out this easy No-Turn Bobble technique! You’ll use these bobbles to work a charming floral pattern on the backs of these mittens, while our tweed Hedgerow yarn gives them lots of dimension.
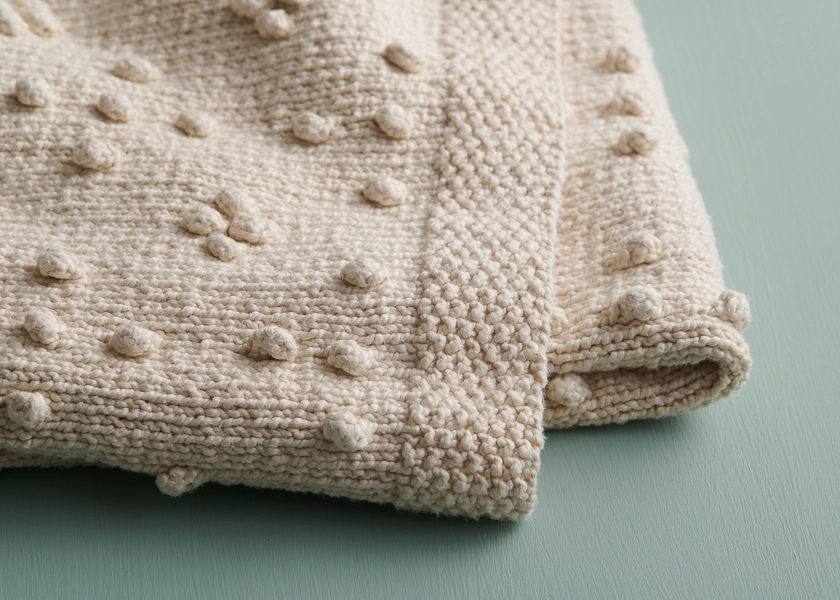
Free Pattern Chamomile Blanket in Serif
The No-Turn Bobble is also super charming in our free Chamomile Blanket pattern, and because you don’t have to turn the whole blanket around in your lap over and over, you’ll look forward to each bobble!
You can also substitute this No-Turn Bobble technique for other ways of working bobbles you encounter in other knitting patterns. It’s a great technique to have at your fingertips!
Tutorial written by Andrea Lotz + Whitney Van Nes for Purl Soho.
Looking for more inspiration? Explore all of our knitting patterns (including tons of free knitting patterns) and knitting tutorials, buy one of our many knitting kits and yarn bundles, and shop for beautiful yarn. We have over 55 gorgeous natural fiber yarns in 1,000s of magnificent colors, designed to bring integrity, beauty, and joy to your next knitting project and only available at Purl Soho!
Similar Posts You Might Enjoy:

 PRINT
PRINT
Add a comment