Simple Stripe Pullover
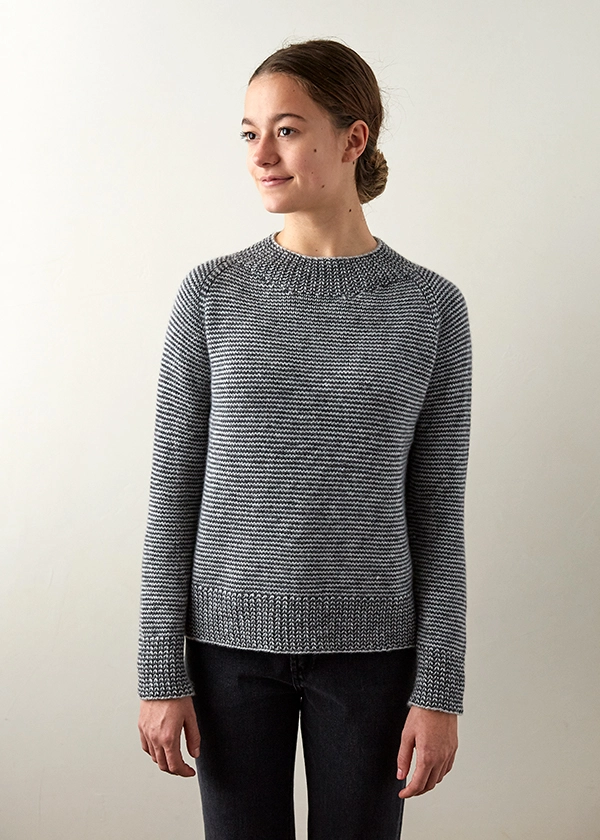
Our Simple Stripe Pullover brims with charisma and handmade personality, but its classic design reads like a go-with-everything basic… The perfect only-sweater-I-need!
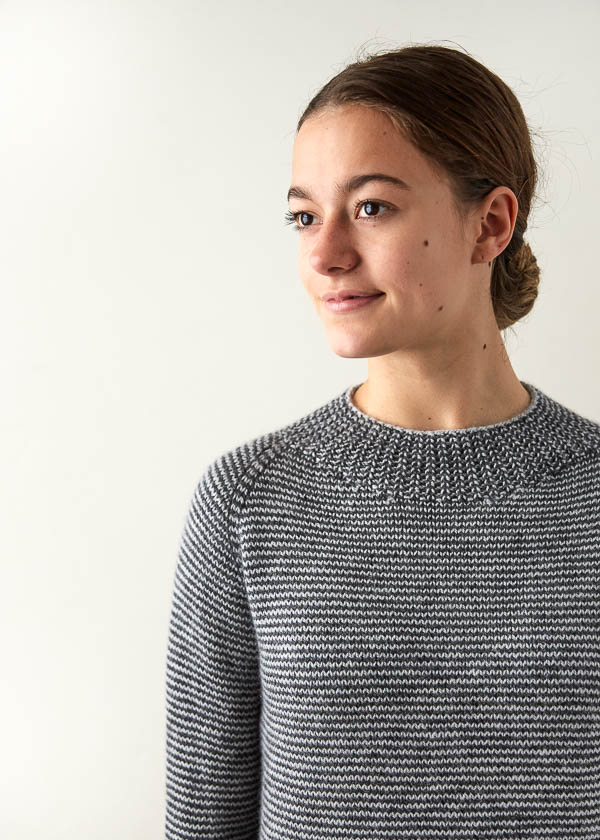
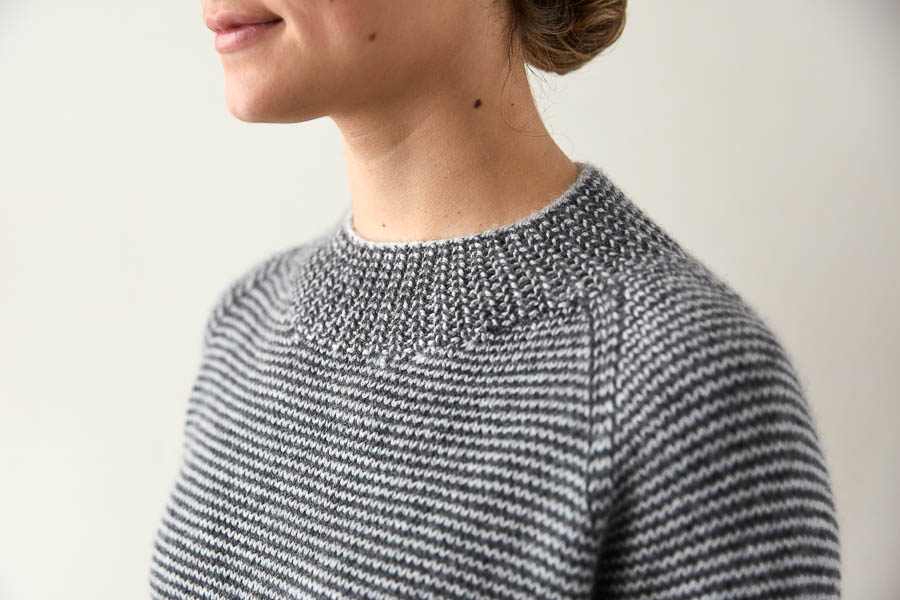
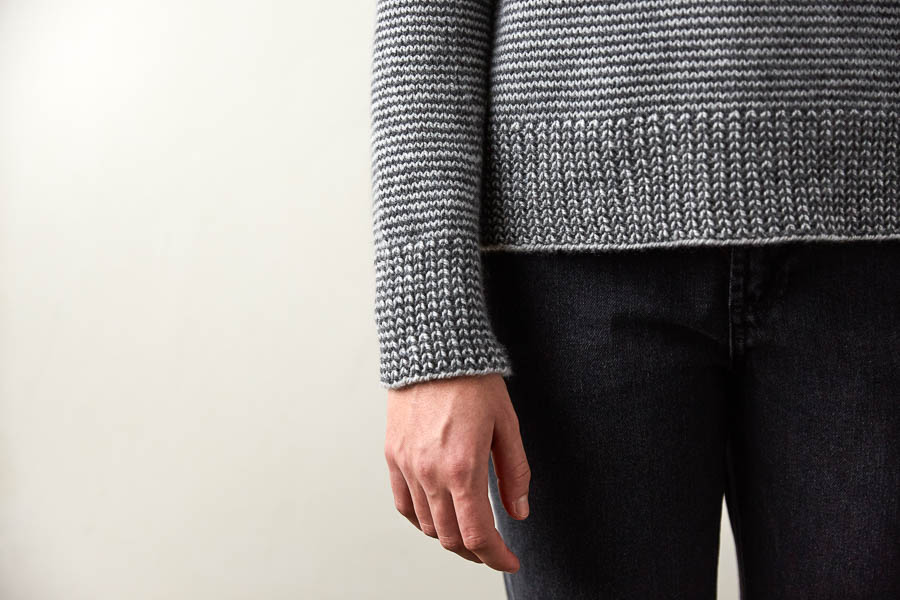
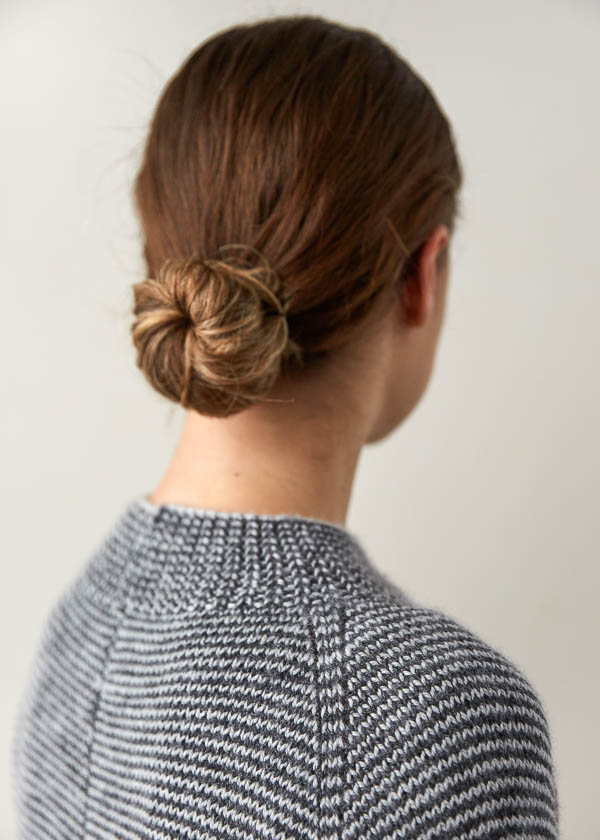
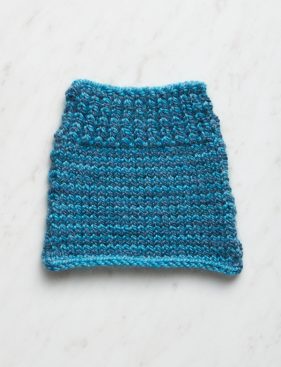
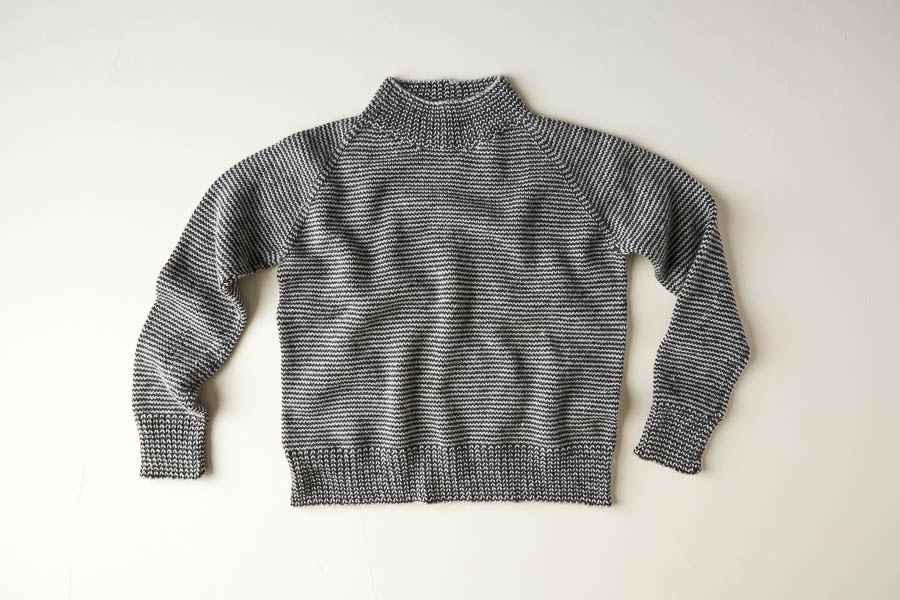
Single row striping gains added dimension when it is extended over 1×1 rib details at the hem, cuffs, and beautiful yoke collar. Not too high, not too low, the neckline feels elegant and modern, lying flat against the clavicle.
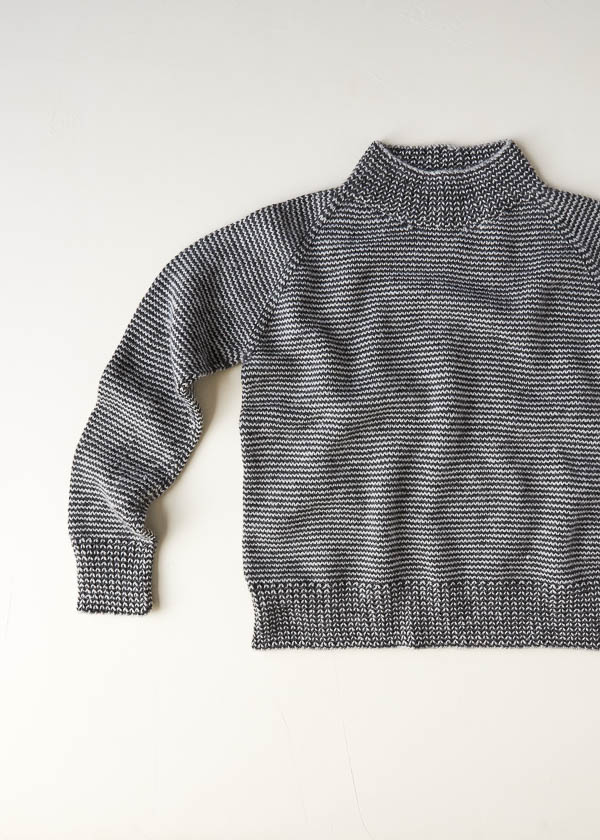
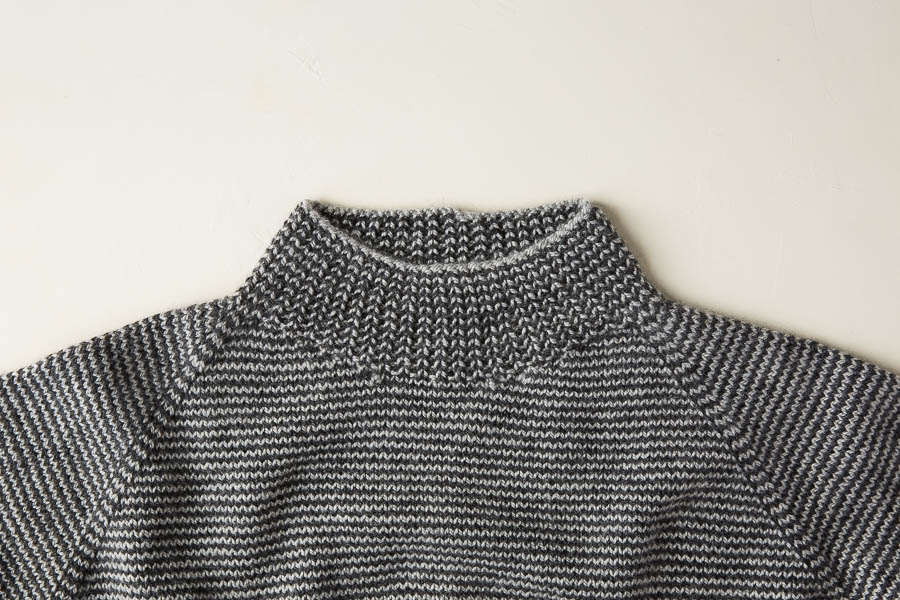
A simple top-down construction, you’ll begin with the collar, then yoke. Some short rows shape the neckline, increases form the raglan, and a purl column down the center back solves the “jog” problem of striping in the round, creating a beautiful detail that serves an ingenious function.
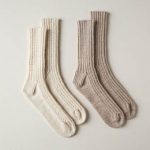
Knit up in our gorgeous Cashmere Merino Bloom, the Simple Stripe Pullover shows off this yarn’s many winning qualities: incredible softness, beautiful drape, and a lovely halo of warmth. We used a pair of old favorites, Dove Gray and Charcoal Onyx, but for your version, feel free to explore the 16 new colors we just added to the collection… a whole new world of color for your new favorite sweater!

Designed by Purl Soho designer, Adam Aronowitz.
Share your progress and connect with the community by tagging your pics with #PurlSoho, #PurlSohoBusyHands, #PurlSohoSimpleStripePullover, and #PurlSohoCashmereMerinoBloom. We can’t wait to see what you make!
MATERIALS
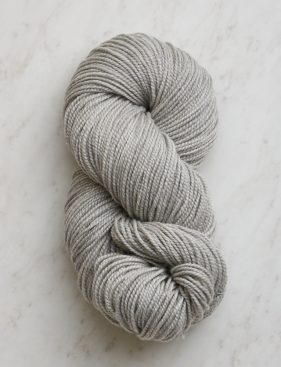
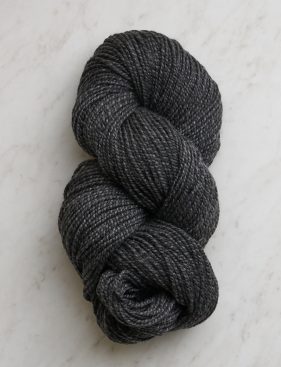
- Purl Soho’s Cashmere Merino Bloom, 75% extra fine merino wool and 25% cashmere. Each skein is approximately 218 yards/ 100 grams.
- Color A: 3 (3, 4, 4, 5) (5, 5, 6, 6) skeins; approximately 590 (665, 760, 835, 940) (1015, 1065, 1120, 1195) yards required. We used the color Dove Gray.
- Color B: 3 (3, 4, 4, 5) (5, 5, 6, 6) skeins; approximately 580 (655, 745, 820, 925) (1000, 1050, 1105, 1175) yards required. We used the color Charcoal Onyx.
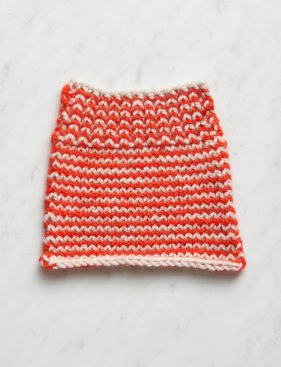
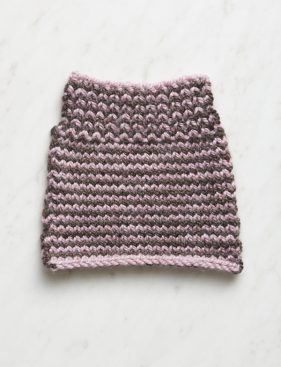
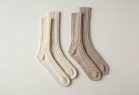
Here are some more pretty color combos…
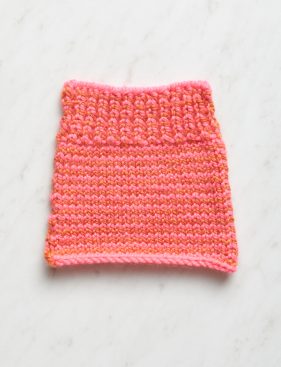
Top Left: Bright Flamingo + Autumn Oak
Top Right: Wheat Flour + Red Poppy
Bottom Left: Lilac Quartz + Pumpernickel Brown
Bottom Right: True Turquoise + High Tide
You’ll also need…
- US 4 (3.5 mm), 16-inch circular needles
- US 5 (3.75 mm), 16-inch circular needles
- US 5, 32-inch circular needles
- A set of US 5 double pointed needles
- US 6 (4 mm), 16-inch circular needles
- US 6, 24-inch circular needles
- US 6, 32-inch circular needles
- A set of US 6 double pointed needles
- Stitch markers
- Stitch holders or scrap yarn
- A Simple Stripe Pullover Pattern
GAUGE
22 stitches and 32 rows = 4 inches in stockinette stitch with largest needles
SIZES
NOTE For help picking a size, please check out our Understanding Ease + Selecting Size Tutorial!
38½ (43, 47¼, 51¾, 56) (60¼, 64, 67¾, 72)
To fit actual chest circumference of 29–33 (33–37, 37–41, 42–46, 46–50) (50–54, 54–58, 58–62, 62–66) inches, with approximately 6–10 inches of ease
- Finished Chest Circumference: 38½ (43, 47¼, 51¾, 56) (60¼, 64, 67¾, 72) inches
- Finished Length From Shoulder To Bottom Edge: 22 (22¾, 24½, 25½, 27¼) (28, 28½, 28¾, 29¼) inches
- Finished Sleeve Length From Underarm To Cuff: 17 (17, 17¼, 17¼, 17½) (17½, 17¾, 17¾, 18) inches
SAMPLE: The sweater pictured here is size 38½, worn with 6 inches of ease.
PATTERN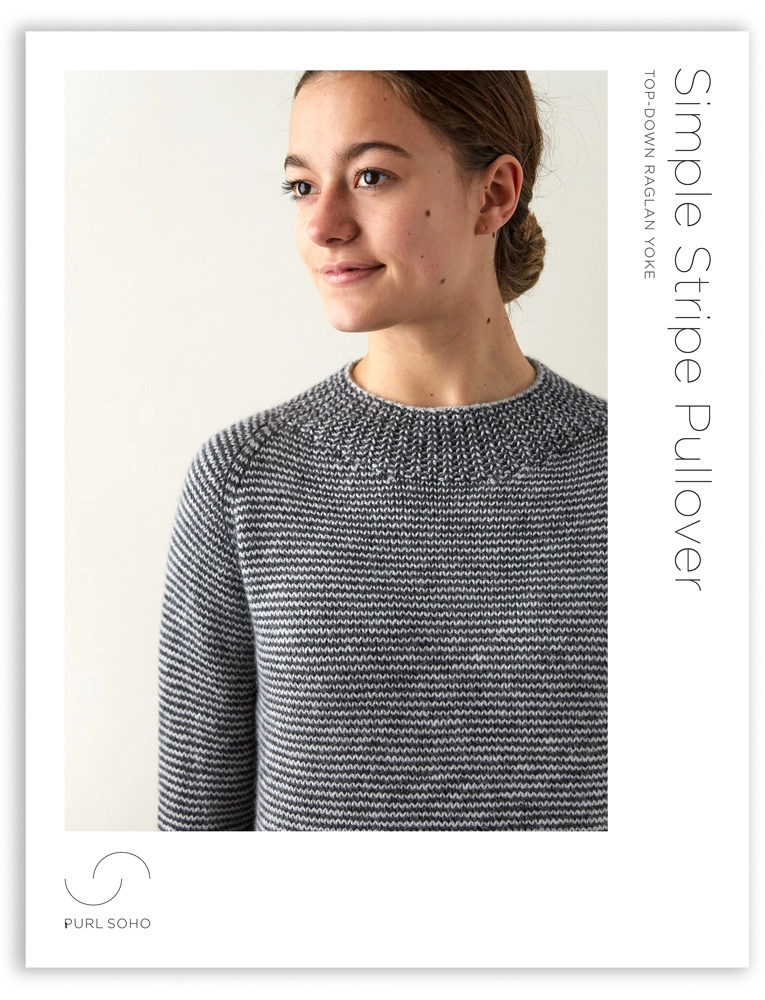
The Simple Stripe Pullover Pattern is available for purchase as a PDF download only.


I am working on yoke increases for size 64, 67 1/2 and 72 only. For Round 4 we are told to knit to 2 stitches before marker, knit yo through back loop, etc. But the color B row before has no yo’s. Is there a mistake here?
Hi Fran,
Thanks for reaching out and bringing this to our attention! Yes that was a slight typo in the pattern, it should read as follows: Increase Round 4: With Color A, [knit to 1 stitch before next marker, yo, k1, sm, k1, yo] 4 times, knit to last stitch, p1. [8 stitches increased]
I hope this clears things up and my apologies for any confusion!
Warmly,
Gianna
Hi there,
I am attempting this pattern for my daughter and I am already stuck at the neckline. I have completed the neckline set up round but do not understand the following instructions – the part where it says to turn the work partway through the round every other round or cannot see how I can work 2 right side rows and then 2 wrong side rows. Is there and online tutorial for this please?
Hi Diane,
Thanks for reaching out! We do not have a tutorial for this technique. It may seem a bit complicated but this is actually very easy! In this section of the pattern, you will be increasing the Yoke by working back and forth in short rows, you will do this by turning the work part way through the round every other round as instructed.
In order to maintain the stripe pattern, you will be working 2 right-side rows followed by 2 wrong-side rows, switching between the two colors every row. To do this, you will work a row with one color, then you will either turn the work as usual for flat knitting, and working back across the stitches now using the other color or you will slide the live stitches from one side of the circular needles to the other, as directed, and then working across the stitches again using the other color!
I hope this clears things up and please let me know if you have any more questions!
Gianna
Thankyou so much for your response. I have been mulling over this and think I have it sorted – can you just tell me if I am on the right track please. Page 3 –
The stitches that are on the double pointed needles – I use them to slip onto the circular needles so after working the 4 rows three times those stitches will be included in the circular needles . That is only leaving the 14 stitches on the stitch holder for Front Neck and I will work with these on Pg 5 when doing the Increase Yoke.
Does this sound right? Maybe it is because I live down under in New Zealand!!
Hi Diane,
Thanks for your response! Yes, that is correct! I think you are on the right track!
Please let me know if you have any more questions or if anything comes up, I am happy to help!
Gianna
I did it and it is looking wonderful. I am using an Australian Merino and it is knitting up beautifully!
Hi there,
I am at the “increasing the yoke” section of the pattern, and there seems to be sections for all sizes except for the one I am knitting which is the 43. It has a “size 38 1/2 only” section, and then moves straight to “size 47 ¼, 51¾, 56, and 60¼ only.” Is this a typo or am I missing something in the pattern?
Hi Josie,
Thanks for reaching out! This isn’t a typo, for size 43 you simply work the increase yoke section, then once you finish that first section you will skip down past the instructions for the other sizes and continue at the DIVIDE SLEEVES FROM BODY!
I hope this clears things up!
Gianna
I want to knit this pattern with three colors… is that possible?
Hi Sabine,
I think it’s entirely possible to knit this pattern with three colors. What a nice idea! Since the pattern is written with only 2 colors in mind, you will probably have to adapt the instructions a bit to make it work with 3 instead. As you work with 3 colors, I would make sure to keep in mind the total number of rounds you’ll need to hit for each section, so that your sweater comes out to the proper proportions.
All the best,
Lili
This is knitting up beautifully with Cashmere Merino Bloom, but it’s coming in really big, despite my swatching. I made the second to smallest size, and it’s still huge, but I’m partway done with a sleeve, and I just don’t have the heart to tear it all up and start over. If it has to be a baggy sweater, it has to be, but I’d love it to be smaller—any tips for getting it to shrink up during blocking? Thanks!
Hi Sarah,
Thanks for reaching out! Have you measured the gauge since starting on the sweater? I am actually working on this sweater myself (in the same size!), and while working I had the same thought that it would be too big. I put the stitches on scrap yarn and tried on the yoke prior to starting the sleeves to check the fit, and it actually fit much better than I was expecting! However, if it happens to fit bigger than you want when finished, you can manipulate the fabric when blocking.
When you block the sweater and are laying it out, you can kind of press the fabric into itself and tap/press out any wrinkles shown to scrunch the sweater up. I recommend having the template of the sweater with the measurements (last page of pattern) on hand so you can shape the sweater into the dimensions listed as best as possible.
I hope this helps, please let me know if you have any more questions!
Gianna
Hi Gianna, thanks for the quick response! The gauge is pretty much right on, but when i try it on it’s just baggier than I’d thought it would be, all over—on the model it looks pretty form fitting, even with the yoke stretched out like that, but perhaps that’s because the pictures are all partial views, and none show the whole thing from the front. On me it’s just a different kind of shape than I anticipated, but c’est la vie. It will be very soft and comfortable either way.
I’m a pretty experienced knitter but I’m usually too lazy to block, so I don’t have as much experience there. I was wondering if using very warm water would help shrink things up…is that stupid/crazy? I’ve certainly re-blocked sweaters that got accidentally shrunk (by a bad dry cleaner), so I know things CAN shrink up a lot, but I’m guessing that’s maybe too risky a move. I’ll read the link you shared. Thanks again!
Hi Sarah!
Thanks for your response! When blocking, using warm or hot water can shrink your sweater but it is risky because it is hard to say how much it will shrink, and the worst thing would be to spend the time knitting and then have your sweater turn out unwearable. I would advise against it, but you could always work up a pretty good sized swatch and wash it in warm water and see what the shrinking results are!
A few other tutorials we have that could be useful are the How to Hand Wash A Sweater tutorial (which goes into more detail about blocking sweaters) and the Understanding Ease + Selecting Your Size tutorial!
I hope this helps, happy knitting!
Gianna
Thanks Gianna! I’ll probably be conservative and not try anything too crazy, and let it just be a baggy sweater—i think i just wildly underestimated how oversized “6-10 inches of ease” would be. Live and learn! If i ever make it again I’ll size down.
Hi,
Is it possible to omit the short rows for the shaping of the neckline and still be able to proceed and if so, after establishing raglan points would I go straight to yoke increases? I was wondering if anyone has knitted this sweater without doing the neck shaping short rows. Thanks!
Hello!
Thank you for your question! The short rows in this sweater allow the garment to not ride up on the neck while it is worn, while also providing some extra length in the front of the sweater for the chest. Because of the vital role these rows play in the structure of the garment, we recommend working this pattern as written with the short rows included, so that your sweater will still fit when you are done!
I hope this helps clarify things!
All the best,
Margaret
Hello! I may have missed this in the comments, but what is the preferred cast on method for the collar? Is it long tail?
Thanks!
Hilary
Hi Hilary,
The Long Tail Cast On is a great cast on for the collar, especially since it’s so stretchy! If you’d like to see a tutorial for this technique, we have one here.
I hope this helps, and please feel free to send any other questions our way!
All the best,
Carly
Thank you so much!
Hi,
I am actually knitting this pattern in Buttercup Cotton. I really like the effect, and it fits me perfectly.
I would like to knit a “winter” version of this sweater, in one color, could Line Weight be a good substitute?
I always have to downsize the patterns.
Thanks
Diane
Hi Diane,
I’m so glad to hear that Buttercup Cotton worked well for your version of this pullover! Line Weight would be a great substitute for Buttercup Cotton, as they are both fingering weight yarns. However, I’d make sure to double check the gauge, since wool yarn behaves differently from cotton yarn, so you may need to use different needles to achieve the same gauge.
All the best,
Lili
Thanks!
For the Buttercup version, I get the same number of rows – which is perfect and avoids calculations – and more stitches per 4 inches – which makes the size “automatically” smaller.
The sweater is light and so comfy!
Diane
It worked out great! I did have some “issue” with the wholes at the neck line. Could it be that I did not tight enough the yarn when I turned my work? I will pay attention next time I knit that pattern – which will happen shortly, this time with Linen Quill.
I’m so glad to hear that your newest version of this pattern turned out so well! I agree, the holes you’re finding are likely due to a tension discrepancy when you turned your work. You may be able to fix this by gently tugging on the legs of nearby stitches to distribute the extra length across the adjacent stitches!
All the best,
Lili
Hi,
Is there a “trick” to avoid holes when shaping the front neck? i did manage to make the surplus yarn “sink” by pulling it along a row, but it would be nice to avoid that.
I will be knitting a second sweater in one color and I will try to figure out a way of not cutting the yarn. If I get it done right, I will let you know.
In the meantime, do you have any other pattern with the same kind of construction (top down, raglan, short-row shaping) that I can inspire myself from?
Thanks
Diane
Hi Diane,
I think the best way to avoid holes is to pay close attention to your tension as you’re turning your work. And we do indeed have other similar patterns that might interest you! I’ll list some below for you to consider in the meantime:
Top-Down Turtleneck Cardigan
Twisted Rib Pullover
Daily Pullover
Wherefore Art Thou Pullover
Ribbed Raglan Pullover
Pasture Pullover
All the best,
Lili
Thanks! I will pay attention.
Diane
In the “Neckline” and “Notes” section it says “see special instructions”. I don’t see any special instructions in the pattern details anywhere. Am I missing something?
thanks
Hi Pat,
Thanks for reaching out about this! We included the “See Special Instructions” note in error, so we’ve removed it from the PDF. The main pattern includes all the steps of creating the short rows in this pattern (it’s quite an unconventional method, so we’re sure to describe each step in detail, within the pattern itself). Thanks again for bringing this to our attention!
All the best,
Lili
Hi! I’m wanting to try making a sweater but these all look very difficult for a first-time sweater knitter (I’ve done several hats, scarves, etc.). What pattern would you recommend for a first sweater? Thanks!
Hi Jen,
Thanks for writing in! I would recommend the Top-Down Circular Yoke Pullover as a great first sweater (it was actually one of the first sweaters I ever knit). It’s a great introduction to this popular type of sweater construction!
I hope this helps, and please don’t hesitate to reach out if you have any other questions as you begin your project!
All the best,
Lili
Hi,
I’m not sure how to make a nice back seem when changing colors. You really don’t show a picture of the total back.
Thank you.
Lidia
Hi Lidia,
Thanks for reaching out! The back of the sweater has a single column of purl stitches down the center. This hides the jog between rounds–while it doesn’t get rid of it completely, it does automatically make the jog much neater and more uniform. Hope this helps you visualize this pattern more clearly!
All the best,
Lili
I’m trying to figure out how to knit the ribbing so it is the same width as the sweater, not cinched at all. How do I know how many stitches to add? I love this pattern btw – making it with 3 colors and it looks so good.
Hi Nic,
Thanks for reaching out! I would not recommend changing the stitch count to do this. Instead, I’d recommend aggressively blocking your finished sweater! Ribbing has the potential of stretching up to the width of regular stockinette, so if you pin the ribbing in place while the sweater is drying, it will stay in that stretched position and be the same width. Hope this helps!
All the best,
Lili
On page 4, Increase Yoke instructions, you have all sizes mentioned except for size 43. I am assuming based on the other instructions, I should be following the size 381/2. Could you please confirm?
Hi Lisa,
Thanks for reaching out! If you’re knitting size 43, then all you need to do is skip all of the “Size x only” sections. The sizes that are mentioned there require some additional rounds, but size 43 does not. You can skip straight to the DIVIDE SLEEVES FROM BODY section if you’re knitting size 43!
All the best,
Lili
I am working on this sweater, currently in the Yoke section. I have two holes on either side where I rejoined the on-hold Front Neck stitches. How to I avoid these holes?
Hi Jennifer,
Thank you for reaching out! One thing you could try as you begin is to pick up extra stitches at the bottom of the underarm. On the first round, you can decrease back down to the recommended stitch count for your size by knitting those extra stitches with the neighboring stitches. Another thing you could try if you have already begun to work your sleeve is weaving in your tails to close up those holes. I hope this helps!
Happy knitting,
Gavriella