

Baby Sunbonnet
A few months ago, I designed a Sherpa-lined Winter Baby Bonnet to protect my infant daughter from the hibernal elements. Now as the seasons are changing, I realize that my winter baby is, well, still a baby. She is still in need of a hat to protect her delicate skin, now, from the bright sun of these warmer days!
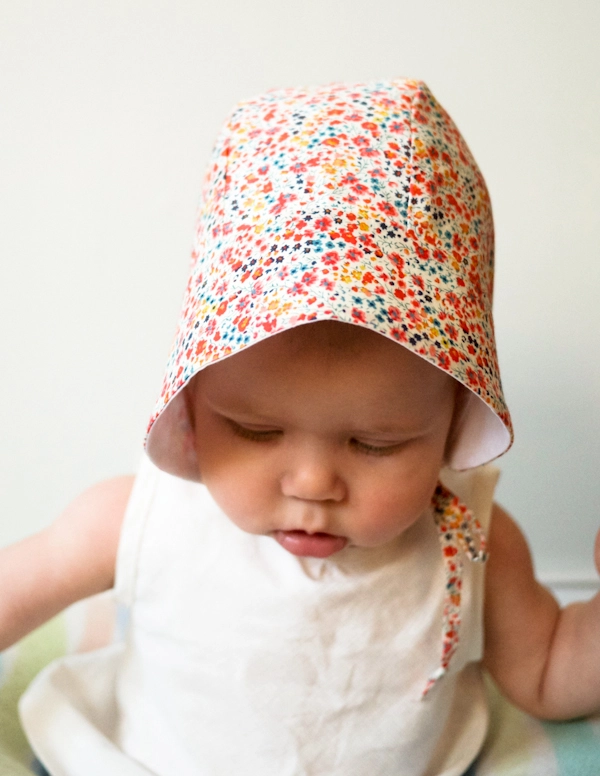
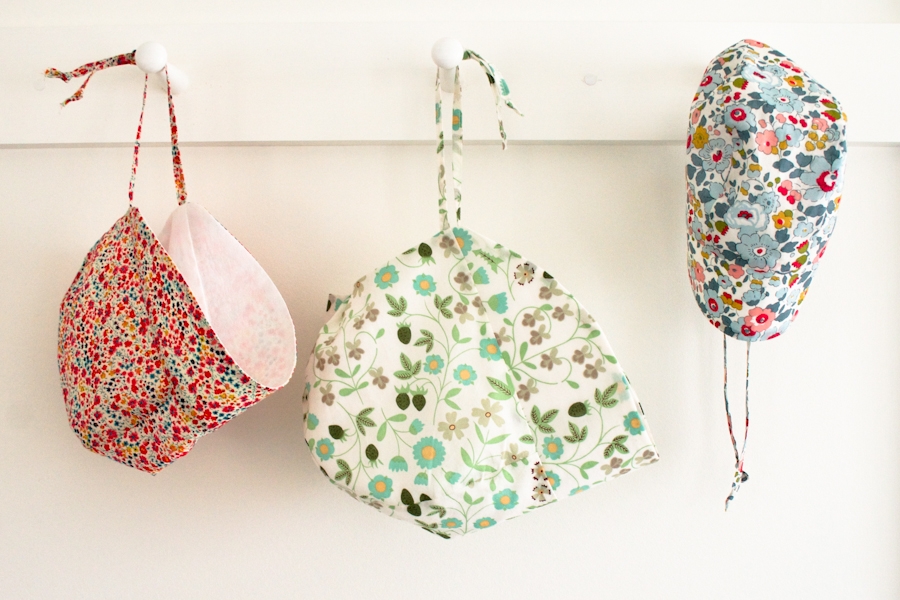
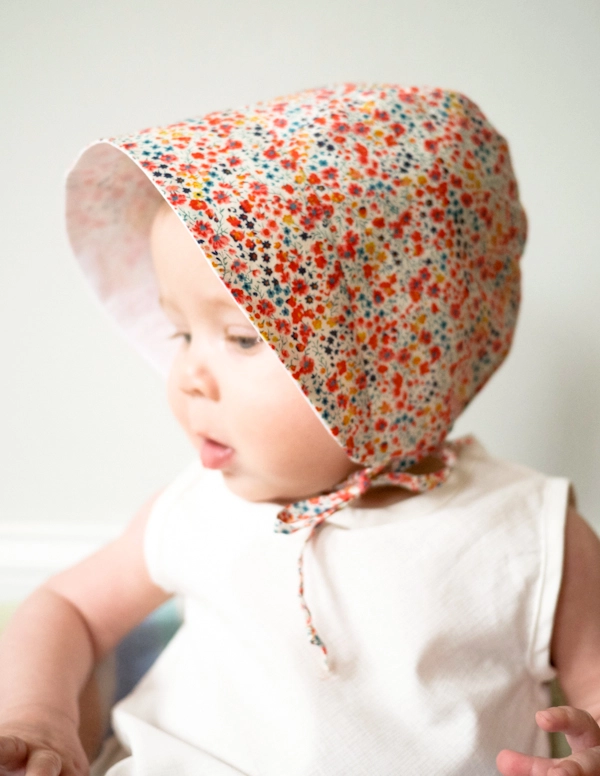
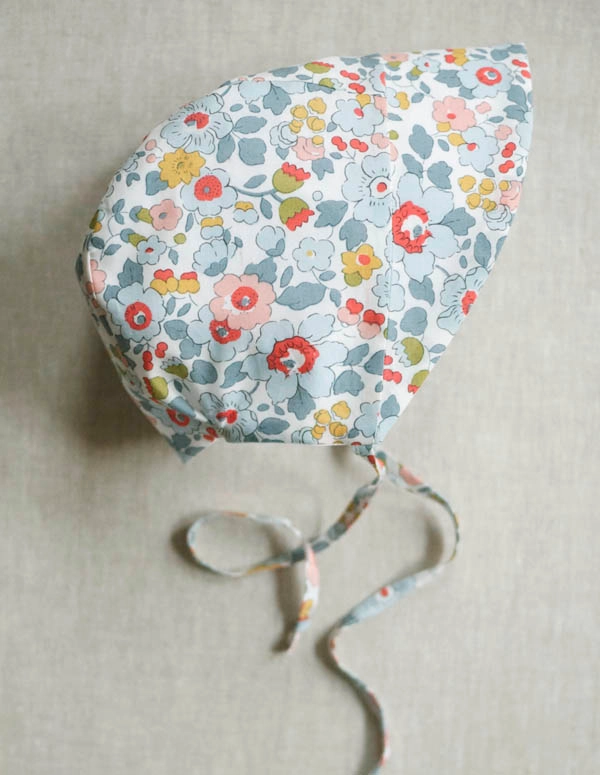
But, I’ll admit, that when designing this Baby Sunbonnet, I had more than just practicality in mind. I’m a sucker for a baby in a classic bonnet! I love how the visor and chin ties create the perfect silhouette, allowing just her chubby cheeks to peak out. And, in Liberty of London prints, these hats are as timeless as they are sweet.
Because they don’t stay babies forever, our free Baby Sunbonnet pattern is available in sizes 0–24 months. So, no matter if your little one is big enough to toddle around this spring or is still just snuggled in your arms, she’ll look good doing it. Oh, and the sun will be out of her eyes too. – Corinne

Materials
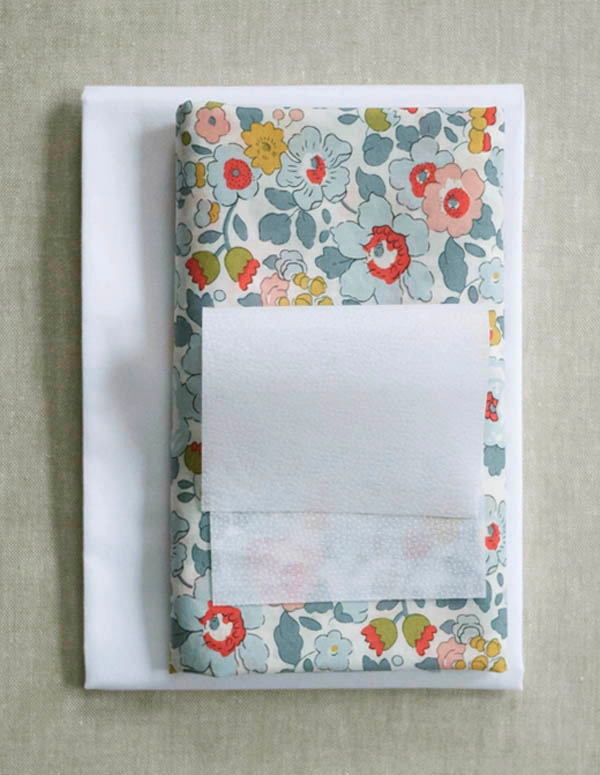
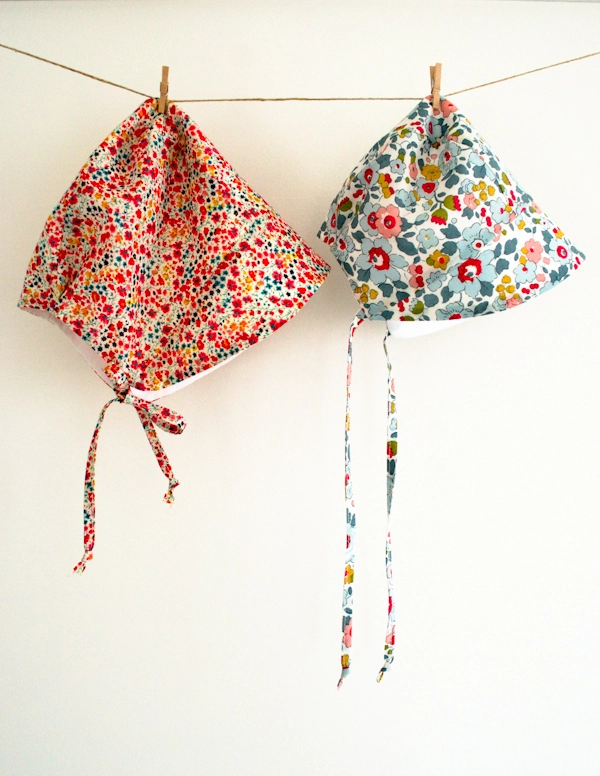
- Outer Fabric: ¼ yard Liberty of London’s Tana Lawn. I used Light Blue Betsy (shown above), Phoebe Poppy and Mint Maribelle.
- Lining Fabric: ¼ yard Robert Kaufman’s Cambridge Lawn in Bleached White (Please Note: Cambridge Lawn is no longer available. As a substitution, we recommend Liberty of London’s Plain Dyed Tana Lawn in White!)
- ¼ yard Pellon Lightweight Fusible Interfacing
- Gutermann’s 100% Cotton Thread in color 1040
- A 12 mm bias tape maker
- A Summer Baby Bonnet template, available for free download here, printed and cut out in the appropriate size
These are enough materials to make one hat in any size.
Sizes
0-3 (3-6, 6-12, 12-18, 18-24) months
Notes
To print the PDF template, be sure to first download the pattern and then print it. This means rather than simply clicking the link and opening the PDF in a browser window, you should click on the pattern link using the “right click” or “control click” option on your mouse or keyboard. This will give you the option to “Download the linked file.” Once the file is downloaded, it should print like a charm!
Prewash all fabrics before starting.
Use ¼-inch seam allowances unless otherwise noted.
Pattern
Cut

Use the prepared template to cut one Visor from the Outer Fabric, the Lining Fabric and the Interfacing.
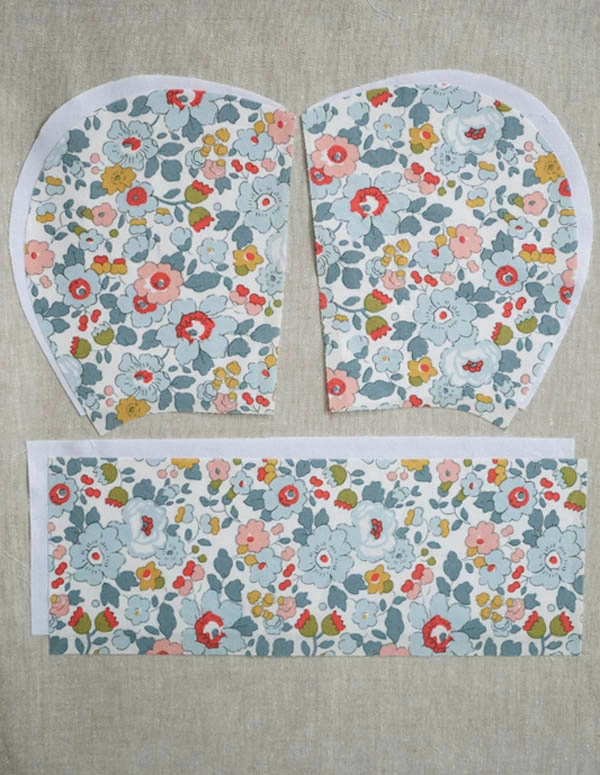
Use the prepared template to cut two Hat Sides from both the Outer Fabric and the Lining Fabric. Cut one Hat Side with the right side of the fabric facing up and one with the wrong side of the fabric facing up. The two Hat Sides from the same fabric should be mirror images of each other.
Cut one 3 ½ by 9 ½ (3 ½ by 10 ¼, 3 ¾ by 11 ¼, 3 ¾ by 12 ½, 3 ¾ by 12 ¾)–inch rectangle from both the Outer Fabric and the Lining Fabric.

From the Outer Fabric, cut two rectangles 1 1/8 inch wide and at least 12 inches long. These will be the Ties. The longer you cut the rectangles, the longer the Ties will be.
Piece the Outer Hat
Note: For this section use only the Outer Fabric pieces.
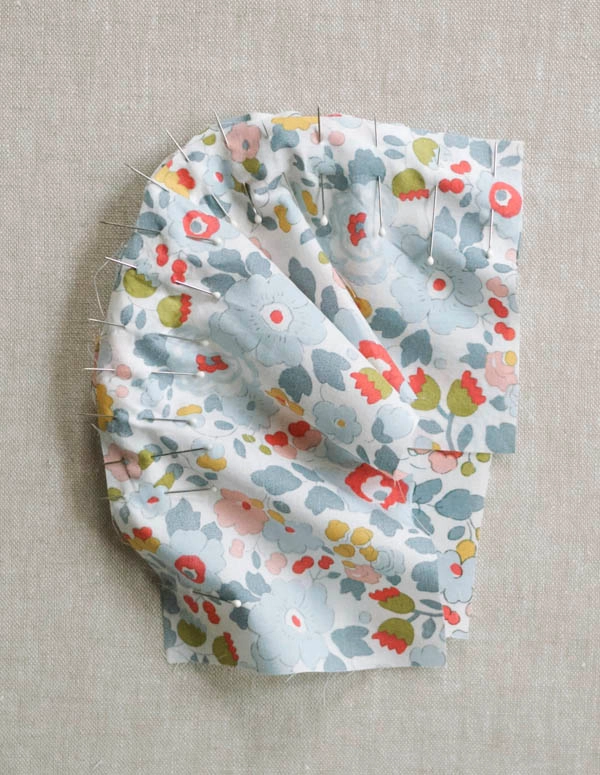
With right sides facing, pin one long edge of the large rectangle to the long outside curve of one of the Hat Sides. It can be tricky to keep curved seams wrinkle-free, so use a lot of pins to ensure that the seam will come out un-puckered and smooth. Sew around the pinned curve. This is a Side Seam.

Cut notches in the seam allowance along the curve.
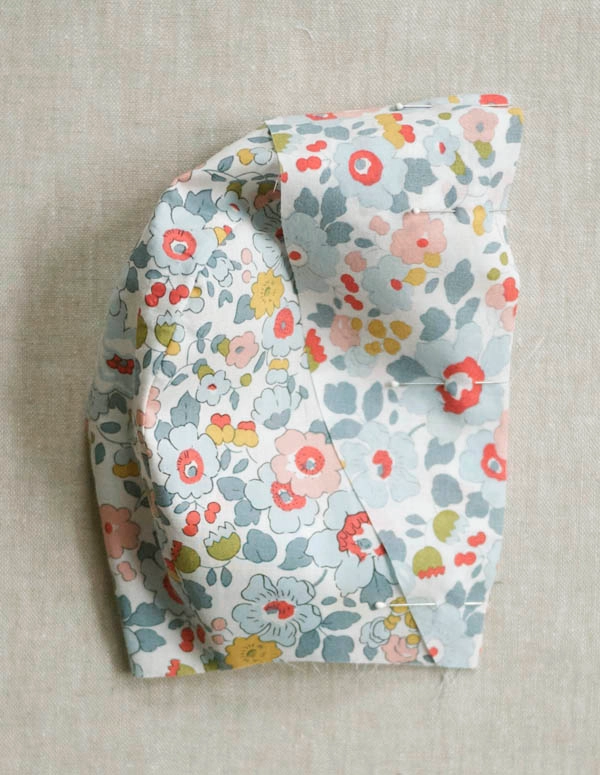
Repeat with the other Hat Side and the other long side of the rectangle for the second Side Seam.
This is the Outer Hat.
With right sides facing, line up the straight edge of the Visor with the straight front edge of the Outer Hat. Pin in place.
Sew along the pinned edge.
Press the seam towards the Outer Hat.
Prepare the Lining Visor
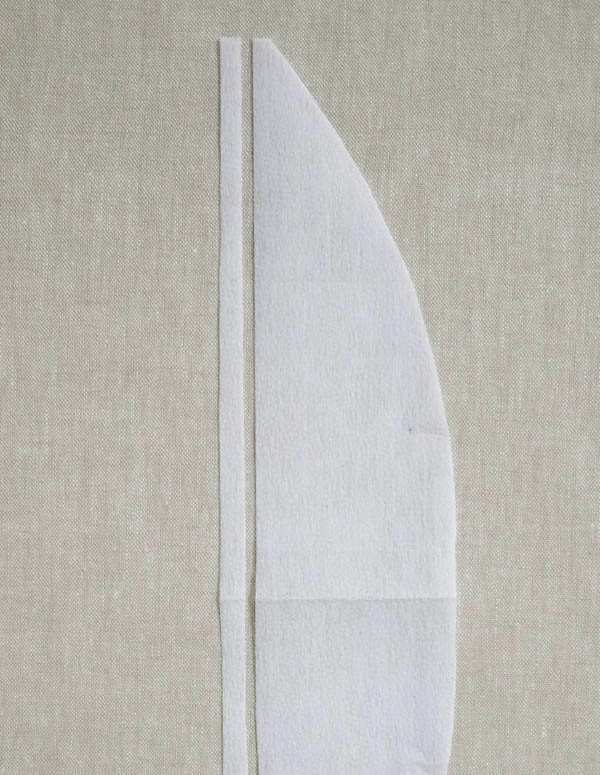 Trim off ¼ inch from the straight edge of the Interfacing Visor.
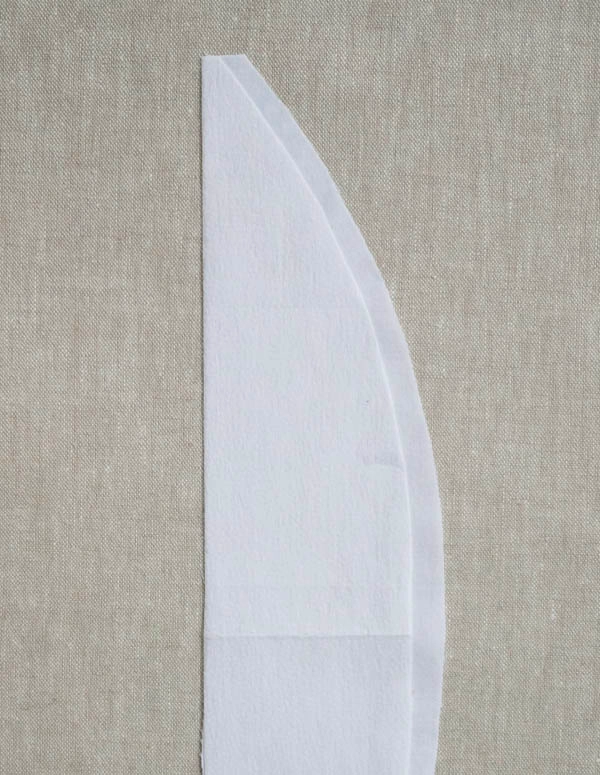
Line up the trimmed, straight edge of the Interfacing Visor with the straight edge of the Lining Fabric Visor.
Fuse in place following the manufacturer’s instructions.
Piece the Lining
Note: For this section use only the Lining Fabric pieces.
Piece the Hat Sides, Rectangle and Visor in the same way that you pieced the Outer Hat.
This is the Lining.
Make and Attach the Ties

Using the two small rectangles of Outer Fabric and the 12mm bias tape maker, follow the manufacturer’s instructions to make two single fold strips of tape.
Fold each piece in half lengthwise, press and edgestitch along the long open sides.

At one end of each strip, tie a small knot to finish the ends.
These are the Ties.

Pin the short raw edge of a Tie to the raw neck edge of the Outer Hat at the Visor seam.
Sew in place with a 1/8-inch seam allowance.
Repeat with the other Tie on the other side of the Outer Hat.
Attach the Outer Hat and Lining

With right sides together, slide the Lining inside the Outer Hat. Pin the pieces together along all edges, making sure the Ties are tucked between the layers.
Sew around the pinned edge, leaving the end of the rectangle at the nape of the neck open. Backstitch at the beginning and end of the seam.

Pull the Hat right side out through the unsewn gap. Press the edge flat.
Finish
Sew the gap at the nape of the neck closed using a ladder stitch. For detailed instructions and photographs, please check out the Winter Baby Bonnet project here and scroll down to the “Finish” section.

Fold one Side Seam at the nape of the neck towards the Visor ¼ inch so it makes a small pucker. Hand sew the fold using a slip stitch and work from the neck edge up ¼ inch.
Repeat with the other Side Seam.
You’re all done!


Hello, can you share the dimensions of the spacer rectangular piece in cm?
Hi Zeynep,
Thanks for reaching out! Can you let me know what size you’re making? The measurements for this piece will be different depending on the size.
All the best,
Lili
Can you give it for all sizes?
Sure! Here are the measurements for the rectangle for all sizes:
Cut one 3 ½ by 9 ½ (3 ½ by 10 ¼, 3 ¾ by 11 ¼, 3 ¾ by 12 ½, 3 ¾ by 12 ¾)–inch rectangle from both the Outer Fabric and the Lining Fabric.
All the best,
Lili
Zeynep, you can google in the search engine “inches to cm” or any other measurements you need. It will give you a pop-up that you can just put in the inches and it converts it into cm or any other measurement you need. I do it all the time! Very easy to do.
Thank you so much for this lovely pattern. I have made one for my granddaughter as we could not find a small enough hat for her. It is gorgeous!
Can’t wait to make afew of these for my granddaughter. Ey are so sweet
This pattern makes the perfect sun bonnet
for granddaughter that has very fair skin. I have made 3 sizes so far, all pattern pieces match the recommended sizes very well. Thanks for this fun to sew project.
I would like to make the visor in a gathered way, how would you suggest I go about it?
Thank you!
Hi Sophia,
Thanks for writing in! It’s so great to hear that this pattern caught your eye! While we’d love to be able to help you with this, I’m afraid these kinds of modifications would be outside the scope of support we can offer at this time. I would recommend finding a general video tutorial on YouTube that you could reference to make the changes you are interested in.
If you have any other questions, please feel free to let me know!
All the best,
Gavriella