Quilted Placemats
Although quilting happens at the end, it shouldn’t be a dreaded afterthought! The whole process of quilt finishing, from the basting to the binding, can be both rewarding and fun. These Quilted Placemats employ two basic quilting techniques to make something that is truly beautiful!

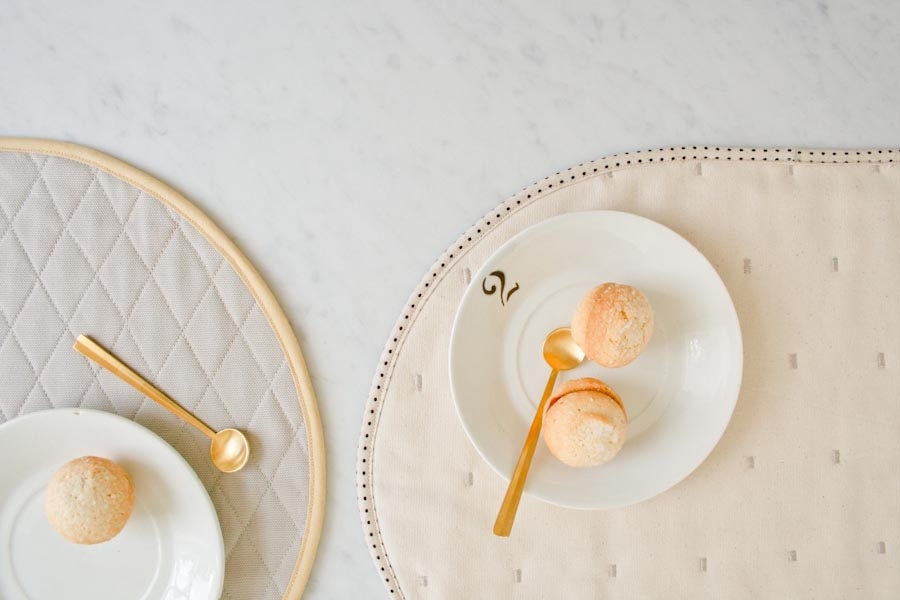
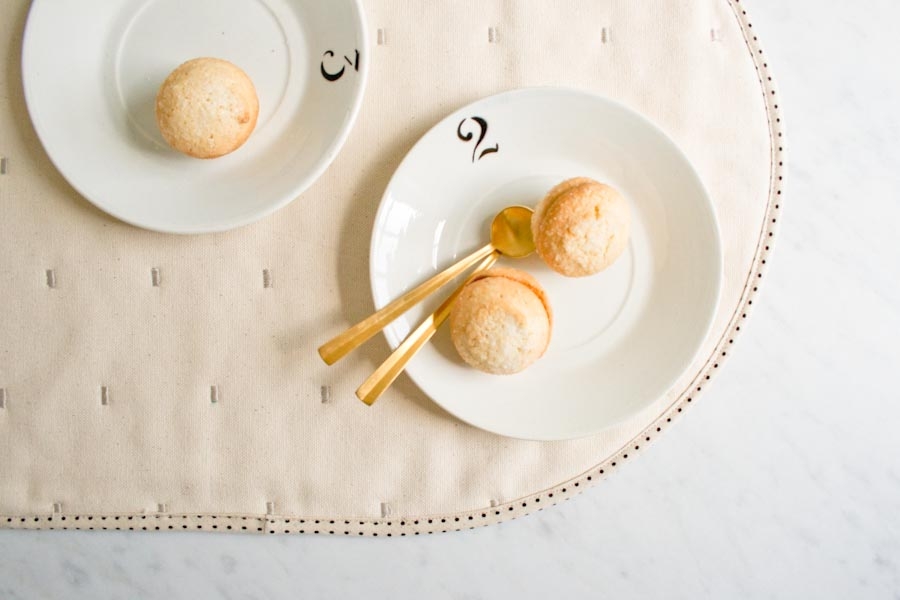
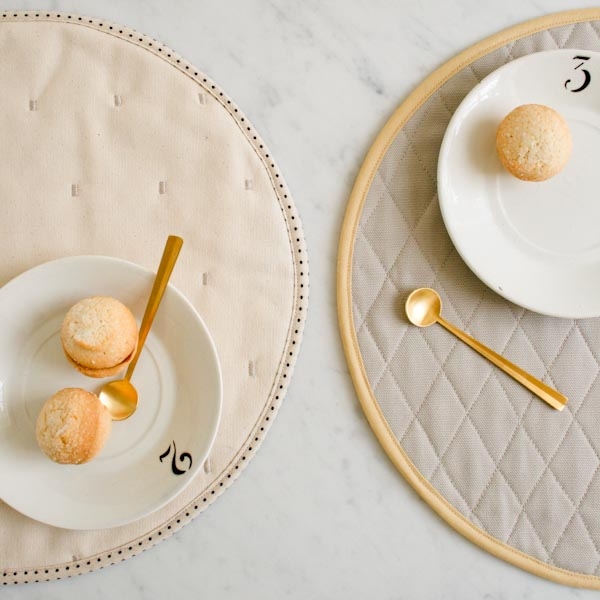
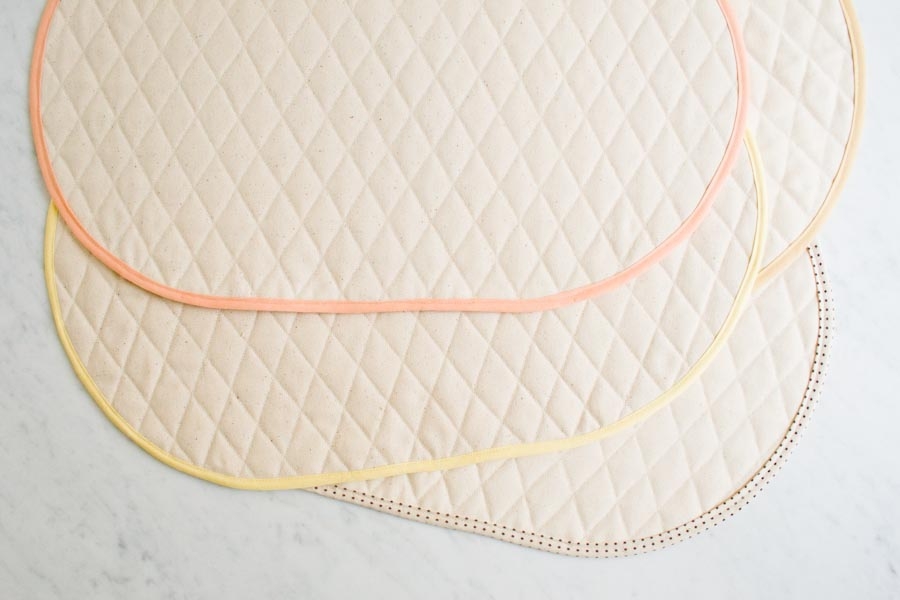
And surprise, this whole set of placemats is reversible! Both the pale ecru side and the pretty gray side are made out of machine washable Canvas. Go cream-side-up for an elegant cold soup lunch, flip them over to gray for a cozy pasta dinner or mix it up when it’s just a leftover free-for-all! Whatever the meal, these Quilted Placemats are a joy to make and to use!- Molly
Materials

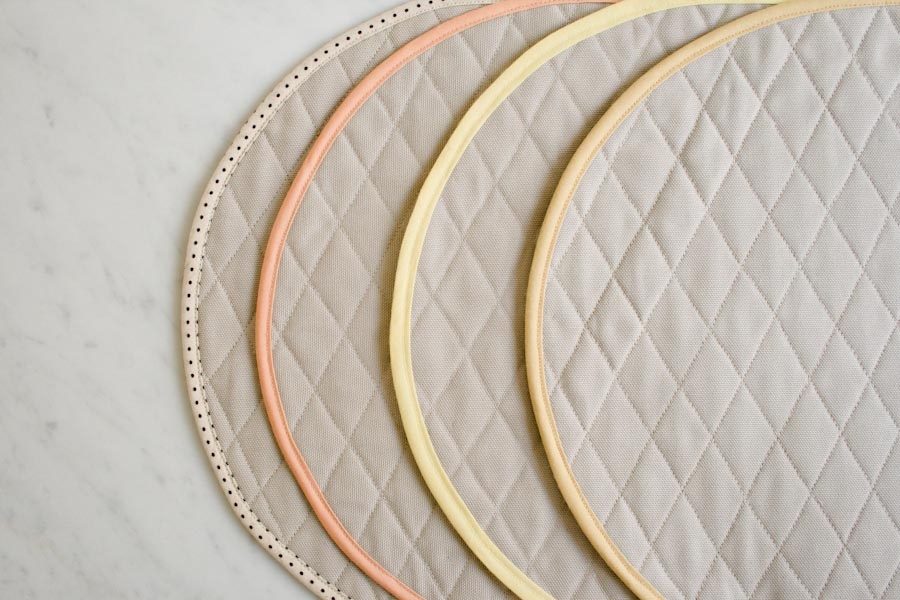
- 2 total yards of Carr Textiles’ Organic Cotton Duck Canvas, 1 yard in each Stone and Natural
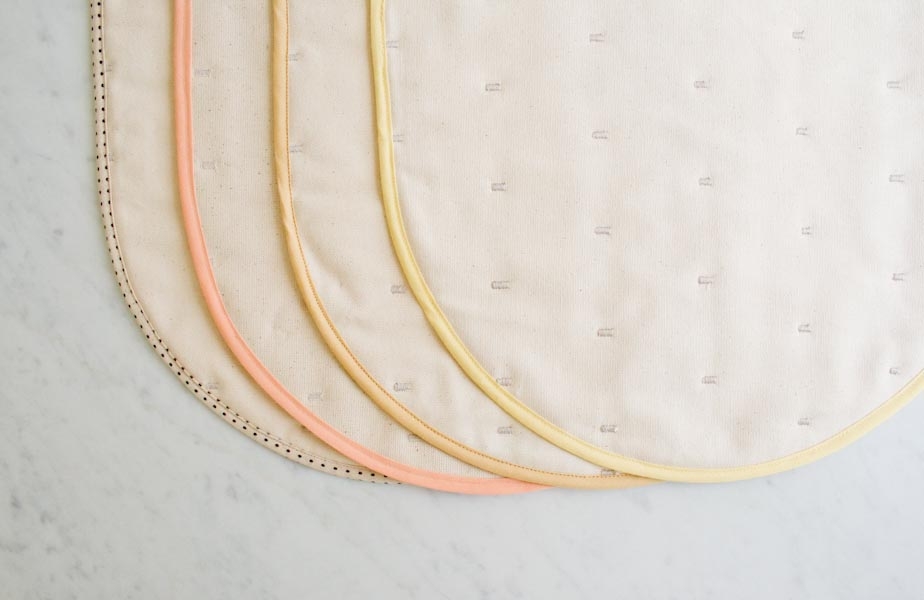
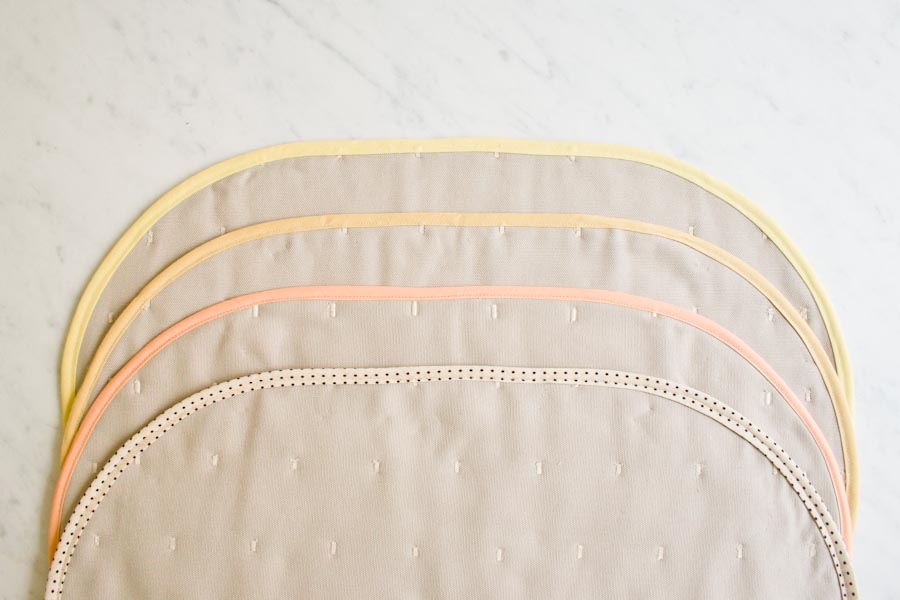
- 6 total yards of Purl Soho’s Bamboo Bias Tape, 2 yards in each Maize, Peach and Yellow
- 1 package of Captain 88’s Dot Cotton Linen Bias Tape in Ecru
- 4 Gutermann’s Cotton Thread 110-yard spools in colors 4660, 1370, 3260 and 1040
- Quilter’s Dream’s Natural Request Dream Batting, 100% pure cotton, throw size.
You will also need…
- A Quilted Placemat Template available here, printed, cut out and taped together as instructed
- A Hera Marker
- An erasable fabric marker
- Curved safety pins
- A rotary cutting ruler with a 60-degree marking
Size
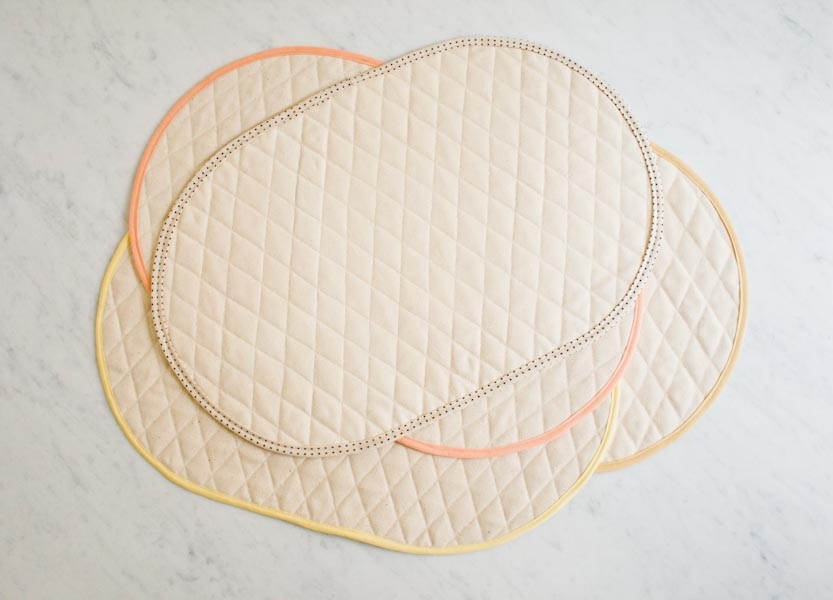
Finished Dimensions: 20 X 13-inch oval
Note
Prewash and dry the fabric but not the batting or bias tape.
Pattern
Cut
Each placemat will be completely reversible, with a Natural side and a Stone side so it’s up to you to assign which color will be called Fabric A and B; it really doesn’t matter. Fabric A will be the one you mark and have on top as you work. In these photos Fabric A is the Stone color and B is the Natural. Trace the cut-out-and-taped-together Quilted Placemat Template onto Fabric A and cut out the oval shape. From Fabric B and from the batting, cut a 22 X 15-inch rectangle. Put the two rectangles aside for now.
Mark and Quilt the Diamond Version

Mark

Line up the 60-degree marking line of your rotary cutting ruler anywhere along the bottom straight edge of the oval. Using the Hera Marker, mark a diagonal line along the right side of the ruler.
Mark another line, parallel to the first, 1 inch to the right. Continue to mark parallel lines every inch across the right side of the oval. Then, using your first marked line as a guide, repeat for the left side of the oval.

Now place the ruler’s 60-degree line (the blue line in this photo) along one of the previously marked lines (the black line in this photo), and using the Hera Marker, mark a new line along the side of the ruler (the pink line in this photo), 60-degrees from the first line. Just as you did in the previous step, mark the entire oval with diagonal lines going in this new direction, all one inch from one another.

After you are done marking the entire oval, it will be covered in neat diamonds!
Baste
Press the Fabric B rectangle flat and then lay the batting rectangle on top of it, smooth and flat. Finally, center the marked Fabric A oval, right side up, on top of the previous two layers. This is your quilt sandwich.

Using the curved safety pins, pin the three layers of the quilt sandwich together every few inches.
Quilt

Put the thread to match Fabric A in the top and the thread to match Fabric B in the bobbin and put the walking foot on your machine. Quilt the layers together along each marked line, removing the curved safety pins as you come to them.

Carefully cut Fabric B and the batting around the outer edges of the Fabric A oval.
Mark and Quilt the Tacked Version

Mark
Press the Fabric A oval in half lengthwise and then widthwise to create two creases that meet in the center. Lay the oval flat so that the longer crease runs horizontally and the shorter one runs vertically.

Using an erasable fabric marker and starting at the center point of the oval, make a small mark every two inches to the left and to the right of the center along the horizontal crease.

Then make a mark 2 inches above the center mark and one inch to the right of the vertical crease. Make a horizontal line of markings 2 inches apart across the entire width of the oval. This second line of markings should be staggered with the first line.

Mark the entire oval this way, alternating a row of 2-inch-apart markings that starts at the center vertical crease with a row that starts 1 inch from that mark. Use both the center and the vertical crease as guides to make sure you’re staying straight as you mark.
Baste
Make a quilt sandwich, as described in the Baste section of the Diamond Version, above.
Quilt

Put the thread to match Fabric B in the top and the thread to match Fabric A in the bobbin and put the walking foot on your machine. You will be quilting the sandwich together by tacking it at each marked point using a short zigzag stitch. Here’s how… Start sewing at a marked point and go forward 3/8 inch, then backwards 3/8 inch, then forwards again. This will leave you with a 3/8-inch block of stitches that looks a bit like satin stitch. Cut the threads and move on to the next marked point. Repeat for all marked points. Carefully cut Fabric B and the batting around the outer edges of the Fabric A oval.
Attach the Binding, Both Versions
You’ll attach the binding in the same way for both the Diamond and Tacked versions. Here’s how…

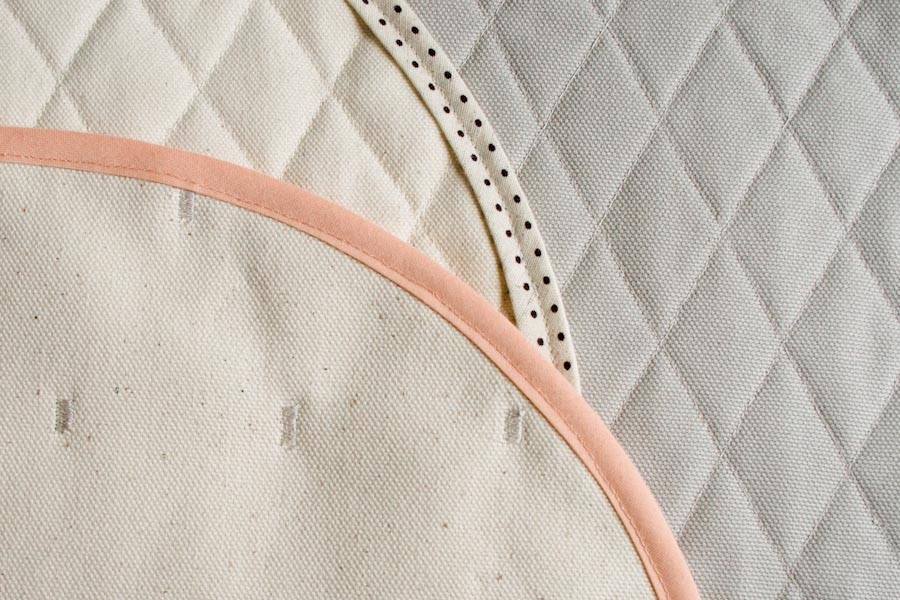
Pin a 62-inch length of bias tape around the edge of the placemat, encasing the raw edges of the placemat. Leave 4-inch tails of bias tape at the beginning and end of the oval and a 3-inch gap unpinned, as in the photo above.

Using the thread to match the bias tape, edgestitch the bias tape into place. Make sure to leave the 3-inch gap unsewn and to catch both sides of the bias tape as you sew.

Finger press the two unsewn tails of bias tape along the gap until they meet in the center of the gap. Then, fold and finger press the remaining tails away from one another.

Using the erasable fabric marker, mark the line where the tails meet at the center of the gap. Unfold the bias tape tails and pin them right sides together along the marked line. Sew the two tails together at the line and then cut the seam allowances to ¼ inch.

Refold the sewn-together bias tape and pin it over the gap. Edgestitch along the gap, trying to continue the line of previous edgestitching.

Repeat for all of the placemats and you’re done!


Beautiful and a handy tutorial – thank you!
The PDF is awesome!! Thank you so much!
Love … love … love the new pdf print feature … absolutely brilliant addition … cheers … Ina + Pokey + Stella
… just wondering if the sign-up feature is coming through to you and we will have our pick of pattern to download … ’cause I have nothing else to work on right now … just sayin’ … ’cause you added the option and might have your hands full now asking the peoples what they want to download … never a dull moment … happy summer days … cheers … I + P + S
Hi Ina,
I’m not sure I understand your question. Do you mean the free download from purlsoho.com that we are offering in celebration of the new Bee? If you have not received your free download yet but have signed up for it, please let Jen know at customerservice(at)purlsoho.com and she can get it to you.
Best wishes,
Joelle
Dear Joelle … eager beaver early bird … swooned over the new purlbee and click click click signed up and zippedeedoodah … yup … nothing happened for the free download … must have fallen through the cracks of the warming up rounds and what not … no worries … all is well … and as I said … it sure ain’t ’cause I have nothing to do … kiss the Harper and Betty on the nose … ttfn … Ina + Pokey + Stella
Thank you for another great tutorial. I really appreciate the PDF. Will definitely be making these placemats.
Barbara
the new pdf print feature is fantastic, thanks so much!
This is sooooo gorgeous! I love it!
Hi,
Scrolling through your website for something to do and found these placemats that I desperately need I noticed that this is an old posting and the canvas is not available so I was looking to buy it on line but not sure which weight of canvas you used to make these. Would you be able to let me know?
Thanks!
Hi Deborah,
So glad to hear that these placemats have caught your eye! I double checked the website for Carr Textiles, which is where the original fabric is from, and it looks like they only offer one weight option for Organic Duck Canvas, which is 10oz. I hope this helps your search!
All the best,
Lili