Valentine Pins
When I was a child I always loved Valentine’s Day. I relished picking out which paper valentines and candy hearts I would give to each of my classmates and I loved making valentines out of construction paper, paper doilies, and lots of glitter. Best of all, my dad always bought me a heart shaped box of See’s Candy!
As I got older, I grew less in love with Valentine’s Day. It seemed complicated by expectations and less like a great excuse to pull out my craft supplies. But last year I really enjoyed making and giving a bunch of handmade valentines. I realized that I didn’t need to fret about the parts of Valentine’s Day I didn’t enjoy, and that it could be the perfect occasion to do something creative and fun. It is in this spirit that I approached this latest project.

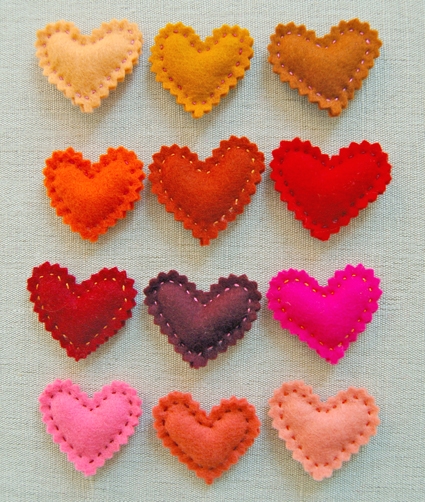
The Valentine Pins are very quick and easy to make. I think they are a wonderful project to do with kids for their class valentine exchange. The wool felt they are made with doesn’t need to be hemmed and it comes in the the richest most saturated colors. They are so little and cute I just wanted to eat them when saw them all together!
Happy Valentine’s Day! –Molly
Designed by Purl Soho designer, Molly Schnick. Click here to see even more of Molly’s work!
Materials

- One Wool Felt Bundle in Spice (I also used individual pieces of fuchsia and a bright pink which I had left over from our all of our Christmas projects)
- DMC Pearl Cotton Embroidery Thread in various shades of pink, red and orange.
- Poly-Fil Stuffing
- Small safety pins
- Pinking Shears
Download, print and cut out our Heart Template here. I traced mine onto a piece of cardboard so it would be sturdy and reusable.
Pattern
Cutting
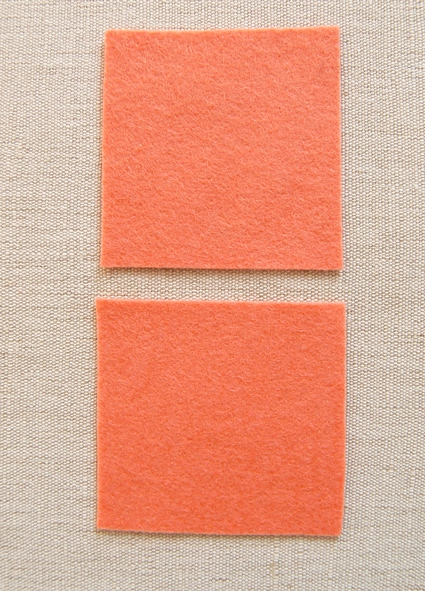
Cut two 2 1/2-inch squares from one of the felt pieces.
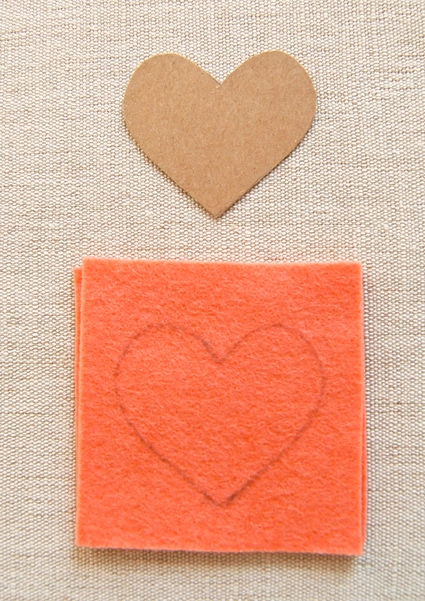
Stack the two squares neatly on top of one another and trace the heart template on the top square using a pencil.
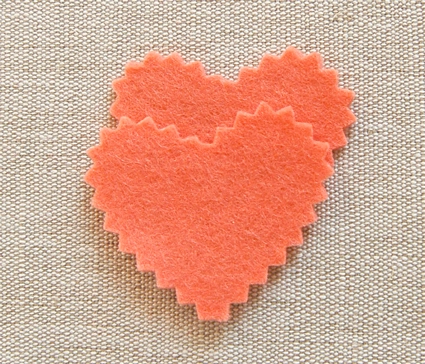
Using pinking shears, cut through both pieces of felt around the marked heart. You will have two heart shapes. If there are any pencil marks visible just flip the pieces over so their tops are mark-free. Line up the two hearts wrong sides together.
Sewing and Stuffing
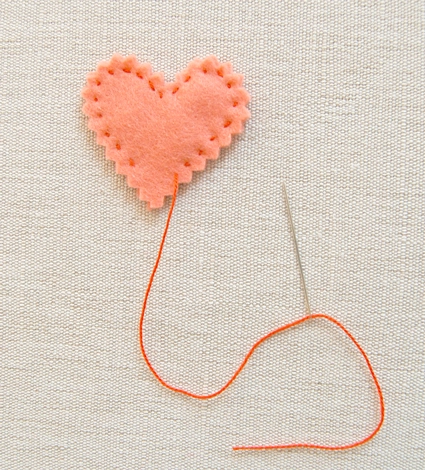
Cut an 18-inch length of embroidery thread in a color that contrasts pleasantly with the felt. Sew the two shapes together all around the edge, 1/8th of an inch from the edge using a small neat running stitch. In order to hide the knot start your first stitch in-between the two pieces of felt. Stop before you get all the way around so that you leave a small gap as pictured above.
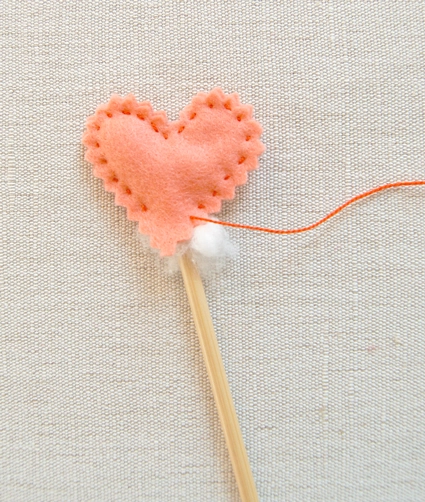
Using a pencil or a knitting needle stuff the heart tightly, using one small bit of stuffing at a time.
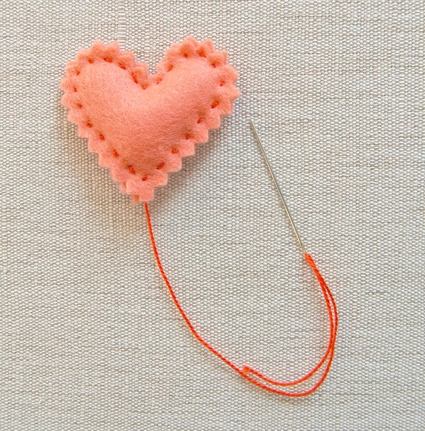
Once the heart is stuffed tight sew around to close the gap.
Tie a knot on the back side of the stitching and then stick your needle through the back of the heart. (Do not poke through to the front!) Pull the thread through and clip it very close to the felt, this will hide the end and make the back look nice and neat.
Attaching the Pin
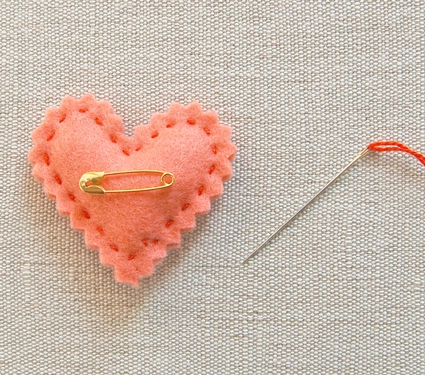
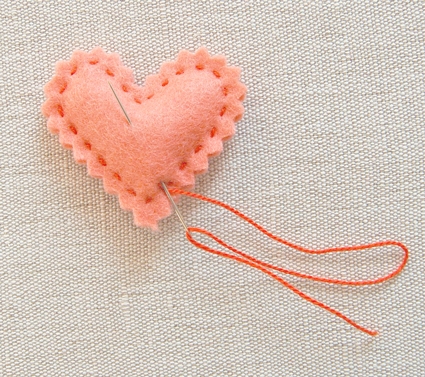
Place a small safety pin on the center of the back of the heart. Make sure it’s oriented so that you will easily be able to open the pin once it’s sewn onto the heart.
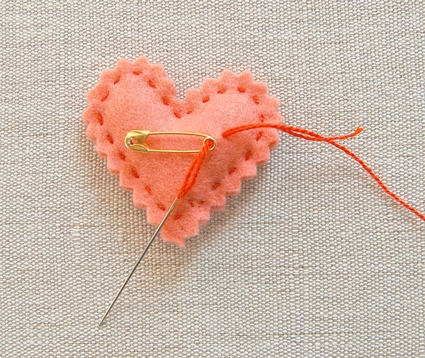
Tie a small knot at the end of your embroidery thread and begin sewing the pin onto the heart through the back ring of the safety pin as shown above. This will help to anchor the safety pin.

Sew the safety pin on securely as shown above. When you’re done you can hide the thread end in the same way as you did in the “Sewing and Stuffing” section and you’ll be all done! Repeat as many times as you want to make a beautiful array of pins!


Valentine Pins project looks great but there is something wrong with this site. I can not see photos.
Hi Anna,
Thanks for letting us know, and we’re sorry that the photos are missing from this post! We’ll get them back up on the webpage as soon as possible. Thanks again for bringing this to our attention!
All the best,
Lili
Thank you for such a cute idea. I think I’ll make some to spread the love around. I might add a few little embellishments with thread or beads or ribbon, just for fun.